Blog
DIY Hanging Shoe Organizer: Taming the Footwear Frenzy

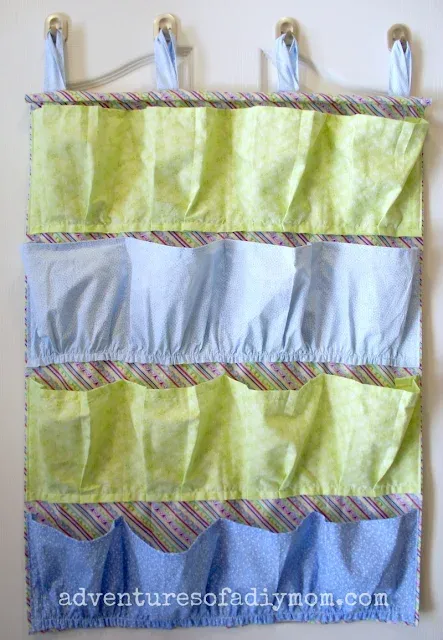
Hey there, fellow craft enthusiasts! Robert Kline here, and if there’s one thing I’ve learned over the years, it’s that a tidy space equals a tidy mind. And nothing disrupts the zen quite like a jumbled mess of shoes. Sound familiar? Well, fret no more because today, we’re diving headfirst into a project that’s as practical as it is satisfying: a DIY hanging shoe organizer.
This isn’t just any ordinary shoe storage solution; this is a statement piece. It’s about reclaiming your space, injecting your personality, and yes, even finding a little peace amidst the chaos of everyday life.
Why a DIY Shoe Organizer is a Game-Changer
Let’s face it, store-bought shoe organizers often fall short. They’re either flimsy, don’t fit quite right, or lack that personal touch we crave. This DIY project tackles those woes head-on, offering:
- Customization: Choose fabrics that complement your style and space.
- Durability: Sturdy construction means this organizer is built to last.
- Affordability: Often, you can create this with materials you already have!
- Pride: There’s nothing quite like the feeling of crafting something with your own two hands.
Ready to banish shoe clutter for good? Let’s gather our supplies and get crafting!
Gathering Your DIY Arsenal
Before we begin, let’s round up our crafting companions:
Fabrics:
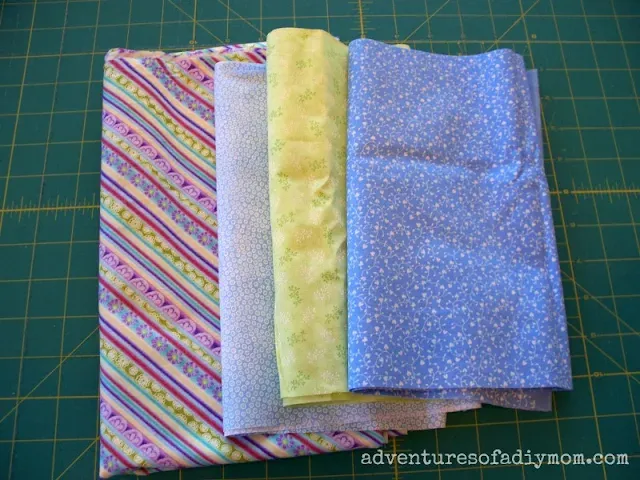
- 3/4 yard of fabric for the back panel
- 1/4 yard each of 4 different fabrics for the pockets (get creative with colors and patterns!)
Hardware:
- Sturdy over-the-door hooks (two for a secure hold)
- A 7/16″ dowel (or a size that fits your chosen fabric pocket)
Sewing Essentials:
- Sewing machine
- Thread
- Iron and ironing board
- Scissors
- Measuring tape
- Pins
 basket full of shoes
A simple basket can’t contain shoe chaos. Let’s get organized!
Sewing Your Way to Shoe Serenity
Step 1: Measure Twice, Cut Once
Using your measuring tape and scissors, cut your fabrics to the following dimensions:
- Back Panel: 27″ x 36″
- Pocket Strips: 9″ x 36″ (four strips in total)
- Hook Straps: 3″ x 9″ (two strips in total)
Step 2: Hemming for a Polished Look
Hemming might seem tedious, but trust me, it adds that extra touch of professionalism and prevents fraying.
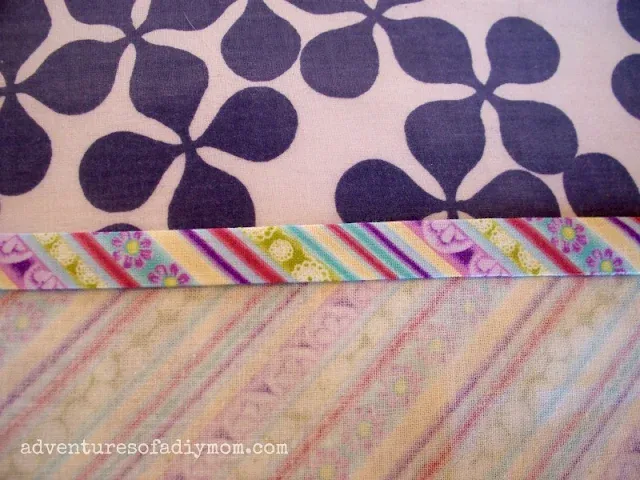
- Back Panel Hems: Fold over and iron 1/4 inch along one 27″ side and both 36″ sides of the back panel. Fold over another 1/4 inch and iron again. Stitch these hems in place.
- Dowel Pocket Hem: For the remaining 27″ side, fold and iron 1/4 inch, but this time, fold over an additional inch to create a pocket for the dowel. Stitch, leaving the ends open for the dowel to slide through.
Step 3: Creating Sturdy Hook Straps
- Fold each hook strap in half lengthwise, right sides together. Stitch along the long edge.
- Turn the strap right side out and iron it flat. Top stitch close to the edges for added strength. Repeat for both straps.
Step 4: Attaching the Hook Straps
- Pin the hook straps to the top of the back panel, aligning them with the existing stitching. Place the end straps about 1 inch from each edge and evenly space the remaining straps.
- Sew the straps securely to the back panel.
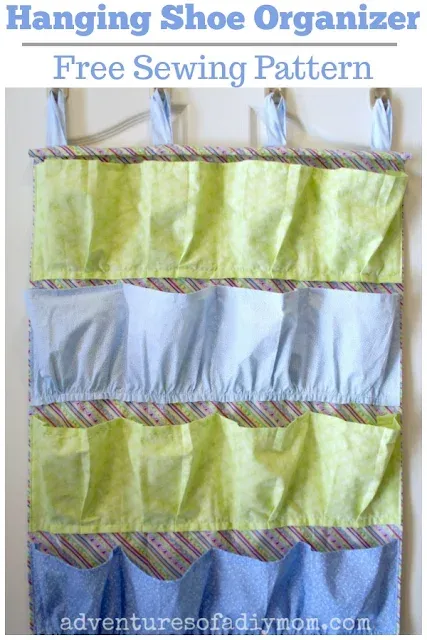
 DIY Hanging Shoe Organizer
A sneak peek of the organizer taking shape. You’re doing great!
Step 5: Pocket Power – Time to Gather
- Hem the long sides of each pocket strip. Fold over and iron 1/4 inch on each short end.
- Set your sewing machine to the longest stitch length. Sew along the bottom hem line of a pocket strip. Sew again 1/8 inch from the first stitches.
- Gently pull on one of the threads to gather the fabric.
- Place the gathered pocket strip onto the back panel, adjusting the gathers for even distribution.
- Stitch the sides and bottom of the pocket strip to the back panel.
Step 6: Creating the Shoe Compartments
- Measure and mark every 6 inches along the top and bottom of the attached pocket strip.
- Stitch vertical seams at each mark to create the individual shoe pockets.
Step 7: Assembling Your Shoe Storage Masterpiece
- Repeat steps 5 and 6 for the remaining pocket strips. I recommend placing the top pocket about 2 inches from the top edge of the back panel.
- Insert the dowel into the pocket created at the top. Mark and cut the dowel to the desired length.
- Hang your shoe organizer on the back of a door using the sturdy over-the-door hooks.
 hemming edges – fold and press at 1/4 inch
Precise hemming is key to a professional finish. You’ve got this!
Tips from the Robert Kline Art Studio
- Fabric Choice is Key: Opt for durable fabrics like canvas or duck cloth, especially if you’re storing heavier shoes.
- Reinforce for Longevity: Consider adding a layer of interfacing to the back panel and hook straps for added strength and support.
- Clear Shoe Compartments? Use clear vinyl for the pocket fronts. It makes finding the right pair a breeze!
- Get Creative with Embellishments: Add decorative buttons, ribbon, or even embroidery to personalize your organizer.
 stitching hems
Those perfectly stitched hems are a testament to your craftsmanship. Well done!
From Shoe Chaos to Shoe Harmony
Congratulations, my friend! You’ve conquered the shoe clutter and created a functional and stylish storage solution. Pat yourself on the back, admire your handiwork, and revel in the newfound order.
Now, it’s time to unleash your inner organization guru on the rest of your house! Trust me, the feeling is contagious.
What are your go-to tips for taming clutter? Share your thoughts and ideas in the comments below. And remember, the journey of a thousand organized spaces begins with a single, beautifully crafted DIY project.
Happy crafting,
Robert Kline
P.S. Don’t forget to explore the Robert Kline Art website for more inspiring DIY projects, unique handmade gifts, and endless creative inspiration.
