Blog
DIY Hanging Pot Rack: Rustic Charm Meets Practical Storage

Hey there, fellow craft enthusiasts! Robert Kline here, and today we’re diving into a project that’s close to my heart – creating a charming and practical DIY hanging pot rack. You see, I’m a firm believer that everyday items, especially in the heart of our homes, can be both functional and beautiful. This project beautifully embodies that philosophy.
Why Choose a DIY Pot Rack?
Let me tell you, a well-crafted pot rack is more than just storage. It can truly transform your kitchen, adding a touch of rustic elegance and functionality that store-bought solutions just can’t replicate.
A Focal Point with Character
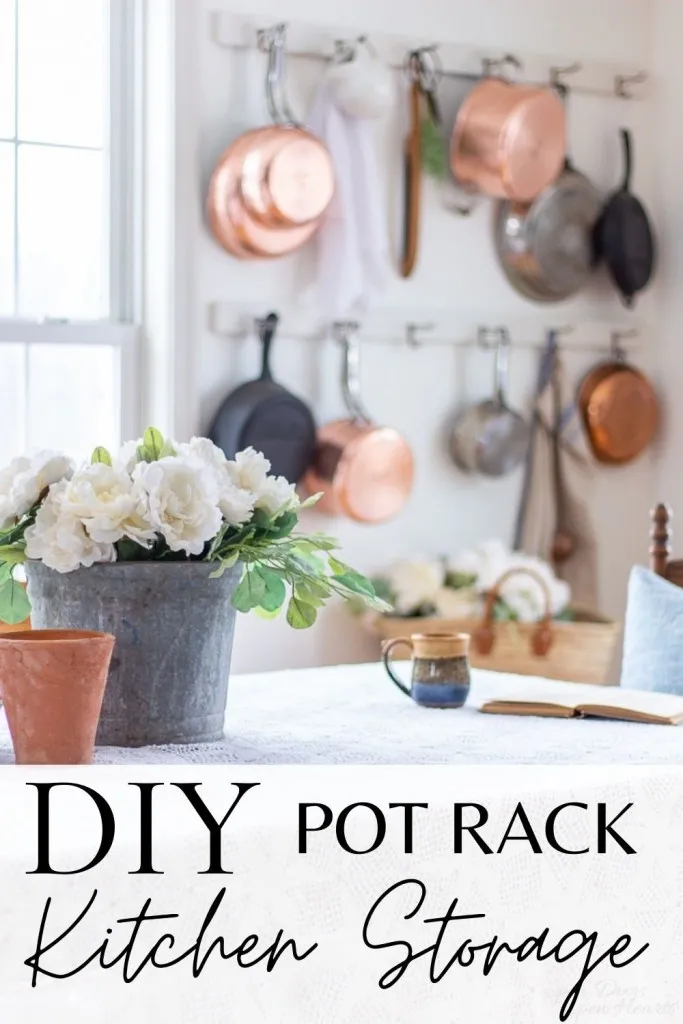
 DIY cottage style pot rack
I once had a simple pot rack in my own kitchen. What started as a practical storage idea quickly became a captivating focal point. The warm wood tones and gleaming copper cookware hanging below instantly added a welcoming, lived-in feel. It was a happy accident that taught me the power of combining form and function.
Storage Solutions That Work
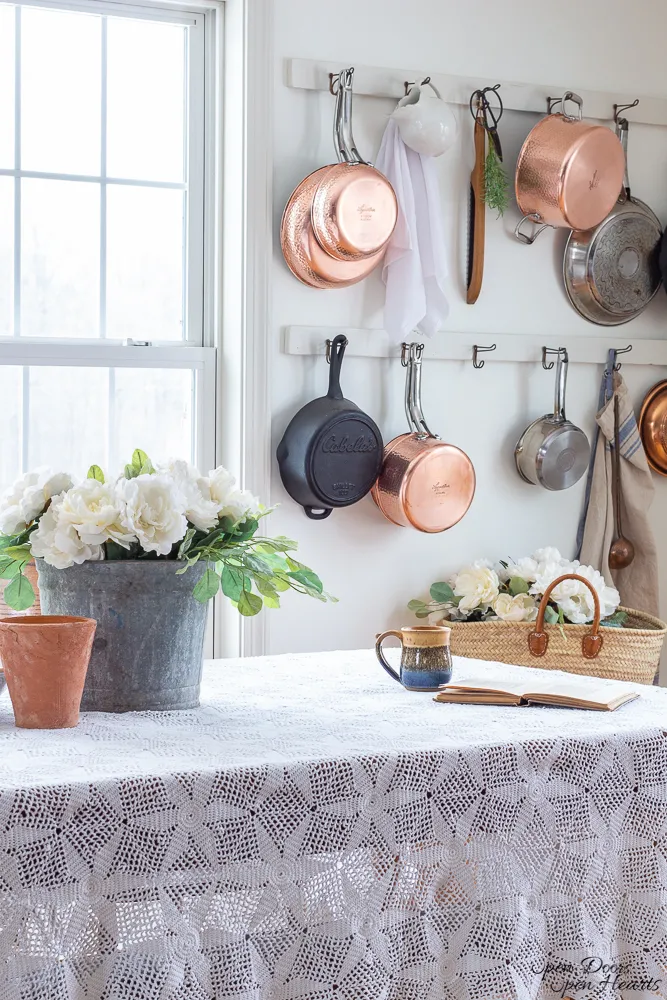
 hanging pots and pans on wall
We’ve all been there, rummaging through cluttered cabinets for that one elusive pan, creating a symphony of clanging metal. A DIY pot rack eliminates this frustration, keeping your cookware within easy reach and sight. No more noisy searches, especially when trying to keep a peaceful house!
Infuse Your Kitchen with Old-World Charm
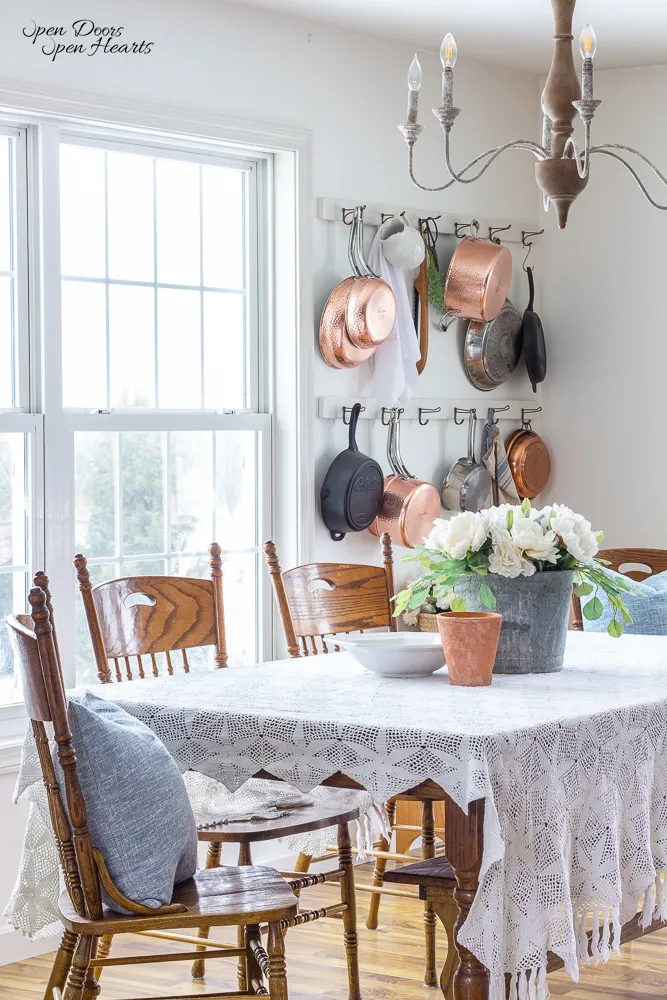
 cottage style kitchen wall storage with copper pots and pans
For me, there’s an undeniable allure to the simplicity and craftsmanship of times gone by. A hanging pot rack evokes that sense of old-world European charm, reminiscent of cozy cottages and kitchens filled with the aroma of home-cooked meals. It’s a subtle way to infuse your kitchen with history and character.
Crafting Your DIY Pot Rack
Ready to get started? Let’s gather our supplies and tools:
Materials:
- A sturdy piece of wood (reclaimed wood adds a fantastic rustic touch!)
- Circular saw
- Sandpaper or steel wool
- Primer
- Paint (choose a color that complements your kitchen)
- Drill
- Screws
- Countersink drill bit
- Hooks (vintage hooks add unique personality!)
- Stud finder
- Pencil
- Measuring tape
- Level
Instructions:
-
Prepare the Wood: Begin by cleaning your chosen wood piece. Remove any dirt or debris and sand down any rough edges. Remember, we want a rustic aesthetic, not splinters!
-
Measure and Cut: Determine the desired length for your pot rack and mark the cut line on the wood. Using a circular saw, carefully cut the wood to size.
-
Prime and Paint: Apply a coat of primer to the wood, allowing it to dry completely. Then, paint the wood with your chosen color. I recommend a color that complements your kitchen décor. Two coats are generally sufficient for a smooth, durable finish.
-
Mark Hook Placement: Hold the rack against the wall where you envision it hanging. Use a stud finder to locate and mark stud positions on the wall and the corresponding spots on the back of the rack.
-
Pre-drill Hook Holes (Optional): While not strictly necessary, I recommend pre-drilling small pilot holes for your hooks, especially if you’re working with hardwood. This will prevent the wood from splitting when you screw in the hooks.
-
Attach Hooks: Securely screw your chosen hooks into the pre-drilled holes on the wood. Ensure the hooks are evenly spaced to accommodate your cookware.
-
Countersink and Attach to the Wall: Hold your pot rack up to the wall, aligning the marked stud positions. Use a countersink drill bit to create pilot holes for your screws, ensuring they are deep enough to allow the screw heads to sit flush with the wood surface. Then, screw the rack securely into the wall studs.
-
Finishing Touches: If desired, you can fill the countersunk holes with wood putty for a seamless look. Let the putty dry and then touch up with paint if needed.
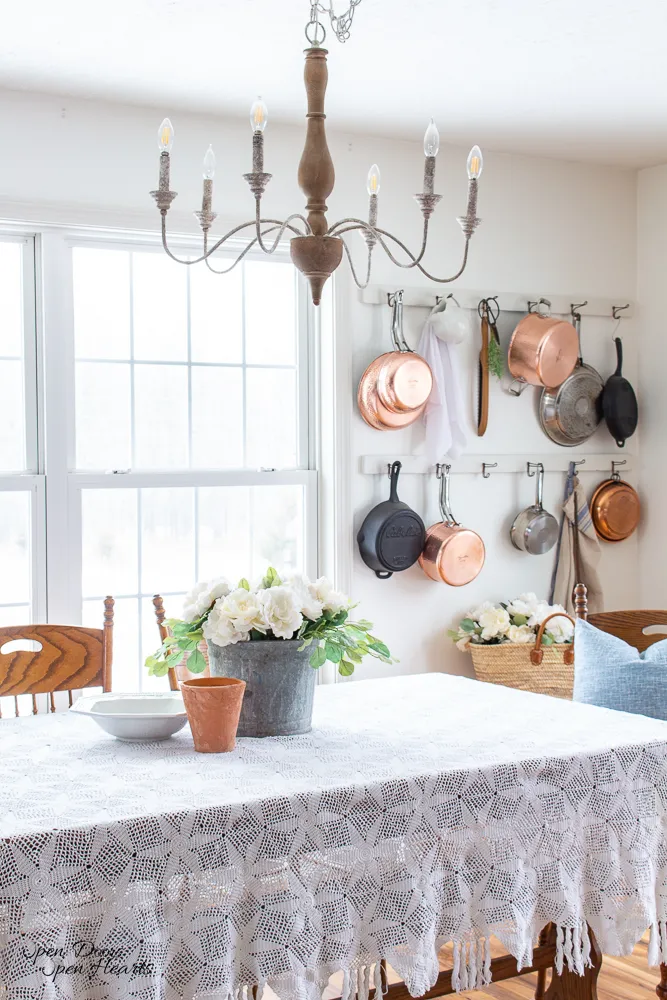
 cottage style dining room with diy pot rack hanging copper collection
Tips and Inspirations
-
Get Creative with Hooks: Don’t limit yourself to traditional pot hooks! Vintage doorknobs, drawer pulls, or even repurposed cutlery can make unique and charming hooks.
-
Beyond the Kitchen: While perfect for cookware, pot racks are versatile storage solutions. Consider installing one in your bathroom for towels and robes, in an entryway for coats and bags, or even in your craft room for tools and supplies.
-
Personalize It: Add your unique touch! Stencil a design onto the wood, wrap it with twine, or attach decorative knobs for a personalized flair.
A Final Word
Creating a DIY hanging pot rack is a rewarding project that combines practicality with creativity. It’s a testament to the beauty of handmade items and the joy of transforming everyday spaces into charming and functional havens. So, gather your materials, roll up your sleeves, and unleash your inner artisan! I have no doubt that you’ll create a piece that’s both useful and a stunning reflection of your personal style.
Don’t forget to share your creations with me on social media! I always love seeing your unique takes on my projects. And remember, for more craft inspiration and unique handmade gifts, explore the world of Robert Kline Art. Happy crafting!
