Blog
DIY Pot Lid Organizer: Taming Kitchen Chaos with a Simple Build
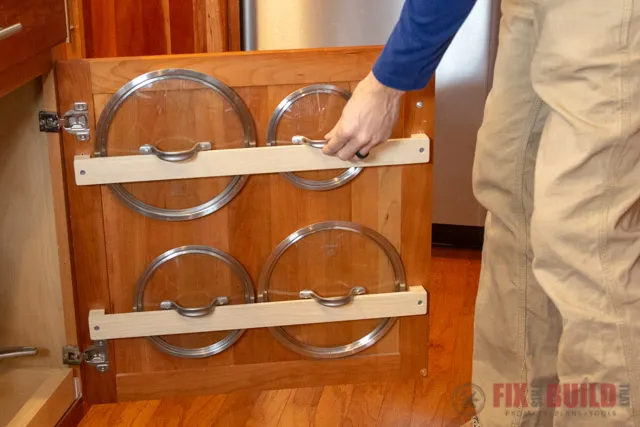
Tired of the great pot lid avalanche every time you open your kitchen cabinets? I hear you! There’s nothing quite as frustrating as a cluttered kitchen, especially when you’re trying to whip up a culinary masterpiece. That’s why I’m here to share a simple yet effective DIY project that’ll have your pot lids organized and your kitchen looking spick and span: a DIY hanging pot lid organizer.
As an avid crafter and believer in the power of handmade solutions, I’m all about making life easier with a touch of DIY magic. This project is perfect for beginners and requires minimal tools, so even if you’re new to the world of woodworking, you’ve got this!
Gathering Your Tools and Materials
Before we dive into the build, let’s gather our trusty tools and materials. For this project, you’ll need:
Tools:
- Miter box and saw
- Cordless drill
- Countersink bit
- Sanding block
Materials:
- (3) ¼” x 1.5” x 3′ Poplar Strips (or wood of your choice)
- Wood glue
- Thick CA glue (cyanoacrylate glue, also known as super glue)
- Water-based polyurethane
- 1-¼” screws
Pro Tip: Always protect yourself when working with tools and adhesives. Safety glasses and a well-ventilated workspace are a must!
Building Your DIY Pot Lid Organizer
Now, let’s roll up our sleeves and get crafting!
1. Measuring and Cutting
- Measure Twice, Cut Once: Before you start cutting, measure the width of your cabinet opening and the distance between the cabinet doors. This ensures a perfect fit for your organizer.
- Creating the Spacers: Using your miter box and saw, cut six 1″ spacers from your poplar strips. To speed things up, consider using a stop block for consistent cuts.
- Cutting the Main Rack: Cut the main part of the rack to be ½” shorter than your cabinet opening for clearance. Sand down any rough edges.
- Test Fit: Before gluing, do a quick test fit with your pot lids and spacers to ensure they fit comfortably.
 DIY Pot Lid Organizer
2. Assembling with Glue and Patience
- Glue Power: Apply a combination of wood glue and CA glue to the spacers, attaching three together to create a set.
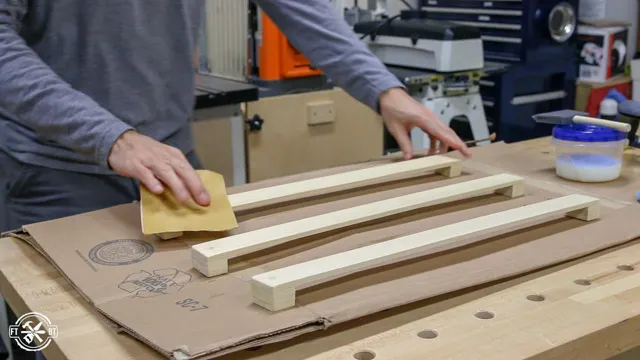
- Smoothing Things Out: Once the CA glue bonds, sand the spacer set smooth on all sides.
- Attaching the Spacers: Repeat the gluing process to attach the spacer sets to the long piece (the main rack), securing them with clamps for added stability.
- Sand and Repeat: After the glue dries, sand all the racks smooth.
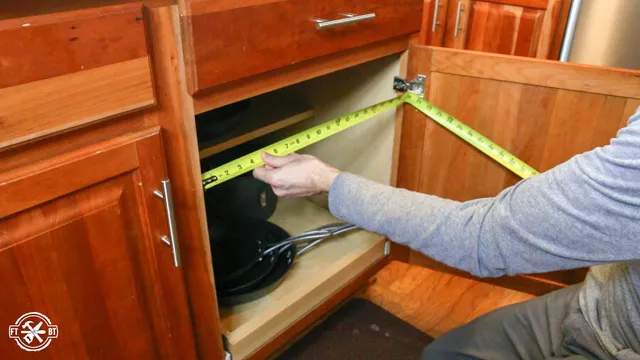 DIY Cabinet Door Organization
3. Prepping for Mounting
- Countersinking for a Flush Finish: Use a countersink bit to pre-drill holes for mounting the rack. This creates a recess for the screw heads to sit flush with the surface.
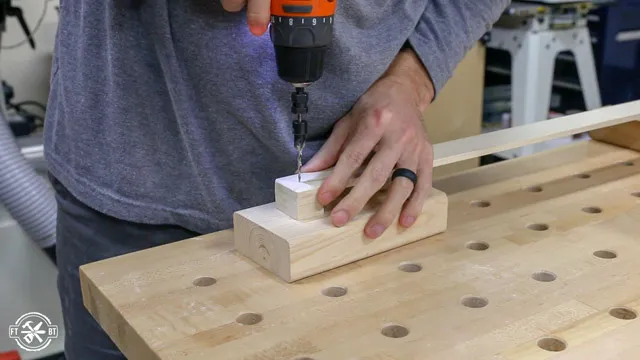 countersink bit
- Protection is Key: Apply a couple of coats of water-based polyurethane to your pot lid organizer, sanding lightly between coats. This seals and protects the wood.
 applying polyurethane
4. Mounting Your Masterpiece
- Securing the Racks: Hold the rack against your cabinet door and pre-drill pilot holes for the screws. Attach the rack with screws, ensuring they won’t poke through the other side.
- Spacing for Success: When mounting multiple racks, consider the size of your lids and adjust the spacing accordingly.
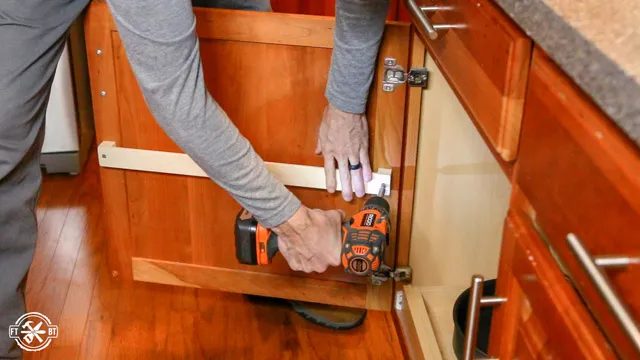 Attach Pot Lid Holder
Reveling in Your Organized Glory
Congratulations! You’ve successfully tamed the pot lid chaos and created a functional and stylish storage solution. Now, step back and admire your handiwork—you’ve earned it!
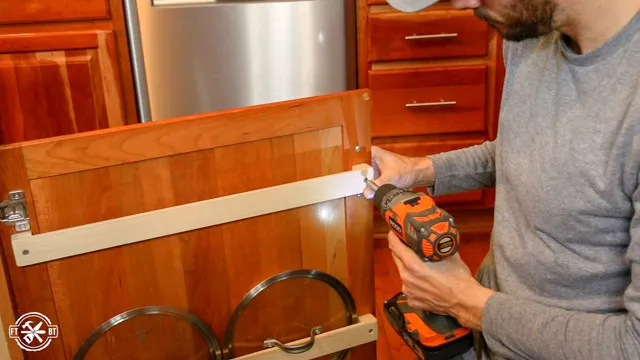 Pot lid holder door
Taking Your DIY Skills Further
Feeling empowered by your crafting success? I encourage you to explore more DIY projects. From home decor to personalized gifts, the possibilities are endless. Remember, at Robert Kline Art, we’re all about embracing creativity and the joy of making.
Looking for more handcrafted inspiration and unique gift ideas? Browse our collection of one-of-a-kind pieces at Robert Kline Art and discover the beauty of handmade.
Let me know in the comments below how your DIY pot lid organizer turns out. Happy crafting!
