Blog
DIY Hanging Mason Jar Organizer: The Ultimate Guide to Garage Storage
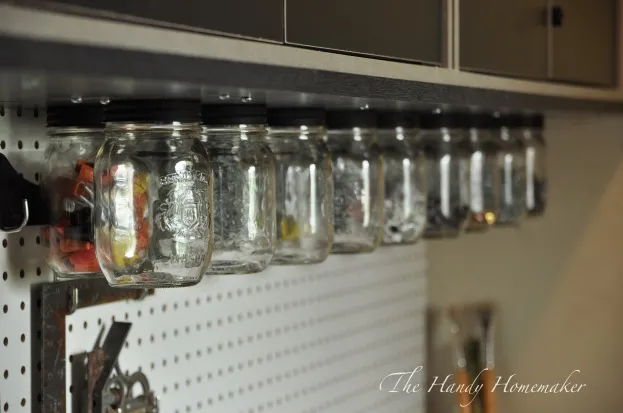
Hey there, fellow craft enthusiasts! Robert Kline here, from Robert Kline Art. I’m super excited to share a project that’s near and dear to my heart: a DIY hanging mason jar organizer for the ultimate garage storage solution. Trust me, this simple build will transform your workspace.
Why I Love This Project
I’ve been a fan of this storage system for over two decades. Years ago, my father-in-law installed something similar in our garage using old condiment jars (cheese whiz jars, to be precise!). It was surprisingly effective!
Fast forward to today, while revamping my garage with new cabinets, I knew I had to incorporate this ingenious storage idea. Let me tell you, it’s been a game-changer!
What You’ll Need:
Gather your materials:
- Pre-finished shelving (sized to fit your project area)
- Mason jars with covers
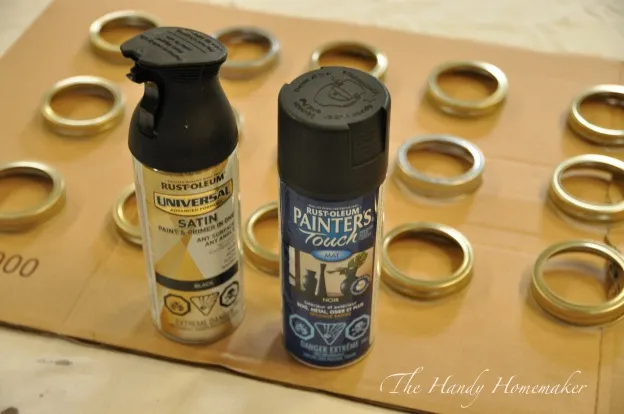
- Spray paint (your choice of color for the lids)
- 1-1/4″ wood screws
- 5/8″ wood screws
- Wood glue
- Pencil
- Hammer
- Drill with bits (matching your screw sizes and a smaller one for pre-drilling)
- Measuring tape
- Ruler or carpenter square
- Protective eyewear
- Sliding miter saw or circular saw (if you need to cut the shelving)
 Materials for mason jar organizer
Let’s Get Started:
Step 1: Prep the Lids
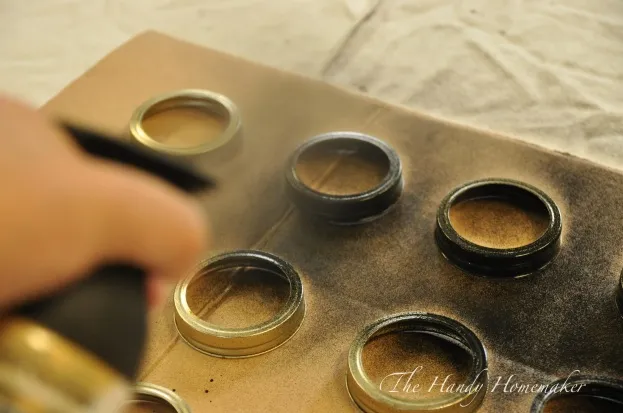
- In a well-ventilated area, protect your work surface with cardboard and a painting sheet.
- Spread out your mason jar lids and give them a light, even coat of spray paint.
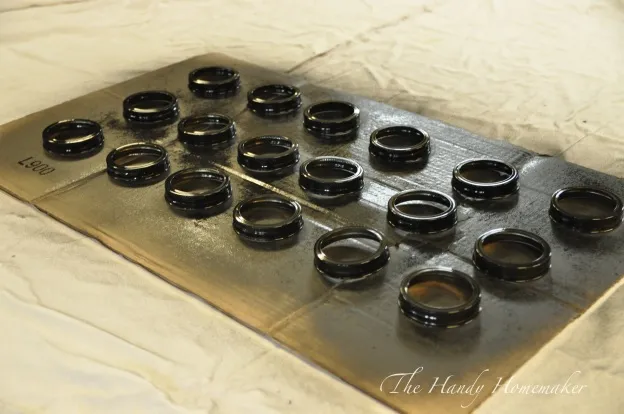
- Let them dry completely (follow the paint can’s instructions) and apply a second coat if needed.
Expert Tip: Painting the lids black helps them blend seamlessly with the shelving, but feel free to get creative with colors!
 Painted mason jar lids
Step 2: Prepare the Shelving
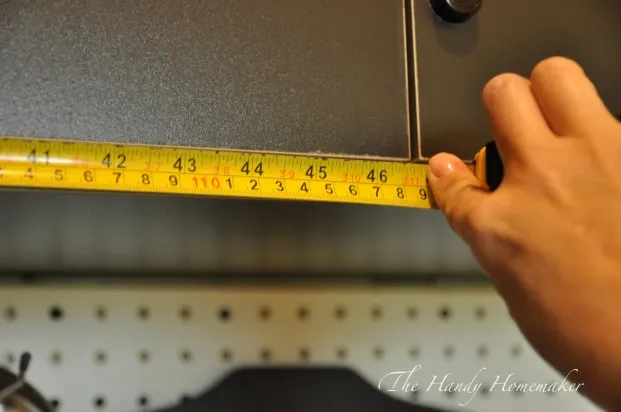
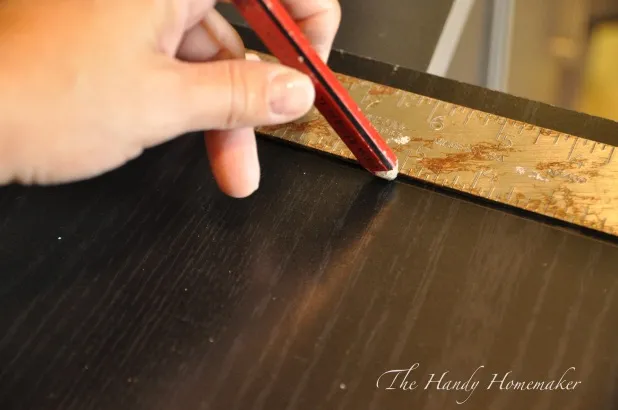
- Measure twice, cut once! If your shelving needs trimming, use a ruler or carpenter square to ensure a perfectly straight cut line.
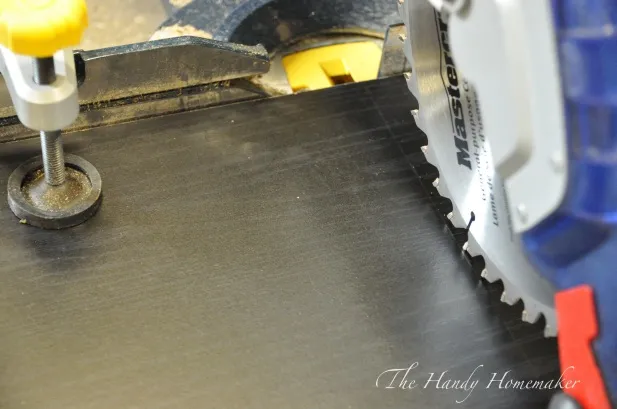
- Put on your protective eyewear and carefully cut the board to size.
- Secure the board to your work surface while cutting for added safety.
 Cutting the wooden shelf
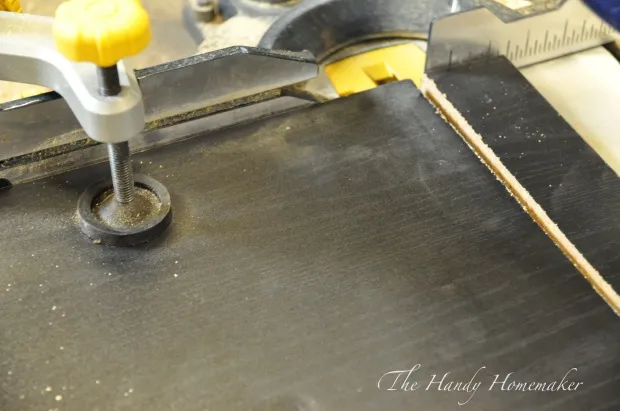
 Finished cut
Step 3: Mount the Shelving
- Measure and mark the spots where you’ll attach the shelving to your cabinets.
- Pre-drill holes to make screwing easier. An extra pair of hands can be super helpful here to hold the shelf steady.
Expert Tip: I recommend using a thicker shelf (around 1-1/4″) to securely hold those heavy jars full of hardware.
 Securing the shelf
Step 4: Attach the Lids
- With the shelving in place, measure and mark where you want to position your jars. I like to space mine about 5″ apart, staggering the rows for better visibility.
- Pre-drill a center hole in each marked spot on the shelf.
- Now for a neat trick: use a hammer to gently tap the center screw through the inside of each lid. This creates a starter hole for attaching the lid to the shelf.
 Marking the jar positions
Step 5: Secure the Lids and Assemble
- Apply a dab of wood glue to the inside of the screw band on each lid.
- Place the flat lid centers back on the screw bands.
- Add another drop of glue where the lid touches the shelf. This ensures a super strong bond.
- Screw the lid assemblies onto the shelf using the pre-drilled holes.
- For extra sturdiness, add two smaller screws (5/8″) on each side of the center screw.
- Allow the glue to dry completely.
 Attaching the lids
 Screwing the lids in place
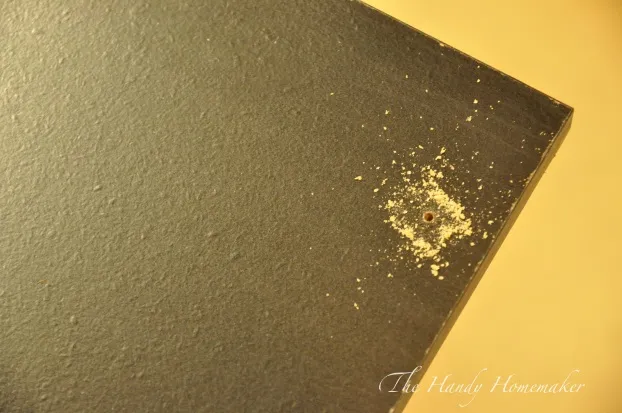 Adding extra screws for stability
Final Touches:
- Fill your jars with all those small bits and bobs you need to organize.
- I like to add a tiny amount of WD-40 to the lid threads to prevent sticking.
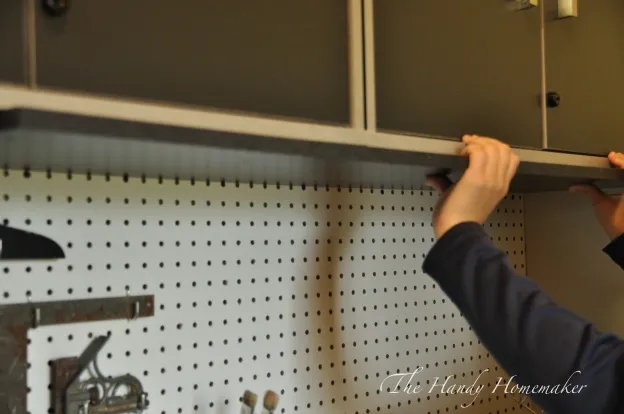 Finished organizer with jars
Congratulations! You’ve done it!
Now stand back and admire your handiwork. This DIY hanging mason jar organizer is not only practical but adds a touch of rustic charm to your workspace. I can’t wait to see your versions of this project. Share your creations and storage tips in the comments below!
Looking for more unique handmade gift ideas and DIY inspiration? Head over to Robert Kline Art for more creative projects!
