Blog
Creating a Charming DIY Hanging Herb Drying Rack

Hey there, fellow craft enthusiasts! Robert Kline here, from Robert Kline Art, your go-to source for all things handmade. Today, we’re diving into the delightful world of herbs with a DIY project that’s as practical as it is charming: a vintage-inspired hanging herb drying rack.
As an avid gardener, I find immense joy in nurturing my herb garden throughout the spring and summer. However, the arrival of autumn always leaves me with a bounty of herbs that need drying and preserving to enjoy all year long. This year, I decided to ditch the store-bought options and embrace my creative spirit by crafting a DIY herb drying rack. Trust me; this project is easier than you think!
Why You’ll Love a DIY Herb Drying Rack
Let’s be honest, scouring antique stores for that perfect vintage piece is an adventure in itself. But sometimes, the thrill of creating something unique and beautiful with your own hands is even more rewarding. This DIY herb drying rack is not only functional but also adds a touch of rustic elegance to your kitchen. Plus, imagine the sense of accomplishment you’ll feel every time you use those home-dried herbs in your cooking!
This DIY herb drying rack is perfect for anyone who wants to:
- Dry and store fresh herbs for year-round use.
- Add a touch of vintage charm to their kitchen.
- Create a functional and decorative piece for their home.
- Embrace a more sustainable lifestyle by drying their own herbs.
Gathering Your Supplies
One of the best things about this project is its simplicity. You can easily find most of the materials at your local hardware store:
- Measuring Tape
- Level
- Needle Nose Pliers
- 2 Wooden Dowels (size depends on your preference and available space)
- 4 Gold Hooks (choose a size that can support the weight of the dowels and herbs)
- 1 Ball of Twine or Cotton String
- Glass Jars for storing your dried herbs
- Optional: Ikea Wooden Spice Rack (for a stylish storage solution)
- Optional: Glass Spice Jars (for a more uniform look)
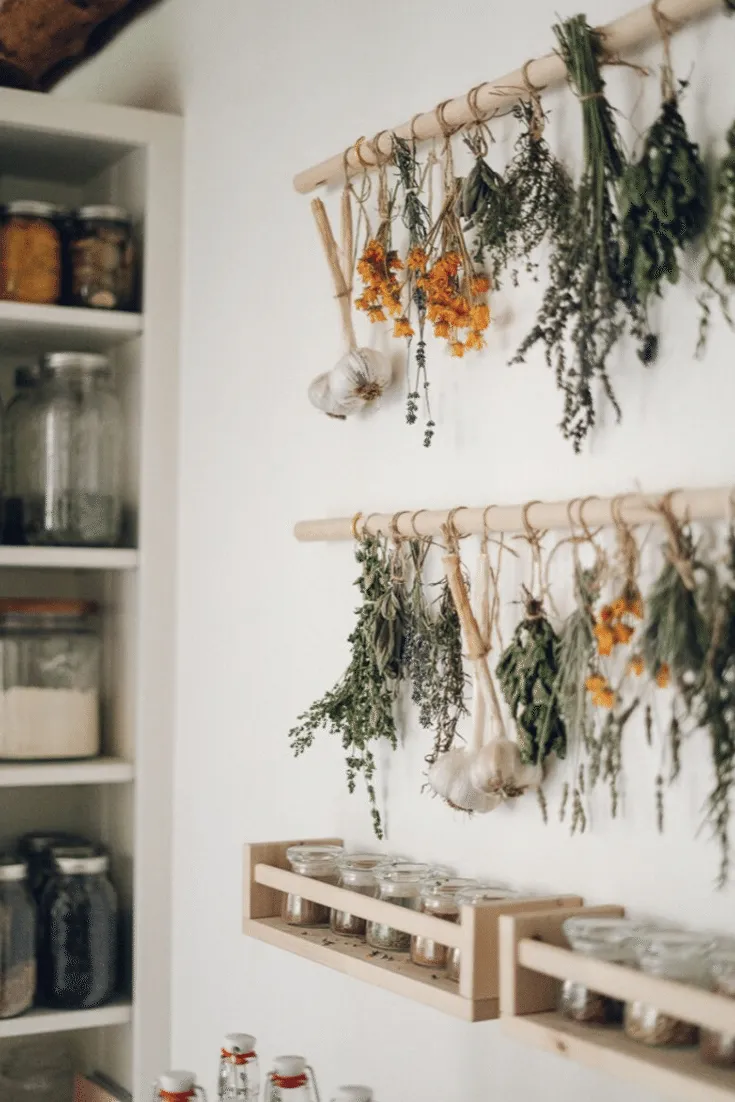
 simple homemade diy herb drying rack
Image Description: A simple and rustic DIY herb drying rack made with wooden dowels and gold hooks, adorned with bundles of drying herbs.
Building Your DIY Herb Drying Rack
Now for the fun part – let’s get crafting! This project can be completed in just a few simple steps:
Step One: Measure and Mark
- Choose the perfect spot: Decide where you want to hang your herb drying rack. Measure the wall’s length and mark the midpoint for a centered look.
- Measure your dowel: Find the dowel’s midpoint and align it with the wall’s midpoint.
- Space for herbs: Measure and mark the distance between each dowel (around 14 inches works well for most herbs).
Step Two: Hook Placement
- Mark for hooks: Measure three inches inward from each end of the dowel and mark the wall for the gold hooks.
Step Three: Prepping the Hooks
- Test and adjust: Before screwing the hooks into the wall, use needle-nose pliers to slightly open them, ensuring the dowels can slide in easily.
Step Four: Hanging the Hooks
- Secure the hooks: Screw the gold hooks into the wall at your marked spots. Since this drying rack isn’t heavy, you don’t need to worry about finding studs.
Step Five: Adding the Dowels and Herbs
- Insert dowels: Slide the wooden dowels into the gold hooks.
- Hang those herbs: Bundle your fresh herbs with twine or string and hang them from the dowels.
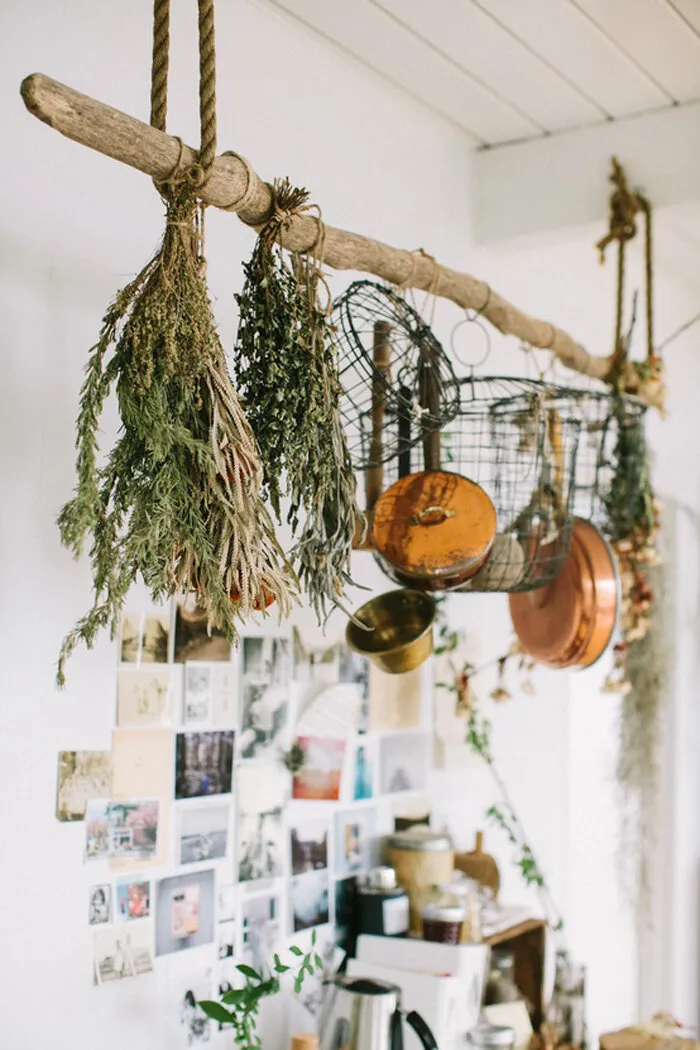
 DIY herb drying rack
Image Description: A charming DIY herb drying rack with a vintage feel, showcasing bundles of herbs drying naturally.
Step Six: Drying and Storing
- Patience is key: Allow your herbs to dry completely. This might take a week or two, depending on the herbs and your home’s humidity levels.
- Store and enjoy: Once dry, remove the herb foliage from the stems and store them in airtight glass jars to preserve their flavor and aroma.
Tips for Drying Herbs in Humid Climates
Living in a humid environment shouldn’t deter you from drying your own herbs. Here are some expert tips to combat moisture and ensure successful drying:
- Don’t overcrowd: Avoid hanging large, tightly packed bundles of herbs to allow for proper air circulation.
- Paper bag trick: Cover each herb bundle with a brown paper bag. This helps absorb excess moisture and speeds up the drying process.
- Strategic placement: Choose a well-ventilated, dry area away from direct sunlight for your herb drying rack.
- Dehumidifier to the rescue: Using a dehumidifier can significantly reduce moisture in the air, creating a more favorable drying environment.
- Consider a dehydrator: If you’re serious about drying herbs and live in a particularly humid climate, investing in a dehydrator might be worthwhile.
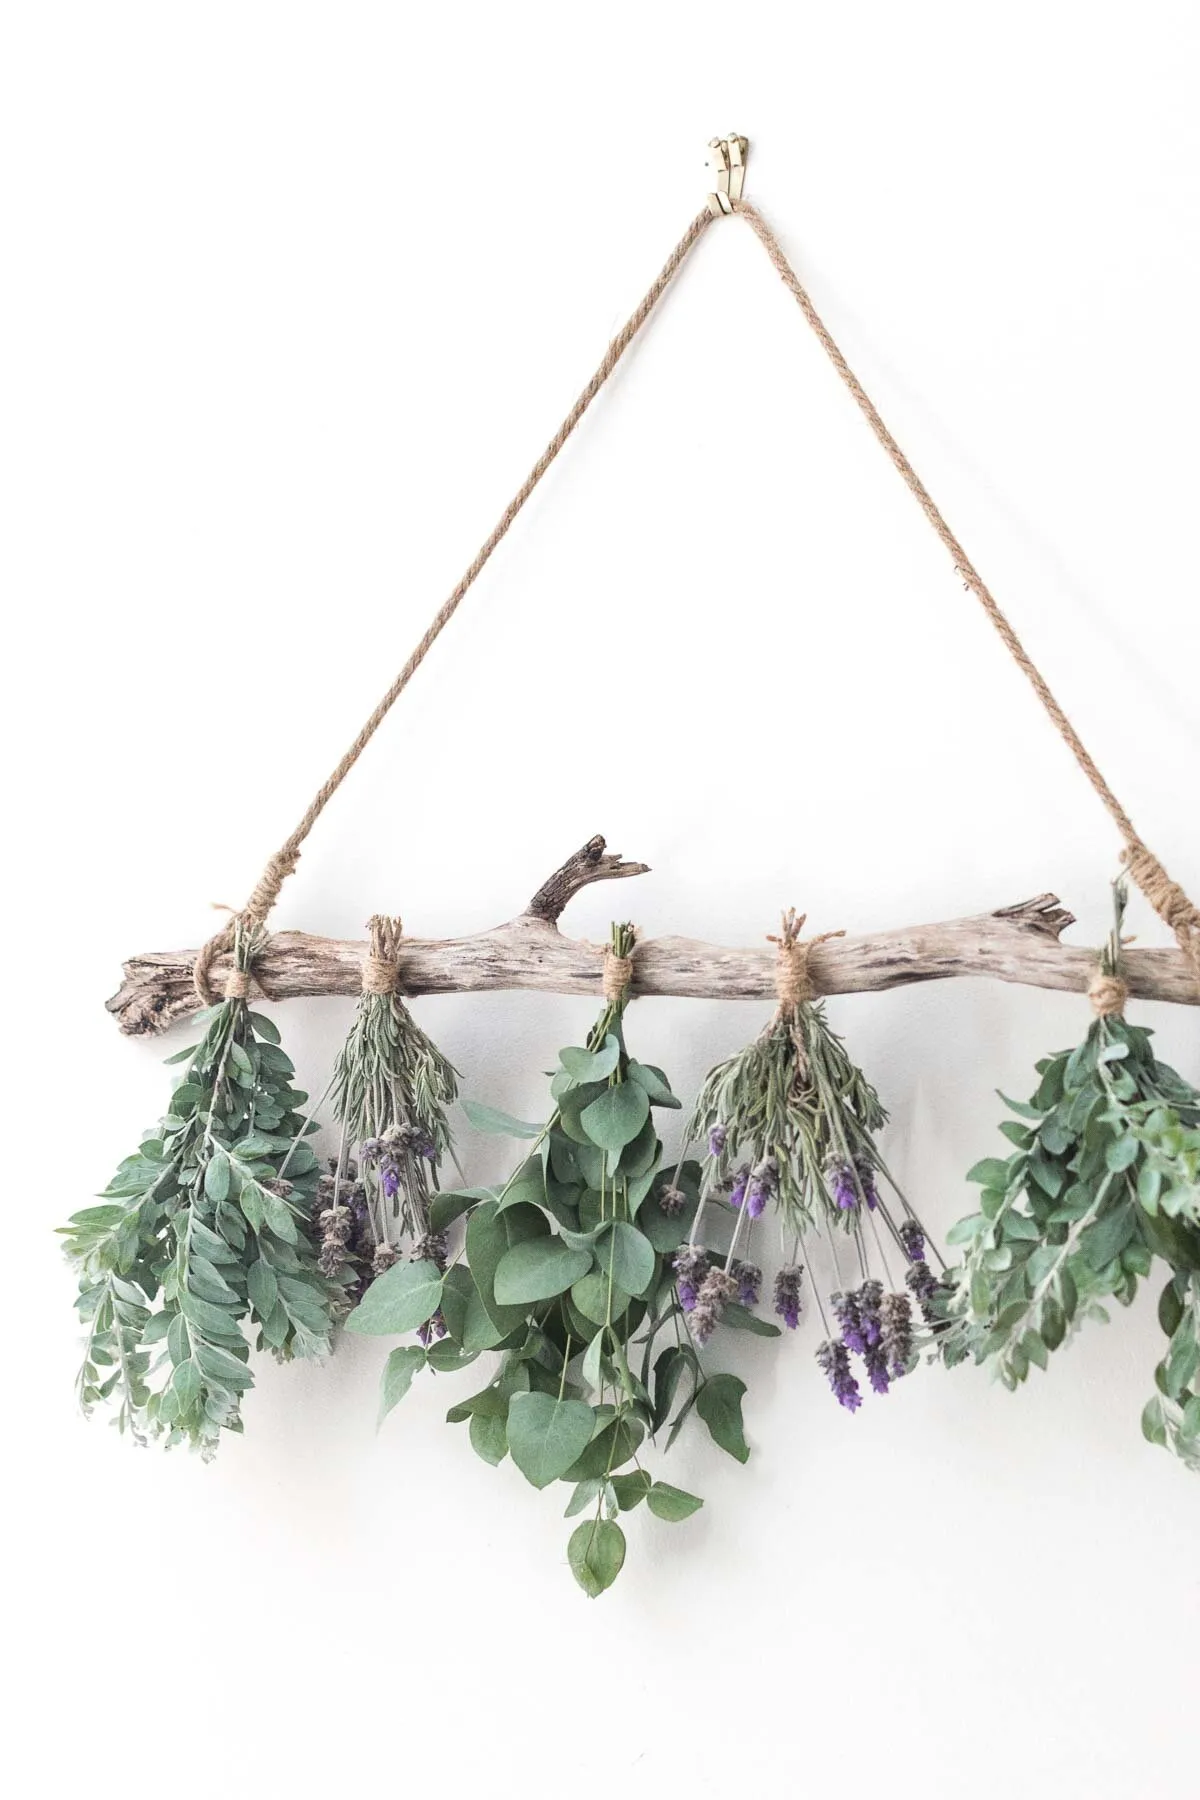
 hanging herb drying rack
Image Description: Bundles of fresh herbs hanging from a DIY herb drying rack, showcasing the natural beauty of the drying process.
Embrace the Art of Homemade
There’s something truly special about filling your home with handmade creations, especially when they involve the fruits of your gardening labor. This DIY herb drying rack is not only a testament to your creativity but also a practical and beautiful addition to your kitchen.
So, gather your supplies, unleash your inner maker, and enjoy the process of creating something beautiful and functional for your home. Remember, the most rewarding projects are those infused with passion and a touch of personal flair.
What are your favorite ways to dry and preserve herbs? Share your tips and experiences in the comments below! And don’t forget to explore the Robert Kline Art website for more inspiring DIY projects and handcrafted treasures.
