Blog
DIY Bedside Caddy: The Ultimate Guide to Organizing Your Sleep Haven
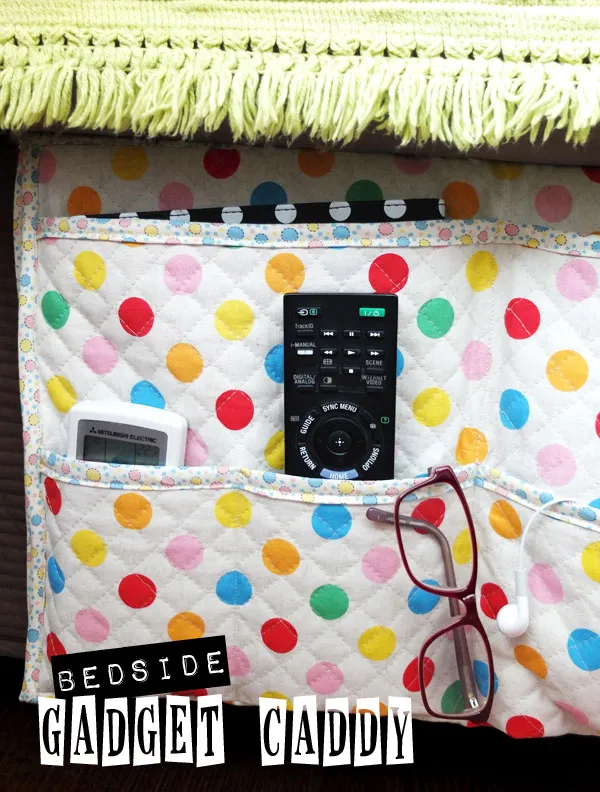
I used to be right there with you! As an artist, I thrive in a creative environment, but even I have my limits. My bedside table was a disaster zone of gadgets, books, and who knows what else. It was time for a change, so I channeled my inner DIY spirit and created something amazing: a bedside caddy.
This isn’t just any ordinary caddy, though. This DIY project is easy to personalize, so you can design it to perfectly fit your needs and style. Whether you’re a bookworm, a tech enthusiast, or just need a place to corral your nighttime essentials, this bedside caddy is the perfect solution.
 Make a bedside gadget caddy and stuff holder to organize your bedroom space
The Problem with Bedside Clutter
Let’s be honest, a cluttered space can lead to a cluttered mind.
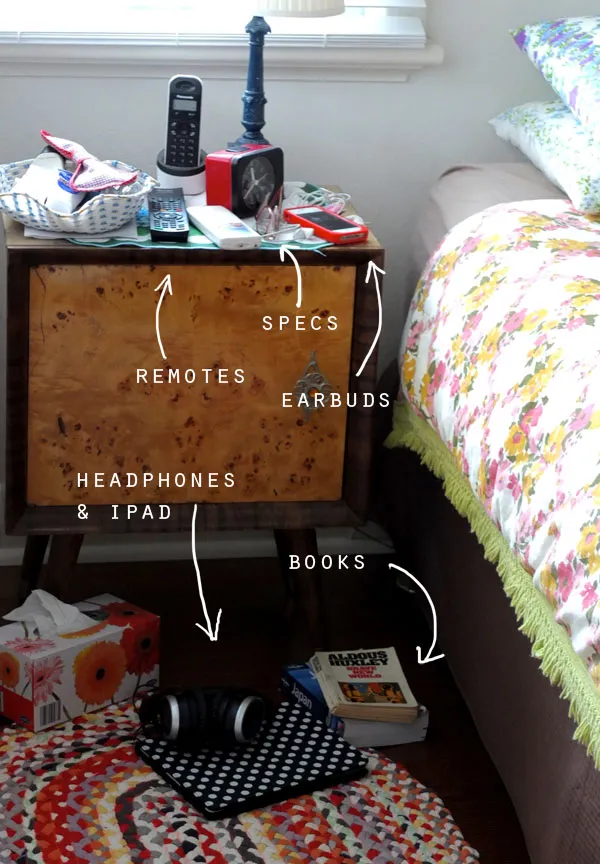 Bedside mess
For me, it was a constant source of low-level frustration. Sound familiar? That’s why I decided to create a dedicated space for everything, and that’s where this DIY bedside caddy comes in.
This project was inspired by my love for unique fabrics. Years ago, I stumbled upon the most incredible pre-quilted fabric while on a trip to Japan.
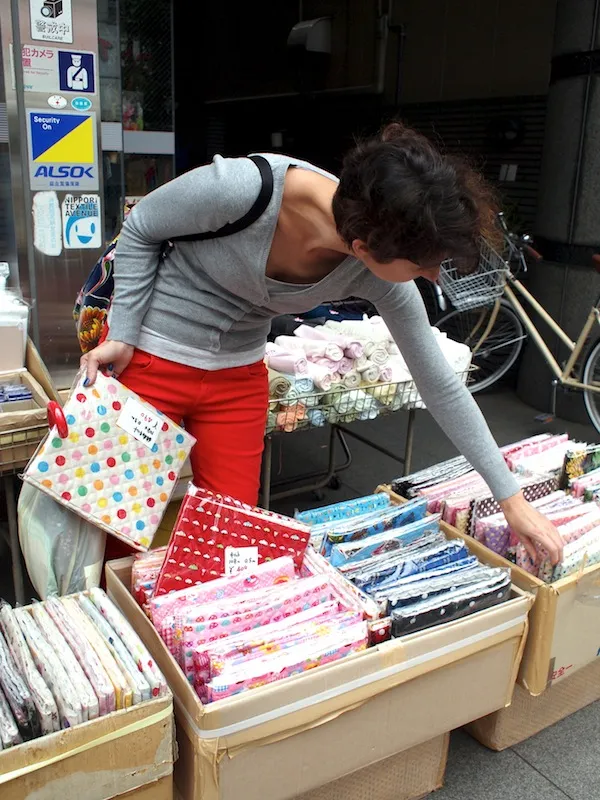 Shopping in fabric town tokyo japan
I knew it was destined for something special, and this bedside caddy was the perfect way to showcase its beauty and practicality.
Gathering Your Supplies
Before we dive into the fun part, let’s gather everything you’ll need:
- Fabric: 20″ x 42″ (minimum width) double-sided pre-quilted cotton (denim or heavyweight upholstery fabric works too!).
- Binding: 112″ x 1″ wide bias tape, twill tape, or ribbon (ironed flat).
- Blanket: 20″ x 20″ old blanket or towel (for a textured, grippy surface).
- Basic Sewing Supplies: Sewing machine, thread, scissors, pins, measuring tape, iron.
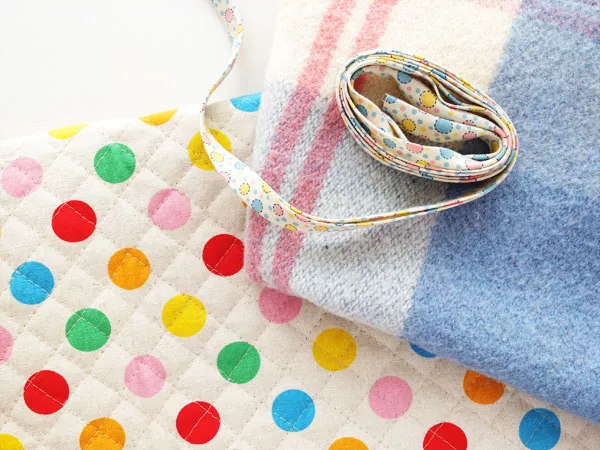 Bed side caddy supplies
Expert Tip: Don’t be afraid to get creative with your fabric choices! Choose colors and patterns that complement your bedroom décor.
Cutting and Preparing Your Fabric
Let’s break down the cutting process step-by-step. Refer to the cutting guide below for precise measurements.
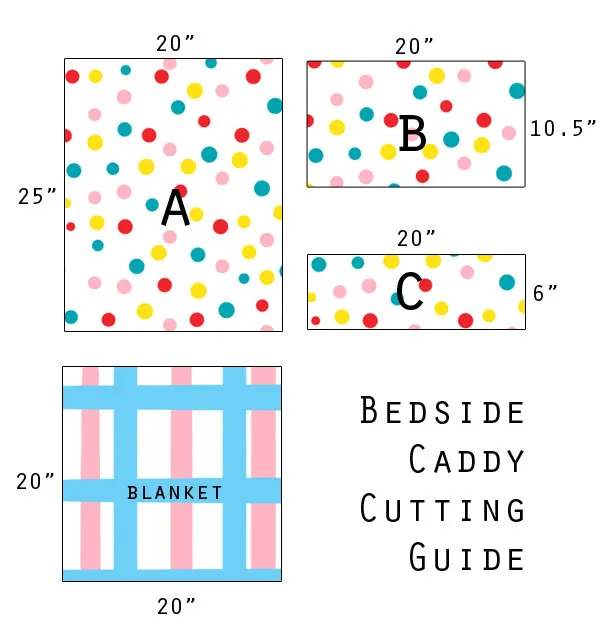 fabric cutting guide
- Blanket: Cut your blanket or towel to 20″ x 20″.
- Quilted Fabric:
- Piece A: 20″ x 25″
- Piece B: 20″ x 10.5″
- Piece C: 20″ x 6″
Assembling Your Bedside Caddy
Now, let’s bring all the pieces together!
Understanding the Layers:
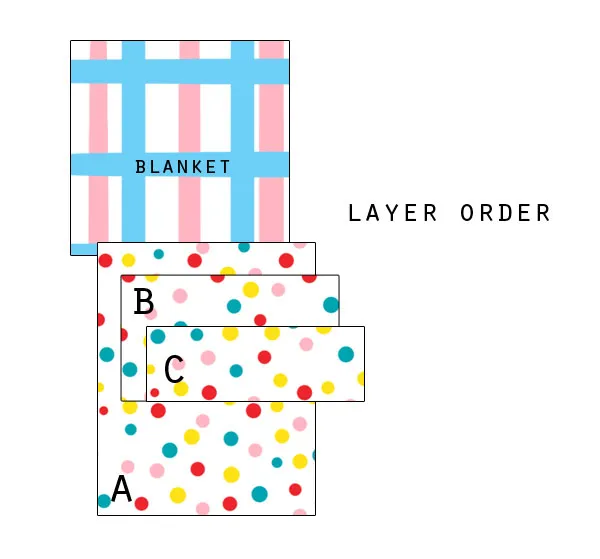 Layer assembly diagram
This diagram gives you a clear visual of how the different fabric layers will be assembled.
Binding the Raw Edges:
-
Pin and sew your chosen binding onto the top edge of Piece B and Piece C.
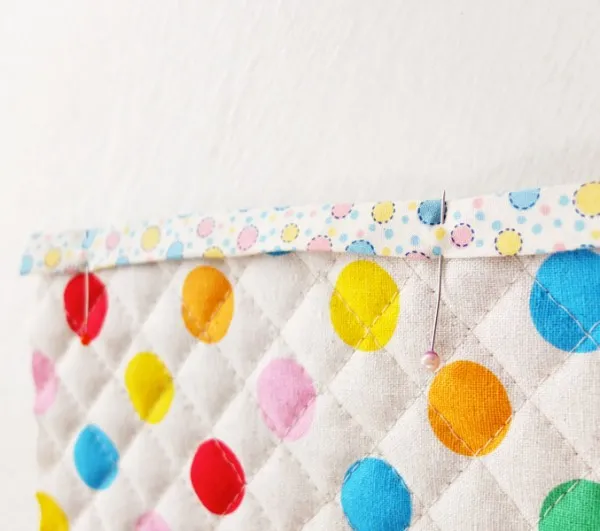 Attach binding to edge
 -
Ensure your stitches catch both the front and back of the binding for a clean and polished look.
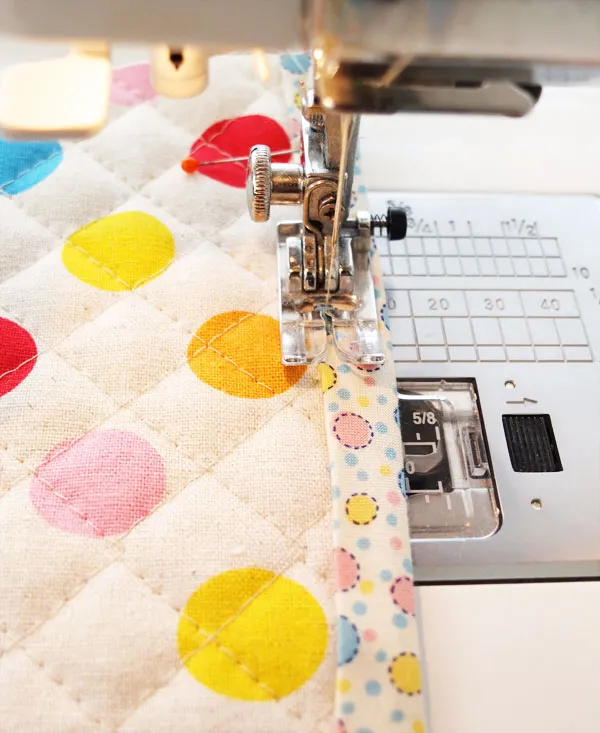 Sew binding catching back edge
Creating the Pocket Unit:
-
Place Piece C over Piece B, aligning the bottom edges.
-
Sew a seam 5″ across (one quarter of the distance) to create small pockets on Piece C.
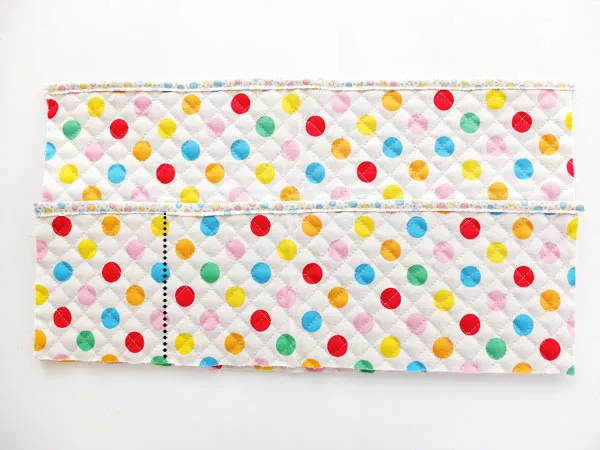 Assembly step 2
 -
Reinforce: Remember to reinforce the top end of the seam by going back and forth a few times. This will prevent the seam from unraveling over time.
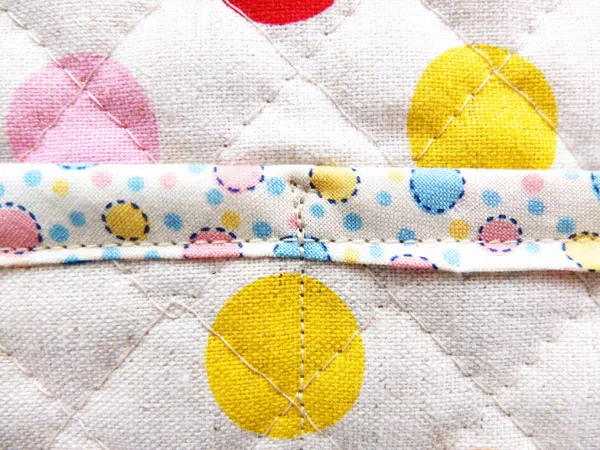 Making pocket
Attaching the Pocket Unit to the Main Panel:
-
Find the center of Piece A.
-
Lay the pocket unit face down, aligning the bottom of the pockets with the center mark on Piece A.
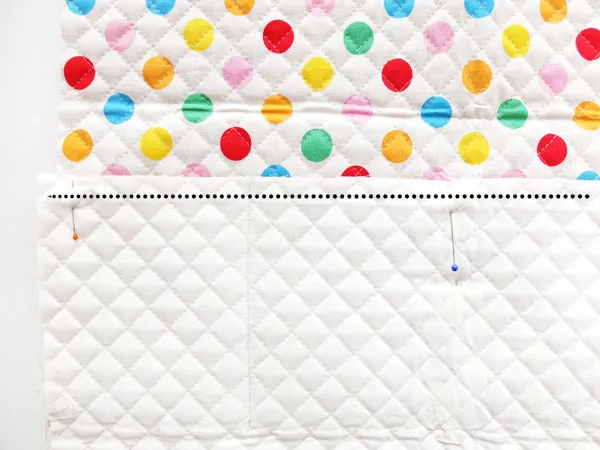 Assembly step 3
 -
Sew a 1/2″ seam along the marked line.
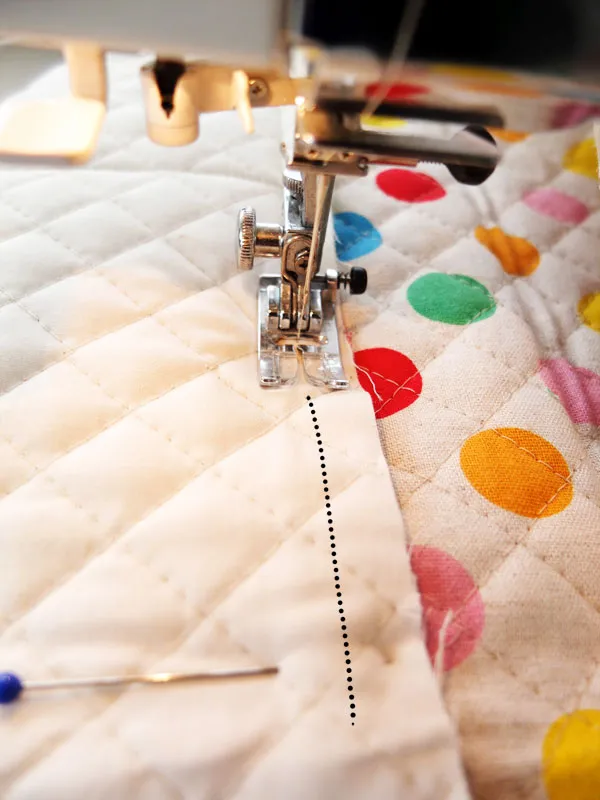 sew 1/2" seam
 -
Flip the pocket unit over, and you’ll have the start of your functional pockets.
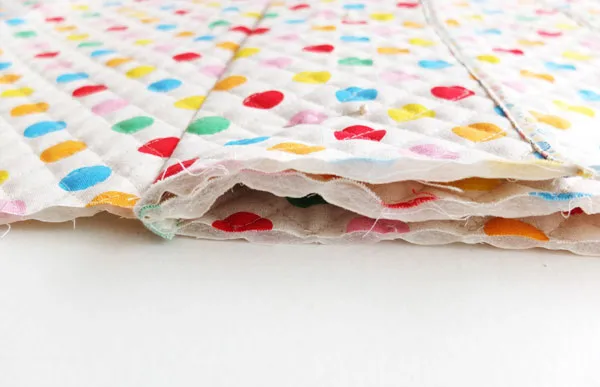 flip pocket unit
Creating Large Pockets:
-
With the caddy laid flat, stitch across Piece B and Piece C in the center to form large pockets.
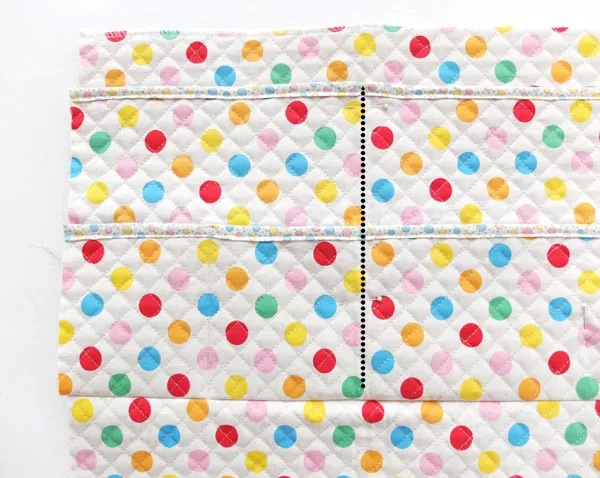 Make large pocket
 -
Trim any excess fabric from the edges to maintain a neat and tidy appearance.
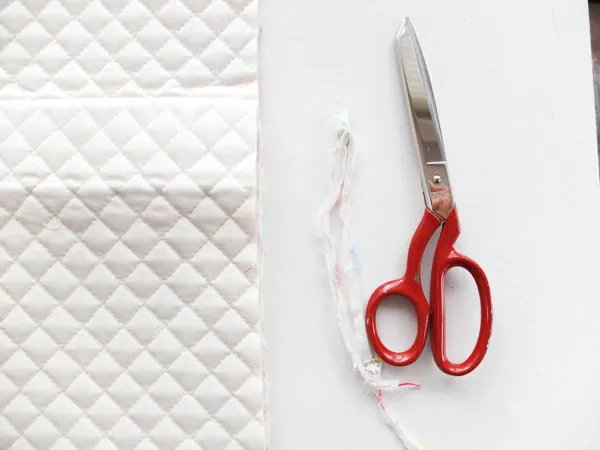 trim
trim
Final Binding:
- Add binding to both sides of Piece A, ensuring you also bind the edges of the attached pocket panel.
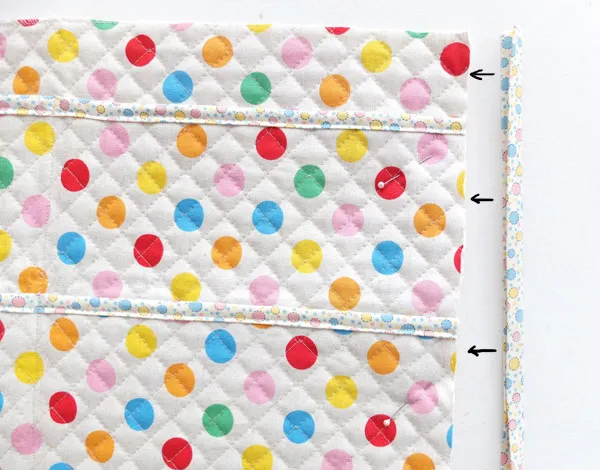 bind edges
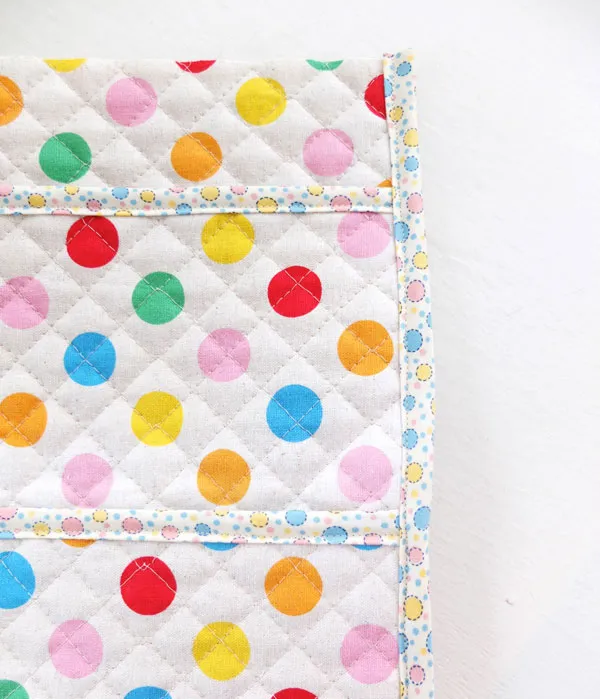 bind edges 2
Attaching the Blanket for Stability and Grip
This is the step that takes your bedside caddy from good to great!
-
Positioning the Blanket: Lay Piece A face down. Pin the blanket piece to the wrong side of Piece A, aligning the edges.
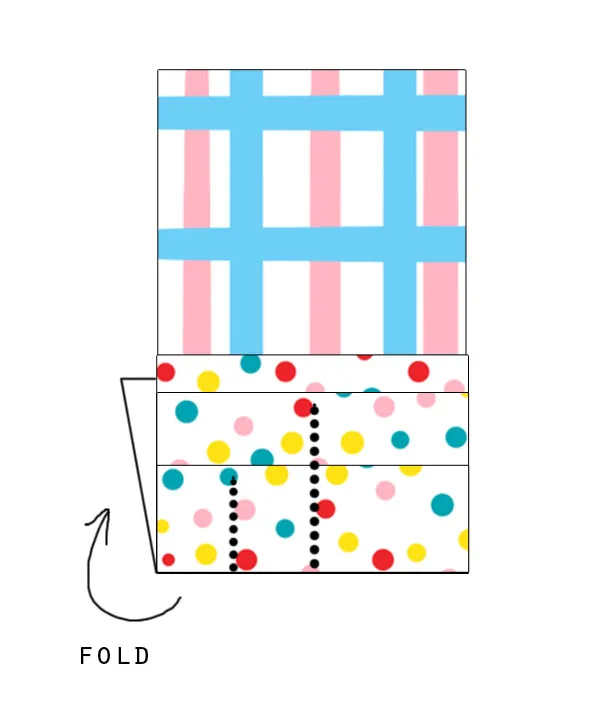 attaching blanket diag
 -
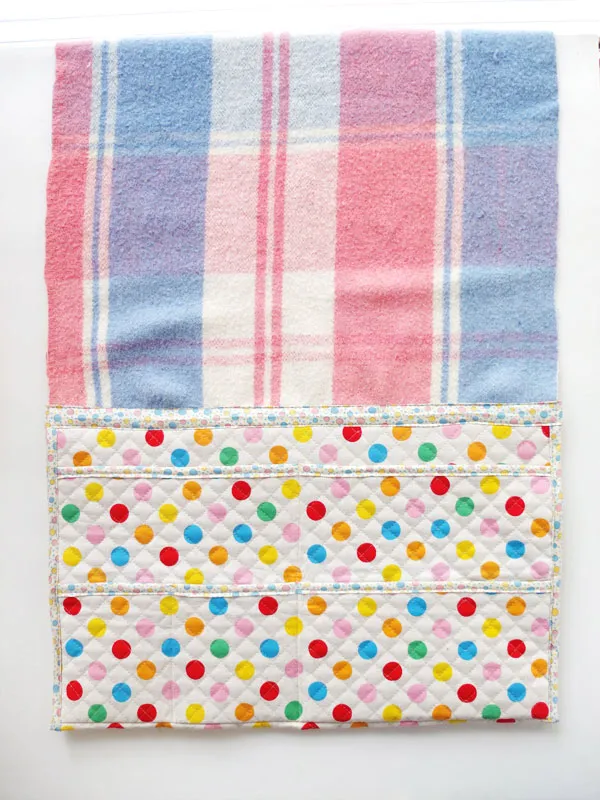
Creating the Flap: Fold Piece A over, sandwiching the blanket piece in between. Leave about a 1″ overlap.
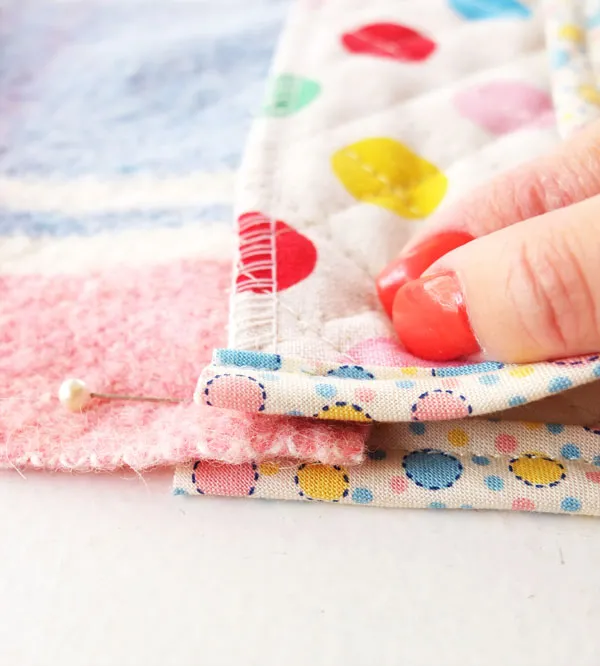 attaching blanket
 attaching blanket
 -
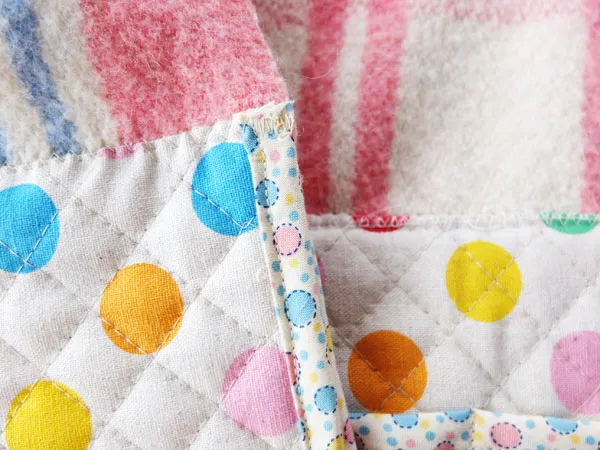
Secure with Zig Zag Stitch: Using a wide zig-zag stitch, sew over the edge of the quilted fabric. Make sure you catch the front, back, and the blanket piece.
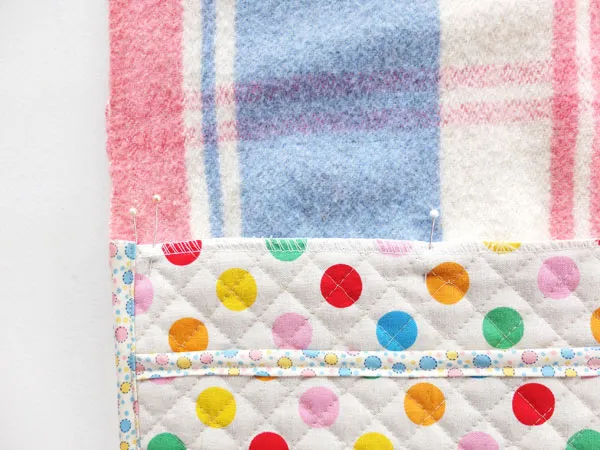 sew with zig zag stitch
 -
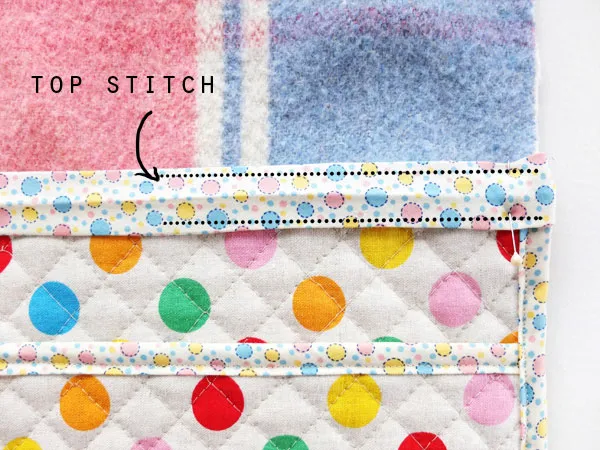
Optional Finishing Touch: For an extra polished look, cover the zig-zag seam with some of your binding trim. Topstitch the binding in place.
 bed caddy assembly
 step-15
Your DIY Bedside Caddy Is Ready!
Congratulations, you did it!
 Finished bedside caddy flat
How to Use Your New Organizational Masterpiece
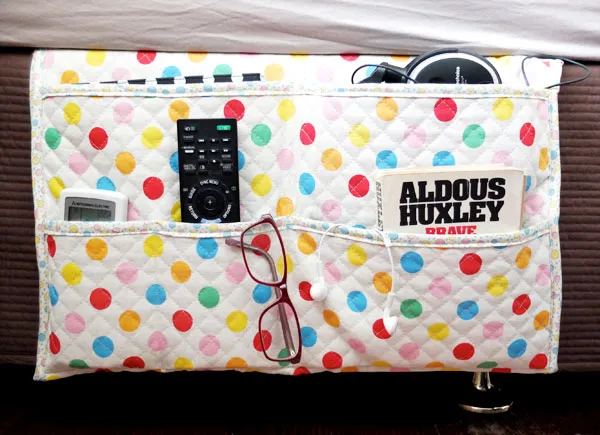
- Placement: Simply slip the blanket section of the caddy between your mattress and box spring. If tucked in properly, the blanket should be completely hidden.
- Fill It Up: Load your caddy with all your bedtime essentials.
 Bed side caddy and gadget pocket holder
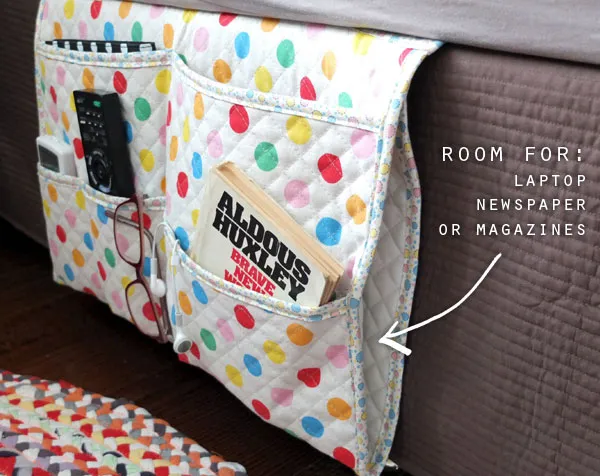 Side pocket in bedside caddy
Expert Tip: The weight of your mattress will help secure the caddy and prevent it from slipping.
Enjoy a Clutter-Free Sleep Haven
This DIY bedside caddy is a game-changer. No more frantic searches for your reading glasses or phone chargers in the middle of the night!
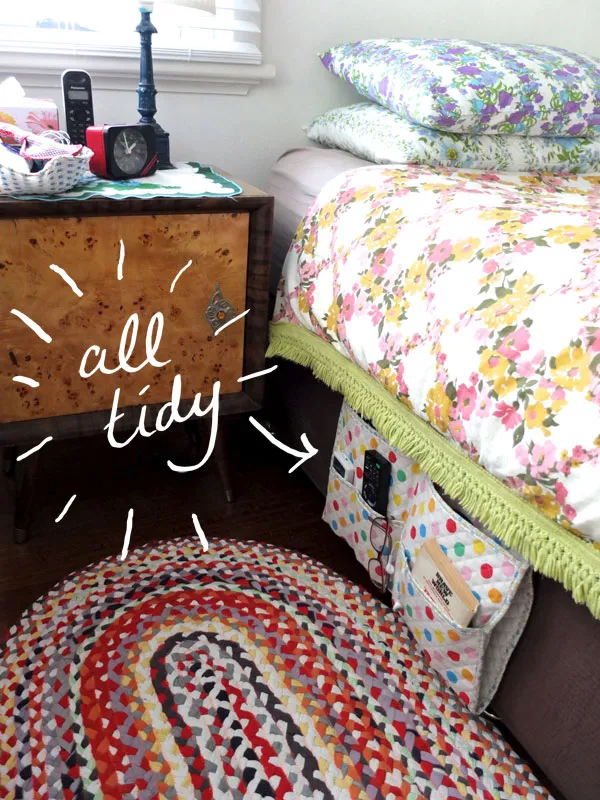 Bedside caddy after
Beyond the Bedroom:
This versatile project can be used in so many ways. Imagine it:
- In a kid’s room for books and toys.
- As a stylish and practical nursery organizer.
- The perfect bedside companion for anyone who enjoys reading or crafting in bed.
Share Your Creations with Robert Kline Art:
I’d love to see your DIY bedside caddies! Share photos of your creations and tag #RobertKlineArt on social media. Happy crafting!
Explore More Handmade Treasures:
Looking for unique, handmade gifts or home décor? Visit the Robert Kline Art website to discover a world of handcrafted beauty.
