Blog
Repurposing DIY Fails: Crafting a Chic Hanging Shelf from Leftover Materials
We’ve all been there – starting a project with high hopes, only to hit a snag and end up with something… well, not quite what we envisioned. But what if I told you that those “DIY fails” could be transformed into unique and stylish pieces for your home?
In the spirit of resourceful crafting, I’m excited to share how I turned a recent project mishap into a charming hanging shelf, proving that even our creative blunders can lead to beautiful results.
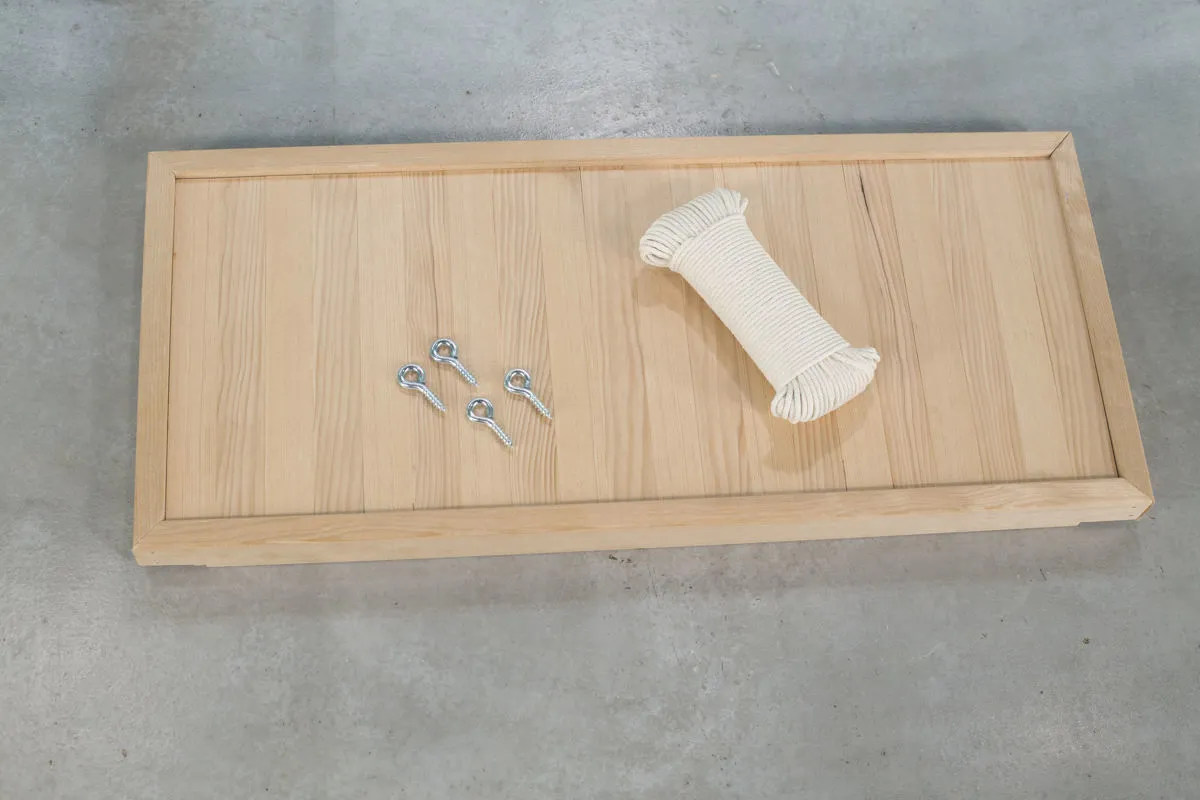
 hanging shelf materials
From Tray to Treasure: Giving New Life to Leftover Materials
Remember that dual-purpose bathtub caddy and breakfast tray project I was so excited about? Let’s just say the measurements had other plans. While the initial design didn’t pan out as expected, I was left with a beautifully crafted wooden tray and a refusal to let it go to waste.
That’s when inspiration struck – why not repurpose it into a chic hanging shelf? This not only salvaged my project but also gave me a chance to flex my creative problem-solving skills.
“I always encourage my students to embrace the unexpected turns in their creative journey,” says renowned craft artist, Sarah Jones. “Sometimes, the most innovative solutions emerge from adapting to challenges and finding new purpose in existing materials.”
Crafting Your Own Hanging Shelf: A Step-by-Step Guide
Ready to transform your own project leftovers into a stylish storage solution? Here’s a detailed guide to creating your own hanging shelf:
Step 1: Gather Your Supplies
- A pre-made shelf or tray (leftover from a previous project works perfectly!)
- Four eye lag screws
- String, twine, or rope for hanging
- Drill with a bit smaller than your screw eyes
- Scissors
Step 2: Prepping for Hanging
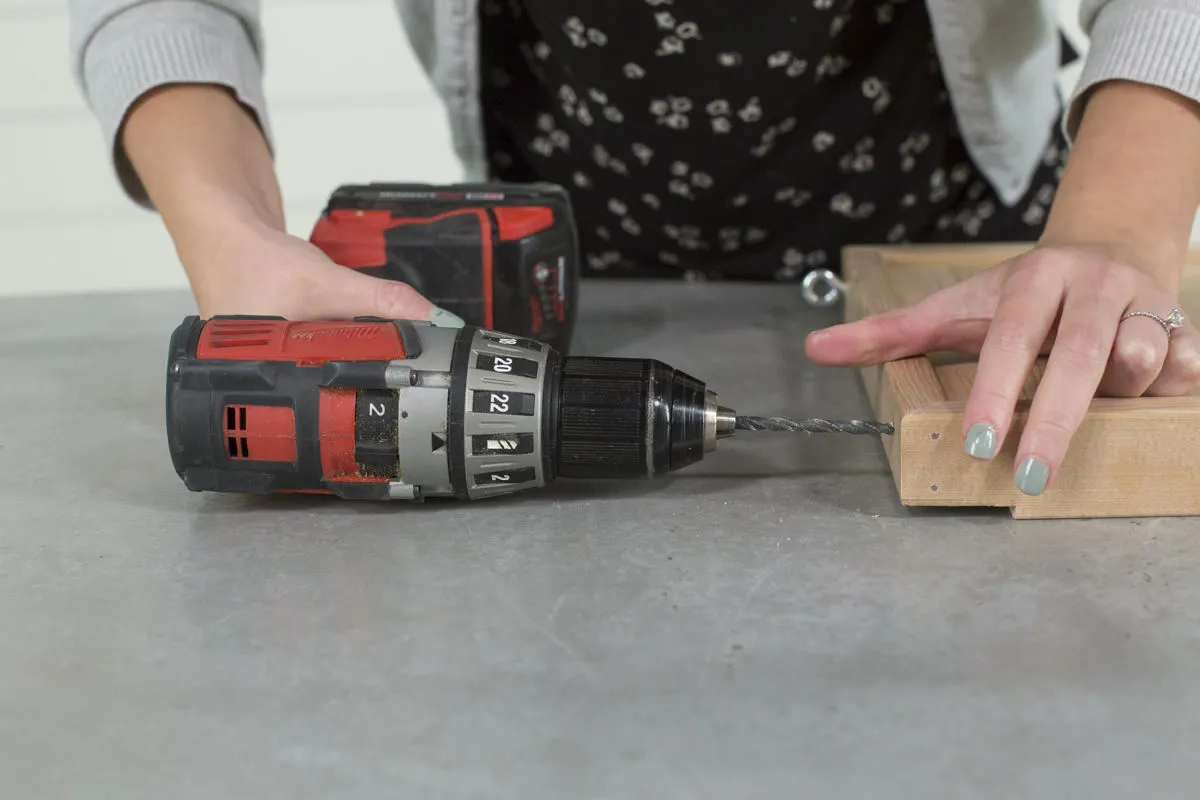 drilling into hanging shelf
- Drilling: Carefully drill pilot holes into each corner of your shelf. These holes should be slightly smaller than the shank of your eye lag screws.
- Securing the Screw Eyes: Twist the eye lag screws into the pre-drilled holes. You can use a screwdriver through the eye for extra leverage.
Step 3: The Art of the Knot
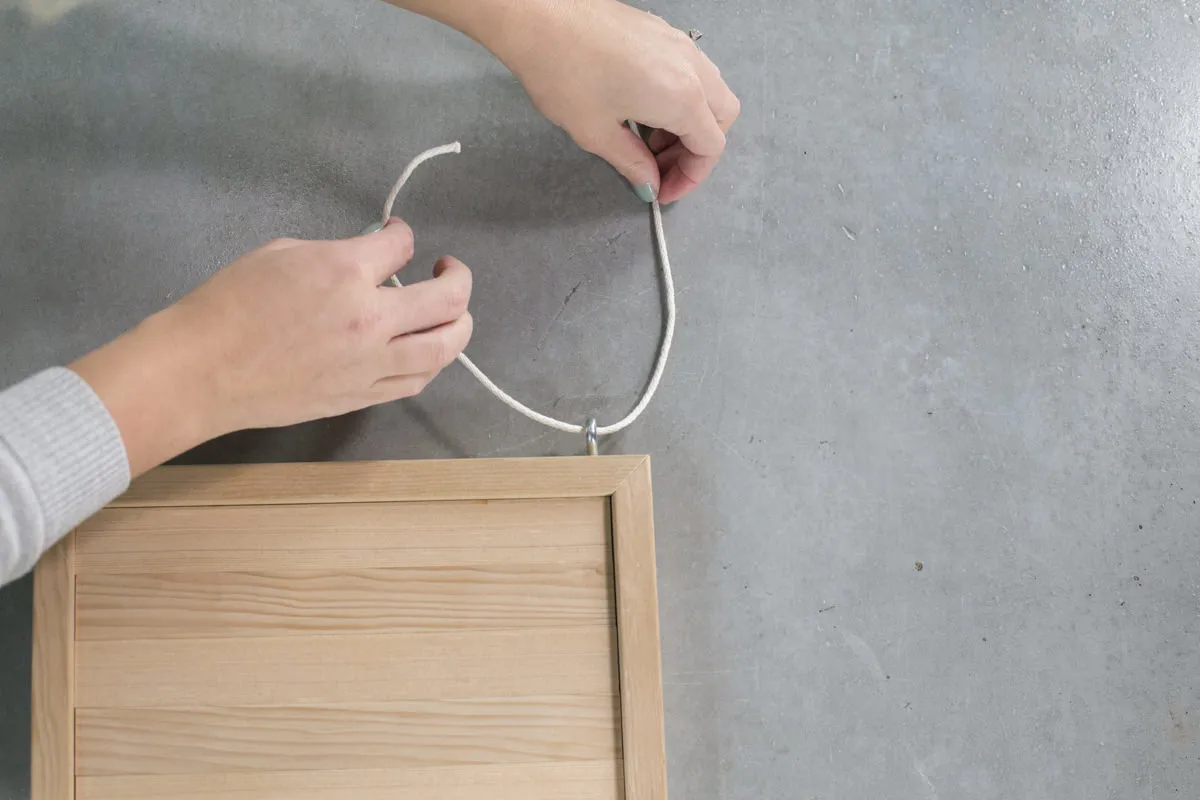 treading hanging shelf
- Threading: Thread your chosen string through the eyes of the lag screws.
- Tying the Knot: To elevate the look, choose a decorative knot. I opted for a classic “Double Davy Knot” – the website animatedknots.com is a treasure trove of knot-tying tutorials.
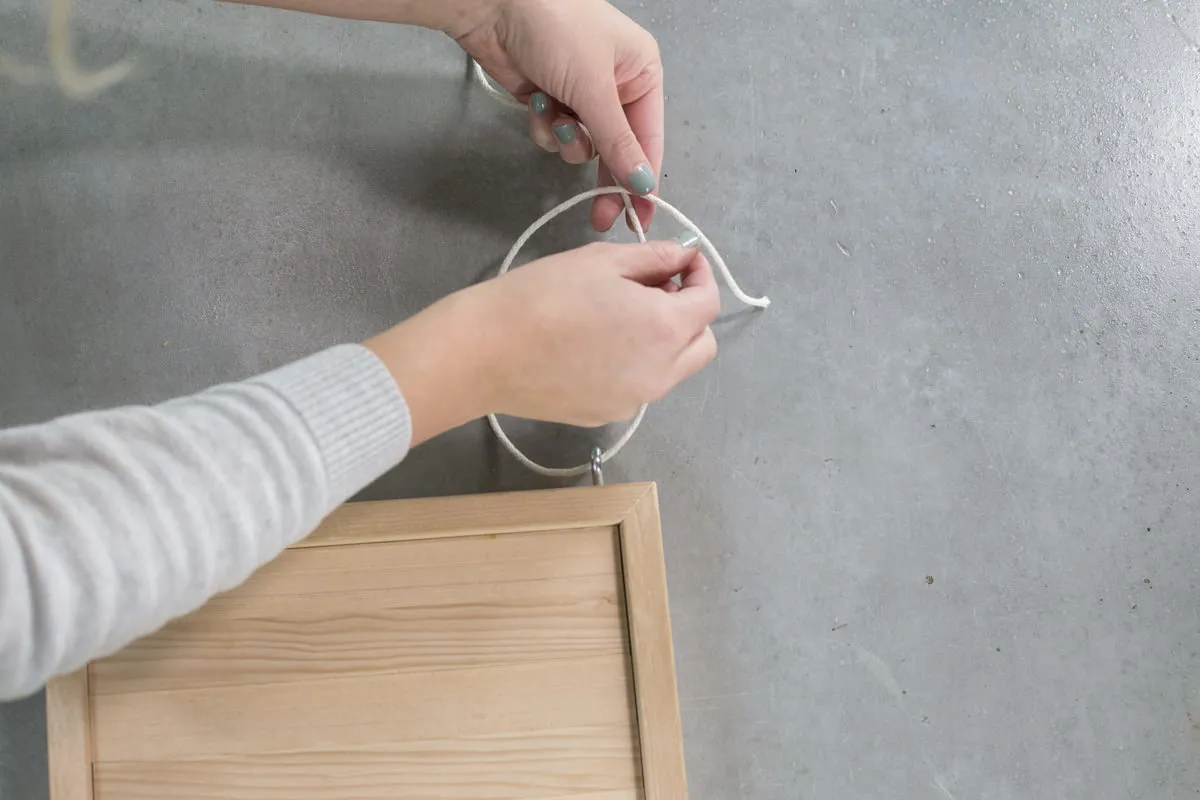 loop in thread for hanging shelf
Step 4: Final Touches
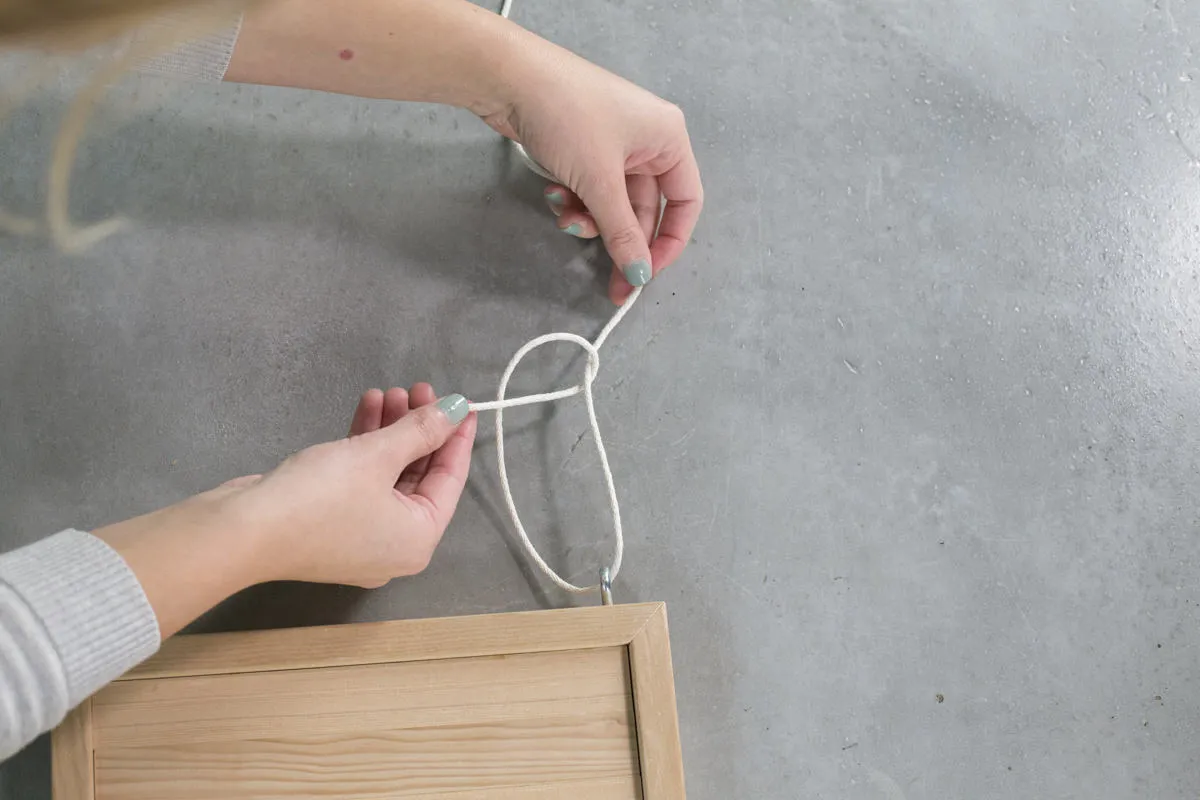 make a hanging shelf
- Trim and Tidy: Once your knots are secure, snip off any excess string.
- Hanging Strategy: Decide where and how you want to hang your shelf. If hanging from the ceiling, ensure all strings are tied at equal lengths for balance. If hanging from a wall, the strings closest to the wall should be shorter to keep the shelf parallel to the ground.
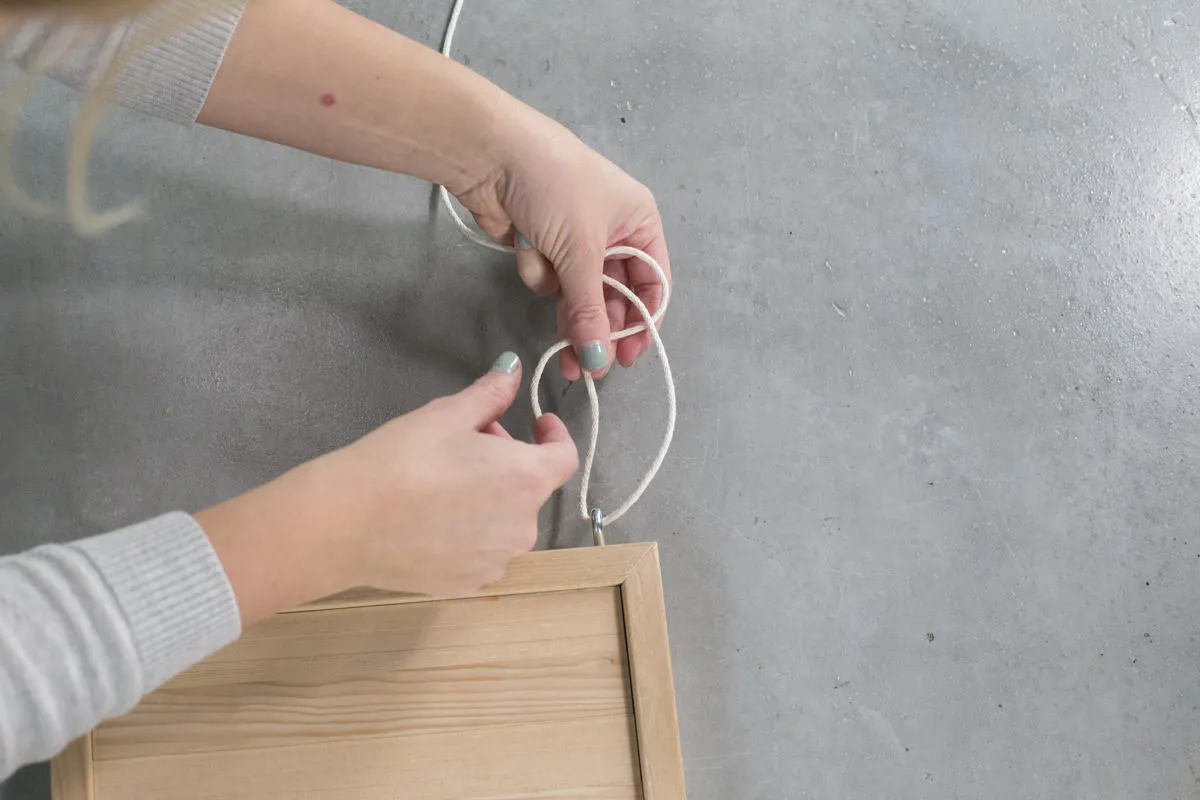 corner hanging shelf
From Setbacks to Stunning: Celebrating the Beauty of Creative Problem-Solving
This project was a testament to the power of embracing the unexpected in our creative endeavors. Don’t let project mishaps discourage you! Sometimes, a little ingenuity and a fresh perspective are all it takes to transform setbacks into unique and beautiful creations.
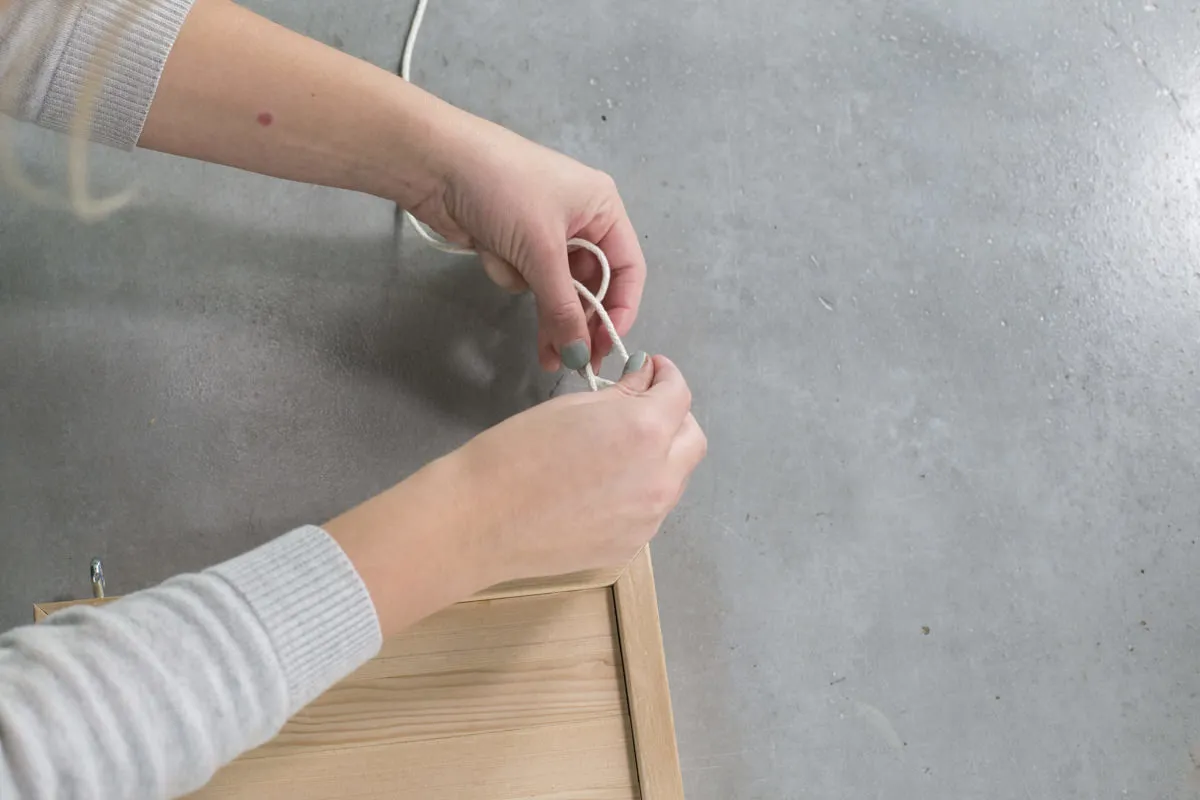 tying knot for hanging shelf
Have you ever repurposed a DIY “failure” into something wonderful? Share your stories and photos in the comments below – I’d love to hear about your own creative triumphs! And for more unique handmade treasures and gift ideas, be sure to explore the Robert Kline Art collection.
