Blog
Creating Whimsical DIY Garden Markers with Kids

Hey there, art and garden lovers! Robert Kline here, and I’m beyond excited to share my latest artistic adventure with you: crafting charming DIY garden markers. You see, for me, a garden is a living art gallery, and nothing adds personality quite like handcrafted details. So, grab your little helpers and let’s dive into this fun project that’s perfect for a sunny afternoon!
Why Plant Markers?
Now, you might be thinking, “Robert, why bother with plant markers?” Well, let me tell you, it’s not just about aesthetics! These little markers serve a practical purpose and add a touch of whimsy to your green haven. They:
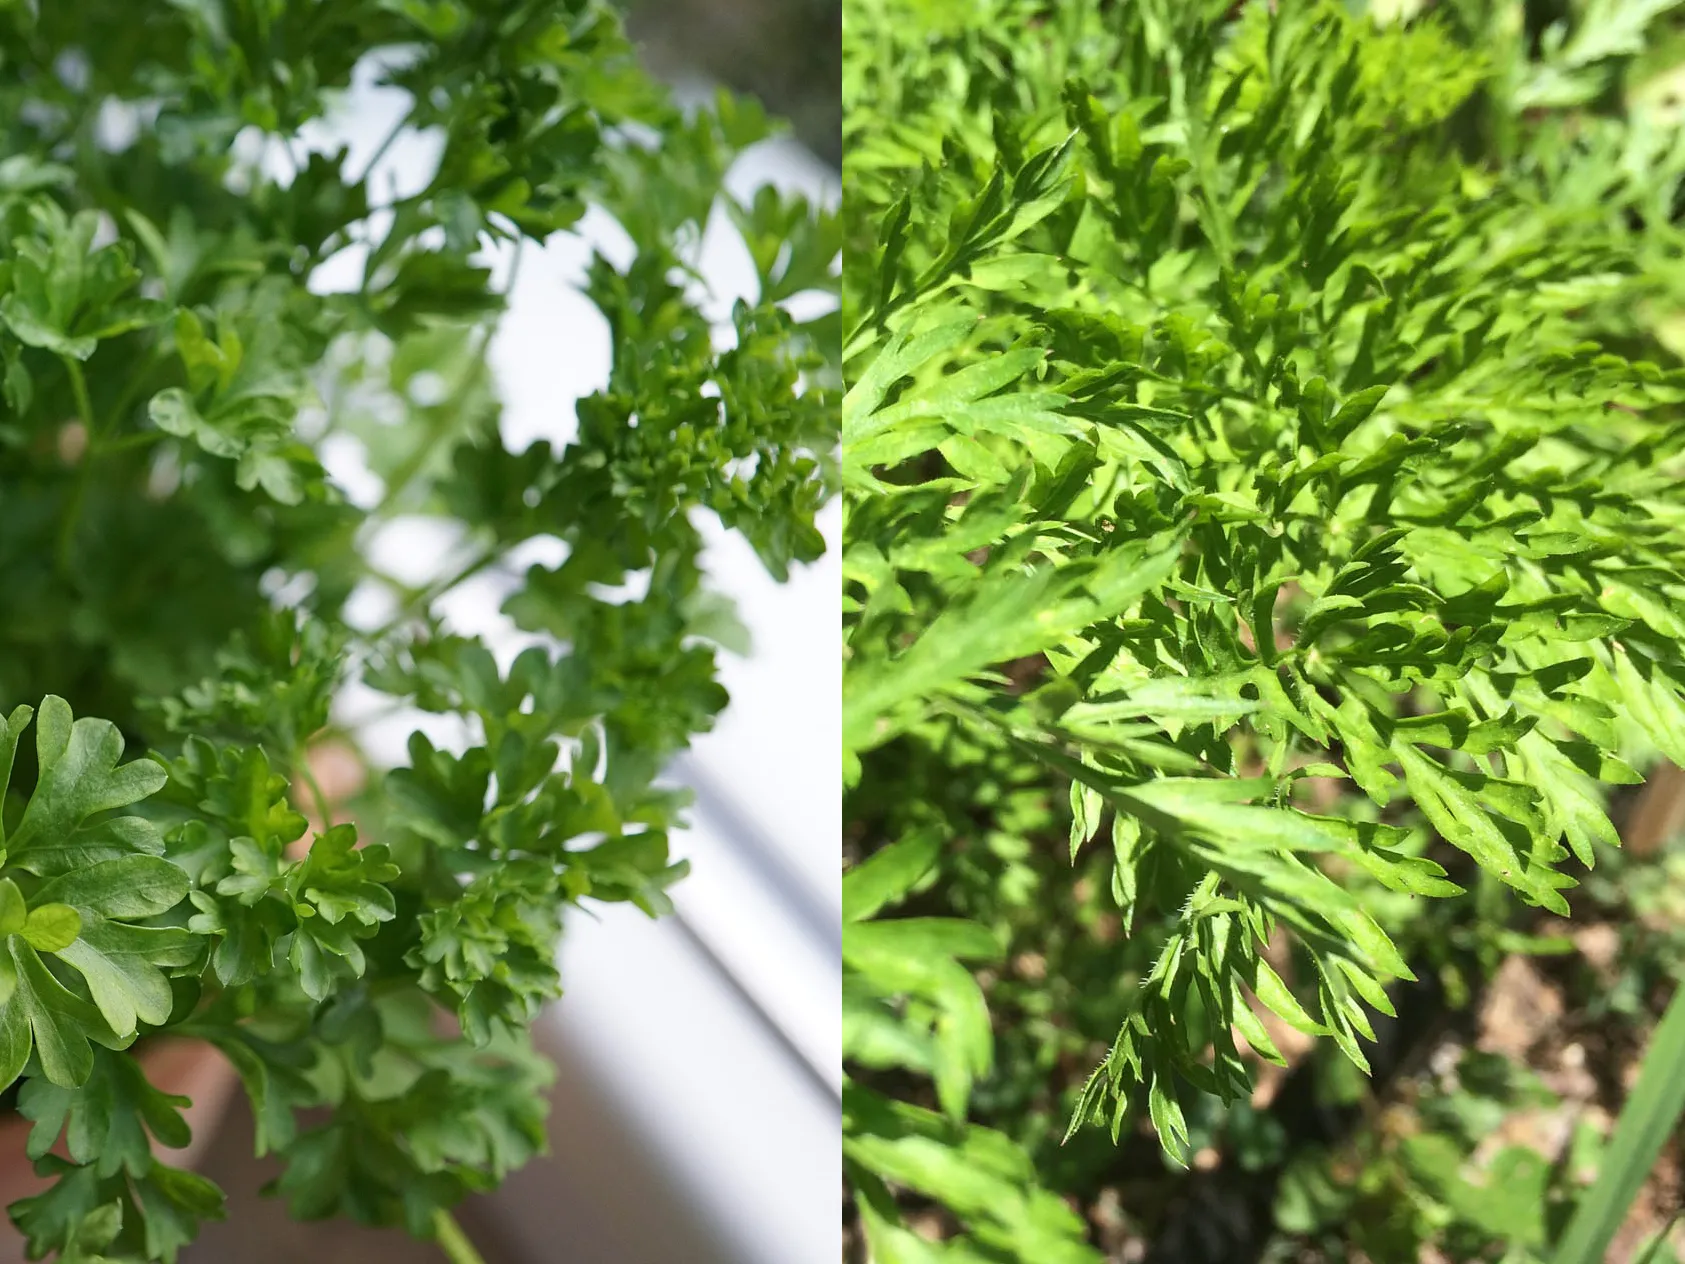
- Help you identify plants: Ever mistaken parsley for carrots? Trust me, it happens to the best of us! Plant markers prevent those gardening blunders, especially when you’re learning or have little helpers eager to lend a hand.
- Add personality to your garden: Just like a splash of paint transforms a blank canvas, personalized markers infuse your garden with unique charm.
- Create a fun learning experience: This project is a fantastic way to engage kids in gardening and teach them about plants, letters, colors, and more!
Gathering Your Art Supplies
Before we embark on this creative journey, let’s gather our tools. Don’t worry, we’ll be using kid-friendly and garden-safe materials:
- Newspapers (to protect your work surface)
- Paint sticks or jumbo craft sticks (at least 10 inches long)
- Acrylic or tempera paints (choose kid-friendly, non-toxic options)
- Palette (pie tins work wonders!)
- Small paint brushes
- Cup of water (for cleaning brushes)
- Cotton swabs
- Alphabet stamps (optional)
- Ruler
- Outdoor Mod Podge
- Clear acrylic spray (optional, for added protection – adult supervision required)
- Paper towels or rags (for cleanup)
For Collage-Style Markers:
- Magazines
- Colorful paper
- Seed packets or seed catalogs
- Scissors
Let’s Get Crafty: Creating Your Markers
Now comes the fun part! We’ll explore two creative methods for making these delightful markers:
Method 1: Paint Your Garden Story
-
Preparation is Key:
- Jot down the names of the plants you want to label.
- Decide on your color palette for the backgrounds and lettering.
- Remember: light-colored paint on dark backgrounds and vice versa!
-
Create a Colorful Backdrop:
- Paint the top portion of your sticks with vibrant background colors. You can opt for a single color or get creative with multiple hues!
- Allow the paint to dry completely. A hair dryer on a cool setting can speed up the drying process.
-
Add the Finishing Touch – Lettering:
- Mark a line 3 inches from the bottom of each stick – this indicates how deep it will go into the soil.
- Lightly sketch or use alphabet stamps to add the plant names above the 3-inch mark, ensuring they’re big enough to read.
- Cotton swabs make excellent lettering tools!
Method 2: Collage – A Tapestry of Colors and Textures
-
Prepare Your Collage Elements:
- Cut out letters from magazines or colorful paper for each plant name. Choose letters that contrast with your chosen background colors.
-
Apply the Background:
- Apply a thin layer of Mod Podge to the top portion of the stick.
- Carefully arrange your cut-out letters onto the wet Mod Podge, pressing them down gently to remove any air bubbles.
- Once the letters are in place, apply another thin layer of Mod Podge over the entire collage.
-
Let’s Seal the Deal!
- Whether you’ve chosen the painting or collage method, allow the markers to dry for at least 48-72 hours.
- For added protection against the elements, apply 2-3 thin coats of Outdoor Mod Podge to both sides of each marker, allowing 15-20 minutes of drying time between coats.
- (Optional) Once the Mod Podge is completely dry, an adult can apply a clear acrylic sealer for extra durability.
Time to Install Your Masterpieces!
And there you have it! Your very own handcrafted plant markers are ready to grace your garden. Gently push them into the soil near their designated plants, and voila! You’ve successfully added a touch of personalized artistry to your outdoor space.
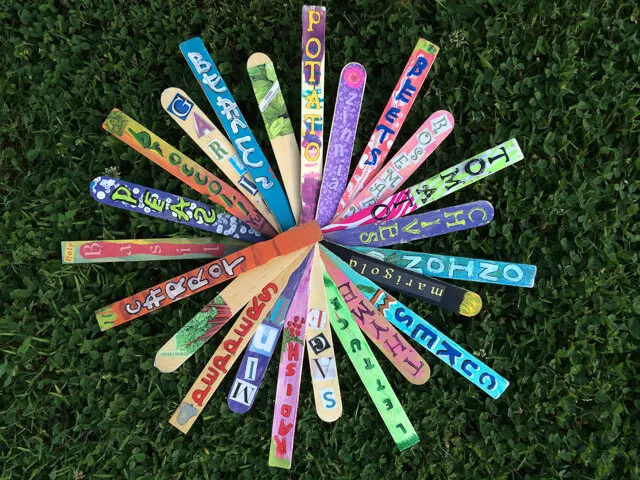
 Results of our kid-friendly plant marker tutorial!
Colorful DIY plant markers add a touch of whimsy to your garden.
 Parsley and carrots
No more mistaking carrots for parsley! Plant markers make gardening easier for everyone.
Remember, the true beauty of this project lies in the joy of creating something unique with your loved ones. Don’t be afraid to embrace imperfections – they add character!
Now, I’d love to hear from you! Share your plant marker experiences in the comments below. Which plants are you most excited to label? And be sure to browse through Robert Kline Art for more handcrafted inspiration and unique gift ideas for the art enthusiasts in your life!
