Blog
Creating Your Own DIY Chalkboard: A Step-by-Step Guide

Have you ever walked past a charming cafe with a hand-lettered menu on a chalkboard and thought, “I could make that”? Well, you absolutely can! Creating your own DIY chalkboard is a surprisingly simple and rewarding project. Whether you envision a menu board for your kitchen, a welcoming sign at your entrance, or a creative space for your kids, a chalkboard adds a touch of personalized charm to any space.
My Chalkboard Journey
Over the years, I’ve crafted numerous chalkboards, each teaching me valuable lessons along the way. From basic frameless boards to larger ones with meticulously crafted frames (huge shout out to my husband!), my chalkboard evolution showcases how you can continuously refine your craft. And the best part? I’m here to guide you every step of the way!
Gathering Your Chalkboard Supplies
Before we delve into the process, let’s gather the essentials (we’ll briefly touch upon framing later, as it’s optional and offers endless possibilities):
You’ll need:
- Hardboard: A 3/16” thick hardboard is ideal (I’ve also used 1/8” hardboard, MDF, and plywood).
- Grey Tinted Primer: This ensures a smooth and vibrant chalkboard surface.
- Chalkboard Paint: Choose a writable/erasable chalkboard paint in your preferred color (black, green, or even clear!). I personally gravitate towards classic black. For a fun twist, you can even find magnetic primer!
- Paint Roller: A small 6” roller works best for even coverage.
- Foam Paint Roller Cover: Opt for the finest nap available for a silky finish.
- Paint Tray
- Clean Cloth
- 320 Grit Sandpaper: This is crucial for a smooth finish, whether you’re sanding by hand or using a random orbital sander.
- Paint Can Opener (optional)
- Tape (optional, but helpful for framing)
Creating Your Masterpiece: A Step-by-Step Guide
Here’s a simple breakdown of the process, and for a visual guide, check out my video tutorial below:
[Embed video: //www.youtube.com/embed/CVWR3FF7MDY?wmode=opaque&enablejsapi=1]
Step 1: Prep Your Board
Begin by cutting your hardboard to your desired size and giving it a good clean with a damp cloth.
Step 2: Prime Time
Apply a generous coat of grey tinted primer to the entire surface. If you plan on framing your chalkboard and gluing the frame directly to the board, consider taping off the edges. This creates a clean surface for the glue to adhere to, resulting in a more polished look. Allow the primer to dry thoroughly for approximately 2-4 hours.
Step 3: Smoothness is Key – Sanding
Using your 320 grit sandpaper, lightly sand the entire surface of the primed board. This removes any ridges and creates a slightly textured surface, allowing the chalkboard paint to adhere beautifully. After sanding, wipe the board with a damp cloth to remove any dust.
Step 4: Two Coats for Perfection
Now for the fun part – applying the chalkboard paint! Use your clean roller to apply the first coat. Here’s a pro tip I’ve learned: Once you’ve covered the entire surface, lightly glide the roller in straight lines across the board without adding any extra paint. This eliminates any lines left by the roller’s edge, resulting in a professional-looking, smooth finish.
Allow the first coat to dry completely for about 8 hours before repeating this step for the second coat. No need to sand between coats!
Step 5: Framing Your Creation (Optional)
Once you’re satisfied with the chalkboard paint, it’s time to add an optional frame. For a rustic look, we used 1″x3″ boards, measured and cut to size with 45-degree angles, stained them, and attached them using wood glue and screws from behind. Remember, framing is your opportunity to unleash your creativity – explore different styles and materials!
Step 6: Seasoning Your Chalkboard
Before you unleash your inner artist, it’s crucial to season your chalkboard. After waiting at least 3 days for the paint to cure, rub the long side of a chalk stick over the entire surface until it’s completely covered in chalk. Then, simply erase the chalk with a dry cloth. This conditioning process ensures optimal performance and prevents ghosting.
While you can season your board after 3 days, it’s generally recommended to wait the full 7 days (as per most chalkboard paint instructions) before using or cleaning it. Once the 7 days are up, I like to give my board a final wipe with a damp cloth for a pristine writing surface.
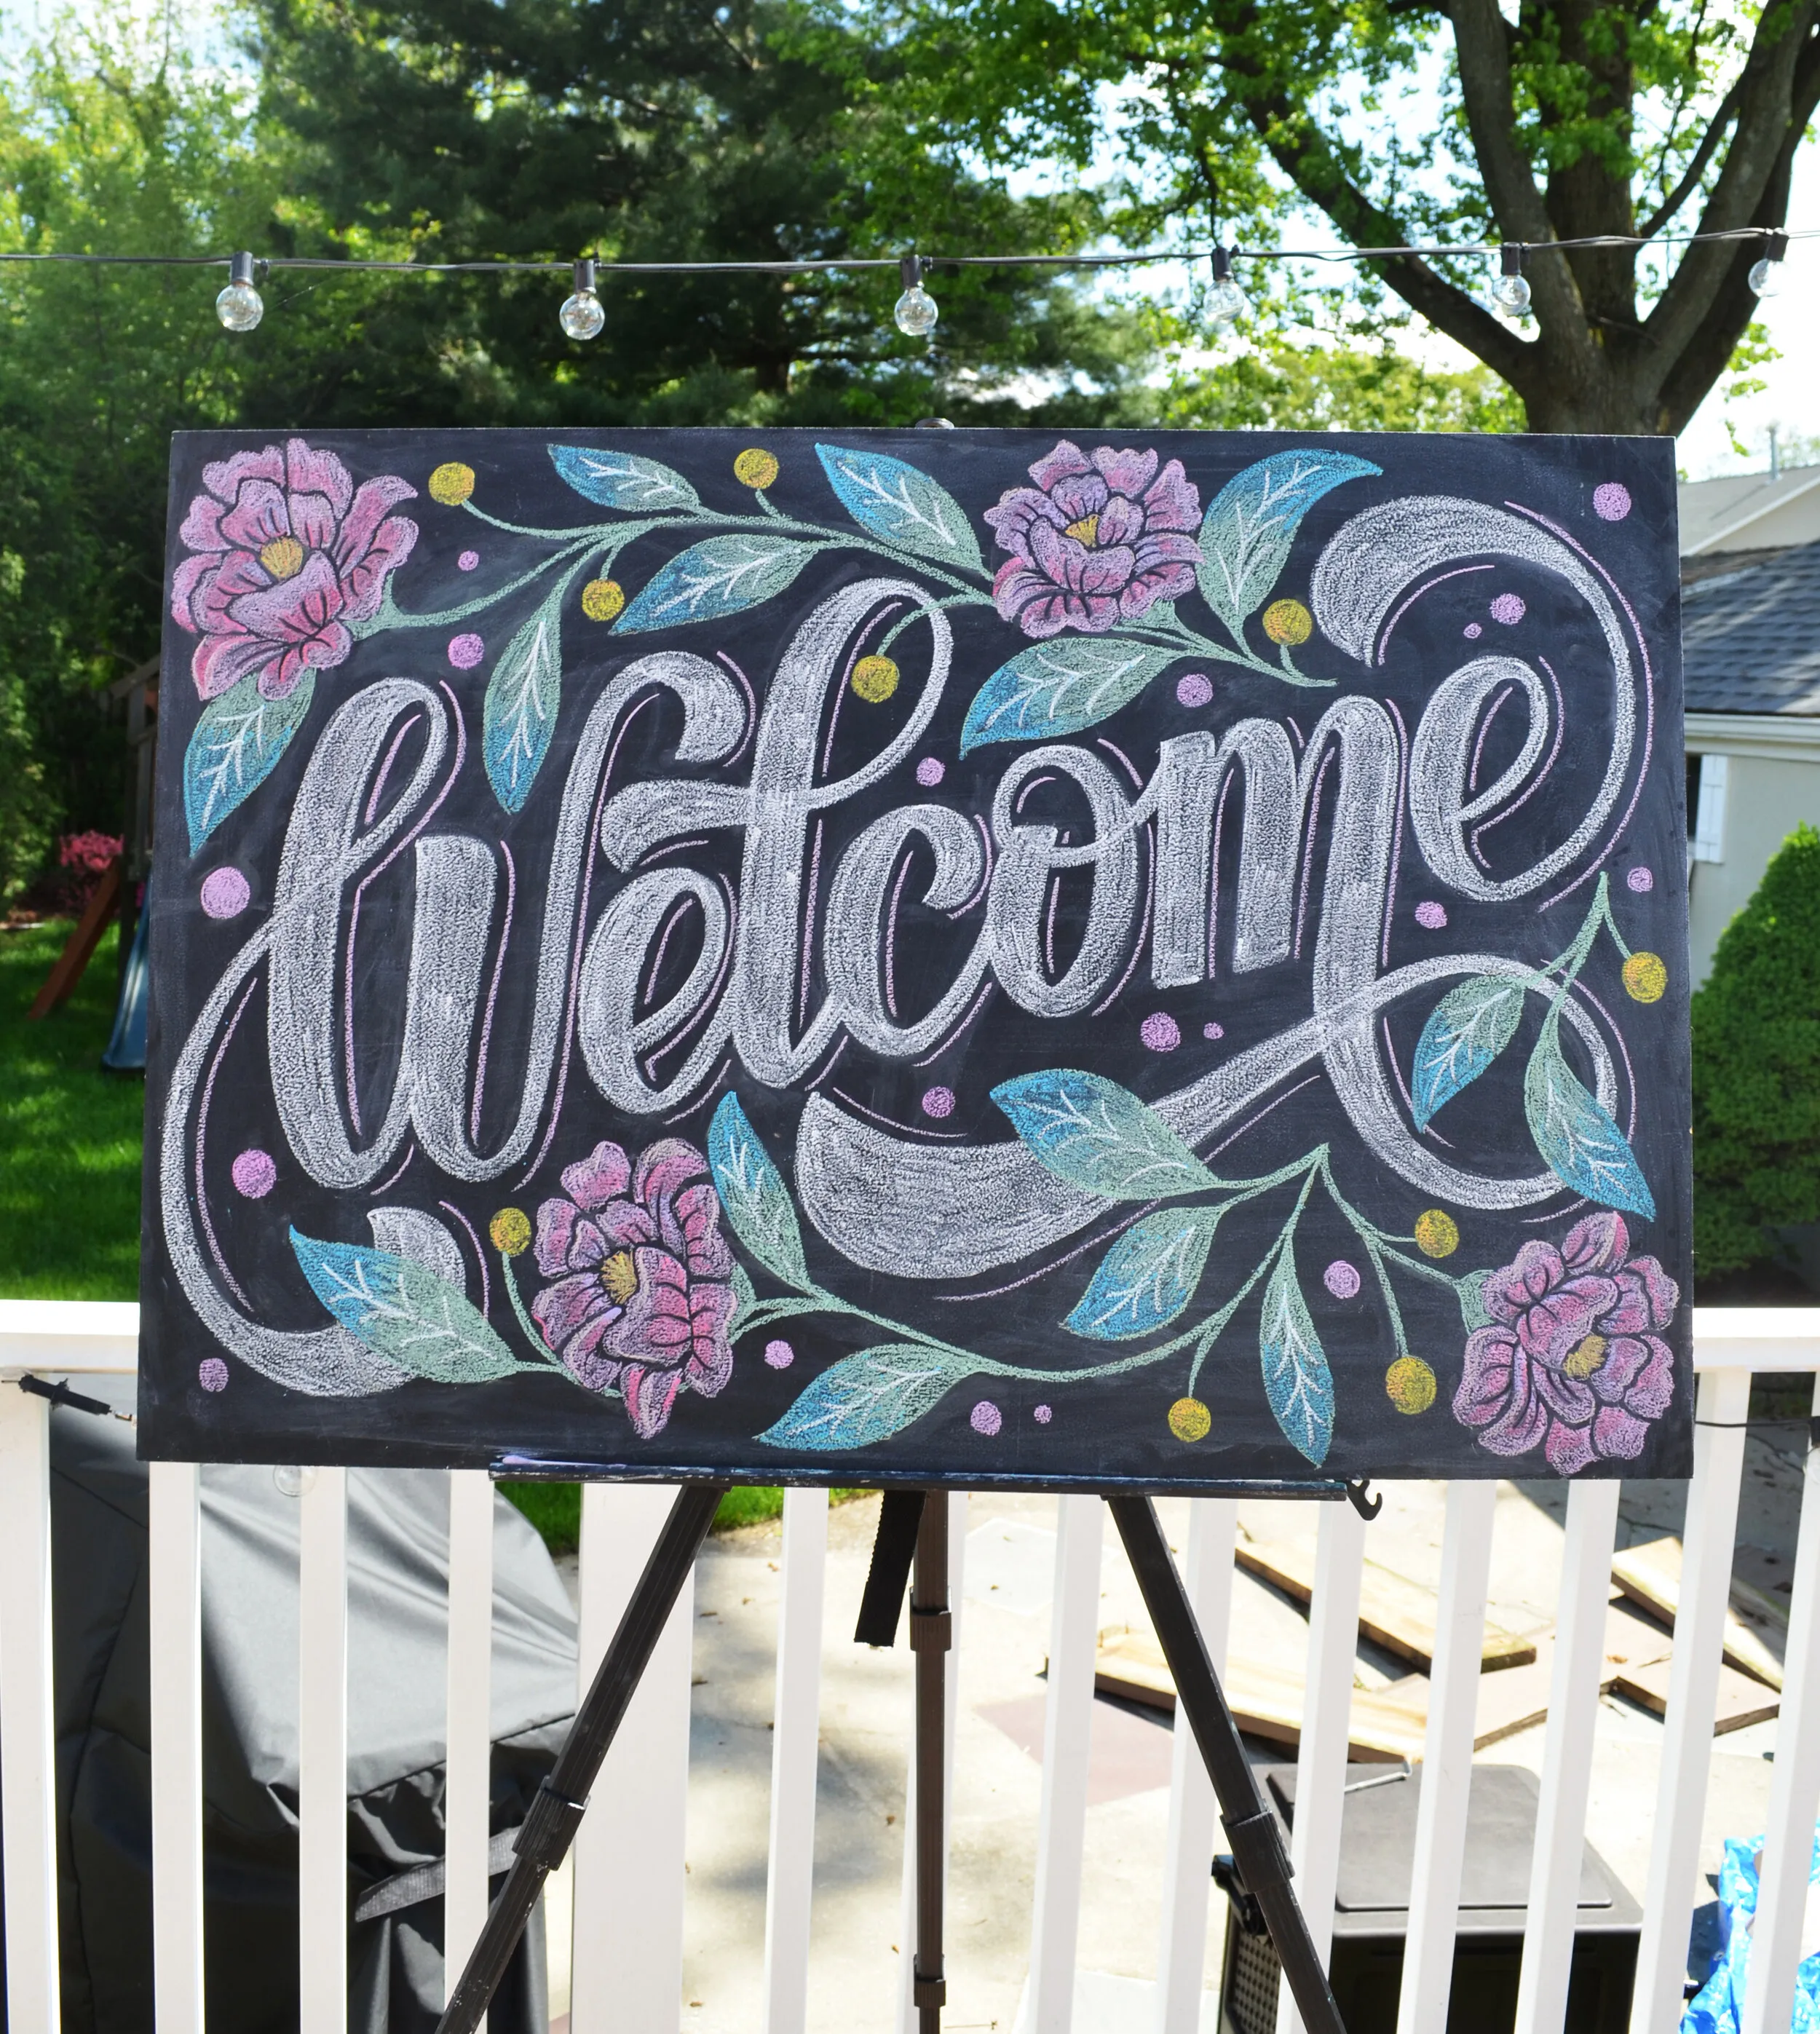
 Finished Chalkboard with a welcome message and a plant.
Ready to Create Your Own Chalkboard Masterpiece?
Congratulations – you’re now equipped to create your own DIY chalkboard! It’s a fantastic way to personalize your space, whether it’s for practical organization or artistic expression.
Don’t forget to share your creations! I’d love to see them. Tag me on Instagram @olgamuzician and show off your chalkboard artistry! Happy crafting!
