Blog
Craft a Stunning DIY Rustic Headboard: A Step-by-Step Guide

Hey there, fellow craft enthusiasts! Robert Kline, your trusted guide in the world of handmade art, here. Today, we’re diving into a project that’s close to my heart: building a charming rustic headboard.
As an artist who appreciates the beauty of handcrafted pieces, I believe that your bedroom should be a reflection of your personal style. And what better way to achieve that than with a unique headboard crafted with your own two hands?
This DIY rustic headboard isn’t just a statement piece; it’s a testament to the joy of creation. And the best part? It’s surprisingly easy, even if you’re a woodworking novice!
Gathering Your Supplies: A Trip to the Lumberyard
Before we begin, let’s talk materials. For this project, I chose to work with simple pinewood planks for their natural beauty and versatility.
Here’s a checklist of everything you’ll need:
- Pinewood planks: Opt for straight, sturdy pieces to simplify the building process.
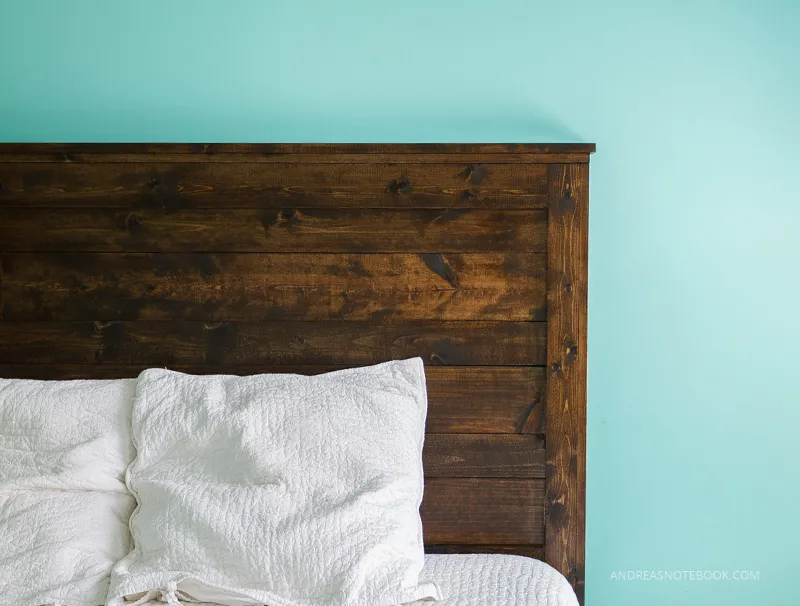
- Wood stain: I used Minwax Dark Walnut for a rich, rustic finish.
- Pre-stain wood conditioner
- Polyurethane (clear coat)
- Wood glue
- Nails
- Measuring tape
- Pencil
- Saw (I used a circular saw, but you can choose what you’re comfortable with)
- Sandpaper (optional, for smoothing edges)
Step-by-Step Guide: Building Your Rustic Masterpiece
Now, let’s roll up our sleeves and bring this headboard to life. Follow these steps, and you’ll have a stunning headboard to adorn your bedroom in no time!
-
Measure and Cut: Using your measuring tape and pencil, mark the desired dimensions of your headboard on the pinewood planks. Refer to your chosen plan for specific measurements. Using your saw, carefully cut the wood according to your markings.
Pro Tip: If you’re new to woodworking, consider having the lumberyard pre-cut the wood for you. They’ll ensure precise cuts, setting you up for success.
 Make your own DIY rustic headboard – AndreasNotebook.com
 -
Sand and Assemble: Once your planks are cut, lightly sand any rough edges to achieve a smooth finish. Next, apply wood glue to the edges of the planks where they’ll connect. Press the pieces firmly together to create the desired headboard shape, securing them with nails.
Pro Tip: Be mindful of glue drips! Excess glue can interfere with the staining process.
 Make your own DIY rustic headboard – AndreasNotebook.com
 -
Stain and Seal: Apply a coat of pre-stain wood conditioner to your assembled headboard. Once dry, apply your chosen wood stain (in this case, Minwax Dark Walnut) evenly across the surface. Allow the first coat to dry completely before applying a second coat for a richer, more profound color. Finally, seal your masterpiece with a protective polyurethane coat to enhance its durability and longevity.
Pro Tip: Remember, stain can release strong fumes. Work in a well-ventilated area and allow the stain to cure thoroughly before bringing your headboard indoors.
 Make your own DIY rustic headboard – AndreasNotebook.com
 -
Attach to Bed Frame: With your headboard fully dry, it’s time to attach it to your bed frame. Most bed frames have pre-drilled holes for this purpose. If not, you can easily drill pilot holes and secure the headboard using screws or bolts.
Pro Tip: Enlist a helper for this step to ensure proper alignment and stability.
Personalizing Your Headboard: Adding Your Unique Touch
Remember, this is your chance to infuse your personality into your creation. Consider these customization ideas:
- Distressing: Embrace a timeworn aesthetic by strategically sanding or distressing the wood for an antique look.
- Painting: Add pops of color or intricate designs with paint.
- Hardware: Replace standard nails with decorative upholstery tacks for a touch of elegance.
- Lighting: Incorporate LED strip lights for a warm, inviting ambiance.
More Than Just a Headboard: Enhancing Your Sleep Sanctuary
While I’m incredibly proud of the rustic charm this headboard brings to the bedroom, the true highlight of this project lies in the impact it has on sleep quality.
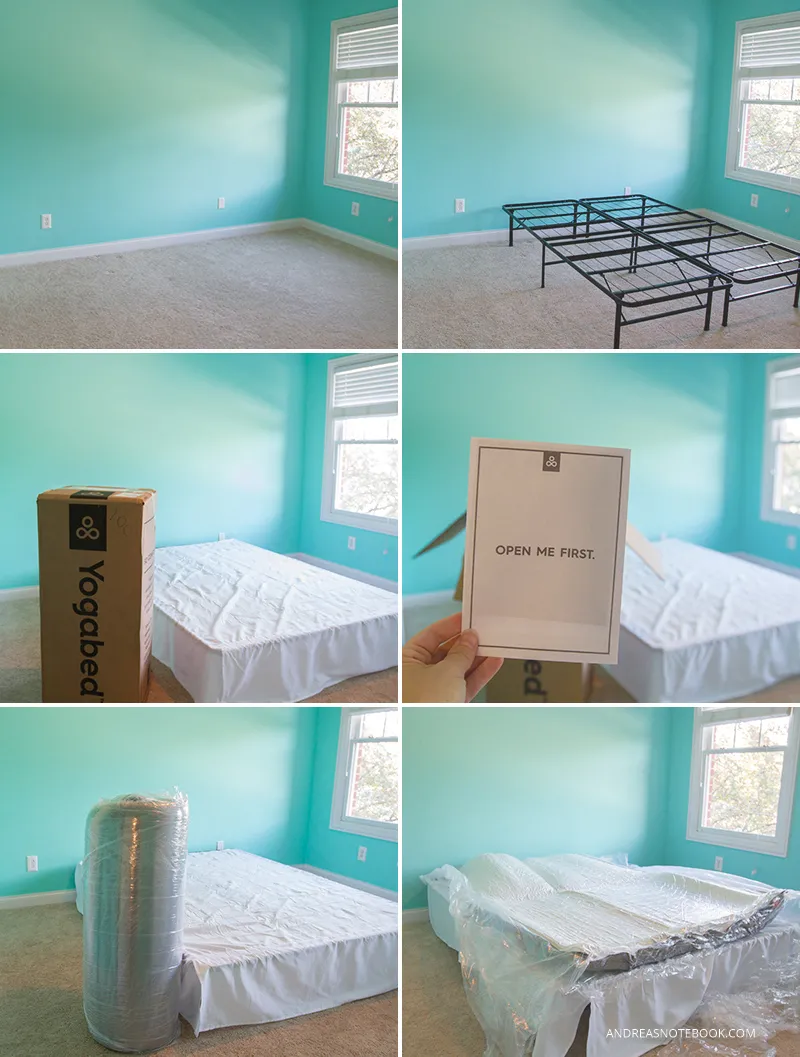
A well-crafted headboard, paired with a comfortable mattress like the ones from Yogabed™, can transform your sleep experience.
Why am I raving about Yogabed™? Well, my daughter recently upgraded to one, and the difference in her sleep quality is remarkable. She’s sleeping more soundly and waking up feeling refreshed. Plus, their mattresses are incredibly comfortable and arrive conveniently packaged in a box! How cool is that?
 Yoga Bed – seriously the most comfortable bed, ever!
Conclusion: Embrace the Joy of DIY
Creating this DIY rustic headboard wasn’t just a project; it was an opportunity to blend creativity with functionality. And the result? A stunning piece that enhances both the aesthetics and comfort of the bedroom.
I encourage you to embark on this crafting journey and experience the satisfaction of building something with your own hands. Trust me, the sense of accomplishment is incredibly rewarding.
Now, I’d love to hear from you! Have you tried building your own furniture? What are your favorite ways to add personality to your living spaces? Share your thoughts and experiences in the comments below.
And for those eager to explore more handcrafted wonders, be sure to browse the unique selection of handmade gifts and art available on Robert Kline Art. You might just discover the perfect piece to complement your newly crafted headboard!
