Blog
Chia Seed Onigiri: A Healthy Twist on a Japanese Classic
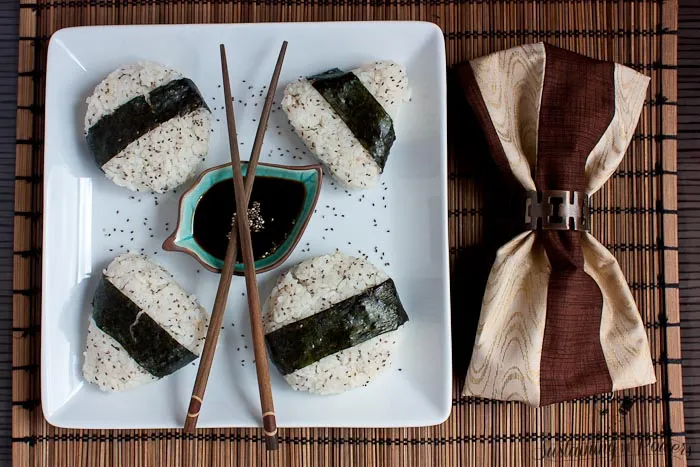
Hey there, fellow art and food lovers! Robert Kline here, and let me tell you, I’ve always been fascinated by the artistry of different cultures. Today, we’re taking a trip to Japan to explore “Onigiri” – these beautiful little rice balls that are as fun to make as they are delicious.
Now, you might be thinking, “Rice balls? What’s so special about that?” But trust me, these aren’t your average snacks. Onigiri are like the blank canvases of the culinary world. You can get incredibly creative with fillings and flavors, and today, we’re adding a healthy and unique twist: chia seeds!
Why Chia Seeds?
You know how much I love incorporating natural elements into my art? Well, chia seeds are those tiny powerhouses packed with fiber, protein, and omega-3s – like little nutritious gems! They add a delightful crunch and a subtle nutty flavor to the onigiri. Plus, they resemble black sesame seeds, giving our onigiri a touch of visual flair.
Gathering Your Artistic Tools (Ingredients)
Before we start, let’s gather our supplies:
For the Chia Seed Sushi Rice:
- 1 cup uncooked sticky rice (sushi rice)
- 1 cup water
- 1 tablespoon rice vinegar
- 1 tablespoon sugar
- 1/4 teaspoon salt
- 3 tablespoons chia seeds
For the Onigiri Filling (Get Creative!):
- Canned tuna mixed with mayo (a classic choice)
- Fried chicken bits
- Pickled vegetables
- A touch of wasabi
- Sweet mango or bean paste
- Leftover BBQ or taco meat
- Tofu – the possibilities are endless!
For the Finishing Touches:
- 2-3 sheets of nori (roasted seaweed sheets)
Crafting Your Onigiri Masterpiece (Instructions)
-
Cook the Rice: Combine the rice, water, rice vinegar, sugar, and salt in your rice cooker. Let it work its magic. Once cooked, gently mix in the chia seeds and let the rice cool.
 Perfectly cooked chia seed rice ready to be transformed into onigiri
 -
Shape Your Onigiri: Now for the fun part! There are a couple of ways to shape your onigiri:
-
The Mold Method: Press some rice into a small bowl or round cookie cutter, add a spoonful of your chosen filling, top with more rice, and gently press it all together.
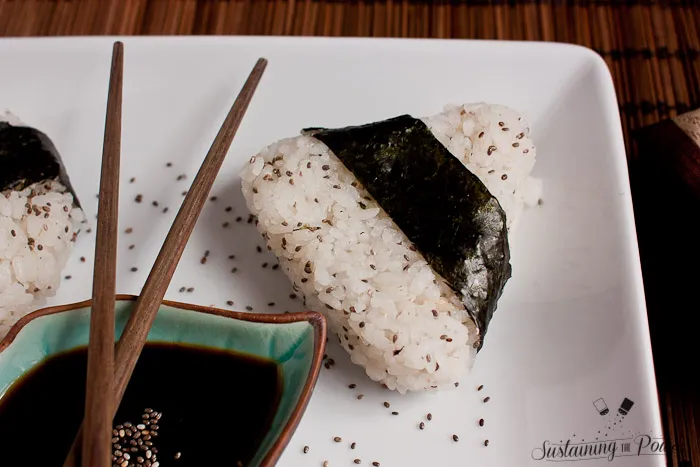 Using a mold to shape onigiri
 -
The Freehand Method: Spread some rice in your hand, create a well in the center for your filling, and then carefully bring the edges of the rice together, molding it into a ball or a triangle.
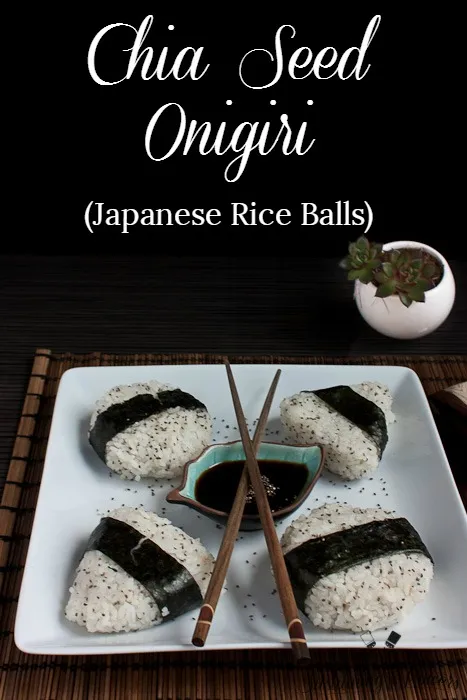 Shaping Onigiri by Hand
-
-
Nori Wrap (Optional): For an authentic touch, cut a strip of nori and wrap it around your onigiri. This not only looks beautiful but also adds a salty, savory note.
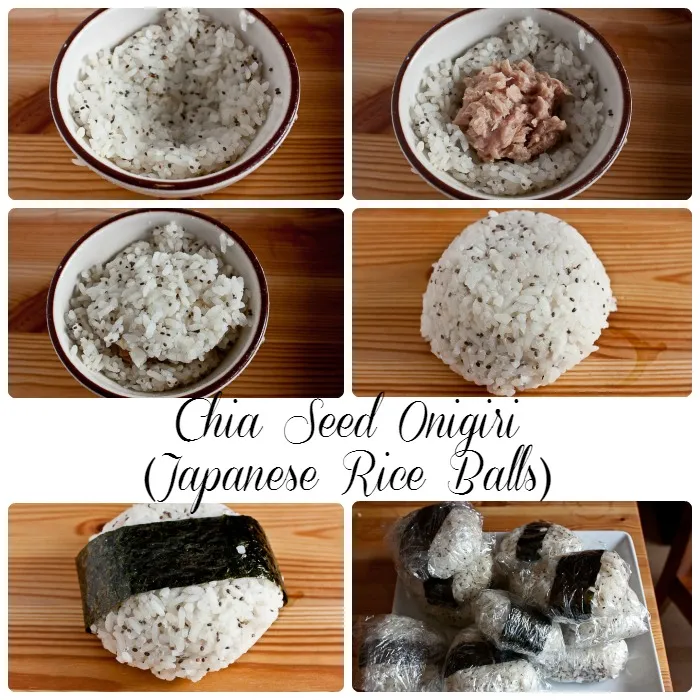 A beautiful collage showcasing the process of making chia seed onigiri
Tips from Robert Kline Art
- Rice Choice: For perfectly formed onigiri, opt for Japanese short-grain rice, often labeled as “sushi rice.” It has the ideal stickiness.
- Wet Hands: Wetting your hands lightly with water will prevent the rice from sticking to them while shaping.
- Filling Inspiration: Think outside the bento box! Experiment with different flavor combinations – sweet, savory, spicy – let your imagination run wild!
- Storage: If you’re not enjoying your onigiri immediately, wrap them individually in plastic wrap to prevent them from drying out.
A Feast for the Eyes and the Stomach
And there you have it – a delicious, healthy, and visually appealing snack or light meal. Just like art, Onigiri is a wonderful way to express your creativity in the kitchen.
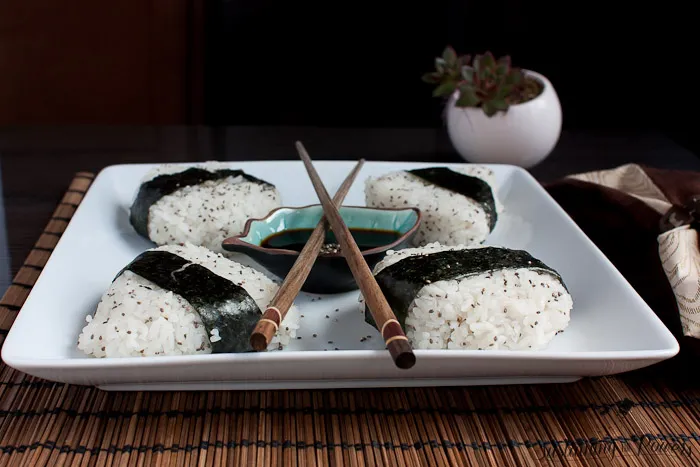 A plate of beautifully prepared chia seed onigiri, ready to be enjoyed!
So why not gather your materials, put on your chef’s hat, and create your own Onigiri masterpieces? And when you do, be sure to share your creations with me! Tag your photos with #RobertKlineArt – I can’t wait to see what you come up with!
And don’t forget to explore the rest of the Robert Kline Art website for more creative inspiration. We have a whole world of handcrafted wonders waiting for you.
