Blog
Building Your Own Raised Garden Beds: A Step-by-Step Guide
Hey there, fellow gardening enthusiasts! Robert Kline here, from Robert Kline Art, and let’s talk about taking your gardening game to the next level with raised garden beds. Sure, you can plant directly in the ground, but believe me, the benefits of raised beds are worth considering.
From improved soil quality and drainage to back-saving ergonomics and undeniable aesthetic appeal, raised garden beds offer a rewarding and productive gardening experience. Plus, there’s the undeniable satisfaction of building something with your own two hands!
This comprehensive guide will walk you through the process of building your own raised garden beds. It’s the perfect project for experienced DIYers and enthusiastic beginners alike. Let’s get started!
Advantages of Raised Garden Beds
Before we jump into the construction, let’s explore why raised garden beds deserve a prime spot in your backyard:
-
Superior Soil Quality: Say goodbye to battling poor soil! Raised beds allow you to create the perfect growing environment with a custom soil blend tailored to your plants’ needs.
-
Enhanced Drainage: No more soggy bottoms! Raised beds promote excellent drainage, preventing root rot and creating a healthier environment for your plants to thrive.
-
Extended Growing Season: Get a head start in spring and enjoy a longer harvest in fall. The elevated soil in raised beds warms up faster in the spring and stays warmer longer in the fall.
-
Back-Friendly Gardening: Gardening should be enjoyable, not back-breaking. Raised beds elevate your gardening efforts, reducing strain on your back and knees.
-
Weed and Pest Control: Create a defined boundary that deters pesky weeds and curious critters from infiltrating your precious crops.
-
Visually Appealing: Raised beds bring structure and beauty to your garden, adding a touch of elegance to your outdoor space.
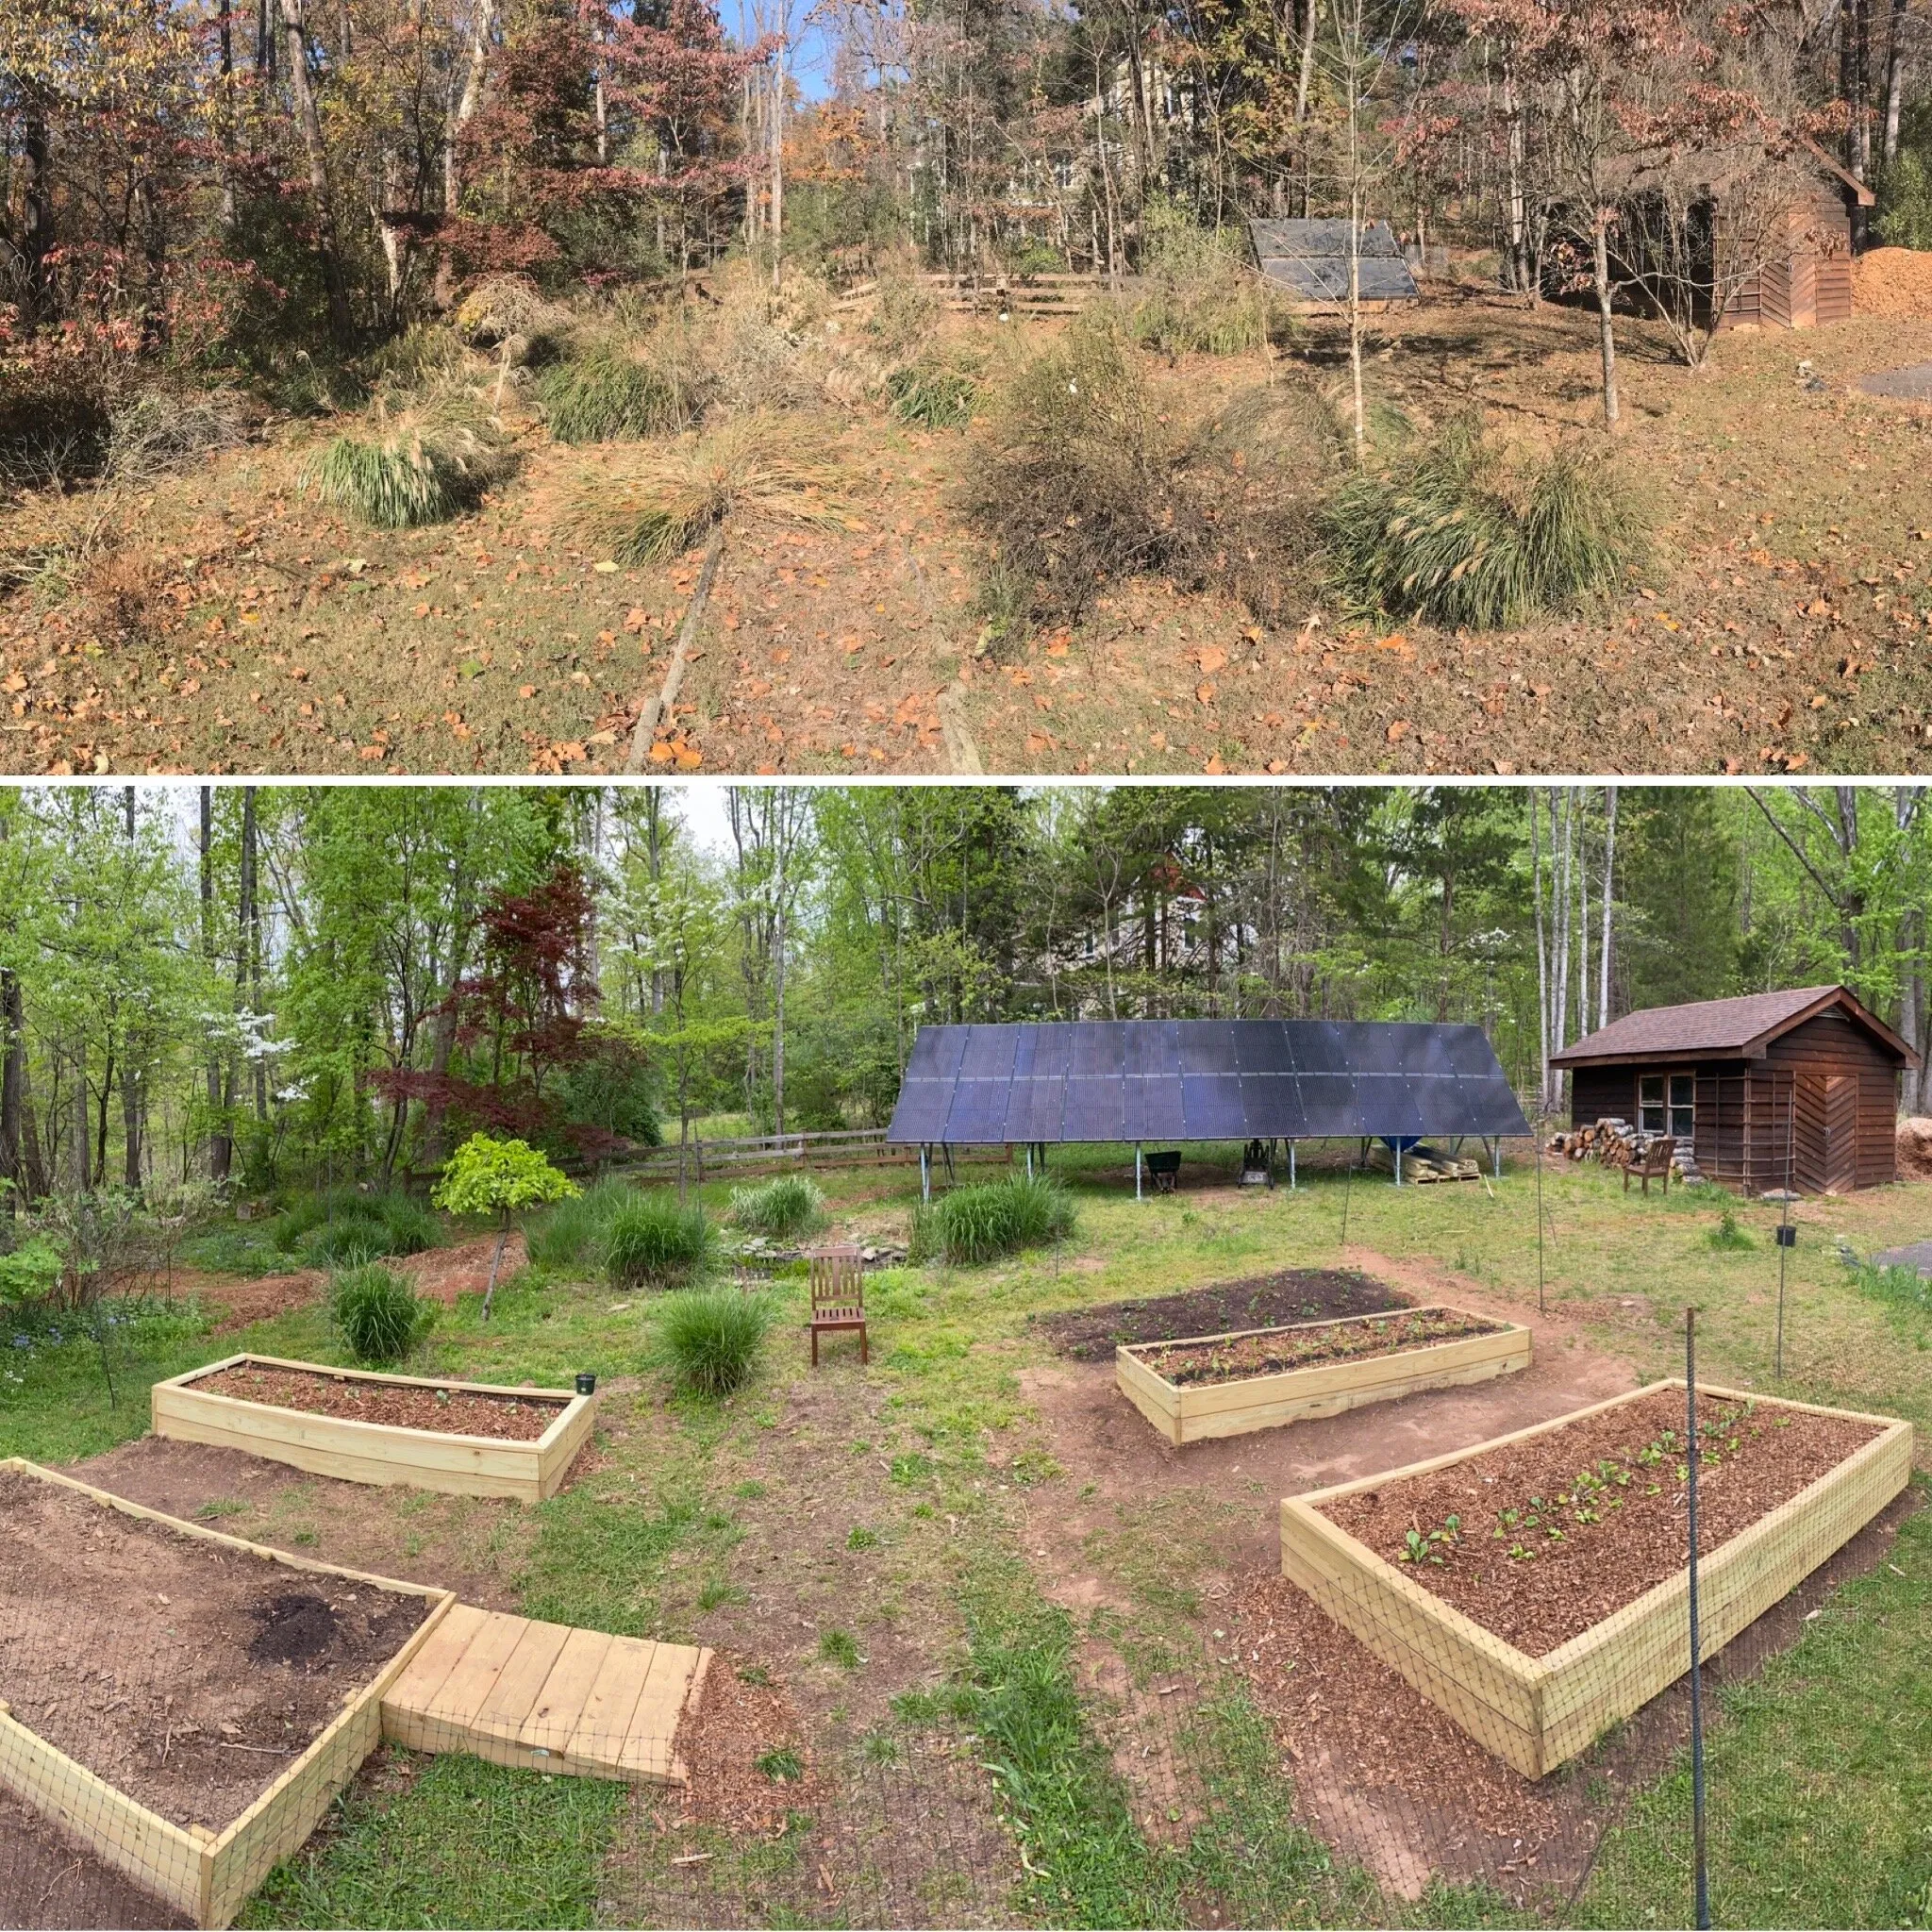
 BEFORE & AFTER
Caption: The transformative power of raised garden beds.
Planning Your Raised Garden Bed
Choosing the Right Location
-
Sunlight: Select a location that receives at least 6-8 hours of direct sunlight daily. Observe your yard throughout the day to determine the sunniest spot.
-
Accessibility: Ensure easy access to your raised beds for planting, weeding, watering, and harvesting.
-
Drainage: Choose a spot with good drainage to prevent waterlogging. If your chosen area has poor drainage, consider adding a layer of gravel at the bottom of the bed.
Determining the Size and Shape
-
Size: A manageable width for a raised bed is 4 feet, allowing you to reach the center from both sides comfortably. The length can vary based on your available space and desired planting area.
-
Shape: Rectangular beds are the most common and easiest to build, but don’t be afraid to get creative with square, circular, or L-shaped designs.
Gathering Your Materials
For a sturdy and long-lasting raised garden bed, gather the following materials:
-
Lumber: Use pressure-treated lumber for longevity. A popular choice is 2×8 boards for the sides and 2x4s for the corner posts and support stakes.
- Expert Tip: Dan Goldstein, a farmer from Waddle Om Farm, suggests using naturally rot-resistant woods like white oak or eastern red cedar for a chemical-free option.
-
Screws: Use 3-inch galvanized deck screws for assembling the frame and 2.5-inch galvanized deck screws for attaching the support stakes.
-
Gravel (Optional): If drainage is a concern, have gravel on hand to create a drainage layer at the bottom of the bed.
Tools You’ll Need
- Measuring Tape: For accurate measurements.
- Level: To ensure a level bed.
- Shovel: For digging and trenching.
- Circular Saw: For cutting lumber to size.
- Drill: For drilling pilot holes and driving screws.
- Driver Bit: For driving screws.
- Safety Glasses: Always prioritize safety.
- Work Gloves: Protect your hands.
- Rubber Mallet or Baby Sledgehammer: For tapping stakes into place.
- Framing Square: For ensuring square corners.
- Speed Square: For marking cutting angles.
- Sawhorses: For supporting lumber while cutting.
- Twine (Optional): Useful for marking straight lines and aligning multiple beds.
- Reciprocating Saw (Optional): Helpful for trimming stakes flush with the frame.
Building Your Raised Garden Bed: A Step-by-Step Guide
Let’s dive into the construction process:
Step 1: Prepare the Site
- Clear the Area: Remove any grass, weeds, rocks, or debris from your chosen location.
- Level the Ground: Use a shovel to create a relatively level surface for your bed. If your site is sloped, you’ll need to dig a shallow trench for the first board on the lower side to ensure the bed is level once complete.
Step 2: Cut Lumber to Size
-
Measure and Mark: Using your measuring tape and speed square, carefully measure and mark the lumber for cutting.
-
Cut the Boards: Cut the 2×8 boards to length for the sides of your bed, and cut the 2x4s to length for the corner posts and support stakes.
- Pro Tip: Remember to account for the width of the boards when calculating the length of the side pieces.
Step 3: Assemble the Frame
- Create the Base: Position two of your 10-foot long 2×8 boards parallel to each other, 4 feet apart (or your desired width).
- Attach the Short Sides: Attach a 4-foot 2×8 board to each end of the base boards to create a rectangular frame. Use your drill to pre-drill pilot holes and then secure the corners together using 3-inch deck screws.
- Reinforce the Corners: Cut four 2-foot lengths of 2×4 for corner stakes. Drive these stakes into the ground at each corner, then attach each corner of the frame to the stakes with 2.5-inch deck screws.
Step 4: Add the Second Layer
- Repeat Frame Assembly: Repeat the process from Step 3 to create a second identical frame and attach it securely on top of the first frame.
Step 5: Add Support Stakes
- Install Support Stakes: Cut additional 2-foot lengths of 2x4s for support stakes. Space them evenly along the long sides of the bed and drive them into the ground.
- Attach to the Frame: Secure the support stakes to the frame with 2.5-inch deck screws.
Step 6: Trim Stakes and Add the Lip (Optional)
- Trim the Stakes: Use a saw to trim the tops of the support stakes flush with the top edge of the frame.
- Create the Lip: For a finished look and a convenient seating area, consider adding a 2×4 lip around the top edge of the bed. Miter the corners for a polished appearance.
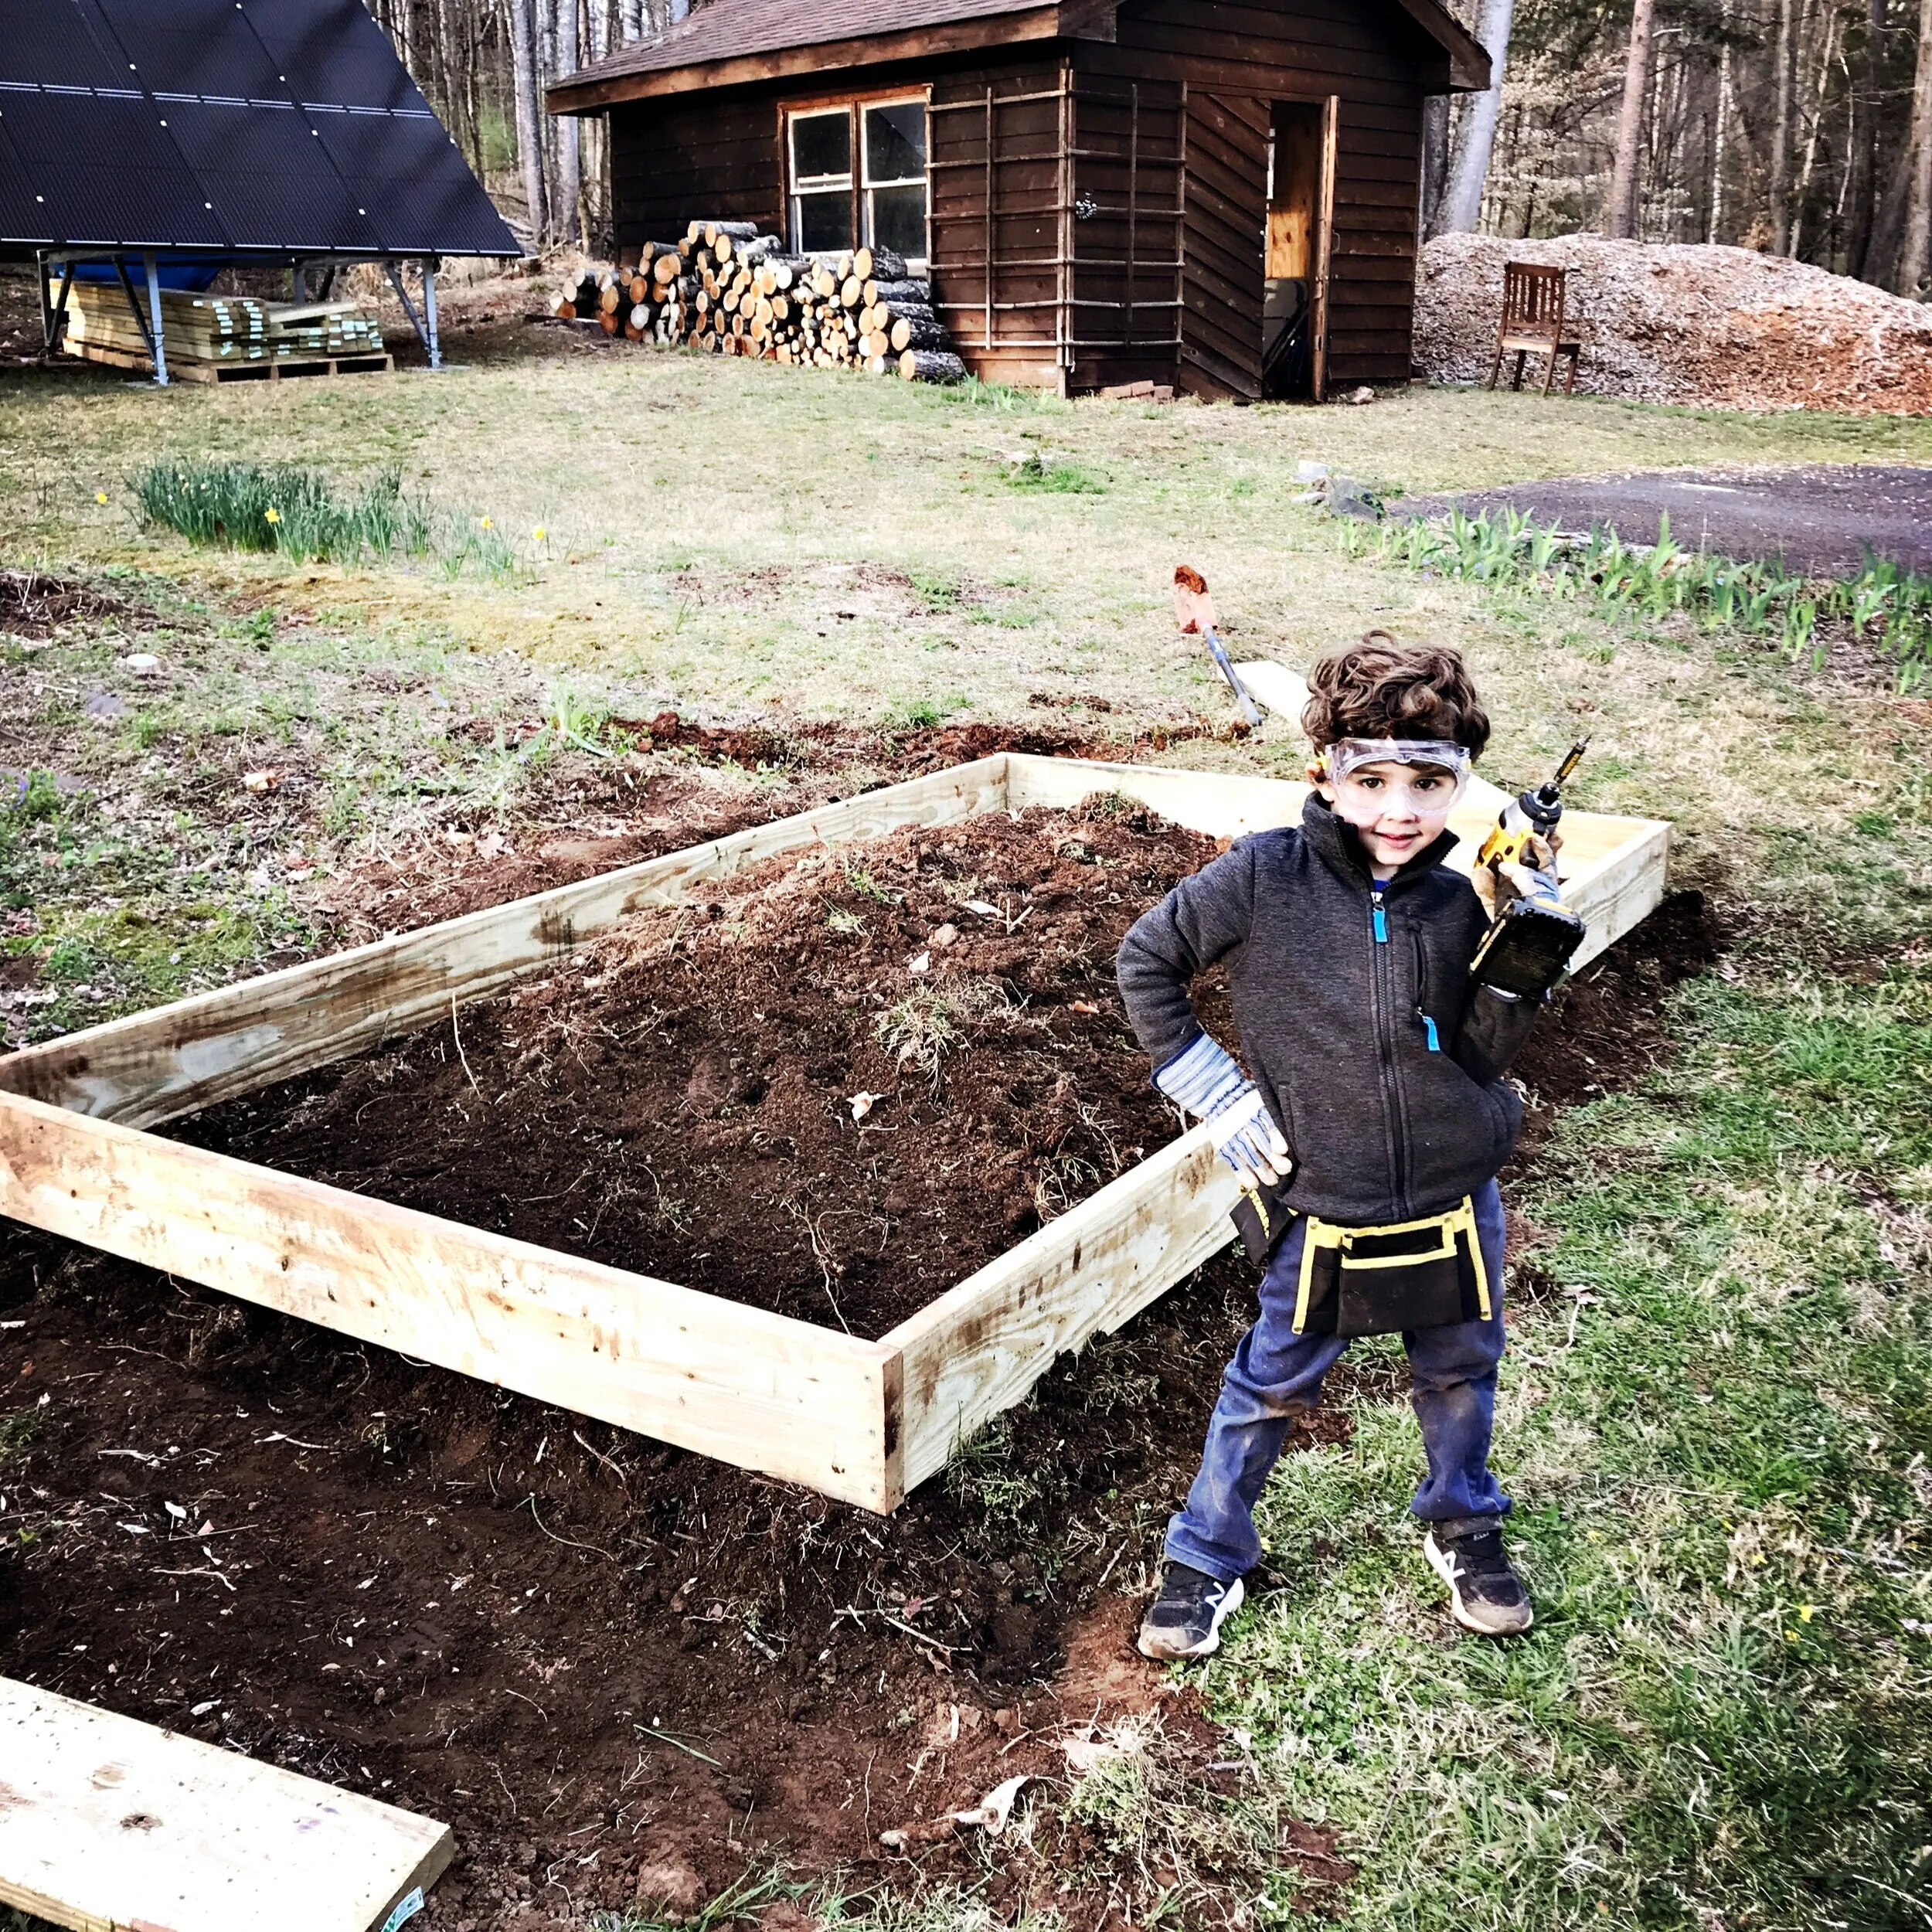 Leveling First Row and Fastening Corners
Caption: Accuracy is key – ensure your corners are level and square.
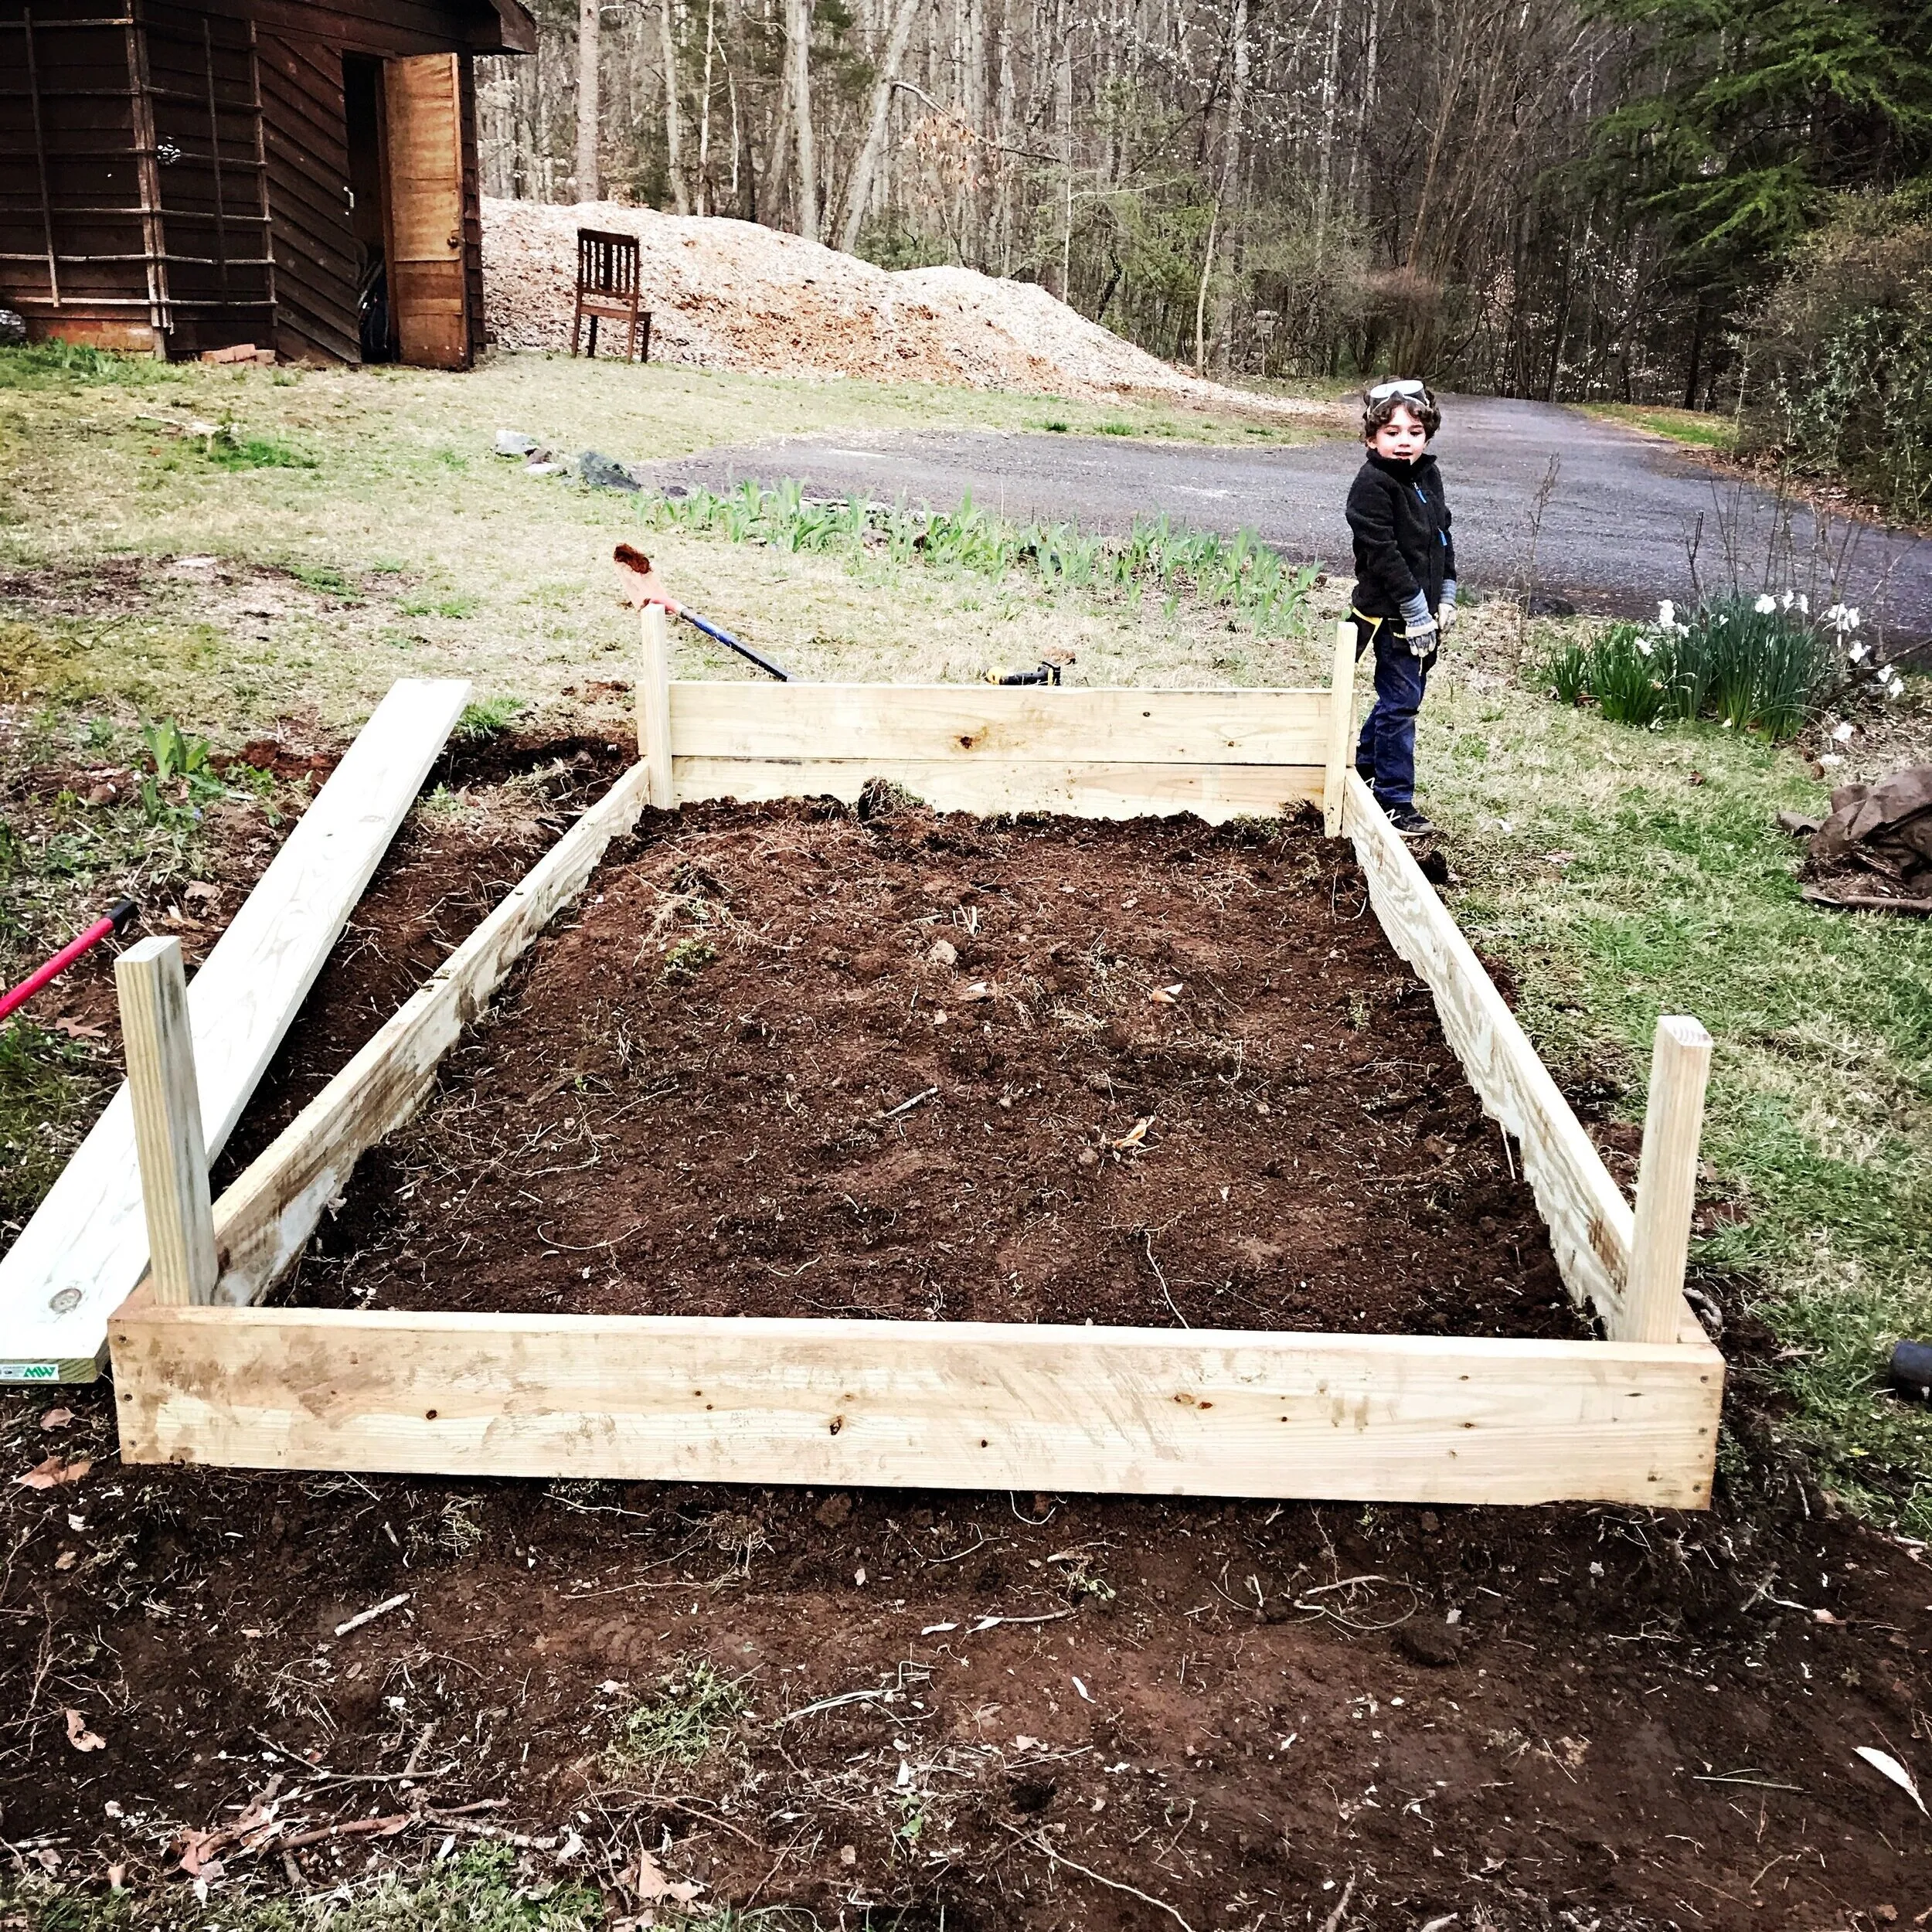 Adding Corner 2×4 Stakes
Caption: Reinforce the corners for a sturdy and long-lasting bed.
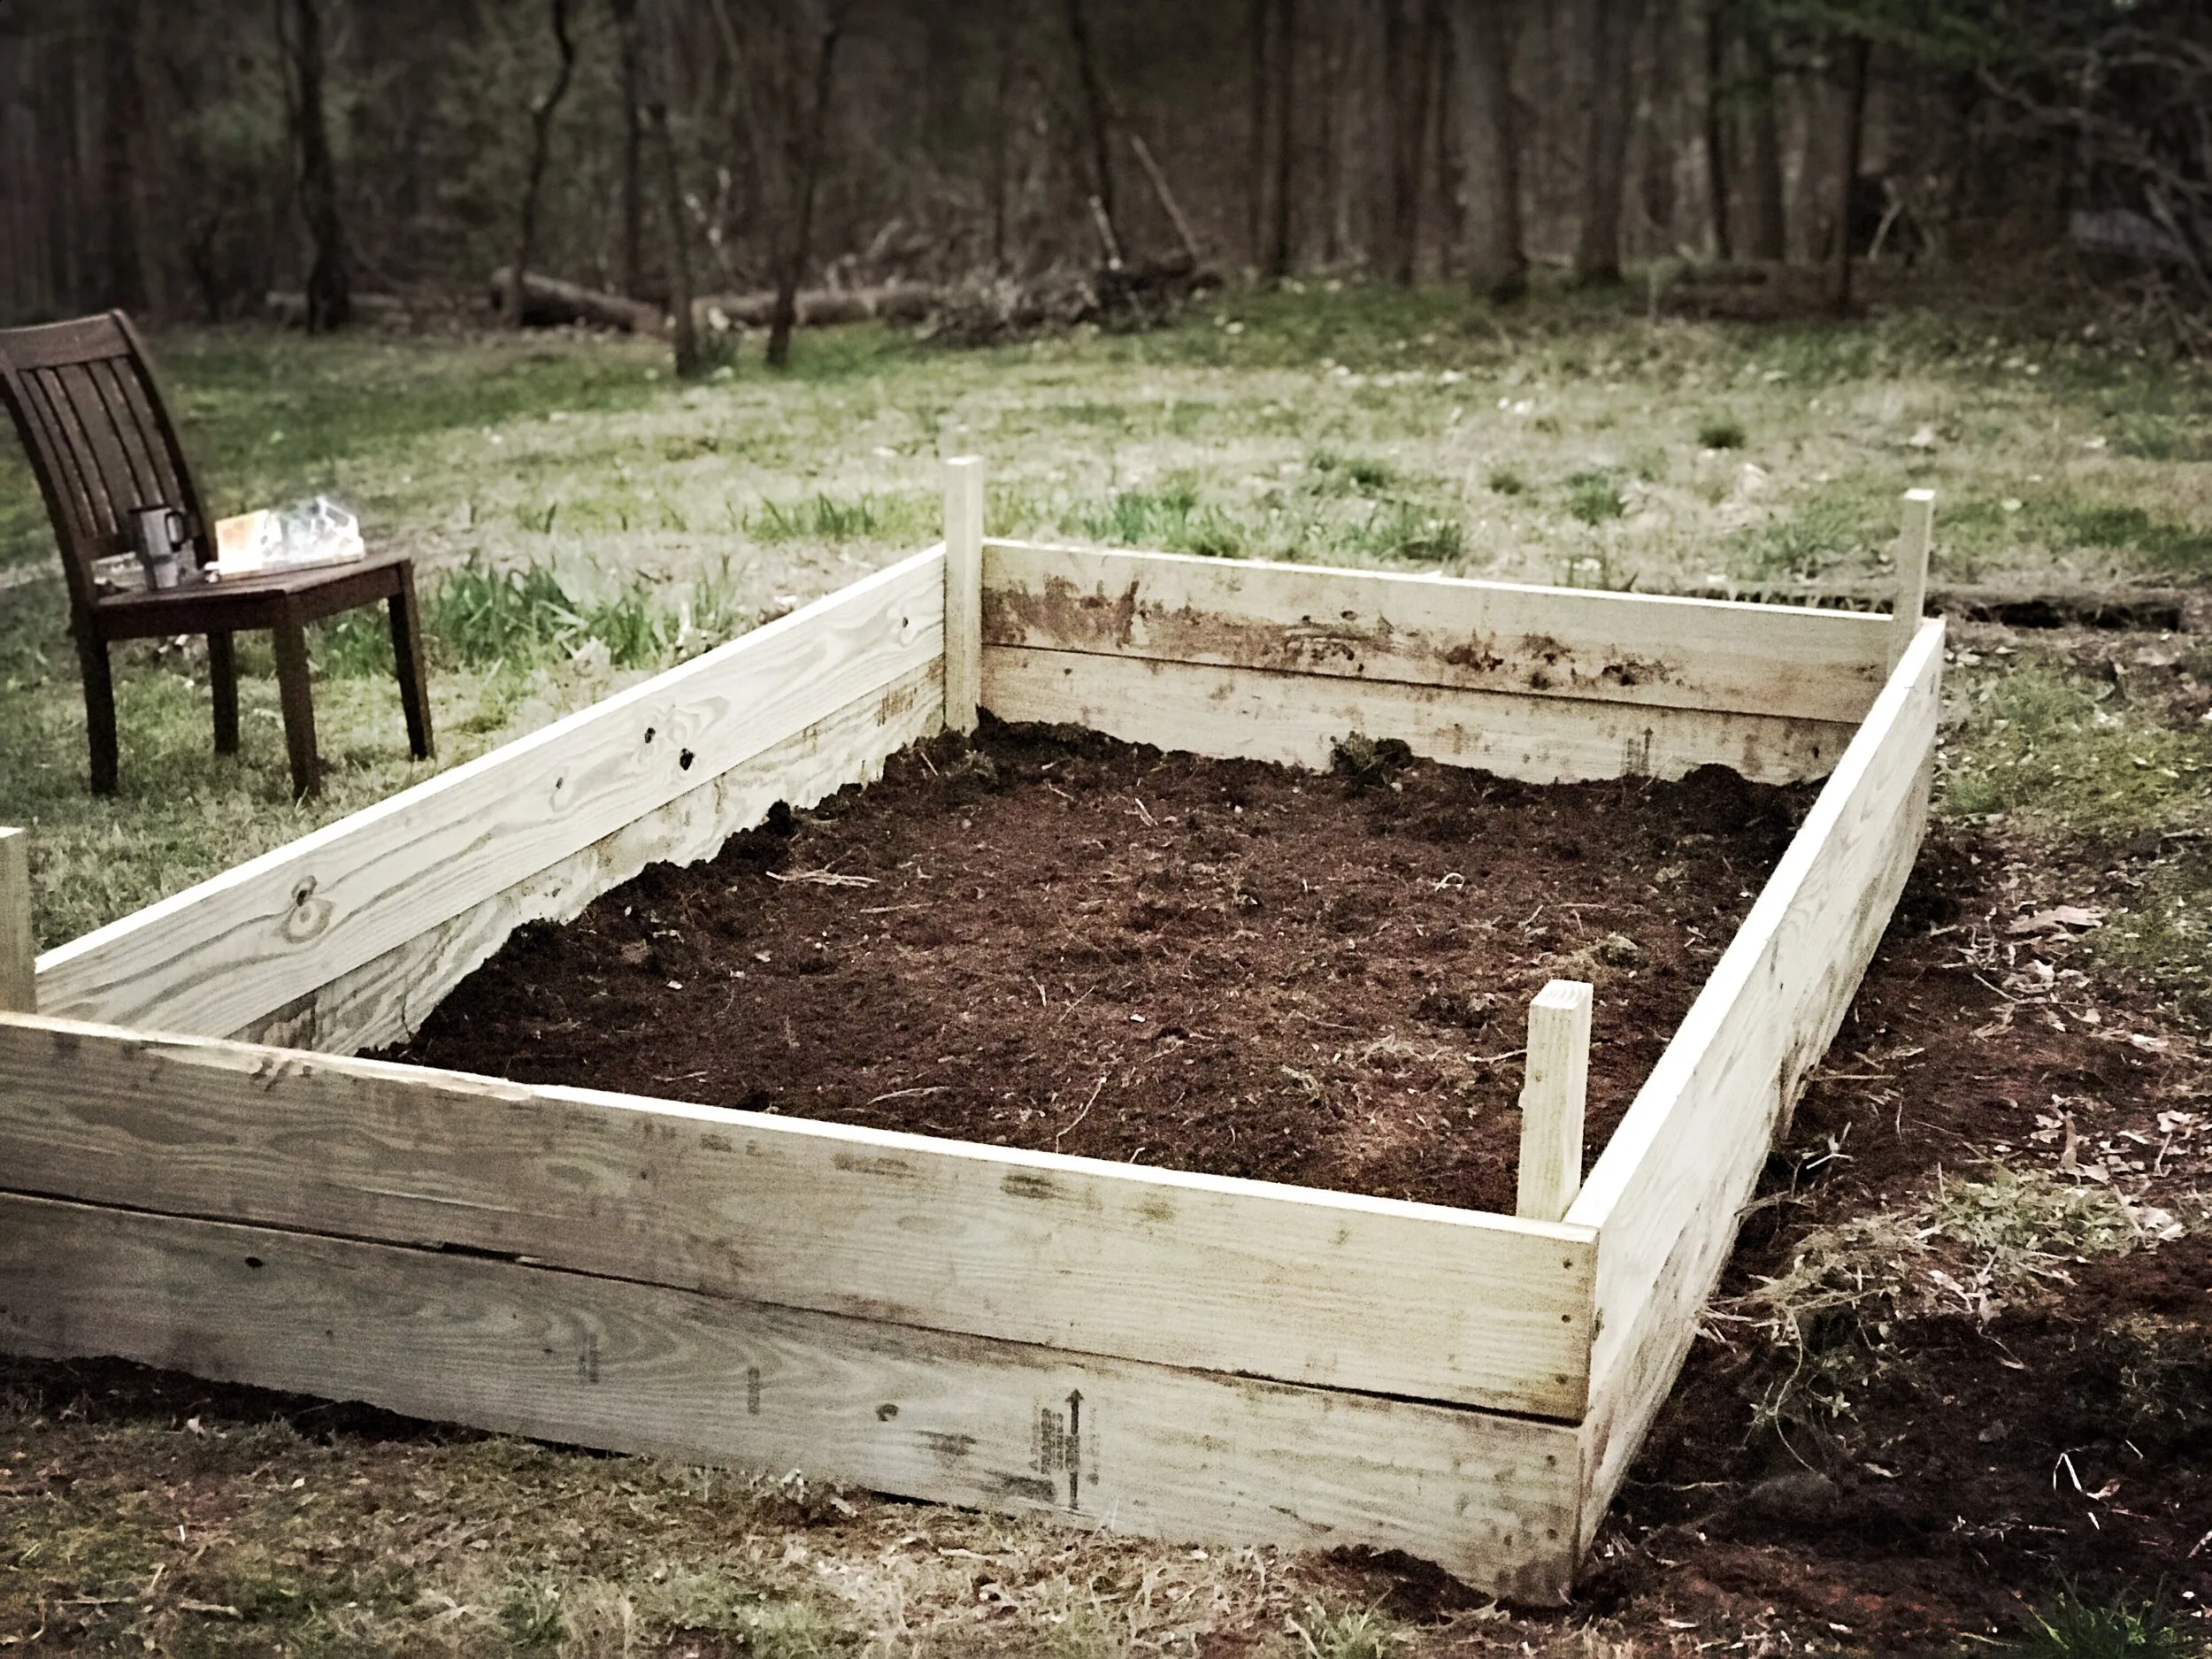 Add Second Row of Boards
Caption: A second layer of boards adds height and stability.
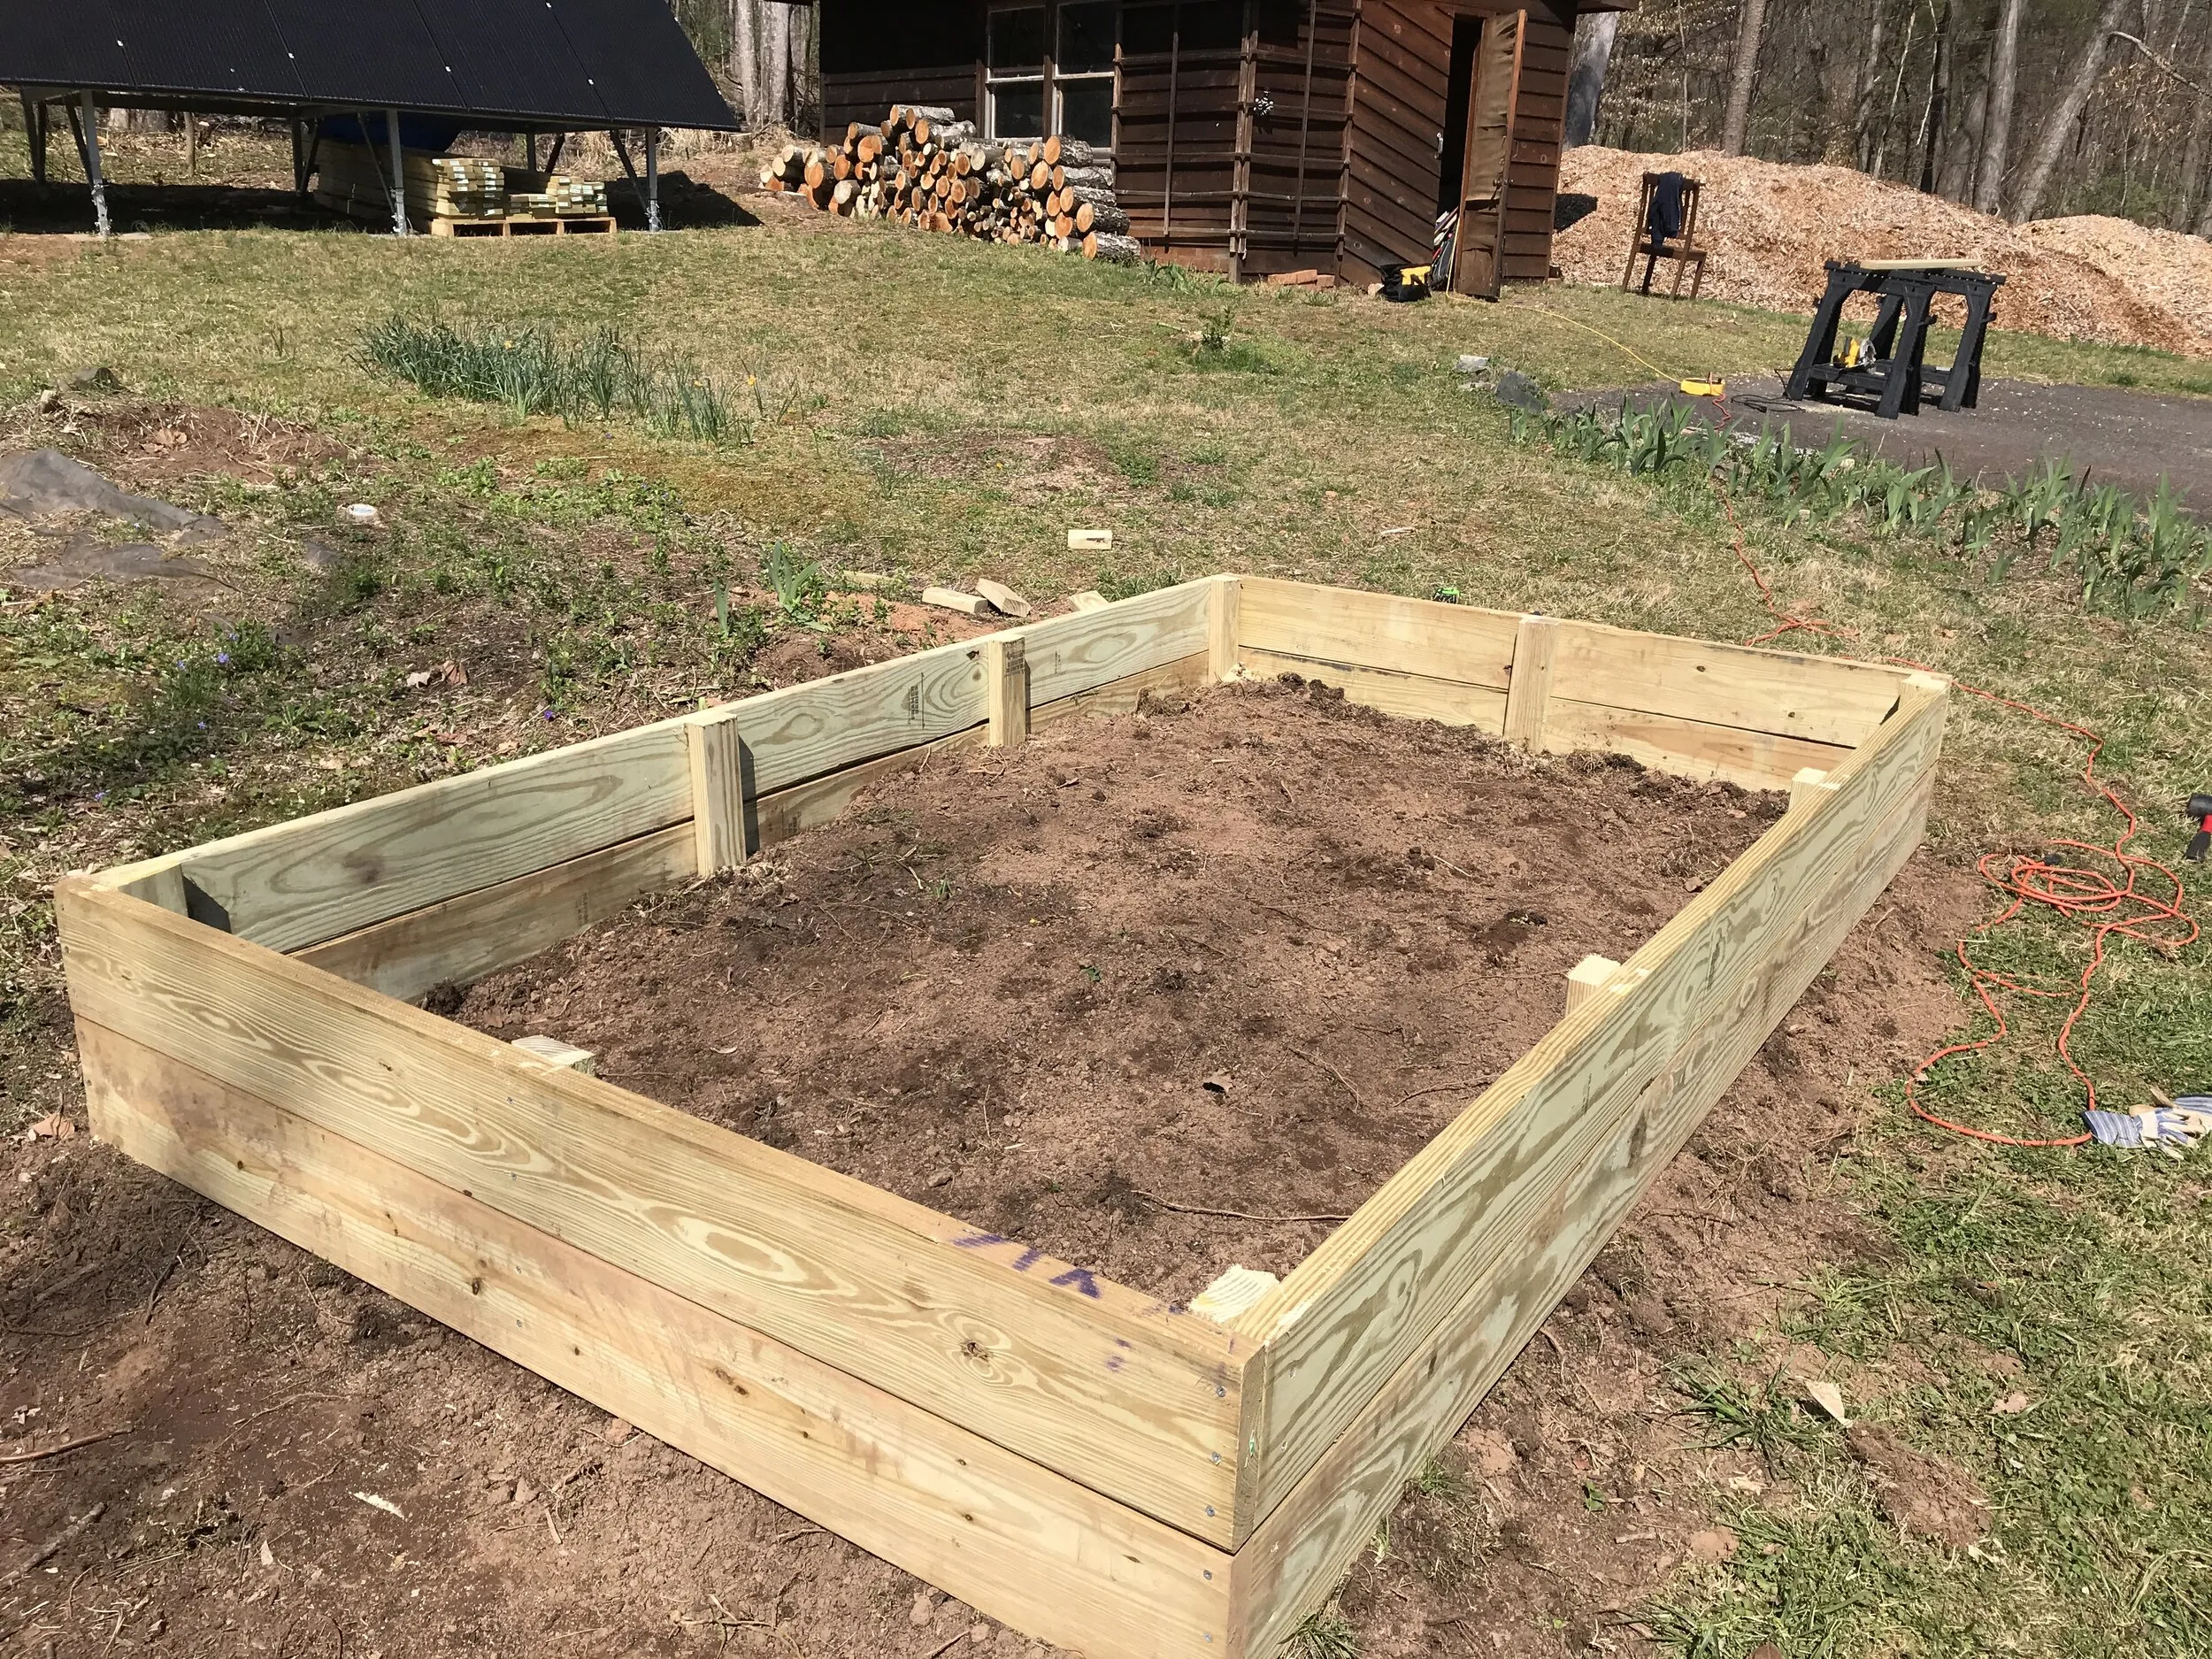 Add and Trim Side 2×4 Stakes
Caption: Support stakes prevent bowing and add structural integrity.
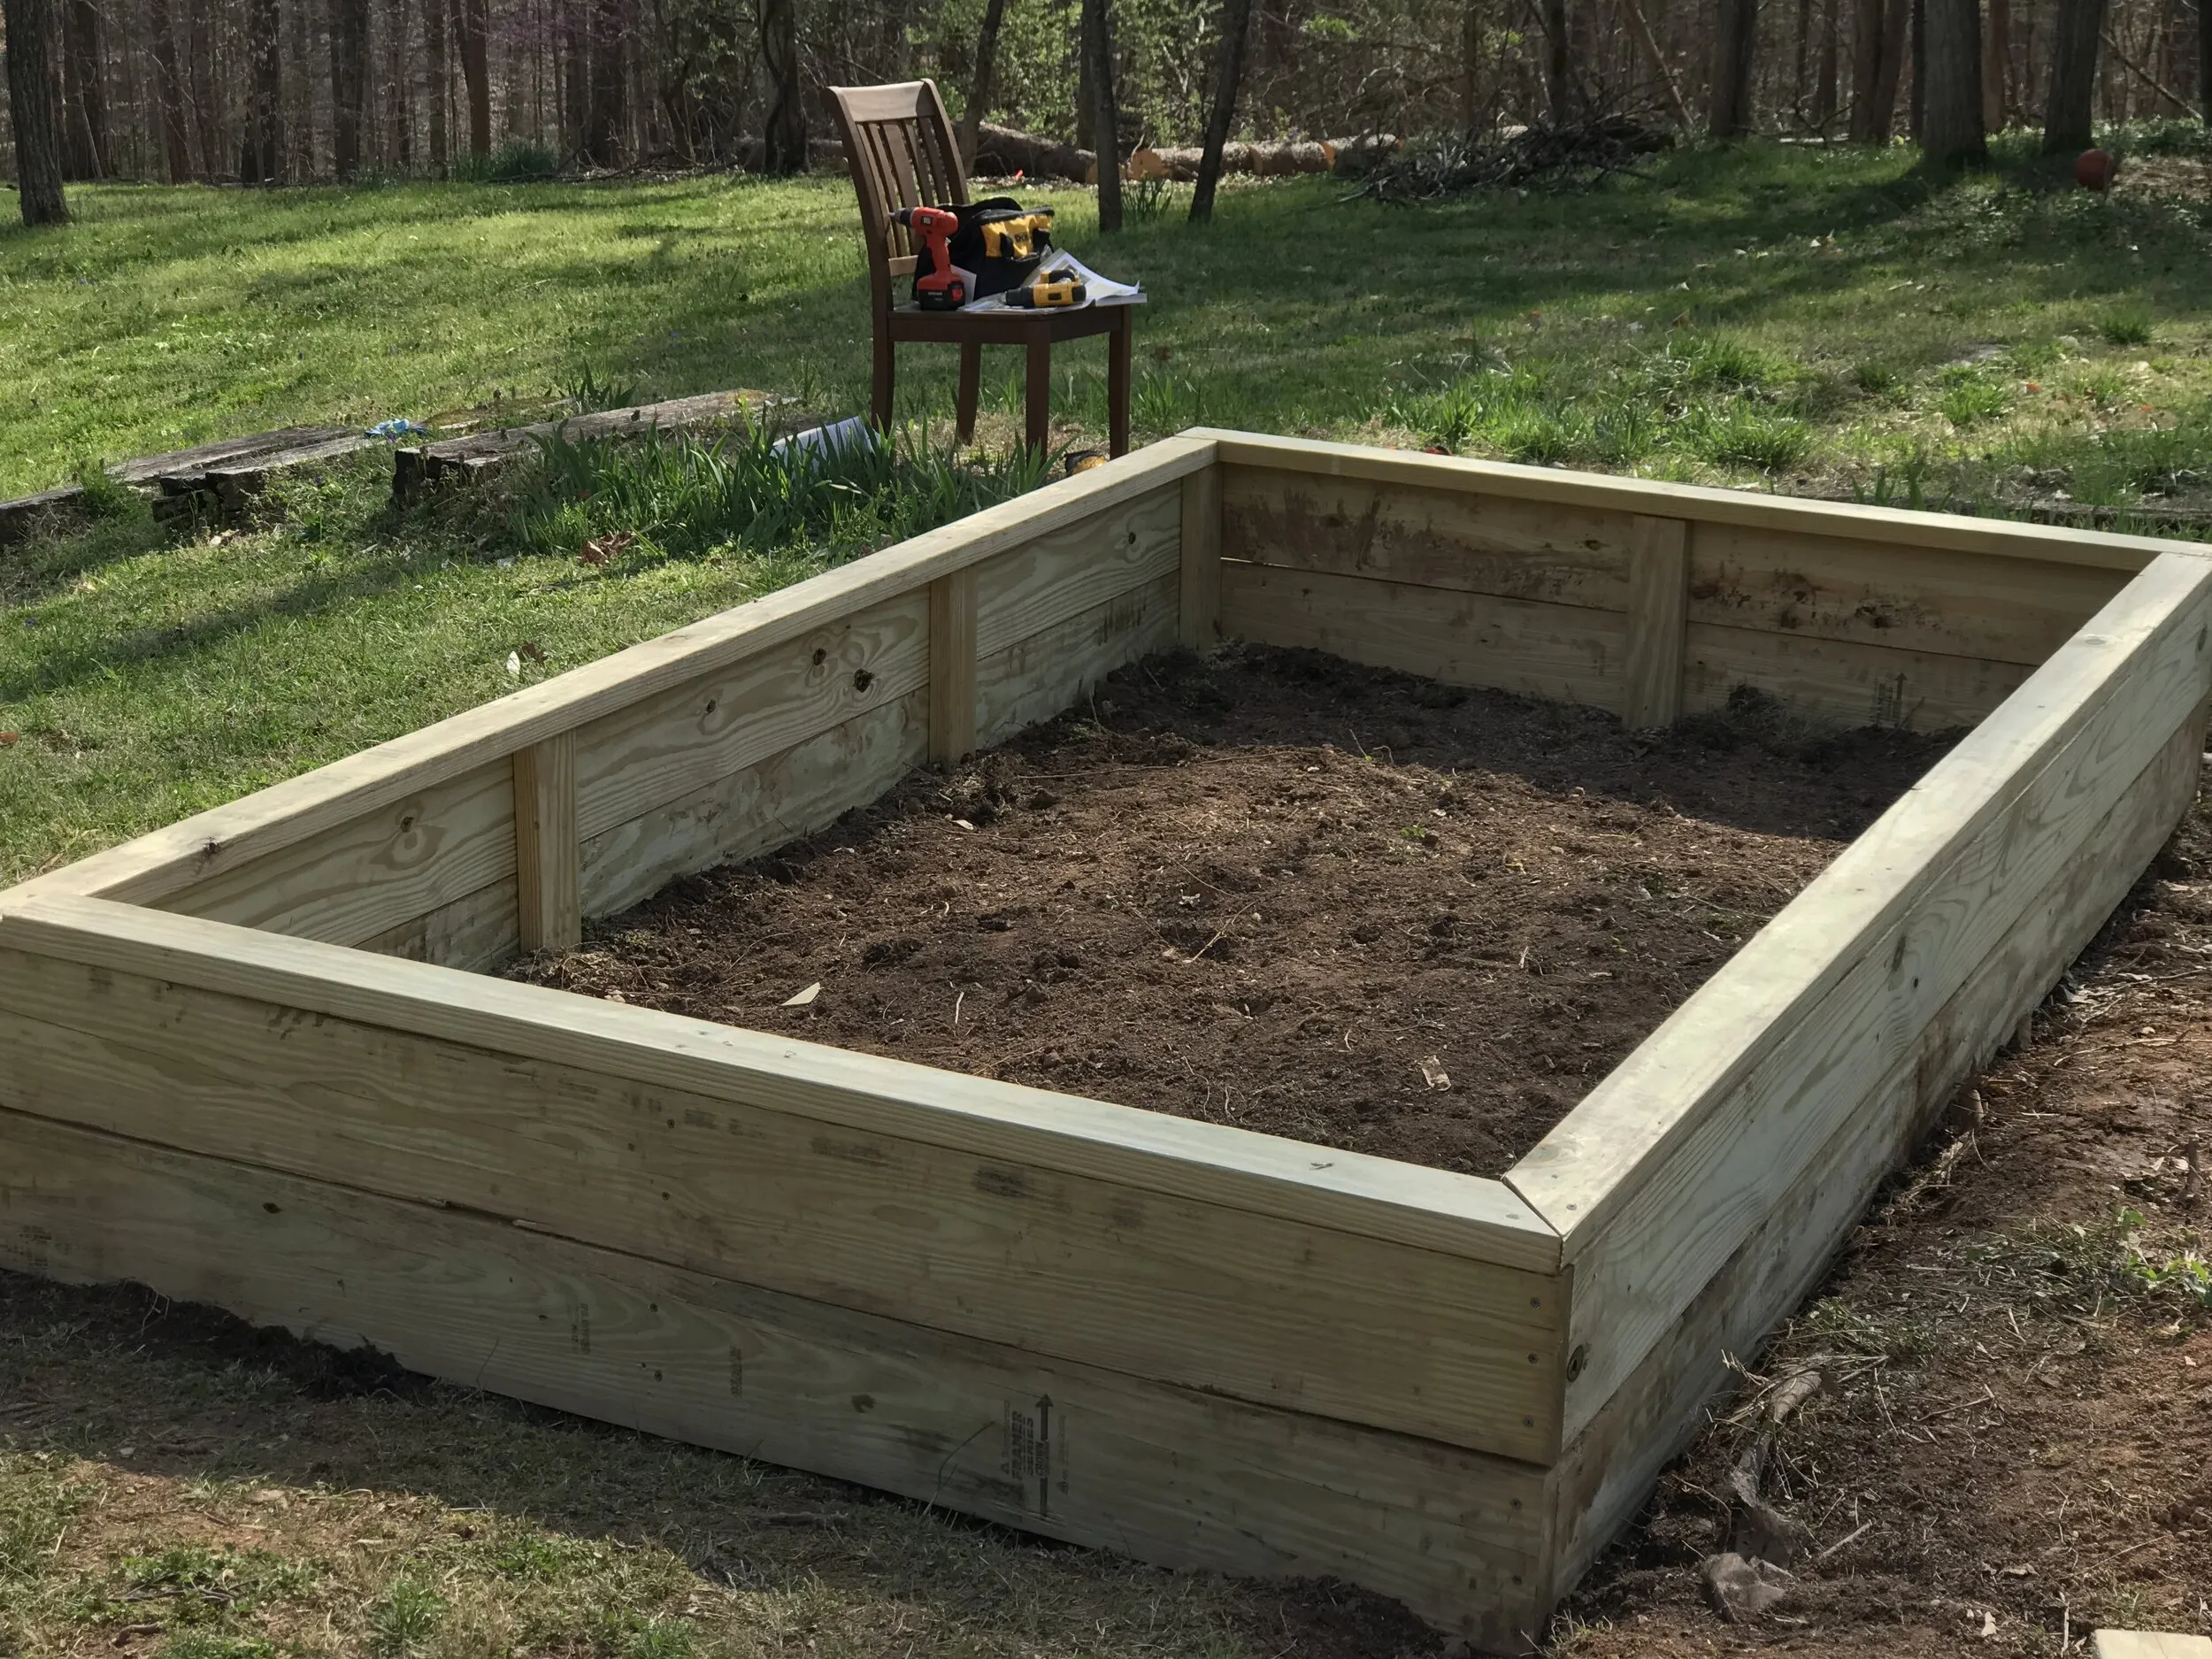 Add Lip
Caption: A finishing touch – the lip adds a polished look and a handy seat.
Filling Your Raised Garden Bed
Now that you’ve built a beautiful and sturdy raised bed, it’s time to fill it with a nourishing soil mix that will set your plants up for success. Check out my next article, “Soil Mix and Hugelkultur: Filling Raised Beds,” for expert advice on creating the perfect growing medium.
Conclusion: Happy Gardening!
Congratulations! You’ve now joined the ranks of DIY gardeners who enjoy the benefits of custom-built raised beds. As you embark on your gardening adventure, remember that Robert Kline Art is here to inspire your creativity and provide valuable resources.
We’d love to see your handiwork! Share photos of your beautiful raised beds and thriving gardens with us in the comments below. Happy gardening!
