Blog
Folding Mobile Workbench: The Perfect Solution for Small Spaces
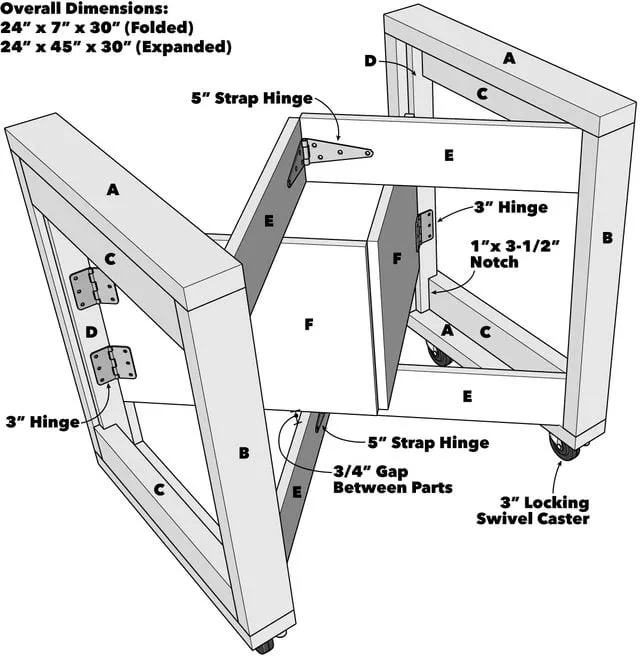
Do you love to tinker and create, but struggle with limited workspace? As a fellow DIY enthusiast, I understand the struggle. That’s why I’m excited to share a solution that has revolutionized my crafting experience – the folding mobile workbench. This ingenious design provides a sturdy and spacious work surface when needed, and neatly folds away when not in use.
This guide will provide a step-by-step walkthrough, inspired by the excellent design from Family Handyman, to help you build your own folding mobile workbench. This project is perfect for beginners and can be completed in just a few hours.
Tools and Materials You’ll Need
Before diving in, let’s gather our tools and materials:
Tools:
- Drill/driver
- Jigsaw
- Miter saw
- Table saw or circular saw
Materials:
- 1-3/4″ Construction screws
- 1×4 pine
- 2×4 Pine (30′)
- 3″ Construction screws
- 3″ locking swivel casters (4)
- 3” Butt hinges (8)
- 4′ x 8′ sheet of 3/4″ plywood
- 5″ strap hinges (4)
- Hook-and-eye latches (2)
- Wood glue
Building Your Folding Mobile Workbench: A Step-by-Step Guide
Step 1: Constructing the End Frames
Begin by creating two identical end frames. These will form the backbone of your workbench. Use glue and screws to secure the frame rails (A) to the frame stiles (B). To provide additional support, attach the fixed supports (C) to the inside of each stile.
Step 2: Adding the Mounting Strips
Next, we’ll prepare the mounting strips that will house the folding supports. Cut the 1×3 pine into 2-inch wide strips on your table saw, then cut them to the desired length as per your chosen design. Use a jigsaw to cut notches at both ends of each strip to create the mounting strips (D). Attach these securely to the inside face of the frame stiles (B) with glue and screws.
 Folding Mobile Workbench
Image: Technical drawing showing the components of the folding mobile workbench.
Step 3: Mounting the Folding Supports
Now, for the heart of the folding mechanism. Align the folding support arms (E) with the mounting strips (D) and attach them using butt hinges and screws. Ensure the arms fold smoothly against the frame rails (A). Repeat this process to attach the folding support panels (F) on the opposite side, using a plywood scrap for accurate alignment.
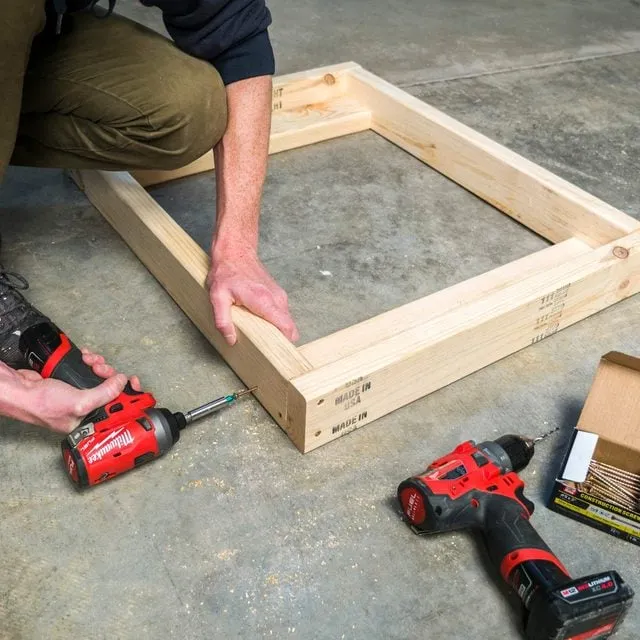 Folding Mobile Workbench 1
Image: Attaching the folding support arm to the mounting strip using a butt hinge.
Step 4: Joining the Two Frames
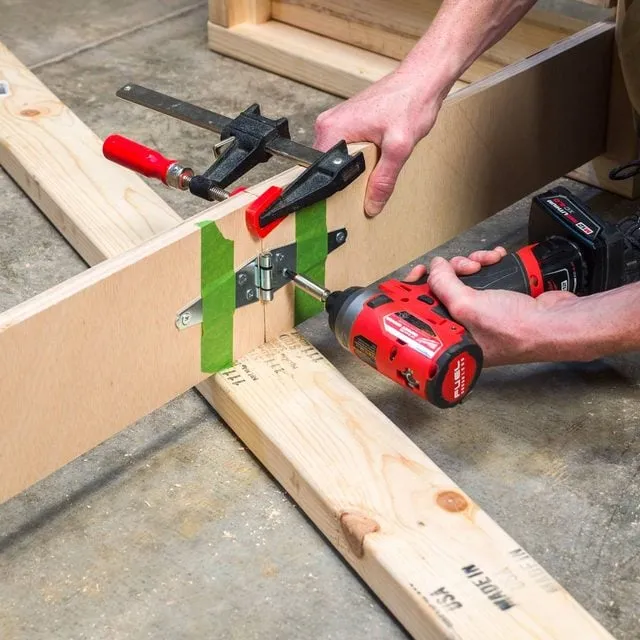
With the supports in place, it’s time to join the two end frames. Open the support arms and panels, then clamp them together for a secure hold. Position the strap hinges on the connecting pieces, using tape to hold them temporarily while you screw them on.
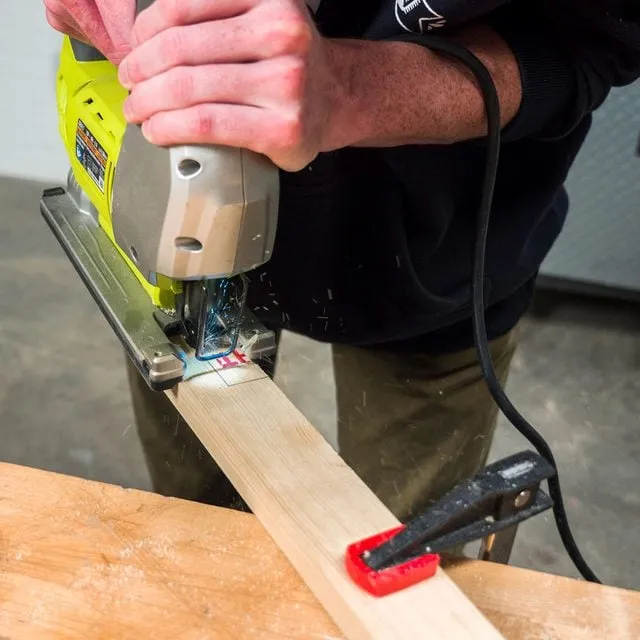 Folding Mobile Workbench 2
Image: Joining the two end frames together using strap hinges for the folding mechanism.
Step 5: Installing the Latches
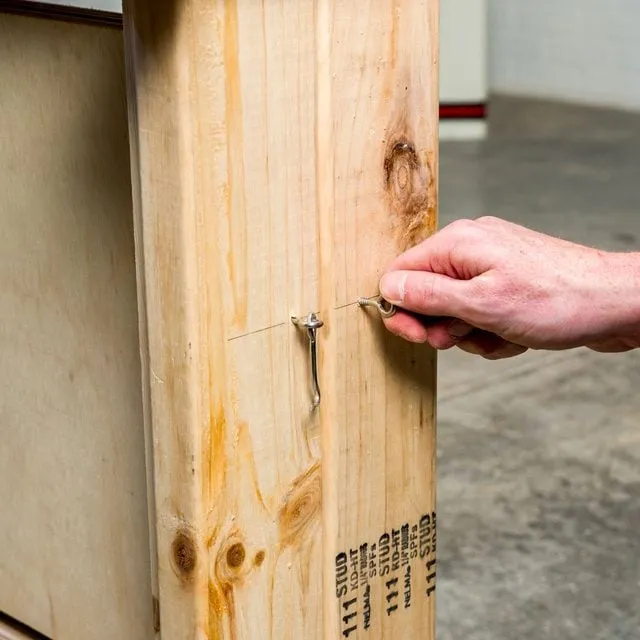
Close the assembly and clamp it tightly. Install the hook-and-eye latches on the outer faces of the frame stiles (B). These latches will keep your workbench securely folded during storage and transport.
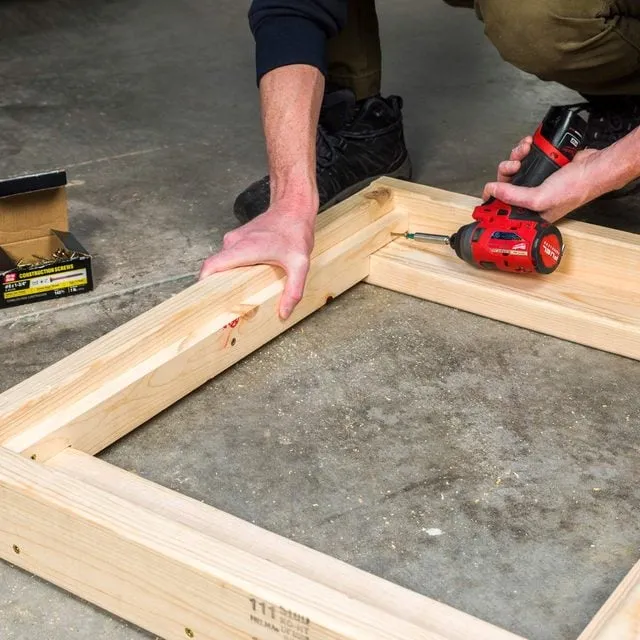 Folding Mobile Workbench 3
Image: Installing a hook-and-eye latch to keep the workbench securely folded when not in use.
Step 6: Creating the Workbench Top
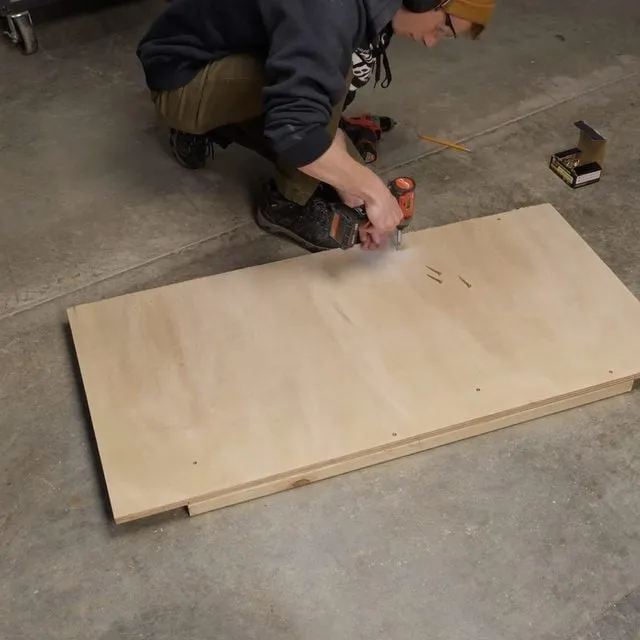
Cut the plywood sheet to your desired size for the benchtop (G). Attach the top rails (H) to the underside of the benchtop, approximately 5 inches from each end. This will provide extra support and prevent sagging.
 Folding Mobile Workbench 4Folding Mobile Workbench 5
Image: Attaching the top rails to the underside of the benchtop for added support.
Step 7: Adding the Casters
Finally, with the bench folded, attach the swivel casters to the bottom of the frame rails (A). Ensure you offset the casters slightly to prevent them from colliding when you’re moving the workbench.
 Folding Mobile Workbench 4Folding Mobile Workbench 6
Image: Attaching the swivel casters to the bottom of the frame rails for mobility.
 Folding Mobile Workbench 4Folding Mobile Workbench 7
Image: The completed folding mobile workbench, ready for use.
Conclusion
Congratulations! You’ve just built your own folding mobile workbench. Not only is this a practical addition to any small workspace, but it’s also incredibly rewarding to build something with your own two hands.
So, gather your tools and materials, and embark on this exciting DIY journey. And remember, at Robert Kline Art, we believe that everyone has the potential to create something beautiful and functional. Feel free to share your finished workbench with us – we love to see your creativity come to life!
