Blog
Building a Floating Dock: Your Step-by-Step Guide

Hey there, fellow pond enthusiasts! Robert Kline here, your trusted guide in the world of DIY and crafting. Today, we’re diving into a project that’s close to my heart: building a floating dock for your very own pond or lake.
There’s something truly magical about extending your living space out onto the water. Imagine yourself basking in the sun, feet dipped in cool water, the gentle sounds of nature serenading you. That’s the dream, and with a bit of elbow grease, we can make it a reality!
Planning Your Floating Oasis
Before we grab our hammers and nails, let’s lay the groundwork for a successful project:
1. Location, Location, Location: Scout the perfect spot for your dock. Consider sunlight, water depth, and accessibility from the shore.
2. Size Matters: Determine the dimensions that best suit your needs. Will it be a cozy retreat for two or a spacious platform for gatherings?
3. Material World: Choose durable, weather-resistant materials like pressure-treated lumber, composite decking, or cedar. For the floats, we’ll explore options like sealed plastic barrels or specialized foam blocks.
4. Safety First: Always prioritize safety! Incorporate features like non-slip decking, sturdy railings, and adequate lighting for nighttime use.
Building Your Dream Dock: A Step-by-Step Guide
Now, let’s get down to business!
1. Constructing the Frame:
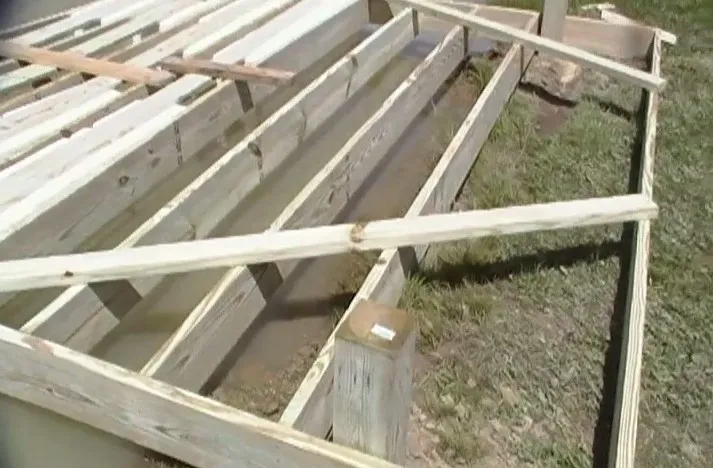
- Using pressure-treated lumber, build a sturdy rectangular frame to your desired dimensions.
- Reinforce the frame with crossbeams for added stability.
2. Attaching the Floats:
- This is where it gets interesting! You can use sealed plastic barrels, securely attached to the frame’s underside, for buoyancy.
- Another option is to use specialized foam blocks designed for dock construction. These offer excellent buoyancy and longevity.
3. Decking Delight:
- Now for the finishing touch! Install your chosen decking material, ensuring a snug fit and leaving gaps for water drainage.
- Consider adding a layer of non-slip coating for enhanced safety.
4. Railings and Accessories:
- Install railings for safety and to define the dock’s perimeter.
- Get creative with accessories! Add a swim ladder, built-in benches, or even a small table for drinks and snacks.
Expert Tips from Robert Kline
Over the years, I’ve picked up a few tricks of the trade:
- Protect Your Investment: Apply a weather-resistant sealant to your dock annually to prolong its lifespan.
- Consider the Environment: Opt for eco-friendly materials whenever possible.
- Consult Local Regulations: Check with your local authorities for any permits or regulations regarding dock construction.
Making it Your Own
Personalize your floating haven! Add potted plants, solar-powered lights, or even a whimsical weather vane. Let your creativity flow!
 dock-trailer
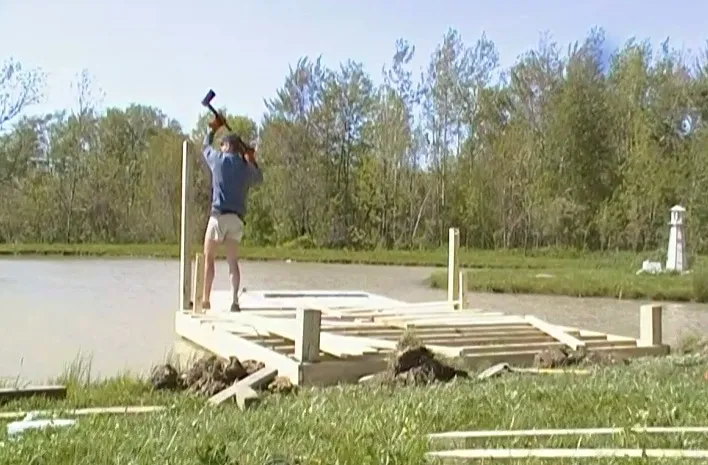
Image: A sturdy floating dock awaits its finishing touches.
 dock-ruff
Image: Framing out the deck with precision.
 dock-almost
Image: The finishing touches transform the dock into an inviting space.
Enjoy the Fruits of Your Labor
Building a floating dock is a rewarding project that enhances your enjoyment of waterfront living. So, gather your materials, put on your creative cap, and let’s get building!
And remember, the folks at Robert Kline Art are always here to answer your questions and offer support. Don’t hesitate to reach out!
Now, go forth and create your own slice of paradise! Be sure to share your creations and experiences in the comments below. And while you’re here, explore our website for more inspiring DIY projects and handcrafted treasures perfect for gifting or adding a touch of handmade charm to your life.
