Blog
Building a Modern Dog House: A Step-by-Step Guide

Hey there, fellow craft enthusiasts! Robert Kline here, and today we’re diving into the world of DIY for our furry friends. As someone who’s always had a passion for both crafting and canines, I couldn’t resist sharing a project that beautifully blends the two: building a modern dog house!
Building your own dog house is a rewarding experience. You’ll not only gain a sense of accomplishment but also provide your beloved companion with a cozy and stylish haven they can call their own.
Gathering Your Tools and Materials
Before we embark on this creative journey, let’s gather our essential tools and materials:
Materials:
- 2-3 sheets of ¾” plywood
- 1 pack of cedar shingles
- Pallet wood
- 1 – 2×4 for trim
- 1 – Solar light
- Admiral blue paint
- Liquid nails construction adhesive
- Silicone caulk
Tools:
- Circular saw
- Jigsaw
- Tape measure
- Pencil
- Hammer
- Nails
- Safety glasses
- Work gloves
Building Your Dog House: A Step-by-Step Guide
Now, let’s break down the construction process into manageable steps:
Step 1: Cutting the Plywood
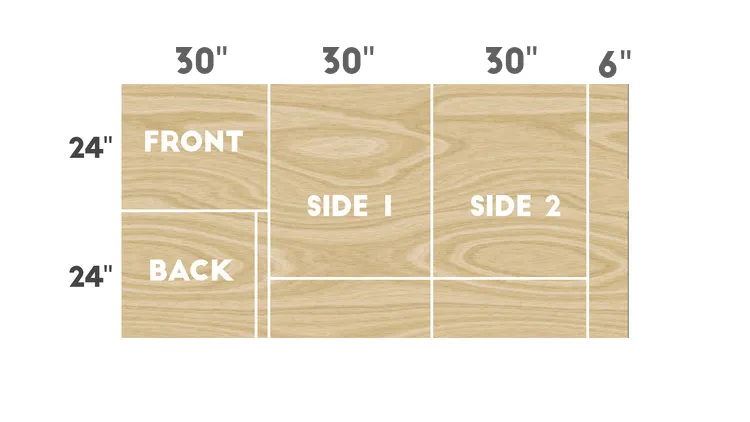
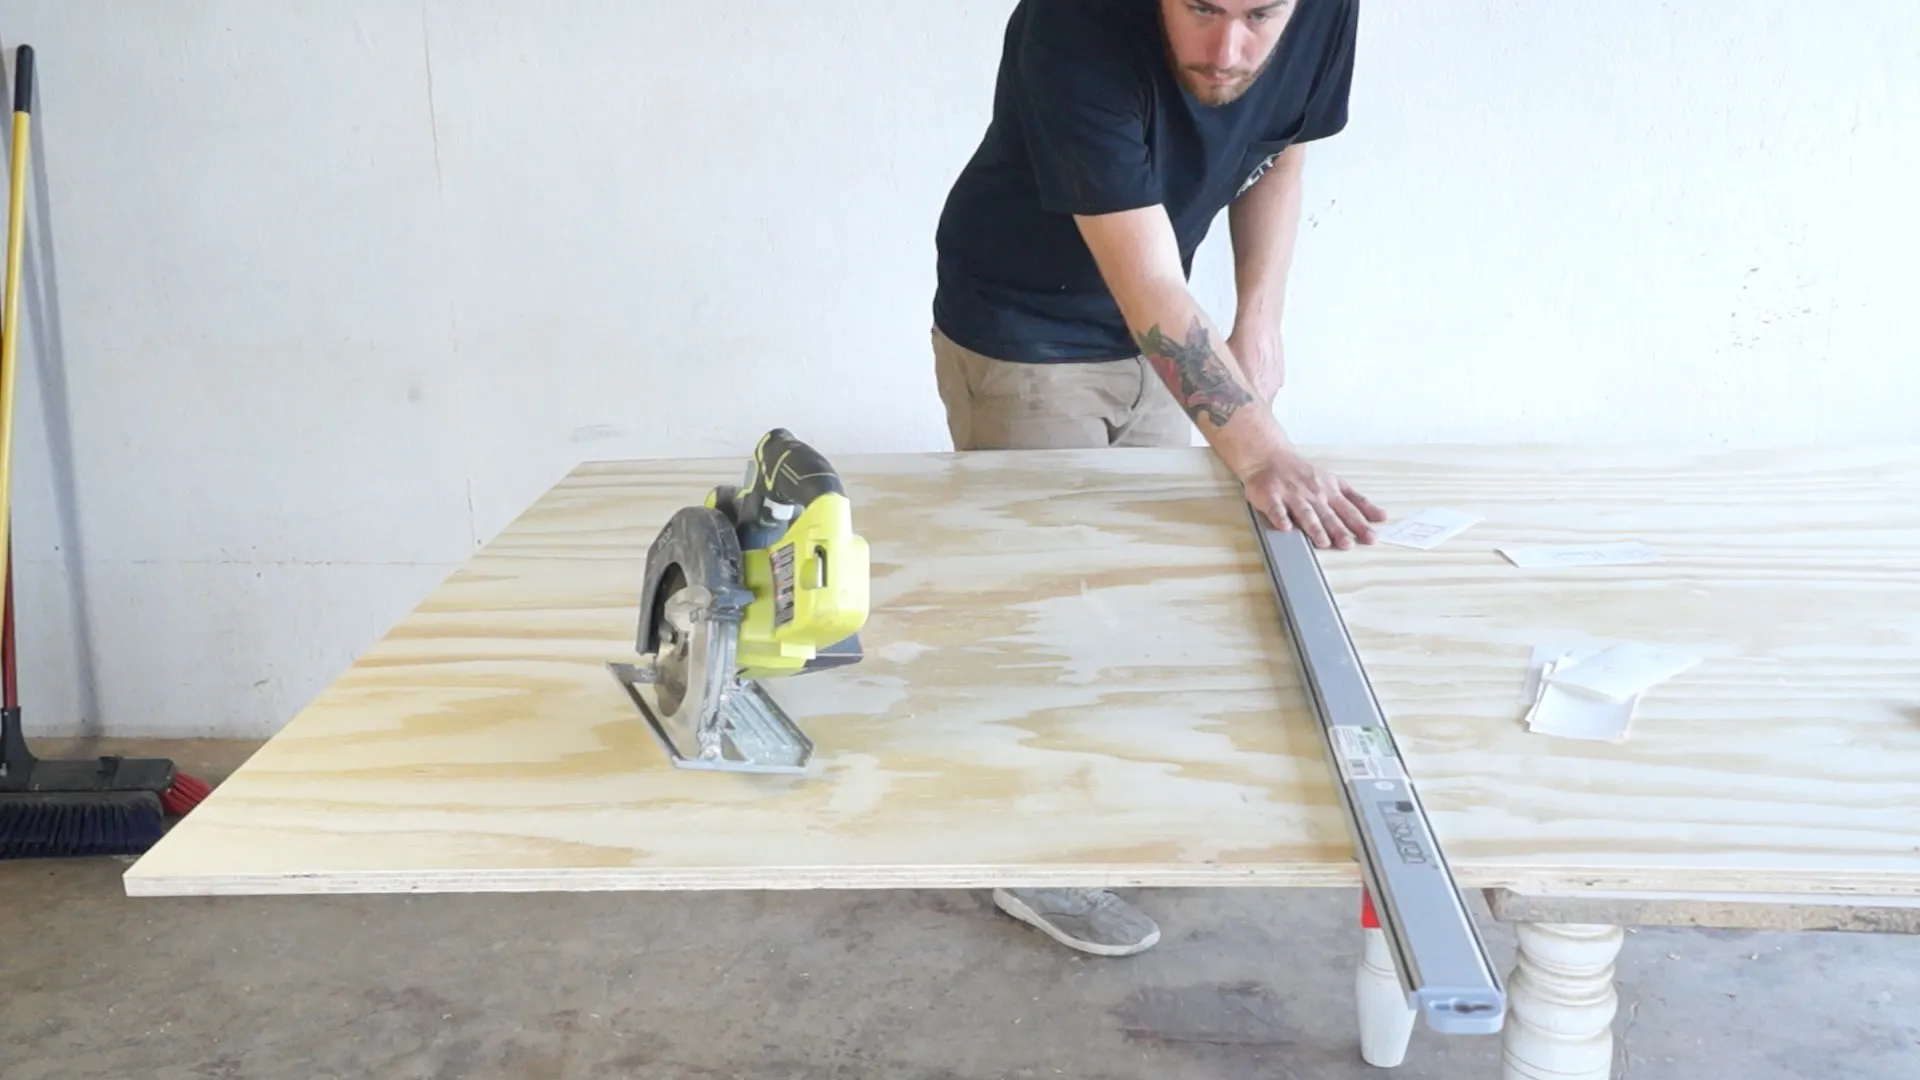
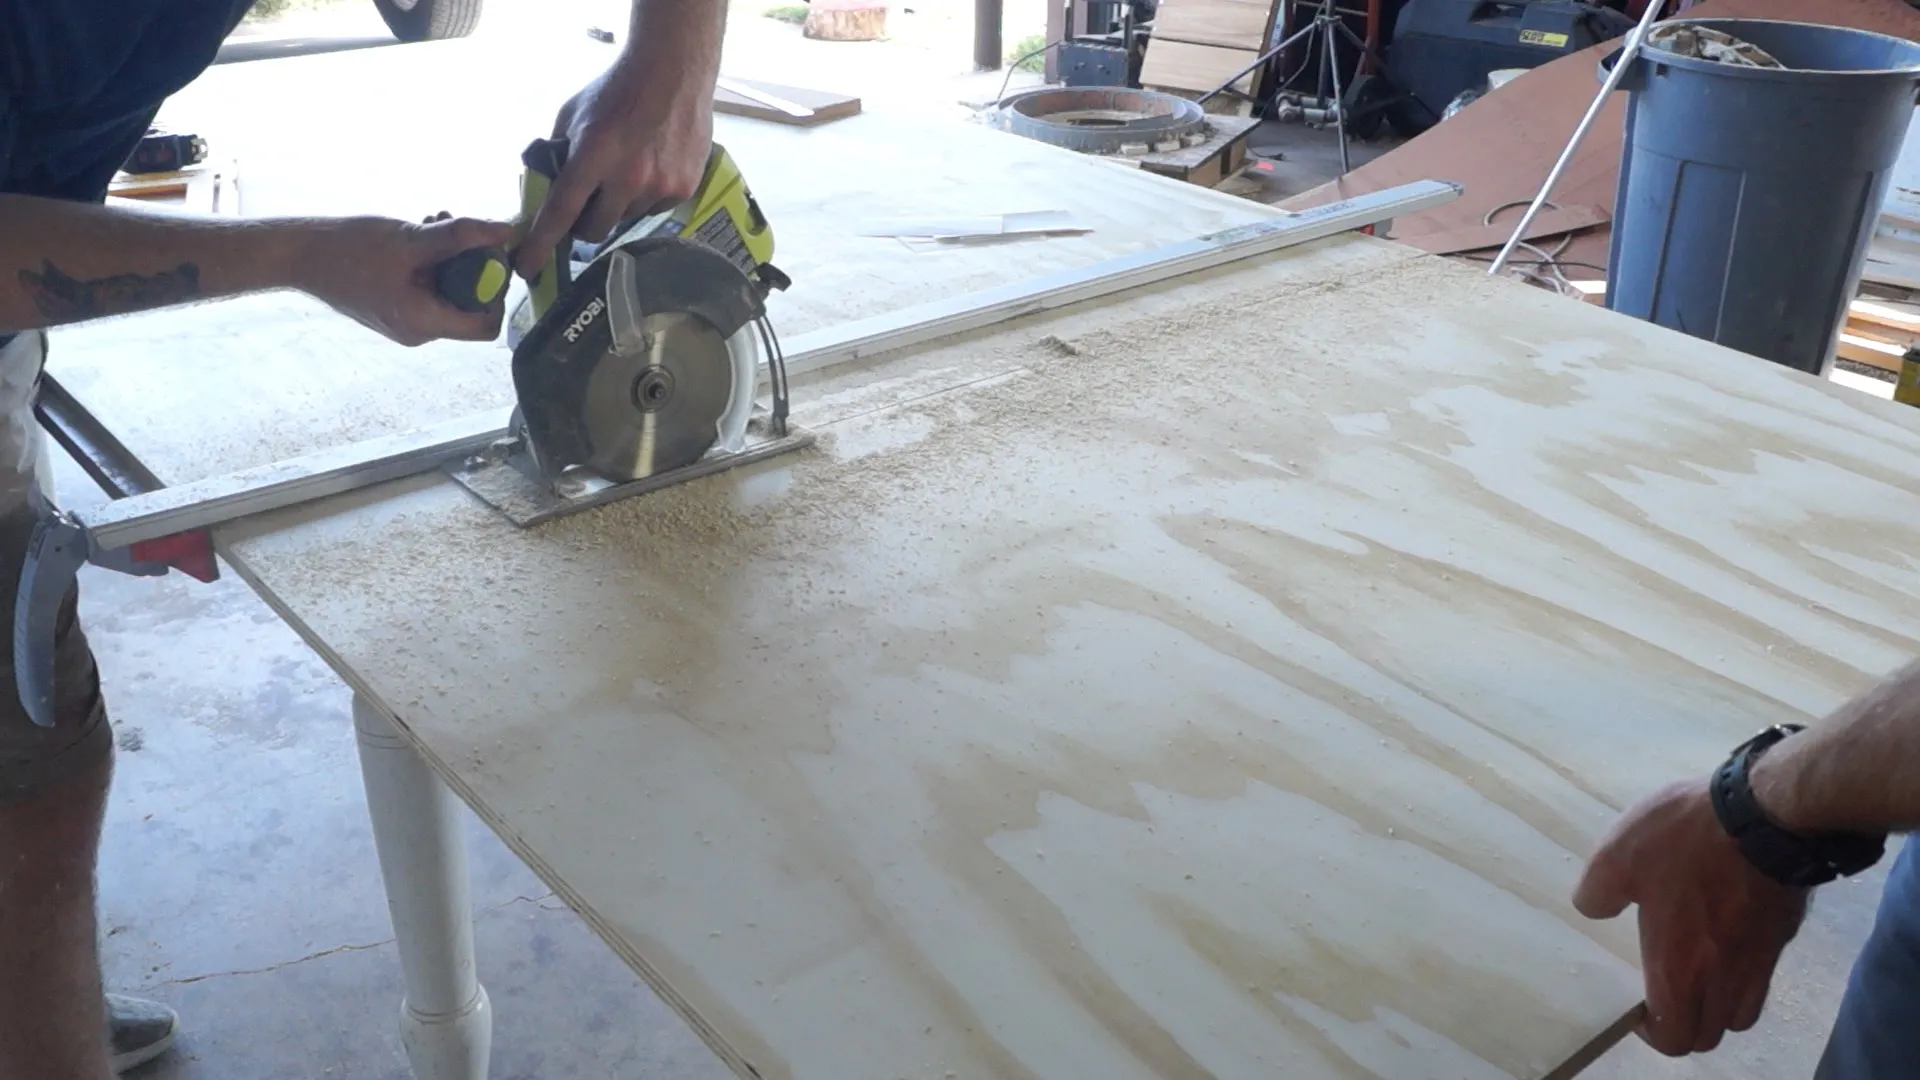
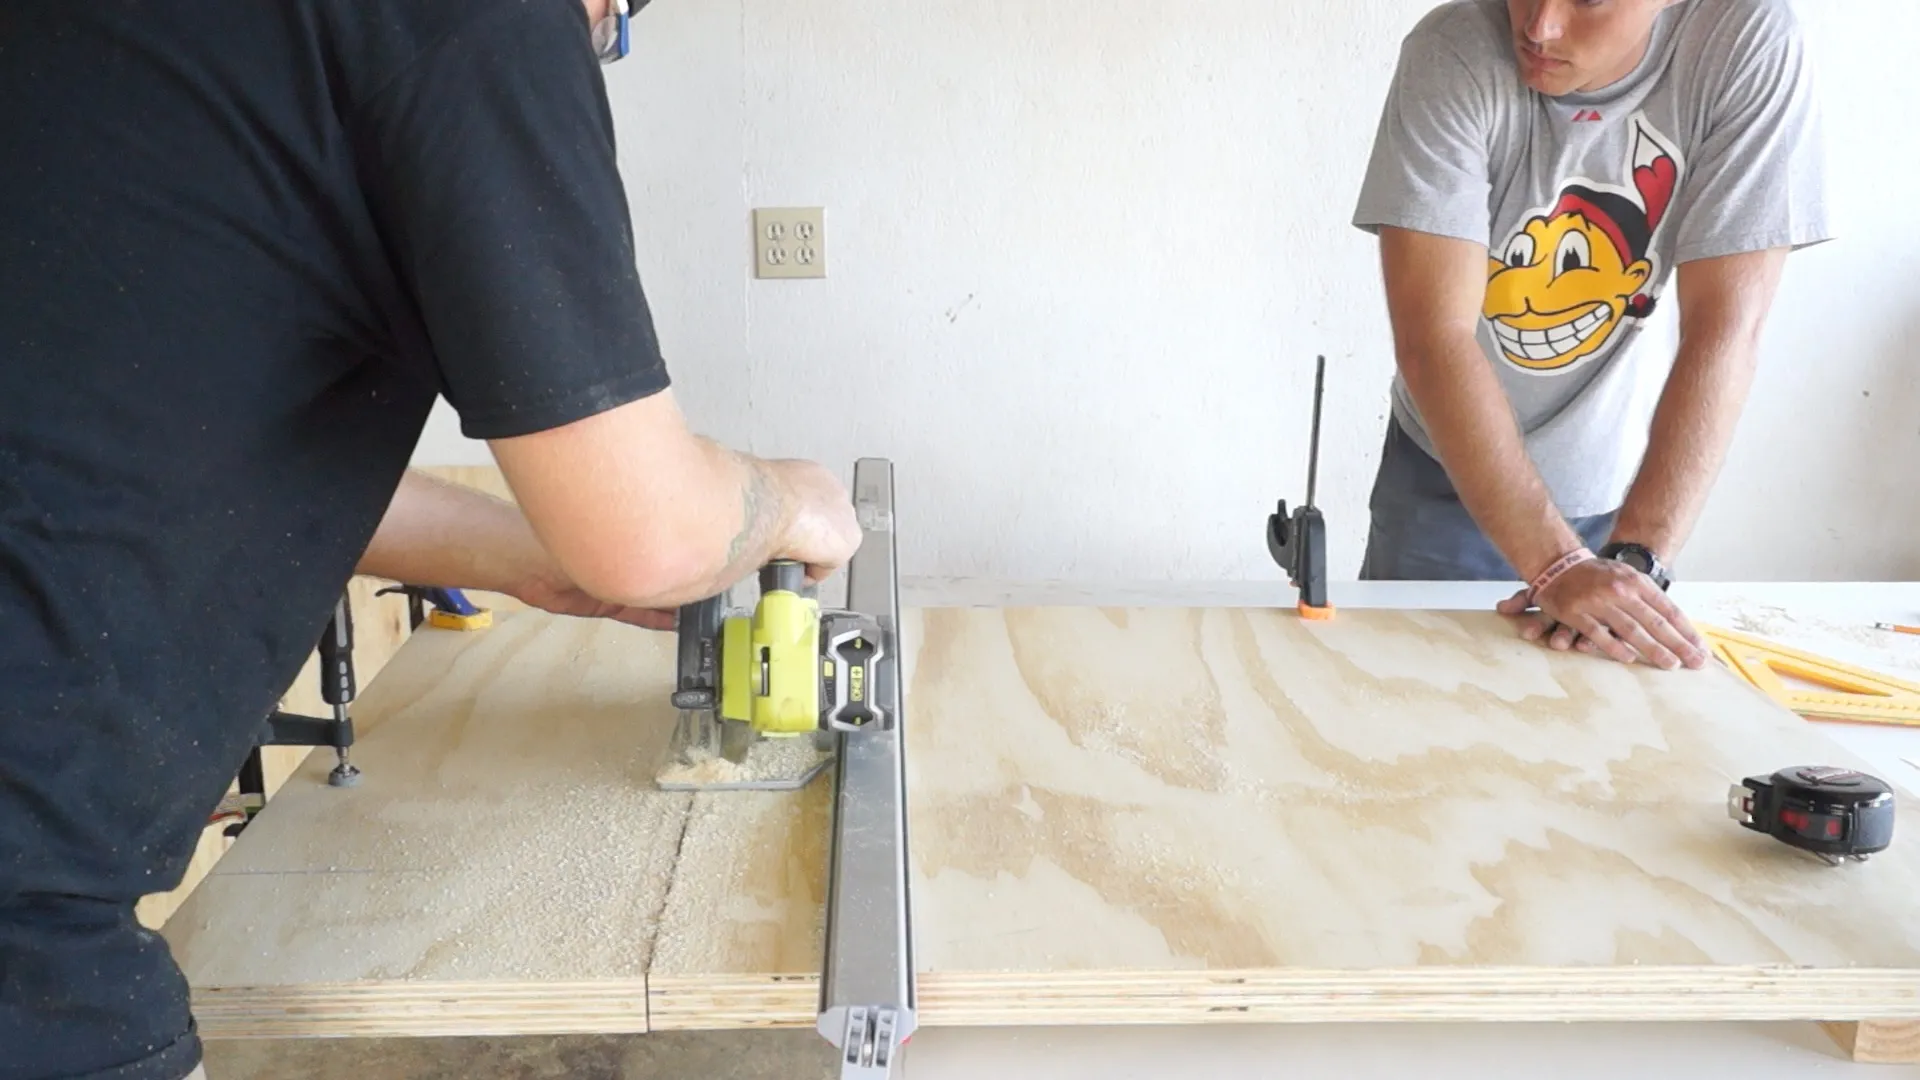
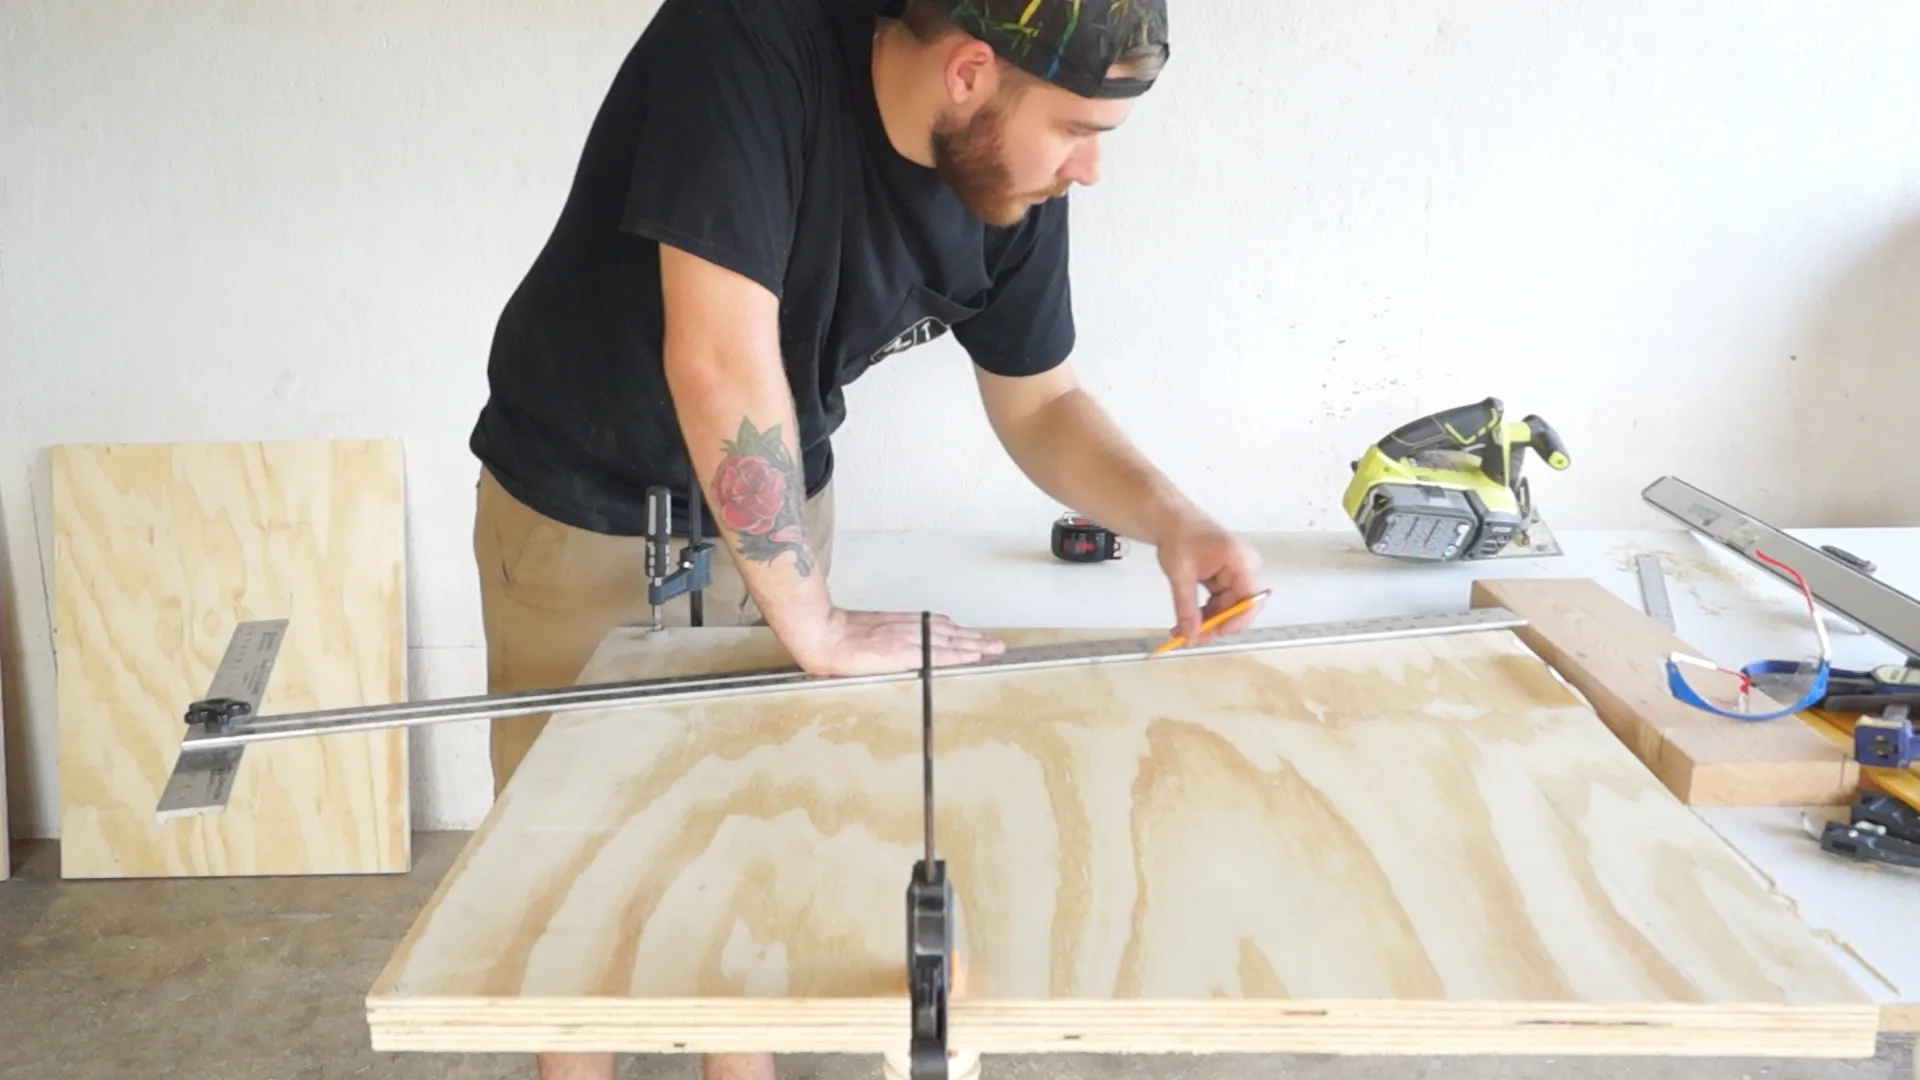
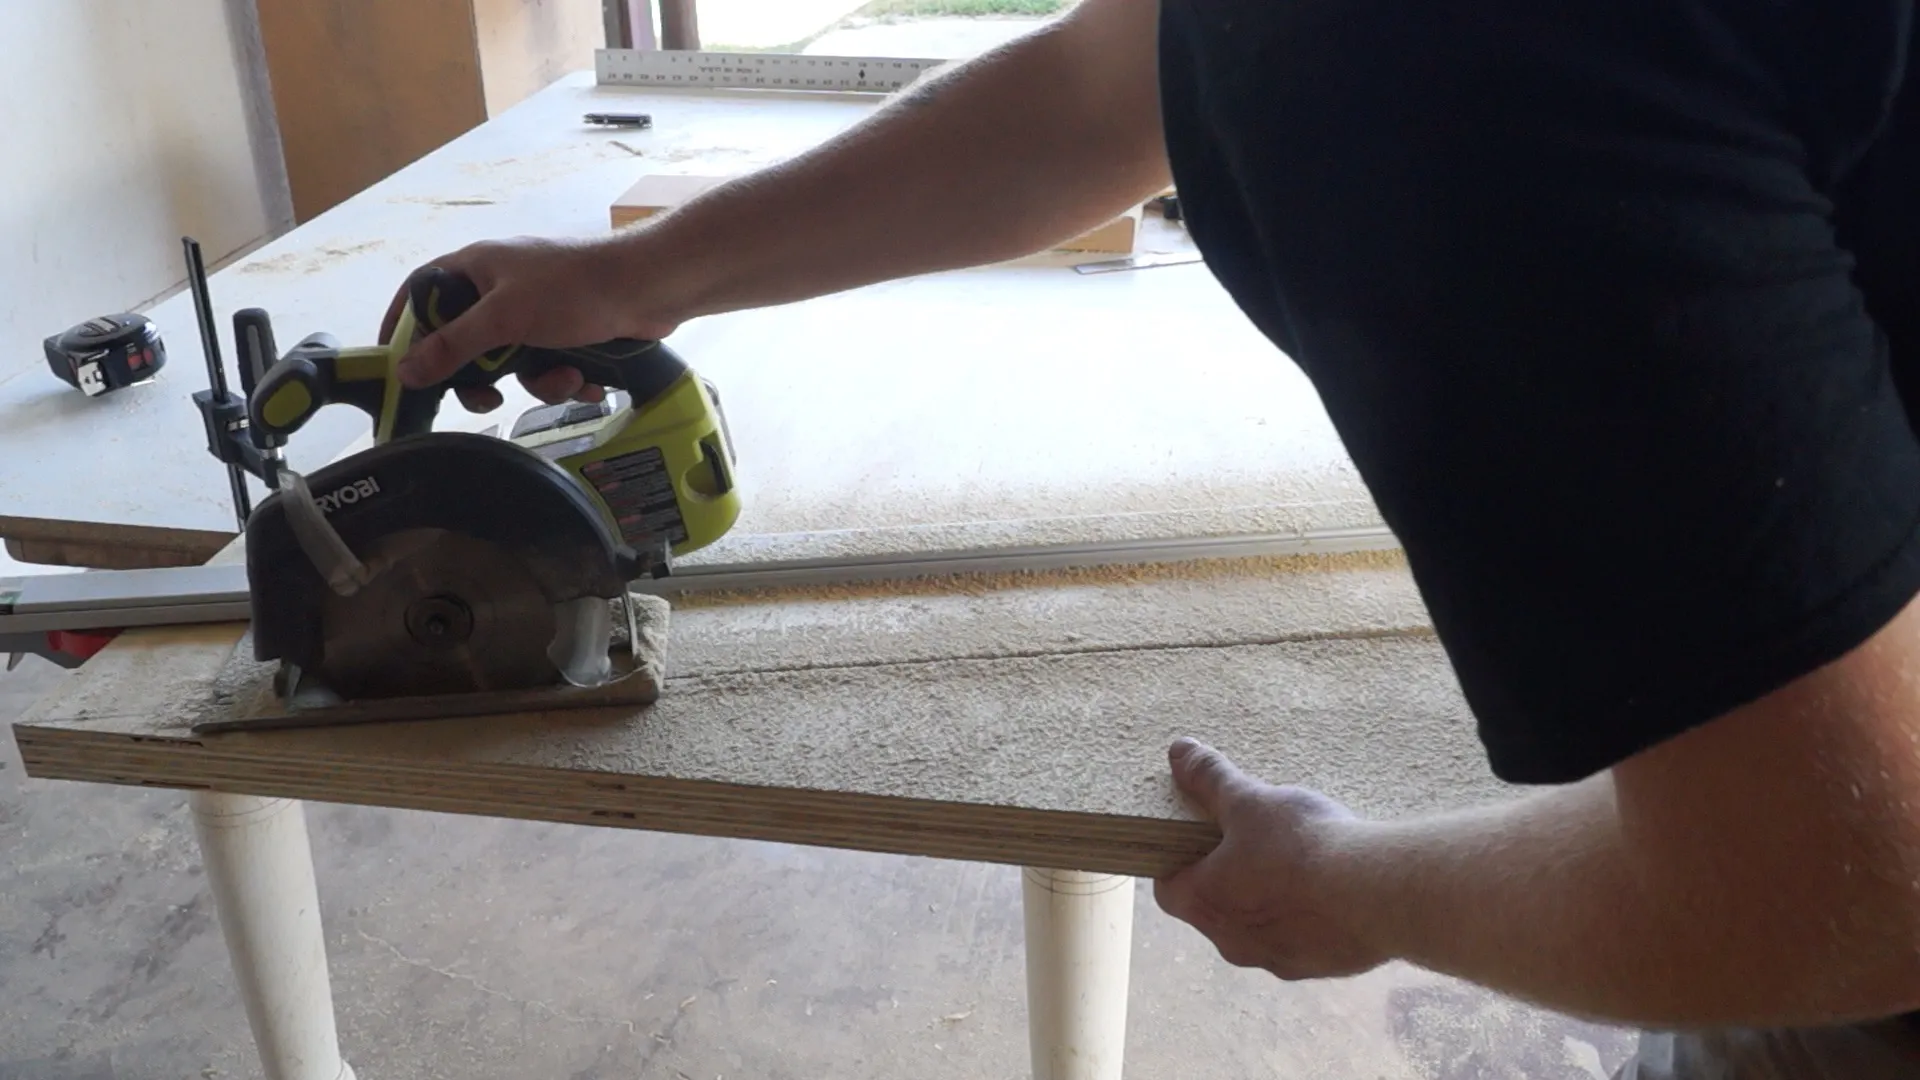
Using the trusty circular saw and a straight edge, carefully cut all the dog house pieces from the ¾” plywood according to your desired dimensions. “Always measure twice and cut once,” as my woodworking mentor used to say!
 Dog house plans
Step 2: Creating the Roof Pitch
To achieve that modern slanted roof look, use a straight edge to determine the desired angle for your roof. Then, with your circular saw, carefully cut the two side pieces accordingly.
 Marking the roof pitch
Step 3: Cutting the Doorway
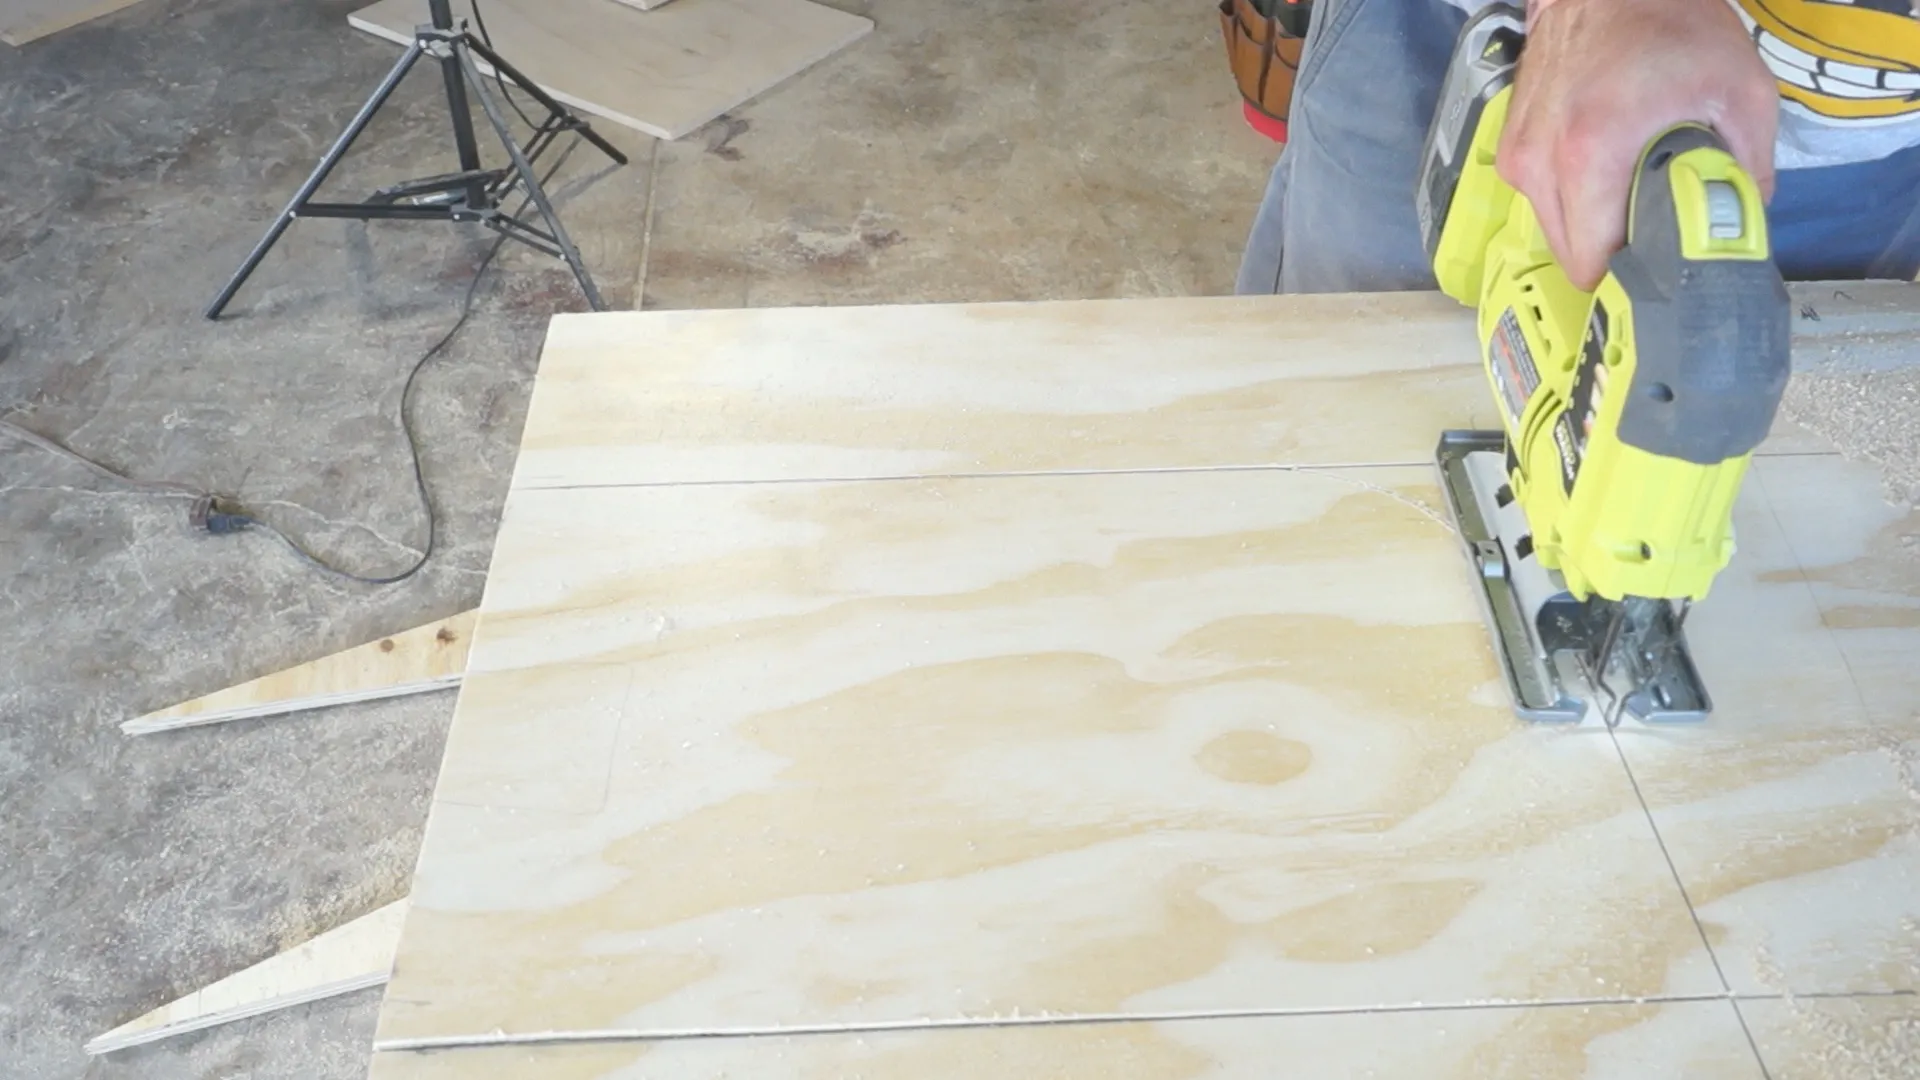
Time to give your furry friend a grand entrance! Using a jigsaw, carefully cut out the doorway to your desired size and shape. Remember, the opening should be comfortable for your dog to enter and exit.
 Cutting out the door
Step 4: Assembling the Structure
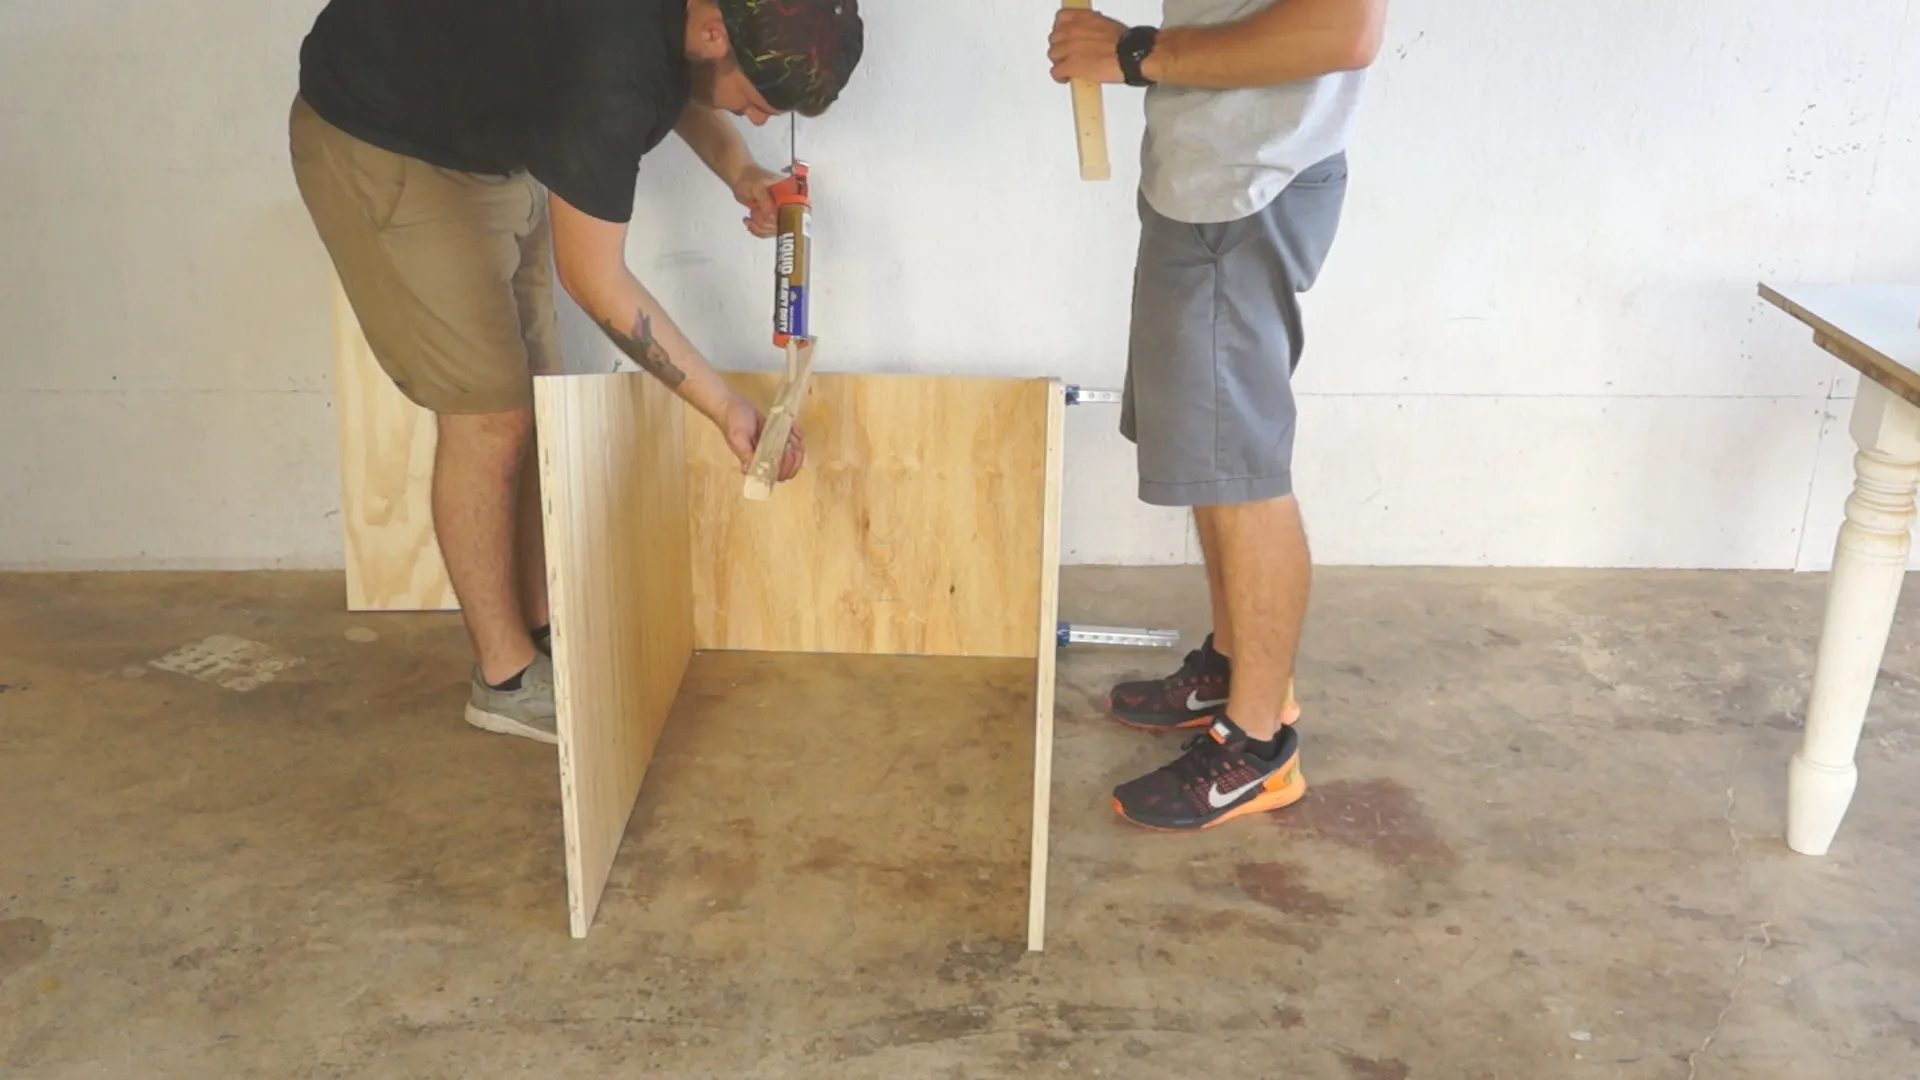
Now, the fun begins! Assemble the dog house shell. For added stability and a robust construction, cut 2×2 pieces for corner braces. These braces provide a larger surface area for both the construction adhesive and nails.
 Attaching the sides
Step 5: Adding the Roof and Floor
From your second sheet of plywood, cut out the floor and roof pieces. Attach the roof using hinges, allowing for easy access and cleaning. Secure the floor using two right-angle brackets at each corner. To ensure a weather-tight construction, apply silicone caulk to all joints.
 Attaching the roof
Step 6: Painting for a Personal Touch
Now for the artistic flair! Apply a coat of admiral blue paint to the exterior of the dog house. This classic color choice adds a touch of modern elegance while complementing any outdoor setting.
 Painting the dog house
Step 7: Upcycling with Pallet Wood
Let’s give our dog house some sustainable style by incorporating pallet wood for the siding. Disassemble a pallet and use the pine slats for the exterior walls. You can get creative and use different types of wood for a unique and charming look.
 Attaching pallet wood siding
Step 8: Shingling the Roof
For a touch of rustic charm and added weather protection, install cedar shingles on the roof. These shingles not only look great but also help to tie in the wood elements from the rest of the build.
 Shingling the roof
Step 9: Adding the Finishing Touches
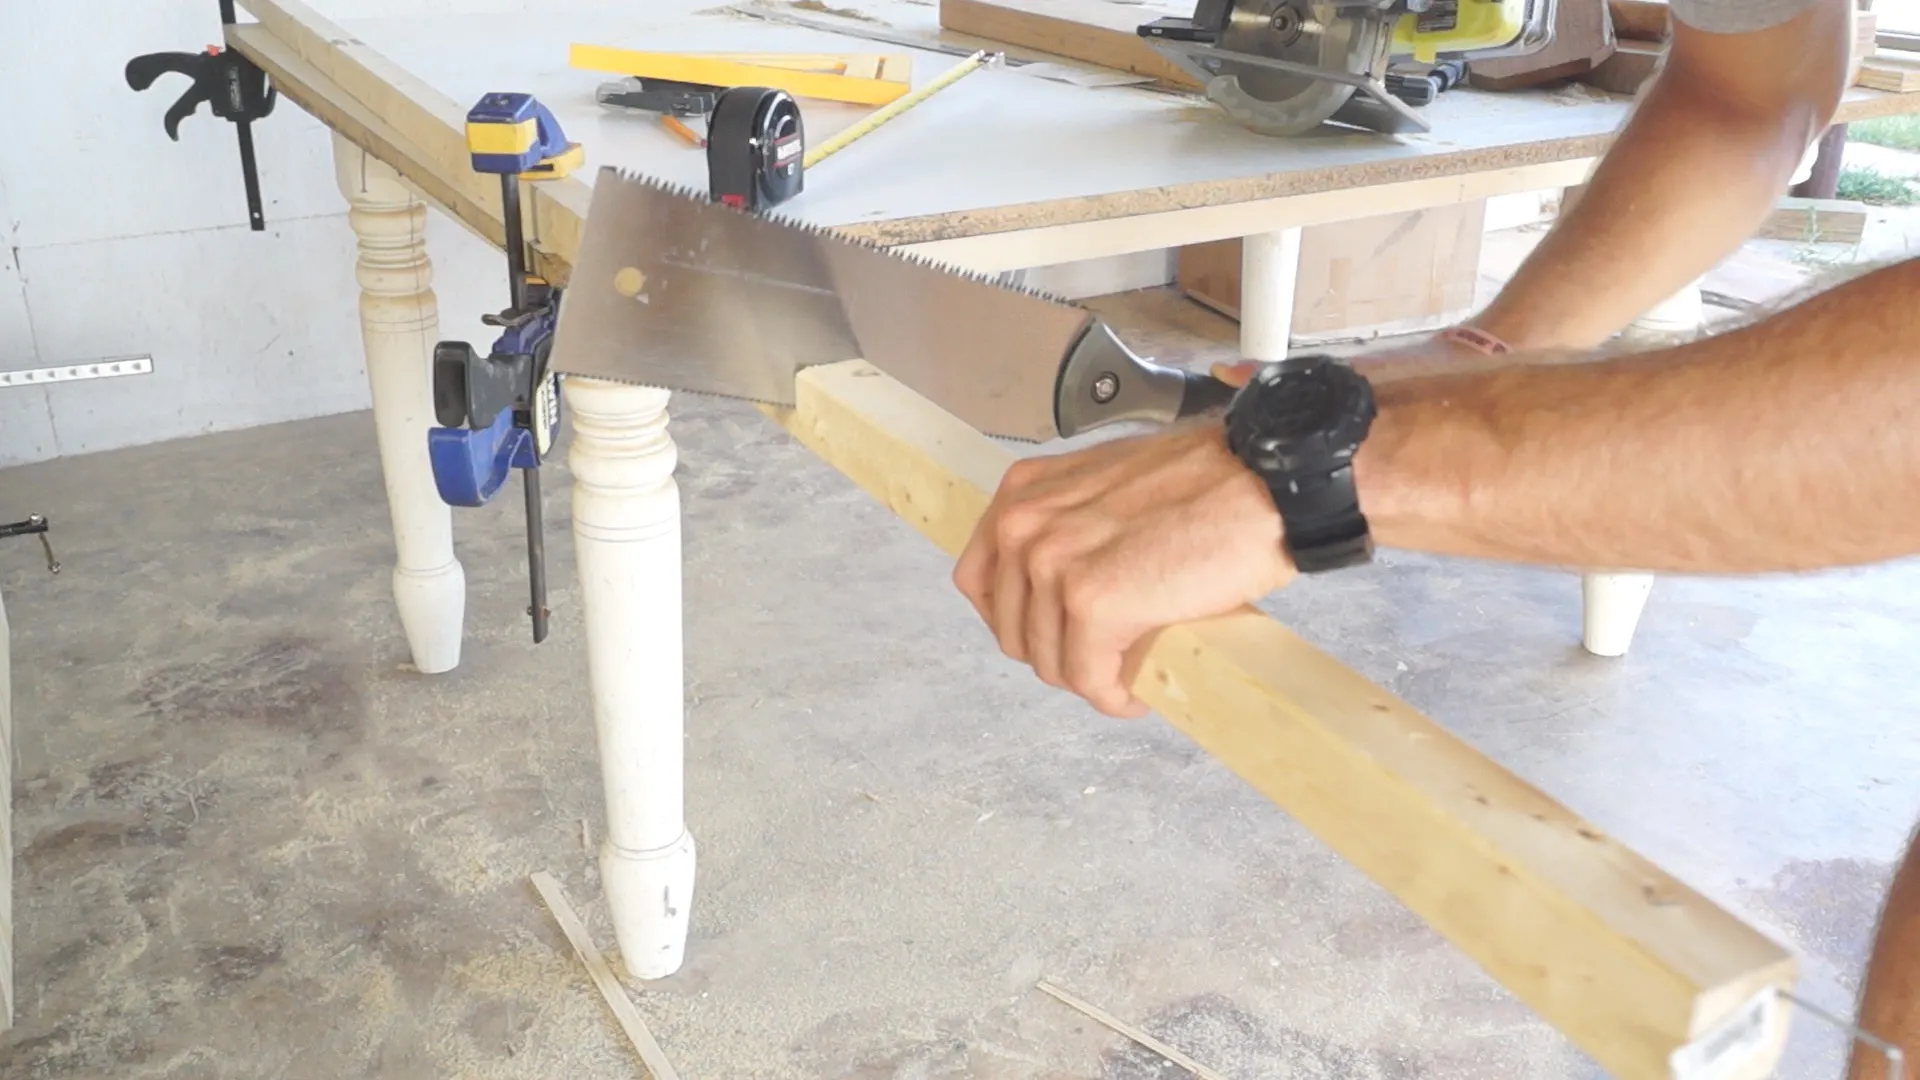
Elevate the look of your dog house by adding trim. Rip a 2×4 into ¼” strips and carefully attach them around the door, roofline, and base. Trim adds a polished look to any woodworking project.
 Adding trim around the door
Step 10: Building a Stylish Awning
For an added touch of architectural flair, consider adding an awning over the entrance. Glue two pieces of scrap ¾” plywood together and trim them to length. For a charming “porch light,” use a hole saw to create an opening for a solar path light.
 The finished dog house with an awning
Conclusion
Congratulations on crafting a modern masterpiece for your furry companion! Not only have you built a stylish and functional dog house, but you’ve also created a testament to your creativity and love for your pet.
Don’t forget to share pictures of your creations, and head over to Robert Kline Art for more inspiring DIY projects and unique handmade gifts. Let’s keep those creative sparks flying!
