Blog
Building Your Own Private Outdoor Shower Enclosure: A Step-by-Step Guide

Imagine this: the sun is setting, you’ve just come in from a day at the beach, and you’re rinsing off under your very own outdoor shower, the gentle breeze whispering through the trees. Sounds idyllic, right? At Robert Kline Art, we believe everyone deserves a little slice of paradise. That’s why I’m excited to share a comprehensive guide on building your very own DIY outdoor shower enclosure, perfect for washing away the sand and stress!
This project is more than just a functional addition to your home; it’s about embracing a connection with nature and adding a touch of luxury to your life. Whether you’re a seasoned DIYer or a beginner with a can-do attitude, this step-by-step guide will equip you with everything you need to know.
Let’s get started!
Gathering Your Materials
Before you begin, make sure you have all the necessary tools and materials. Here’s a list to get you started:
Tools:
- Measuring tape
- Inverted Marking Paint
- Shovel
- Level
- Drill
- Table saw
- Mitre saw
- Ladder
- Personal protective equipment (safety glasses, gloves, appropriate shoes)
Materials:
- Gravel
- Sand
- 12 – Oldcastle Quadral Patio Stones (or similar)
- 5 – Concrete Deck Footing Blocks
- 5 – 4”x4”x8’ Pressure Treated Wood, cut to 7’
- 8 – 2”x4”x8’ Pressure Treated Wood
- 1”x6”x8’ Treated Wood Fence Boards (cut to varying lengths)
- 5 – Veranda 4”x4” Post Caps (or similar)
- 2 1/2” Cedar deck screws
Important Note: The material quantities are approximate and may need adjusting based on your shower enclosure’s desired size and design. Always double-check your measurements before making any cuts.
Choosing the Perfect Location
Selecting the right spot for your outdoor shower is crucial. Consider the following:
- Privacy: Choose a location that offers some natural privacy, such as behind a hedge or nestled amongst trees.
- Water Source: Ensure your chosen spot has easy access to a water source, like a garden hose bib.
- Drainage: Opt for a slightly elevated area to allow for proper water drainage and prevent pooling.
Building a Solid Foundation
A strong foundation is key to a long-lasting outdoor shower enclosure. Here’s how to create one:
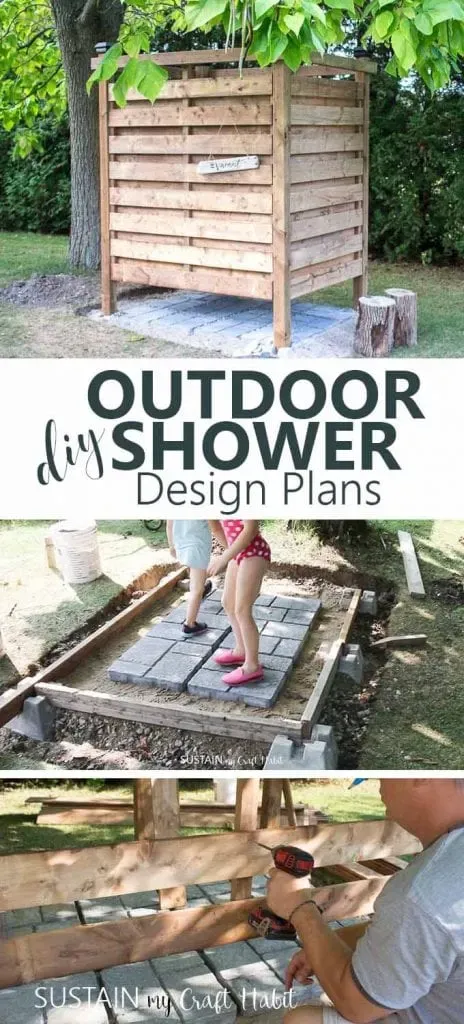
- Mark and Excavate: Once you’ve found the perfect spot, mark out the perimeter of your shower base and start digging.
- Leveling with Gravel: Fill the excavated area with gravel to create a level surface, using a tamper to compact it firmly.
- Setting the Pavers: Add a layer of sand on top of the gravel and level it. Lay down your patio stones, ensuring they are level and fit snugly.
 Building and outdoor shower enclosure tutorial
Alt: A guide to building an outdoor shower enclosure
Erecting the Support Posts
With the foundation in place, it’s time to erect the 4×4 support posts that will form the framework of your shower enclosure:
- Measure and Cut: Measure the distance between the outer edges of your foundation and cut your 4×4 posts accordingly.
- Secure the Posts: Place the posts on each corner of the foundation and secure them using concrete deck blocks. Use a level to ensure they are perfectly vertical.
- Add Bracing: Install 2×4 bracing between the posts to provide additional stability to the structure.
Framing the Walls
Now, let’s create the framework for your shower walls:
- Install the Bottom Plate: Attach a 2×4 along the base of each post to create a bottom plate for your wall framing.
- Add Studs: Cut 2x4s to size and install them vertically between the top and bottom plates, spaced evenly apart. These vertical pieces are called studs.
Installing the Siding
This step is where your outdoor shower enclosure truly starts to take shape. We’ll be using wood fence boards to create privacy while allowing for airflow:
- Measure and Cut: Carefully measure and cut your fence boards to the desired height, ensuring to leave a small gap (about 1/4 inch) between each board for expansion.
- Attach the Boards: Begin attaching the fence boards to the outer side of the frame, working your way from the bottom up. Maintain a consistent gap between each board.
- Repeat on the Inside: Once the outer layer of siding is complete, repeat the process on the inner side of the frame, staggering the boards for a visually appealing look.
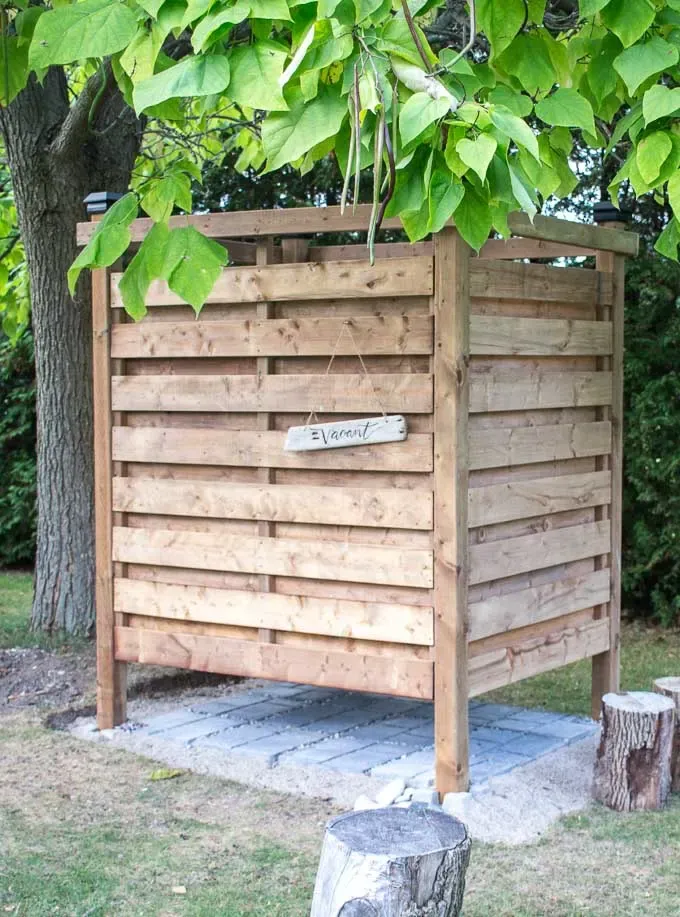
 Outdoor shower made with wood slats under a tree
Alt: An outdoor shower with wood slat walls
Adding the Finishing Touches
- Post Caps: Protect your support posts from water damage by installing decorative post caps.
- Shelving and Hooks: Add functionality and convenience by installing corner shelves for toiletries and hooks for towels and clothes.
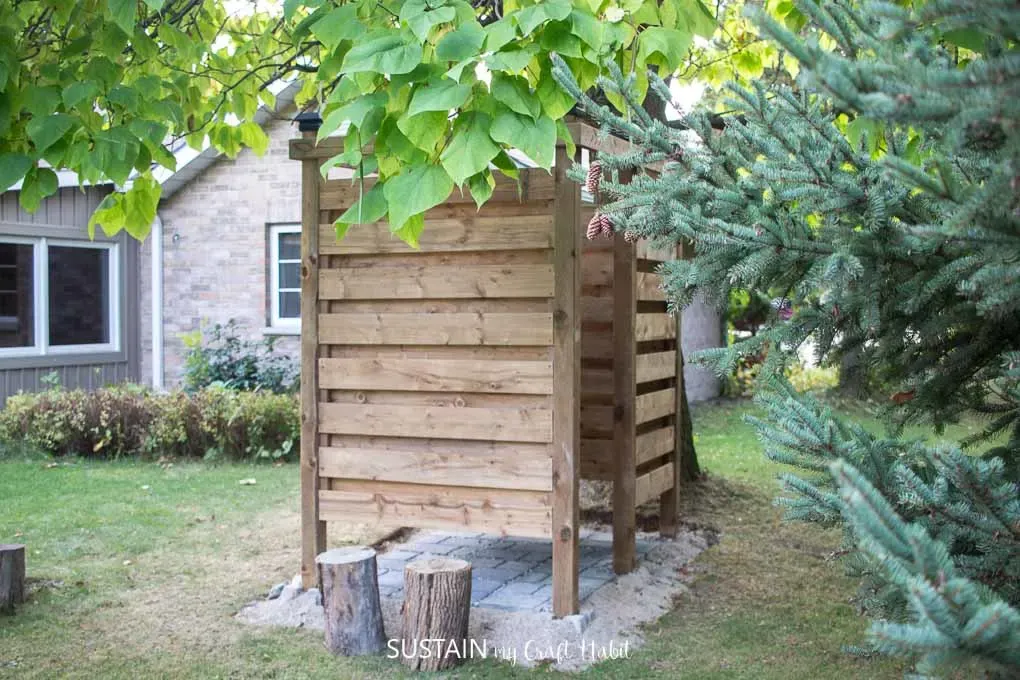
 Back view of a wooden outdoor shower enclosure behind a cottage
Alt: A wooden outdoor shower enclosure
Conclusion
Congratulations! You’ve now built your own personal outdoor shower enclosure. Step inside, turn on the water, and enjoy the refreshing experience you’ve created. This DIY project is a testament to the power of creativity and resourcefulness.
Remember, you can customize your outdoor shower to fit your personal style and needs. Add personal touches, such as a unique shower head, decorative stones, or even outdoor lighting to enhance the ambiance.
Head over to Robert Kline Art to discover more inspiring DIY projects and handcrafted treasures that will bring joy to your life.
