Blog
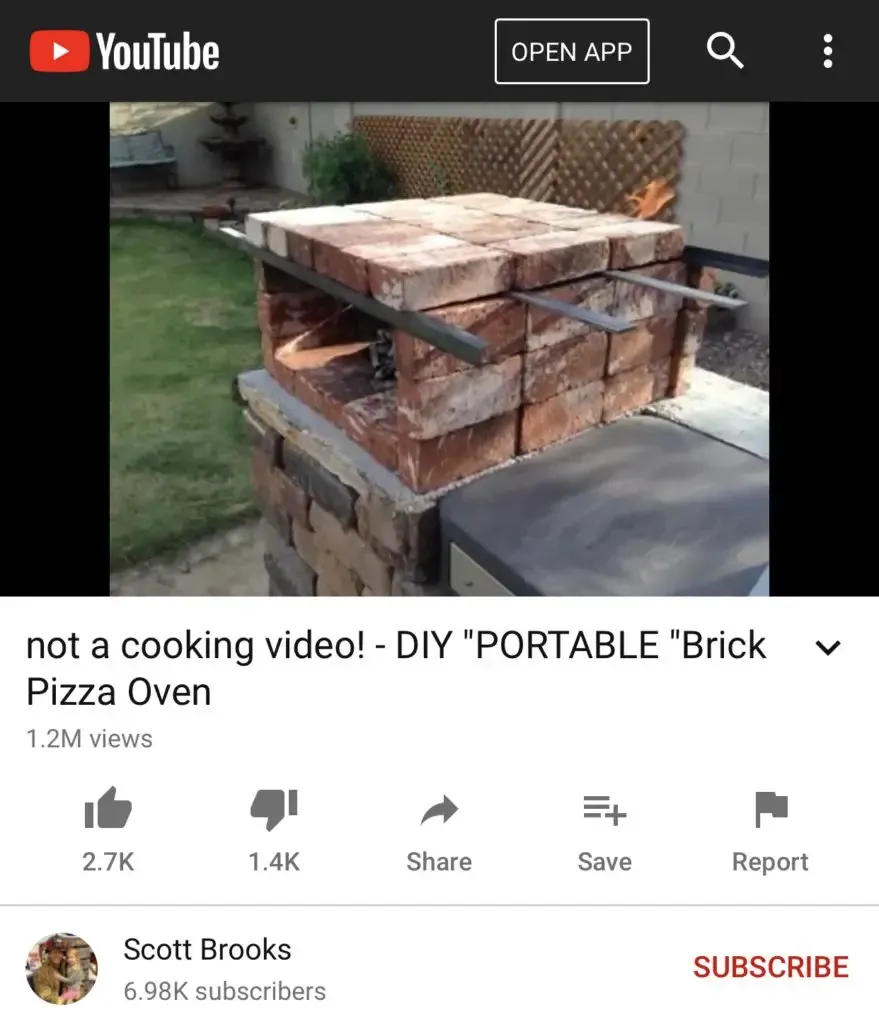
Building Your Own Backyard Brick Pizza Oven: A DIY Project

There’s nothing quite like the taste of a delicious, wood-fired pizza, fresh from your own backyard oven. That smoky flavor, the perfectly crisp crust – it’s a culinary experience that elevates any gathering. But what if I told you that you don’t need to be a master builder or break the bank to achieve this?
Here at Robert Kline Art, we’re all about embracing the spirit of DIY and crafting something truly special with our own two hands. Today, we’re diving into the exciting world of building a DIY outdoor brick pizza oven. This project is perfect for those who love to entertain, savor the simple pleasures of homemade food, or simply enjoy the satisfaction of creating something unique and functional.
Why Build Your Own Pizza Oven?
Before we roll up our sleeves and get building, let’s talk about why this project is worth your time.
- Unmatched Flavor: The intense heat of a wood-fired oven creates an unparalleled flavor profile that you just can’t replicate in a conventional oven. Get ready for crispy crusts, bubbling cheese, and perfectly cooked toppings.
- Outdoor Entertainment Hub: Imagine the joy of hosting pizza nights under the stars! This oven instantly becomes the centerpiece of your backyard, encouraging friends and family to gather and create memories.
- A Sense of Accomplishment: Building something with your own hands brings a deep sense of satisfaction. It’s a project you can take pride in and enjoy for years to come.
Planning Your DIY Pizza Oven
Choosing the Right Materials
The longevity and effectiveness of your pizza oven hinge on using the right materials. While this guide utilizes readily available concrete pavers, it’s crucial to acknowledge the impact of thermal shock, or rapid temperature changes, on these materials.
-
Firebrick: The Gold Standard
For true peace of mind and long-lasting durability, firebrick is your best bet. These bricks are designed to withstand intense heat and resist the cracking and crumbling that can plague other brick types over time. -
Clay Brick: A Worthy Alternative
If sourcing firebrick proves challenging, clay brick offers a solid alternative. These bricks hold up well under high temperatures and are more resistant to thermal shock than concrete options. -
Pressed Concrete Brick: Proceed with Caution
While budget-friendly and accessible, pressed concrete bricks are the most susceptible to thermal shock. Over time, repeated heating and cooling can cause them to weaken and crumble, potentially shortening the lifespan of your oven.
For a truly long-lasting oven, investing in firebrick or clay brick is the way to go. It might require a bit more research and investment upfront, but the durability and peace of mind are well worth it.
For further reading on brick selection and material properties, explore these resources:
- The Melbourne Fire Brick Company (YouTube Video): This video offers a clear explanation of thermal shock and its effects on different brick types.
- Forno Bravo: Firebrick Guide: This article delves into the world of firebrick, exploring different types and their best applications.
- Sciencing.com: Brick Alternatives: This resource provides insight into viable alternatives to firebrick for building your oven.
Gathering Your Tools and Supplies
Here’s a list of what you’ll need to build your pizza oven:
Bricks:
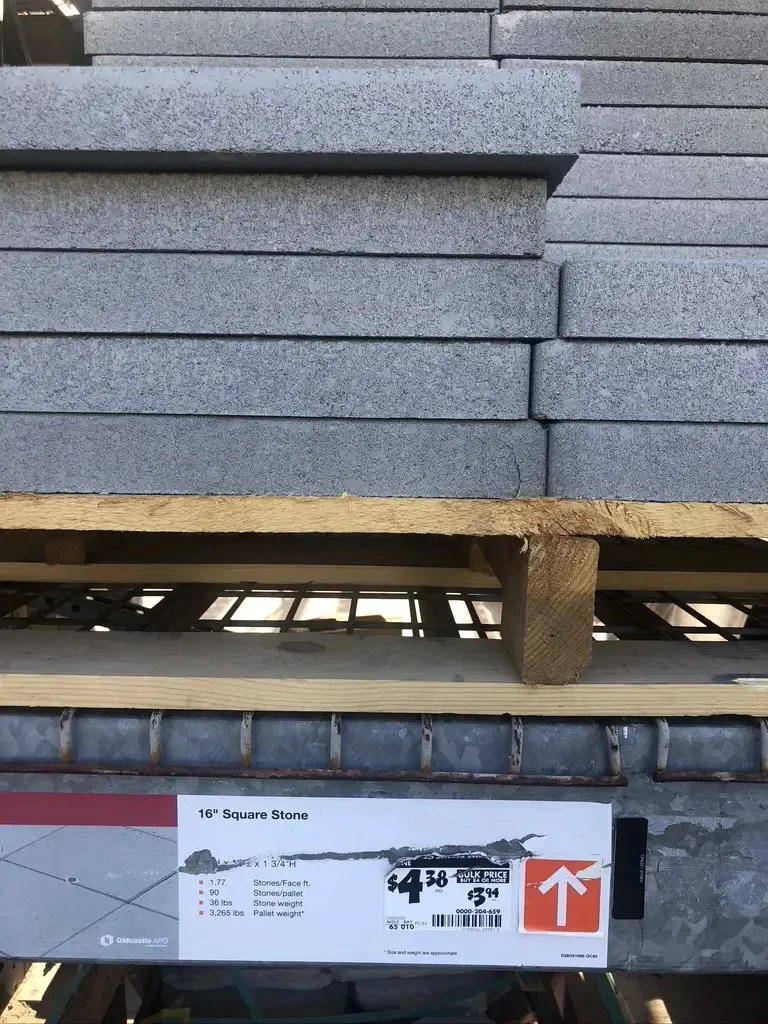
- (4) 16 inch x 16 inch Square Stone Concrete Pavers
- (18) 8 inch x 12 inch Concrete Olde Manor Wall Blocks
- (4) 12 inch x 12 inch Square Stone Concrete Pavers
- (47) Standard Paver Bricks
- (6) 8 inch x 16 inch Paver Stones
Metal Braces:
- (2) 1.5 inch x 48 inch, 1/4 inch thick Plain Steel Bar (Cut into four 24-inch pieces)
Additional Materials:
- Gravel or crushed stone for the foundation
- Level
- Tape measure
- Safety glasses
- Work gloves
Choosing the Right Location
Selecting the right spot for your oven is crucial for both safety and enjoyment. Here are a few things to consider:
- Clearance: Ensure ample clearance from any structures, trees, or overhanging objects. A minimum of 3 feet is recommended for safety.
- Level Ground: Opt for a level surface to ensure stability and prevent the oven from shifting over time. A layer of gravel or crushed stone can help create a level base.
- Accessibility: Think about convenience. Choose a spot that’s easily accessible from your kitchen and outdoor entertaining areas.
Building Your DIY Brick Pizza Oven
Now, let’s get down to business and build this oven!
Step 1: Preparing the Foundation
- Clear the area and level the ground.
- Lay down a 2-3 inch layer of gravel or crushed stone, ensuring it’s evenly spread and compacted.
 Foundation preparation
Step 2: Building the Base
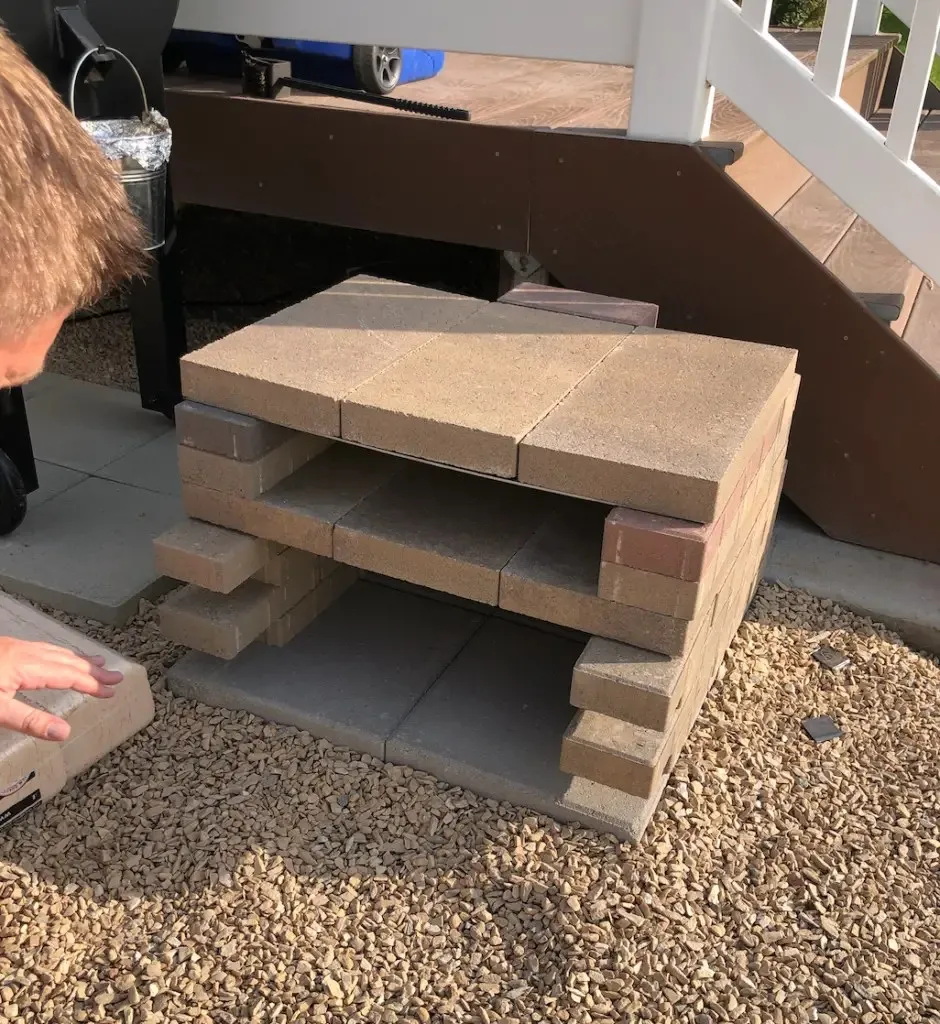
- Arrange four 16×16 inch pavers in a square, using a level to ensure they are even.
 Laying the foundation
- Layer the 8×12 inch wall blocks on top of the base pavers, creating three layers and staggering the joints for stability.
Step 3: Constructing the Oven
- Create the oven base by arranging four 12×12 inch pavers, spacing them about 3/4 inch apart to allow for airflow.
 Creating the oven base with spacing
- Begin layering the standard paver bricks on top of the oven base, following a pattern that alternates between 7 and 8 bricks per layer (refer to the original guide for visual guidance).
- After the fourth layer of bricks, place two metal braces (approximately 8 inches apart) on top of three bricks at the back of the oven.
 Placing metal braces and back bricks
- Add three 8×16 inch pavers on top of the braces and bricks.
- Continue layering bricks, remembering to leave a 1-inch gap in the middle back brick for the first two layers to create an airflow vent.
 Layering bricks with vent
- Place the final two metal braces on the top layer of bricks (approximately 8 inches apart).
- Finish by adding the last two 8×16 inch pavers on top.
Step 4: Curing and First Use
- Allow the mortar to cure for at least 24 hours before building your first fire.
- Start with a small fire to allow the oven to slowly acclimate to the heat.
- Gradually increase the fire size over several firings.
Tips for Baking Like a Pizza Pro
Now that your oven is complete, here are some tips for baking delicious pizzas:
- Preheat the Oven: A scorching hot oven is key to crispy crusts. Allow ample time for the oven to preheat before launching your pizza.
- Use a Pizza Peel: A pizza peel is an essential tool for safely transferring pizzas in and out of the hot oven.
- Experiment with Wood: Different woods impart unique flavors to your pizza. Experiment with fruitwoods like apple or cherry for a subtly sweet smoke.
Embrace the Joy of Creation
Building your own pizza oven is a rewarding experience that brings the satisfaction of crafting something extraordinary with your own hands. While this guide provides a solid foundation, don’t be afraid to adapt and experiment to create an oven that reflects your style and needs.
Here at Robert Kline Art, we believe that creativity knows no bounds. Share your pizza oven creations with us! We’d love to see what you’ve built. And while you’re at it, explore our collection of unique, handcrafted items – perfect for adding a personal touch to your next pizza party. Happy building!
