Blog
Building Your Own Outdoor Sauna: A DIY Adventure

At Robert Kline Art, we love the warmth and relaxation of a good sauna. But what’s even better than a regular sauna? A DIY outdoor sauna, nestled in the heart of nature! Imagine stepping out of the crisp air and into the comforting heat, surrounded by the serene beauty of the wilderness. That’s the magic we’re talking about, and it’s something you can build with your own two hands.
This article will guide you through the steps of constructing your own outdoor barrel sauna, drawing inspiration from the incredible build by Kris Harris of Beacon Media Group.
Why a DIY Outdoor Sauna?
There’s something truly special about combining the rejuvenating experience of a sauna with the tranquility of the outdoors. A DIY outdoor sauna offers:
- Health Benefits: Saunas are known for their detoxifying and relaxing effects, promoting circulation and relieving stress.
- Connection with Nature: Immerse yourself in the sights, sounds, and smells of the outdoors, enhancing the relaxation experience.
- Personal Satisfaction: Building your own sauna is incredibly rewarding, allowing you to customize it to your preferences.
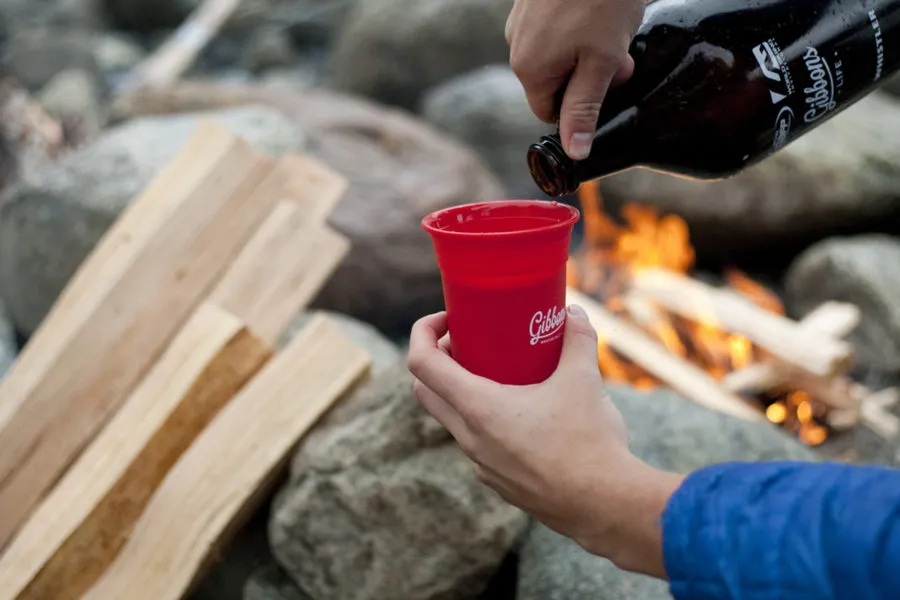
 Enjoying a Gibbons beer by the fire.
Relaxing in the completed DIY outdoor sauna.
Planning Your Sauna Build
Before you grab your tools, careful planning is key to a successful DIY sauna project.
1. Design and Style
A barrel sauna is an excellent choice for beginners, as its rounded shape provides inherent strength and eliminates the need for complex framing.
2. Materials
- Wood: Western Red Cedar is a popular choice for saunas due to its durability, rot-resistance, and pleasant aroma.
- Stove: You can purchase a pre-made wood-burning sauna stove or get creative and build your own from recycled propane tanks, like Kris did.
- Door and Window: Consider sourcing a unique door and window from a salvage yard to add character to your sauna.
3. Tools
- Router: A powerful router is essential for creating the tongue and groove joints in the sauna staves.
- Saw: A circular saw or miter saw will be needed for making precise cuts.
- Hammer and Mallet: These will be used for assembling the sauna structure.
Building Your DIY Outdoor Sauna
Now for the exciting part – bringing your sauna vision to life!
1. Preparing the Staves
Begin by cutting the Western Red Cedar planks to the desired length for your sauna staves. Then, use a router to create a bead and cove joint on each stave. This interlocking design ensures a tight and secure fit.
2. Assembling the Walls
Create the front and back walls of your sauna by cutting tongue and groove joints into additional cedar planks. These walls will be circular, so use a jigsaw or band saw to shape them accordingly.
3. Joining the Structure
Carefully fit the staves together, forming a barrel shape. The tongue and groove joints on the staves should interlock with the dado joints on the front and back walls. Secure the structure using a mallet.
4. Installing the Stove and Door
Position your wood-burning stove inside the sauna, ensuring proper ventilation and safety precautions. Install your chosen door and window, sealing any gaps for optimal heat retention.
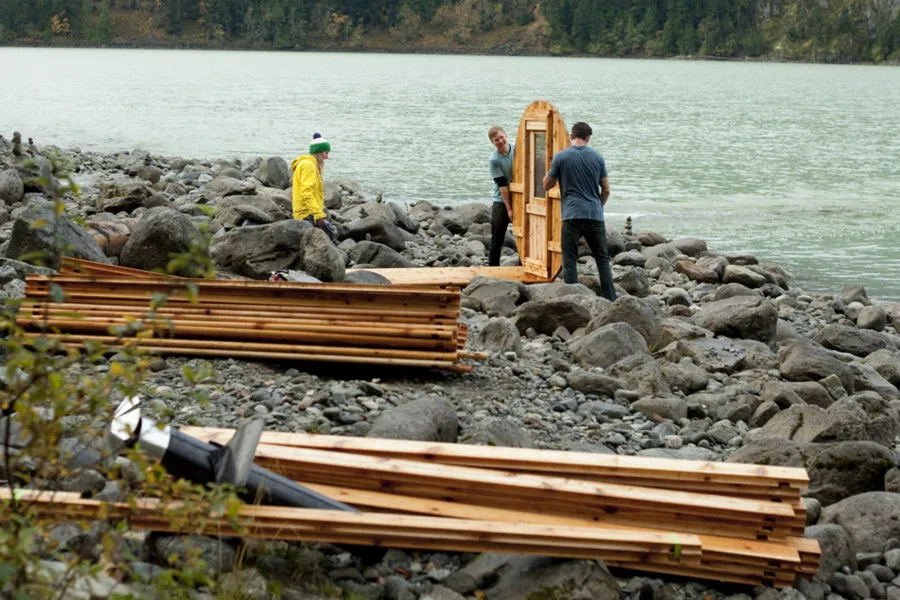
 Beginning construction of the DIY outdoor sauna, lake side in the Whistler backcountry.
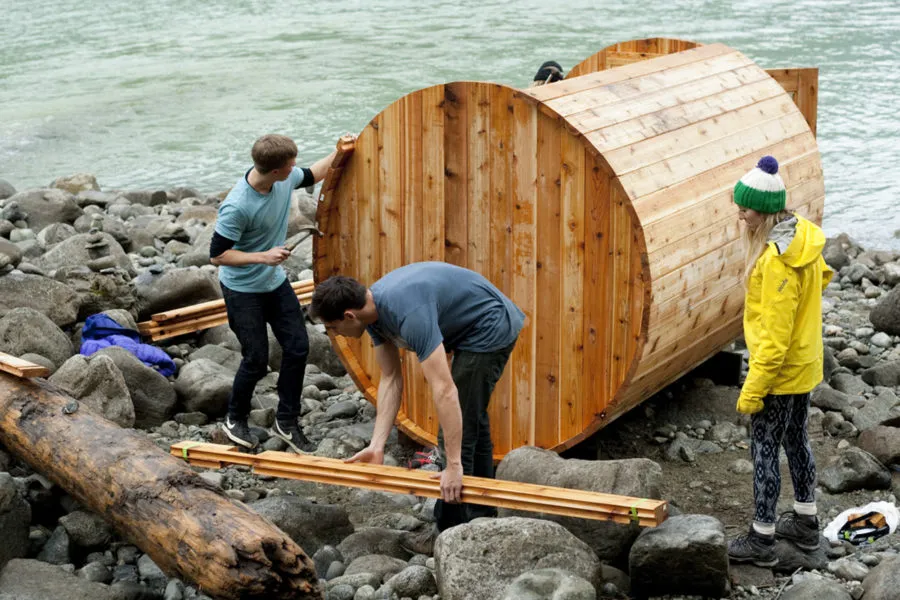
Early stages of constructing the sauna.
Expert Tips for Success
Kris Harris, an experienced DIYer, shares his top tips for a successful sauna build:
- Measure Twice, Cut Once: Accurate measurements are crucial for a seamless assembly.
- Choose High-Quality Wood: Opt for straight, knot-free cedar planks to ensure the longevity of your sauna.
- Invest in Proper Tools: Using the right tools will make the building process smoother and more efficient.
- Prioritize Fire Safety: Consult local regulations regarding wood-burning stoves and always have a fire extinguisher nearby.
- Embrace Resourcefulness: Get creative and find unique materials from salvage yards or recycling centers.
 The almost-complete DIY sauna.
The sauna taking shape.
Enjoy Your DIY Retreat!
Congratulations, you’ve built your very own DIY outdoor sauna! Find the perfect spot in your backyard or on your property to place your creation. Gather your friends and family, fire up the stove, and immerse yourselves in the blissful heat. Remember to take time to disconnect, relax, and appreciate the fruits of your labor.
Feeling inspired? Share your DIY outdoor sauna adventures with us at Robert Kline Art. We love seeing the creativity of our community! Explore our website for more unique handmade gift ideas and craft inspiration.
