Blog
How to Craft a Unique Floating Wine Bottle Holder

Ever since I saw my first floating wine bottle holder, I was hooked! The way it appears to defy gravity, holding the bottle aloft as if by magic, always makes me smile. It’s a testament to the beauty of simple physics and a guaranteed conversation starter at any gathering.
Naturally, I had to try making one myself. I imagined it would be a challenging project, but it turned out to be surprisingly straightforward. The key is precision when cutting the base angle and drilling the bottle’s resting hole.
Ready to impress your friends with your own gravity-defying creation? Let’s get started!
Gathering Your Tools and Materials
Before we begin, let’s gather everything we need. For this project, you’ll need:
- A piece of hardwood (I prefer oak) measuring 15″ x 3 1/8″ x 3/4″ – you can usually find this at your local hardware store for a few dollars per foot.
- A tape measure
- A pencil
- A straight edge
- A chop saw
- A drill with a 1 ½” drill bit
- Medium and fine grit sandpaper
- Your choice of wood finish (paint, stain, etc.)
- And of course, a bottle of wine (or a festive bottle of sparkling juice!)
 craftknowitall
Creating the Perfect Angle
Now, let’s create the base that will give our holder its gravity-defying illusion:
-
Measure and Mark: Using your tape measure and remembering the golden rule “measure twice, cut once,” measure 14 1/8 inches down the length of your wood. Use your straight edge to draw a line across the wood at this point.
-
Flip and Repeat: Flip the board over lengthwise. Measuring from the same edge as before, mark a point at 13 ¾” and draw another line across.
-
Connect the Lines: Stand the wood on its side. Carefully connect the ends of the two lines you just drew, forming a 27° angle.
-
Time to Cut: Now, using your chop saw, carefully cut along the angled line you just created. Precision is key here, so take your time.
Drilling the Bottle Rest
With the base complete, it’s time to create the resting spot for our wine bottle:
-
Find the Center: Measure 3 1/8 inches down from the top edge of the board and draw a line. Then, measure 1 5/8 inches in from the side edge and draw a perpendicular line. The point where these lines intersect marks the center of your bottle hole.
-
Drill it Out: Using your drill and 1 ½” drill bit, carefully drill a hole at the marked center.
Sanding and Finishing Touches
Almost there! Let’s smooth things out and add a personal touch:
-
Smooth Operator: Using medium grit sandpaper, smooth out any rough edges around the drilled hole and along all surfaces of the board. Repeat with fine grit sandpaper for an extra smooth finish.
-
Finishing Flair: Now’s the time to let your personal style shine! Apply your chosen wood finish. I love the look of rich, dark wood, so I opted for a walnut stain and finish.
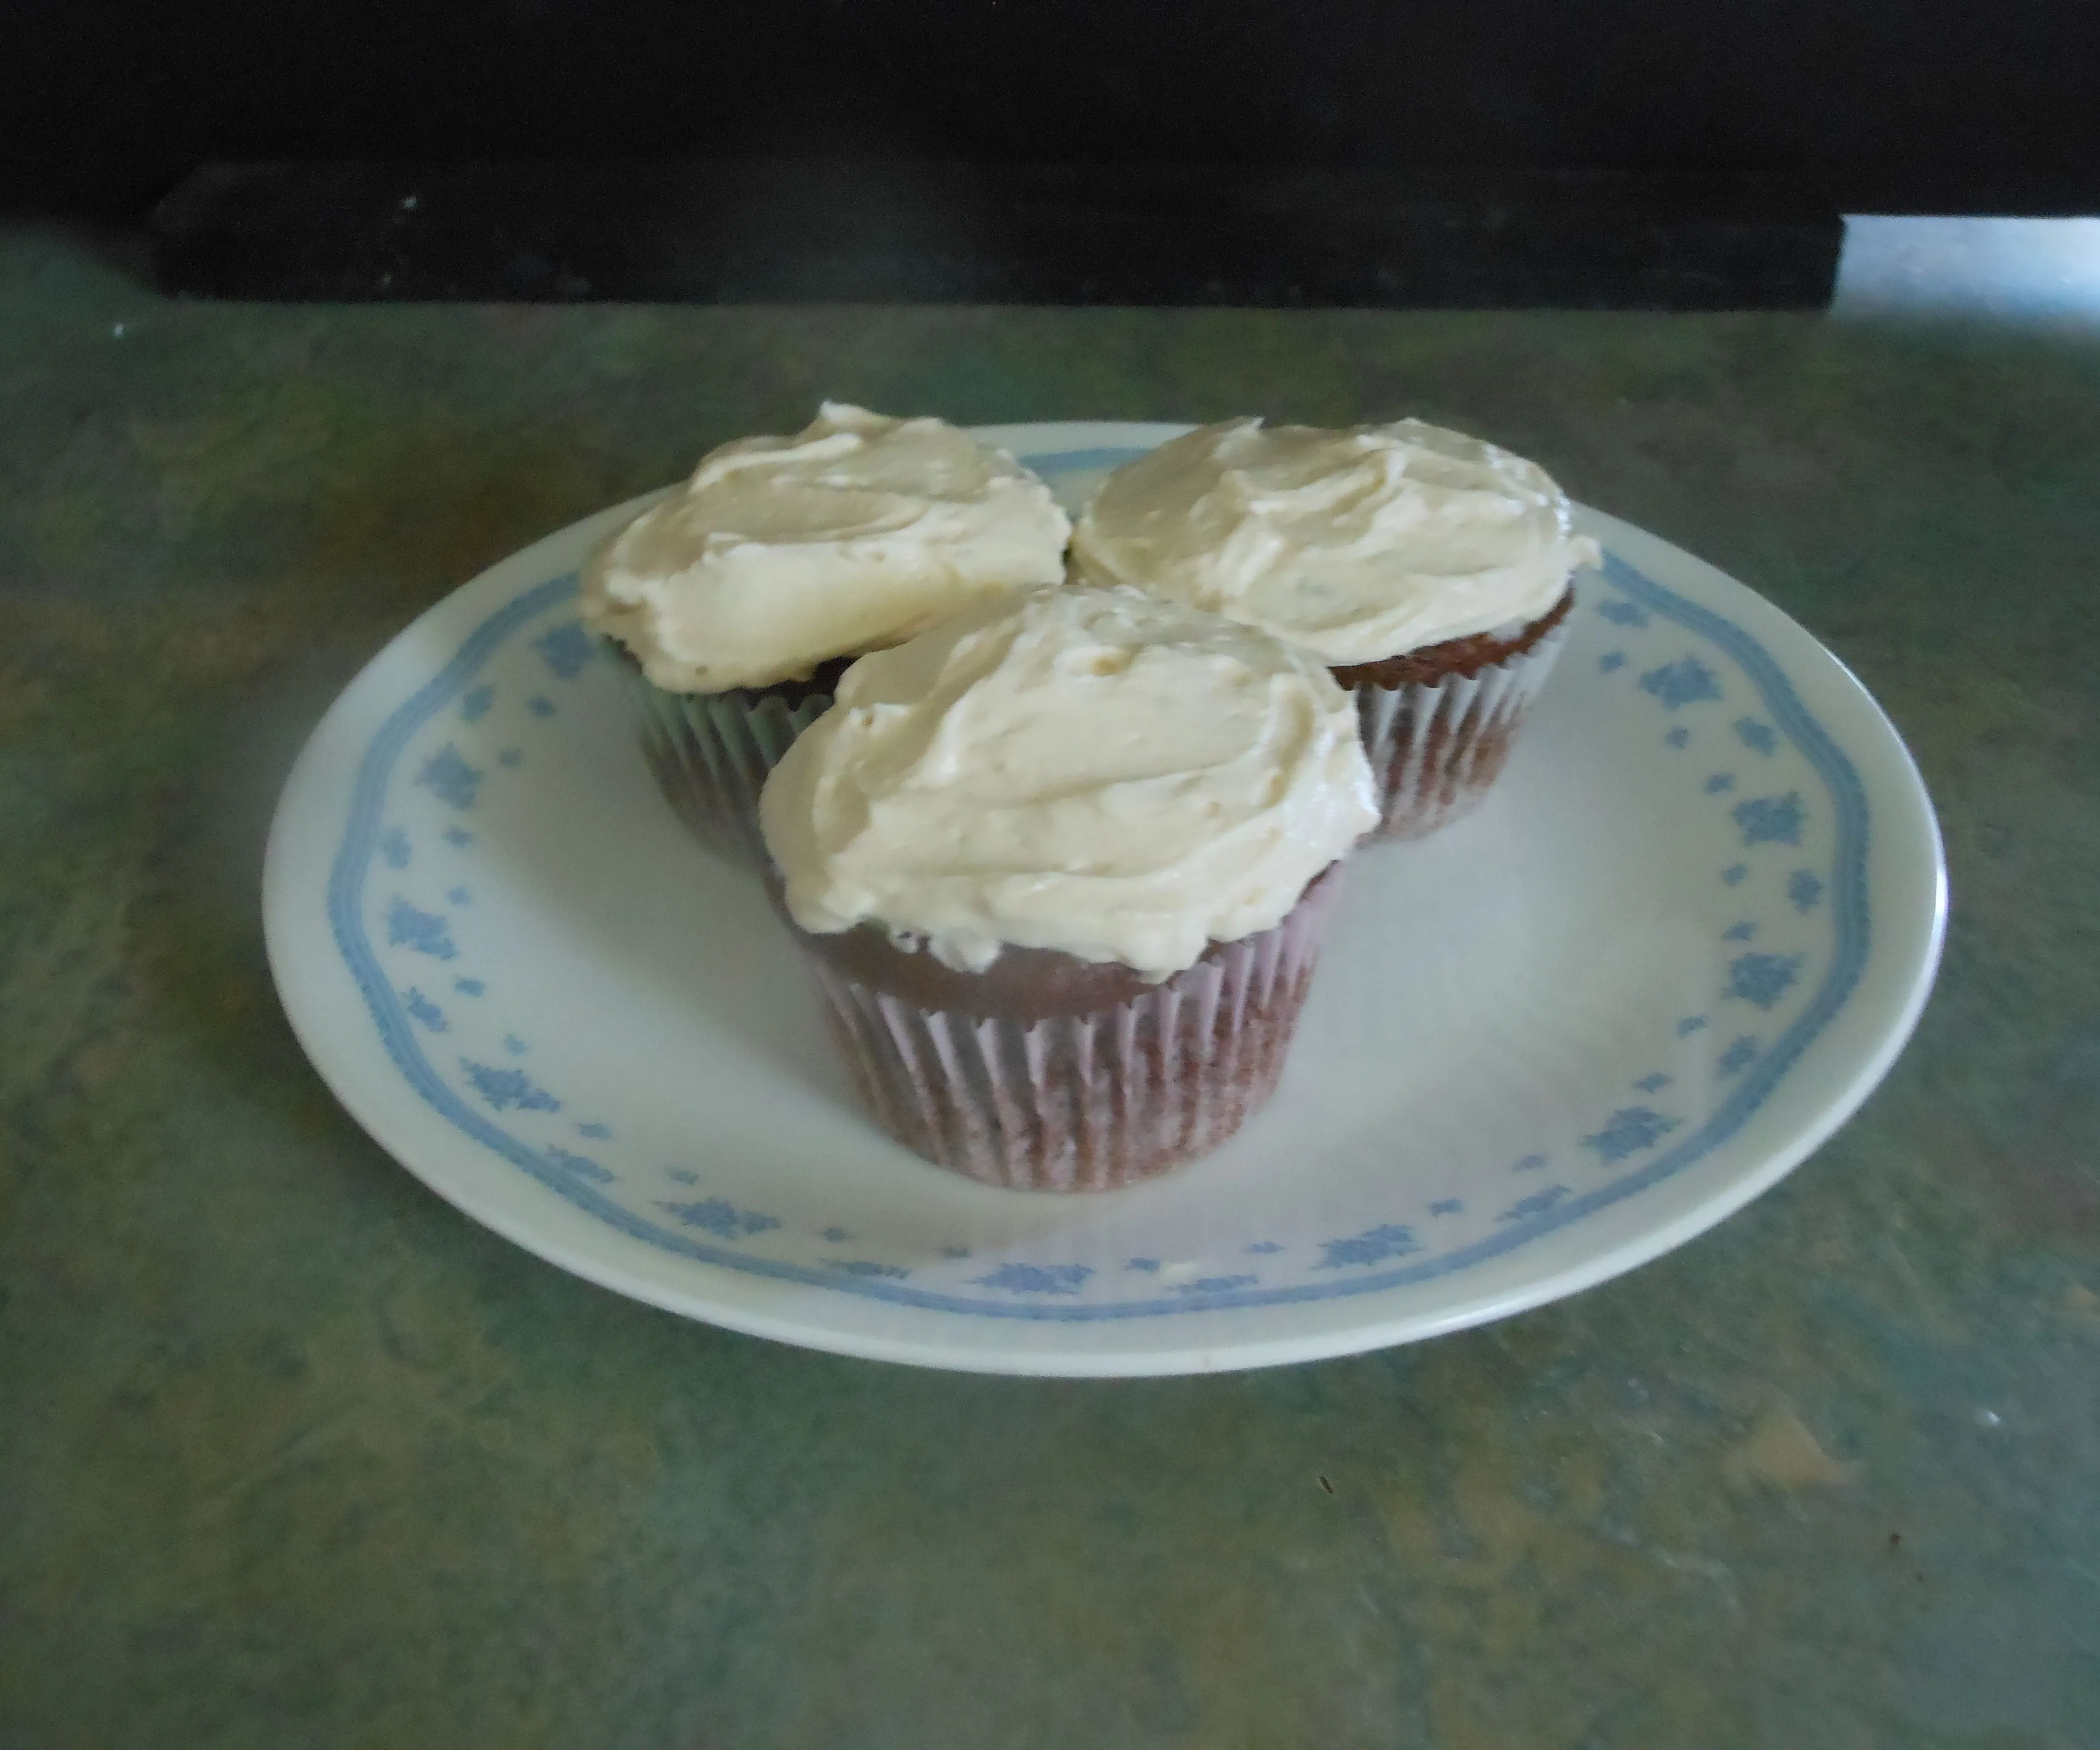
 "That's the Best Frosting I've Ever Had" Frosting
The Moment of Truth: Balancing Your Bottle
We’ve reached the most exciting part – making the magic happen:
-
Position the Bottle: Carefully slide the neck of your wine bottle through the drilled hole.
-
Find the Sweet Spot: Gently adjust the position of the bottle until the angled base sits directly under the bottle’s widest point. It may take a little adjusting to find the perfect balance point, but be patient – it will balance!
And there you have it – a stunning, gravity-defying floating wine bottle holder!
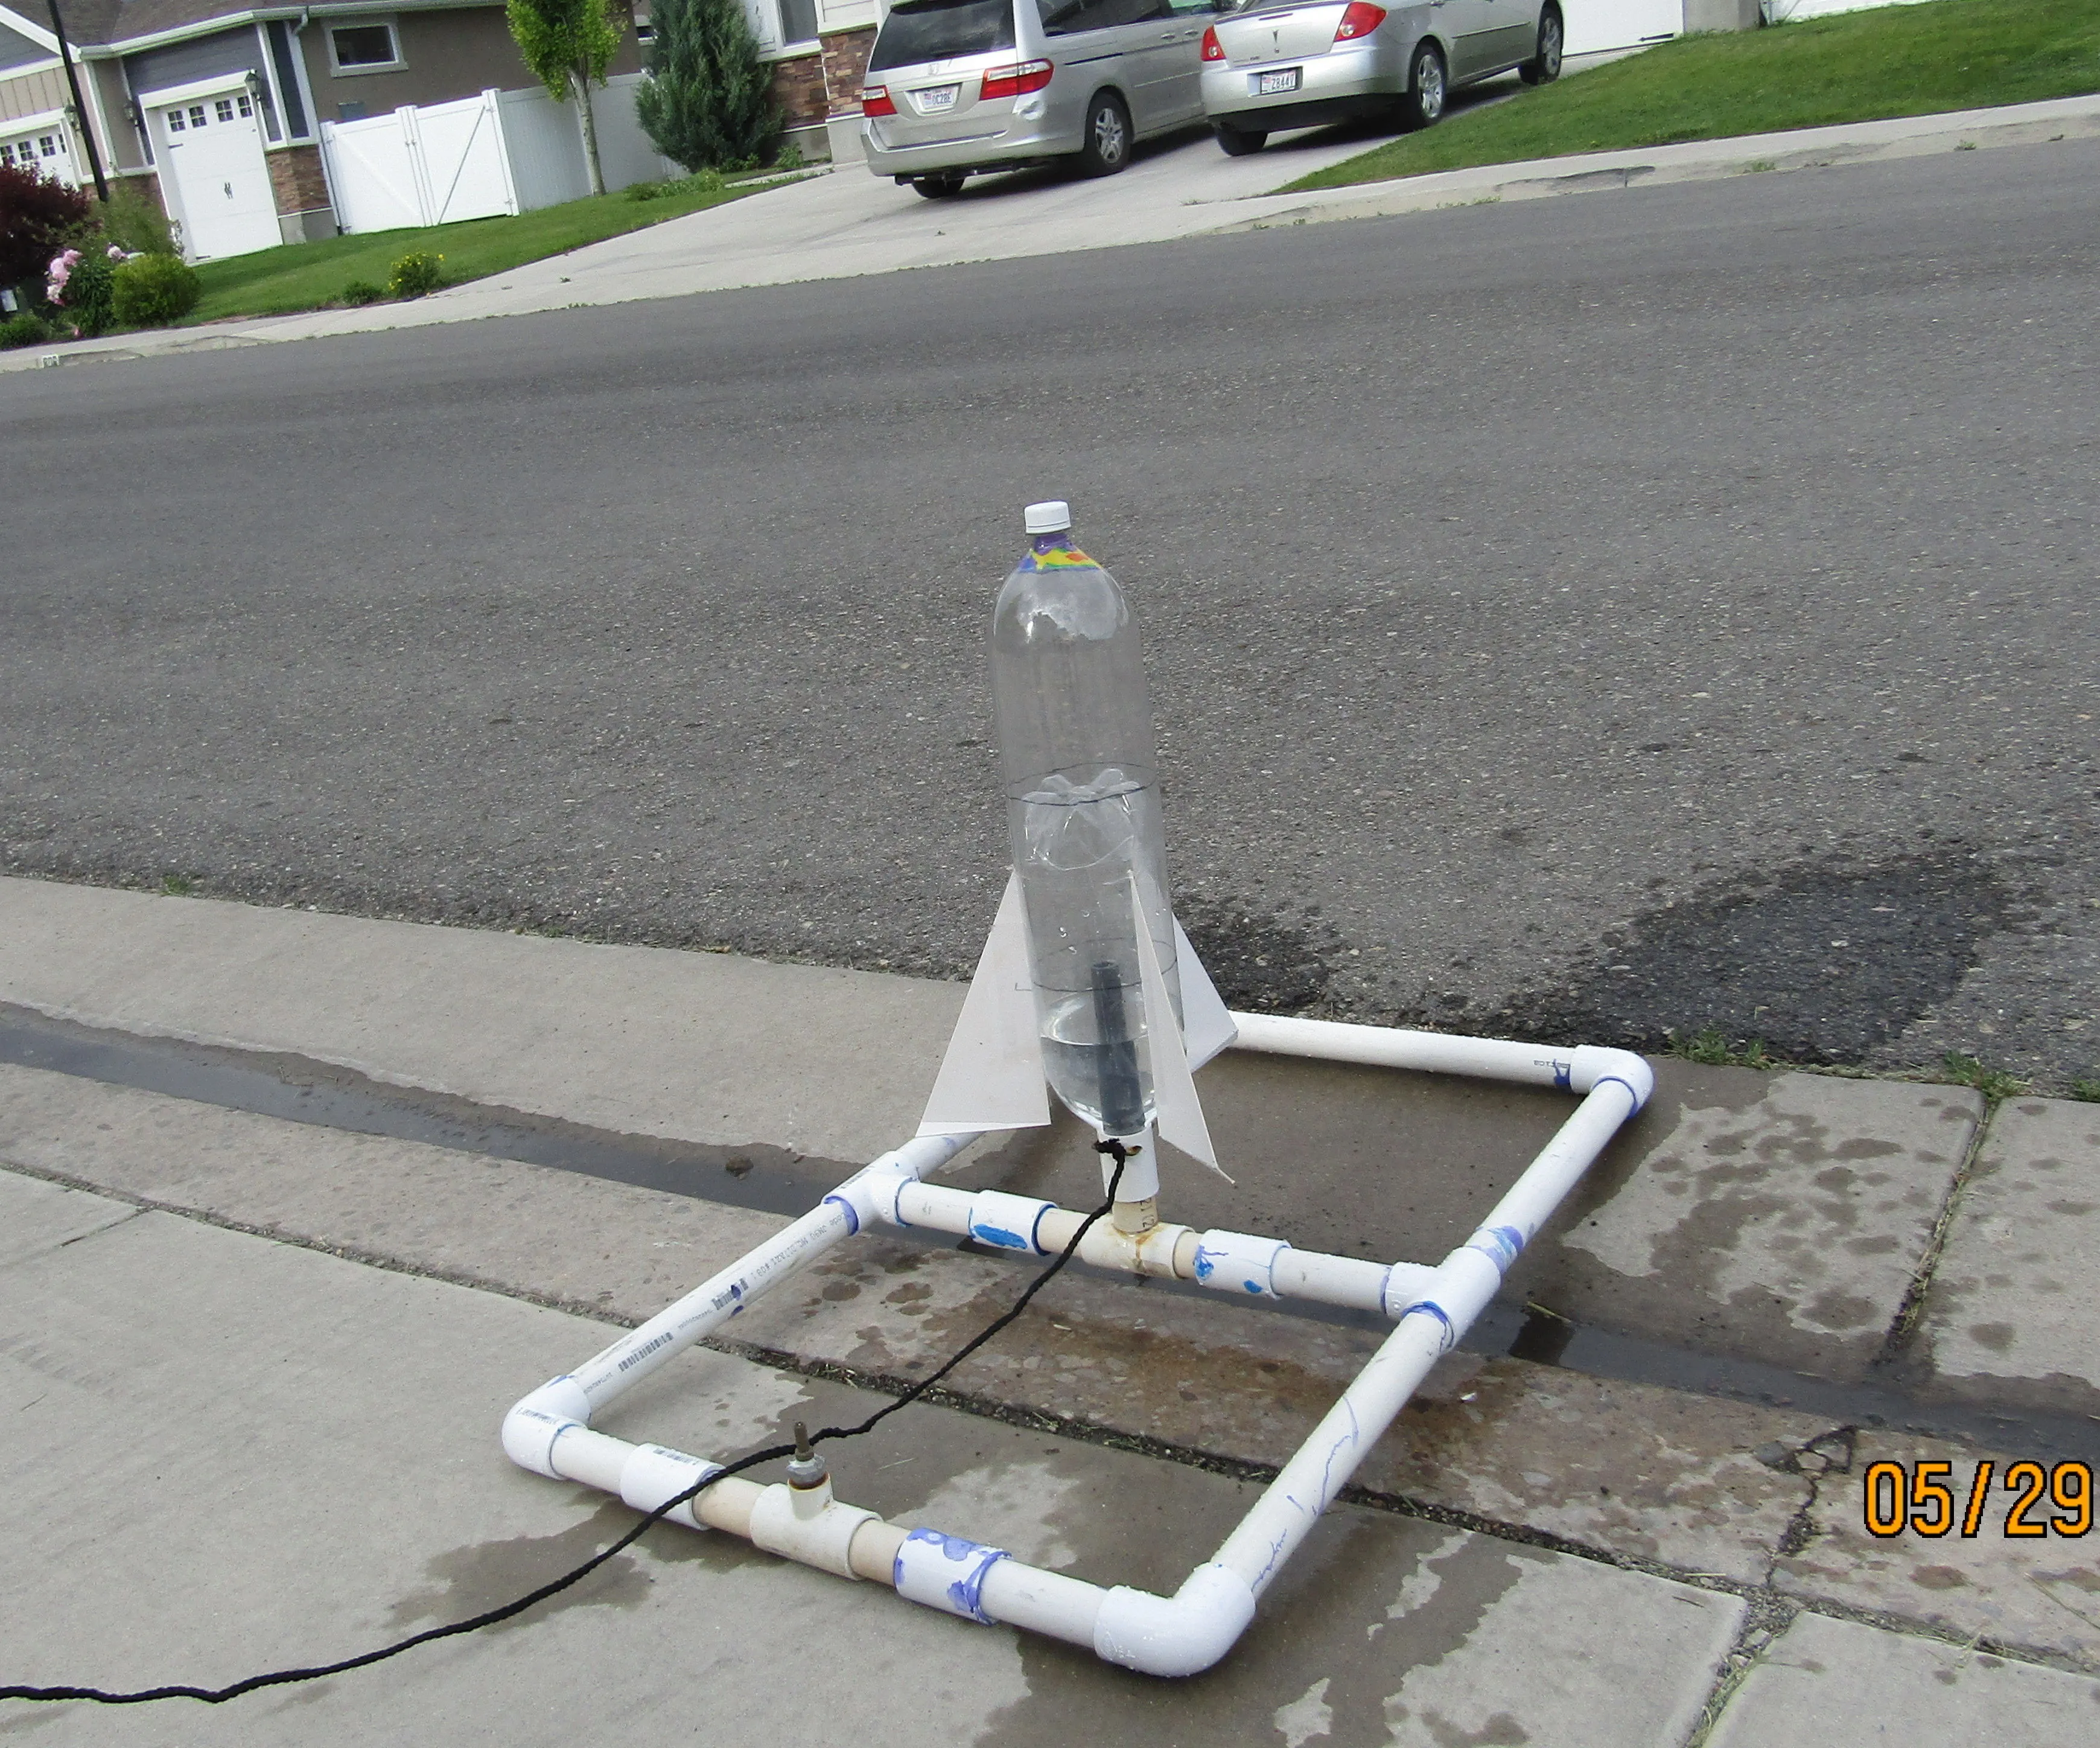
 Make a Stable 2 Liter Bottle Rocket
Share Your Creations!
I’d love to see your take on this fun and easy project! Feel free to share pictures of your finished floating wine bottle holders in the comments below.
Looking for more unique handmade gift ideas? Browse the Robert Kline Art website and discover a world of creative possibilities!
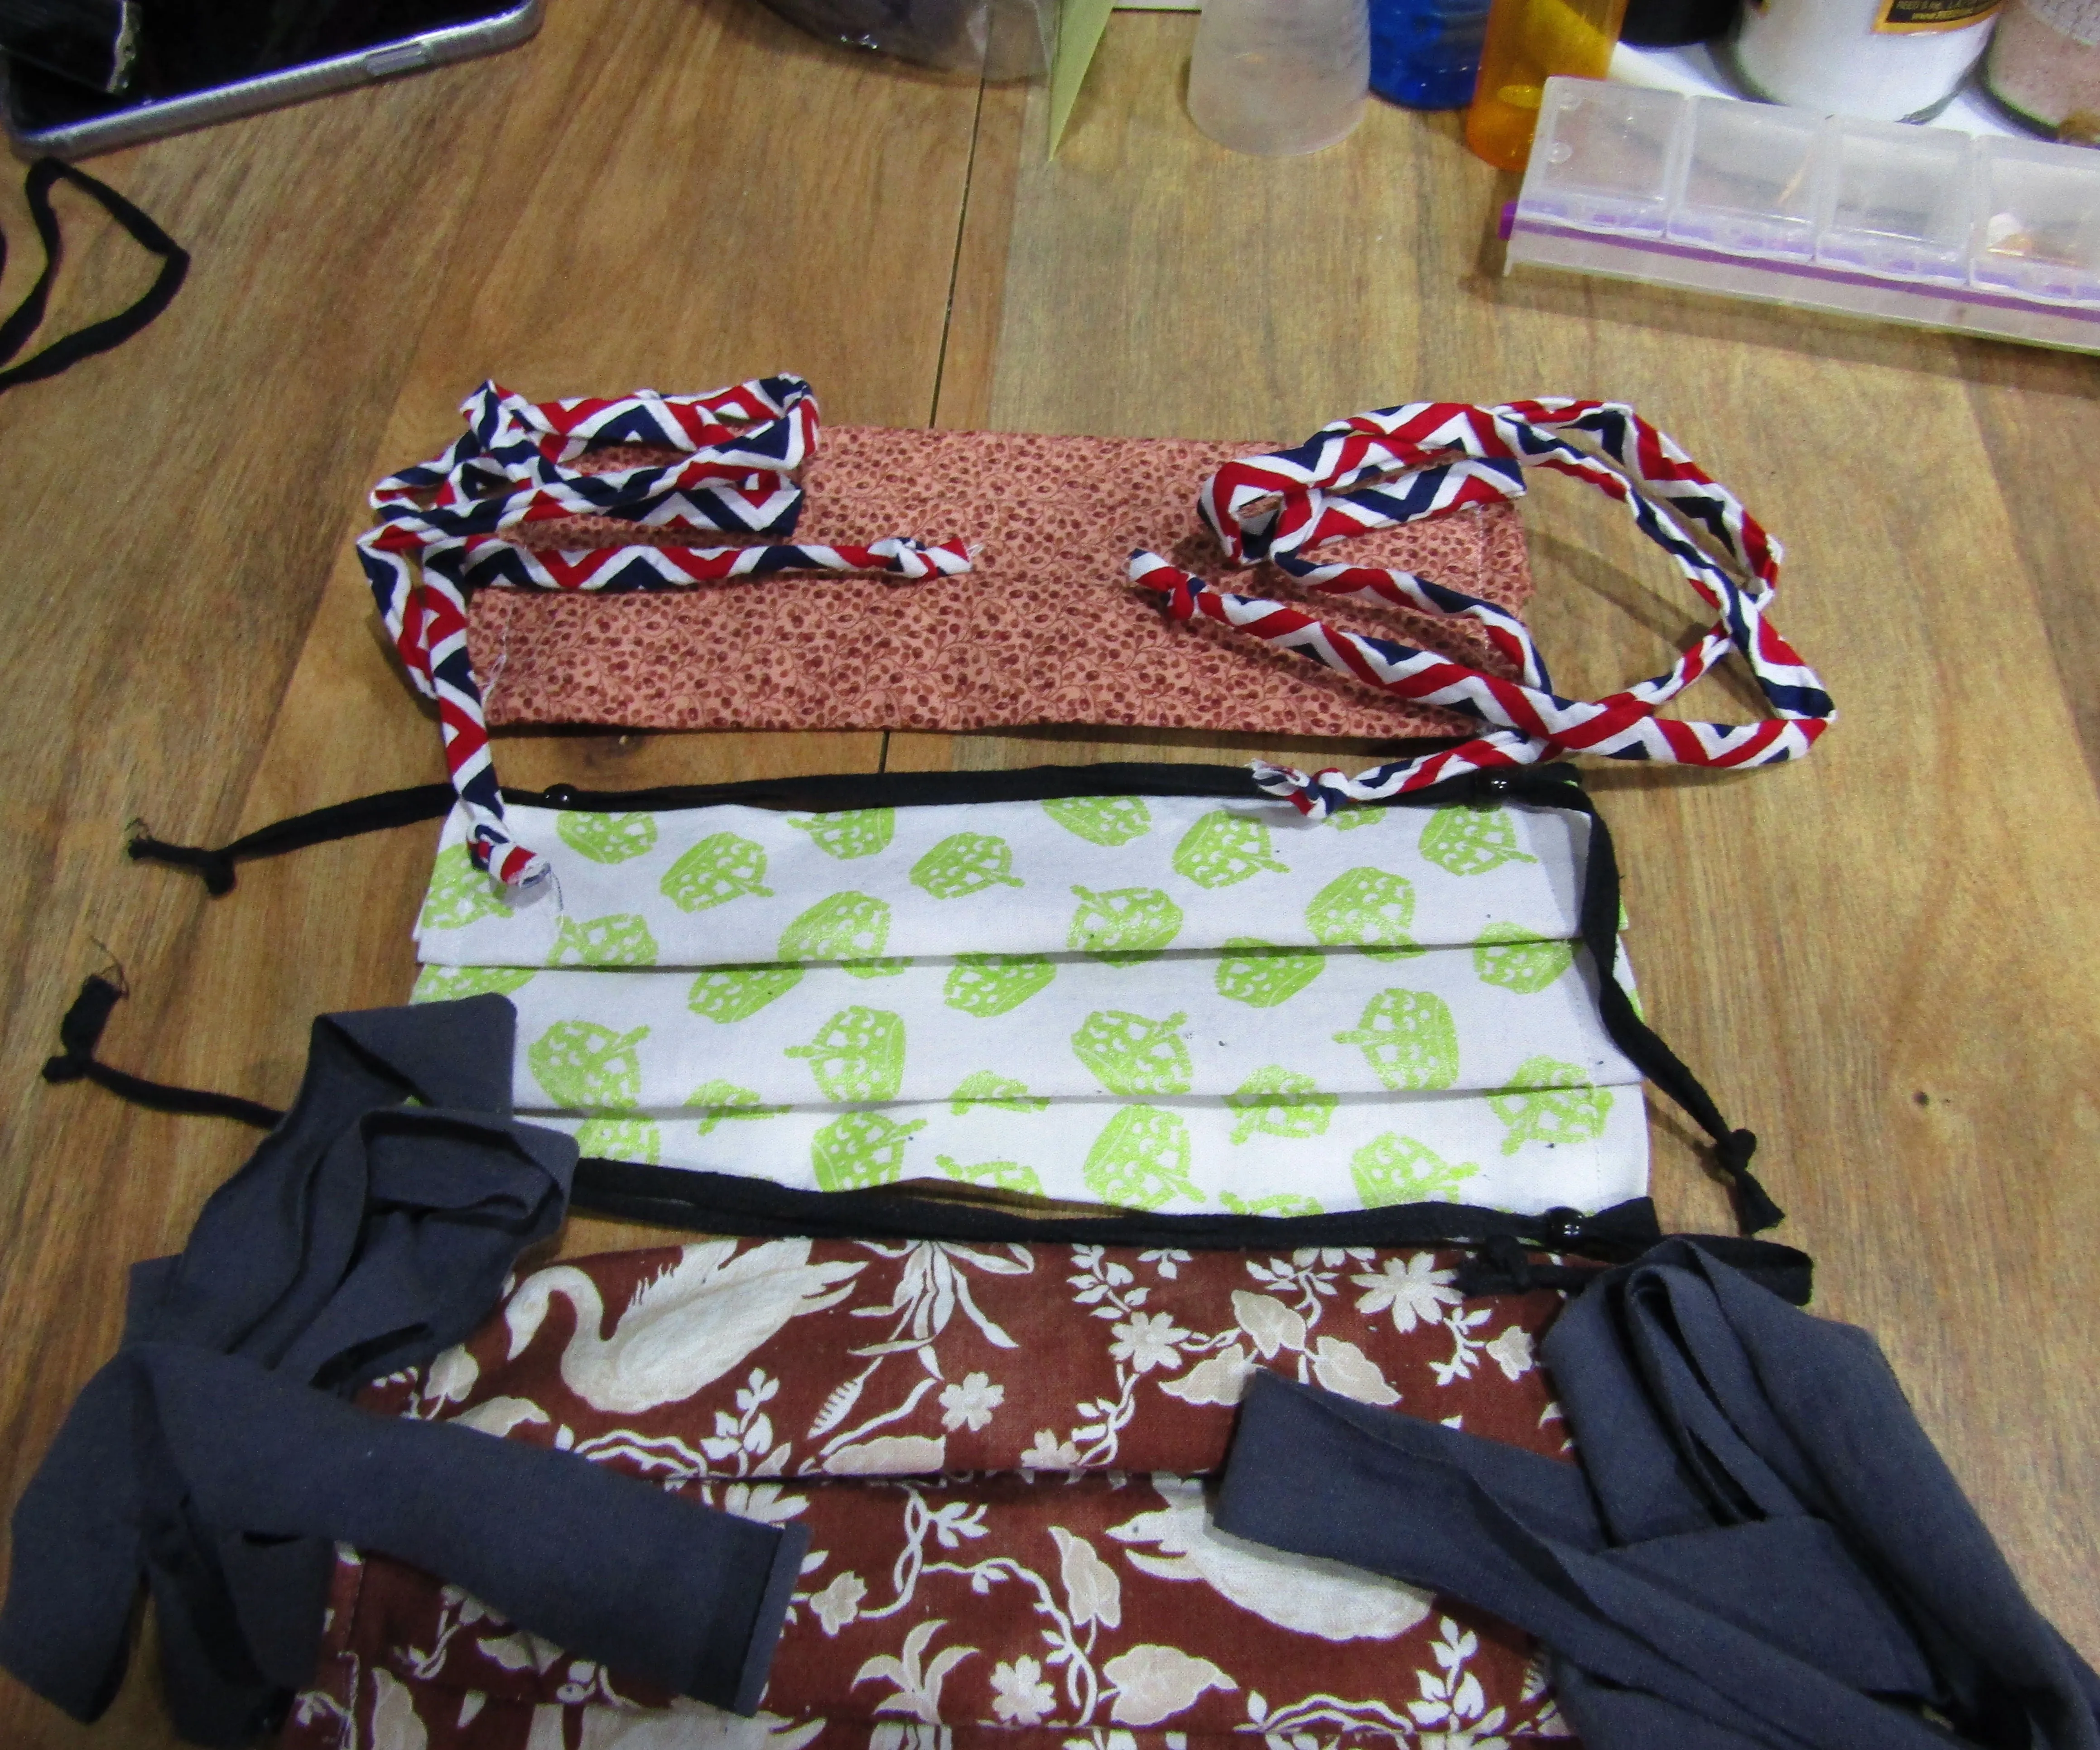
 A Tale of Ties: for Personal Face Masks
