Blog
DIY Under-Bed Storage Solutions: A Step-by-Step Guide

Do you ever feel like the space under your bed is a mysterious black hole where things go to disappear? Let’s reclaim that space and turn it into a storage haven! This guide is your ticket to building simple, sturdy under-bed drawers. No need to be a master craftsman, this project is totally doable, even for beginners.
 AverageJoesJoinery
Step 1: Measure Twice, Cut Once – Know Your Space
Before grabbing your saw, let’s play detective. The first step is figuring out the dimensions of your under-bed storage drawers.
- Height Clearance: Measure from the floor to the bottom of your bed frame. This is your maximum drawer height.
- Width Potential: Measure the distance between the inside of the bed legs at both the head and foot of your bed. This gives you the maximum drawer width.
- Factor in Clearances: Remember to subtract space for clearances:
- Sides and Top: At least 1/2 inch (12mm) on each side and the top.
- Bottom: Allow 3/8 inch (10mm) for wheel clearance.
- Between Drawers: If making two drawers, leave 1/2 inch (12mm) between them.
Pro-Tip: Sketching out your measurements on paper can help visualize the final dimensions and avoid costly mistakes.
Step 2: Breaking Down the Cuts
Now that you have the measurements, it’s time to calculate the dimensions for the drawer components. You’ll need to cut:
- Drawer Bottom: One per drawer, using the full internal width and depth calculated.
- Side Pieces: Two of each length (front/back and sides) per drawer.
- Drawer Fronts: One per drawer, to your desired size within the calculated width.
Tool Talk: A table saw is ideal for cutting the MDF to width, while a miter saw helps achieve accurate length cuts. No worries if you don’t have these tools! A circular saw with a guide and a handsaw will do the trick. Many home improvement stores also offer cutting services.
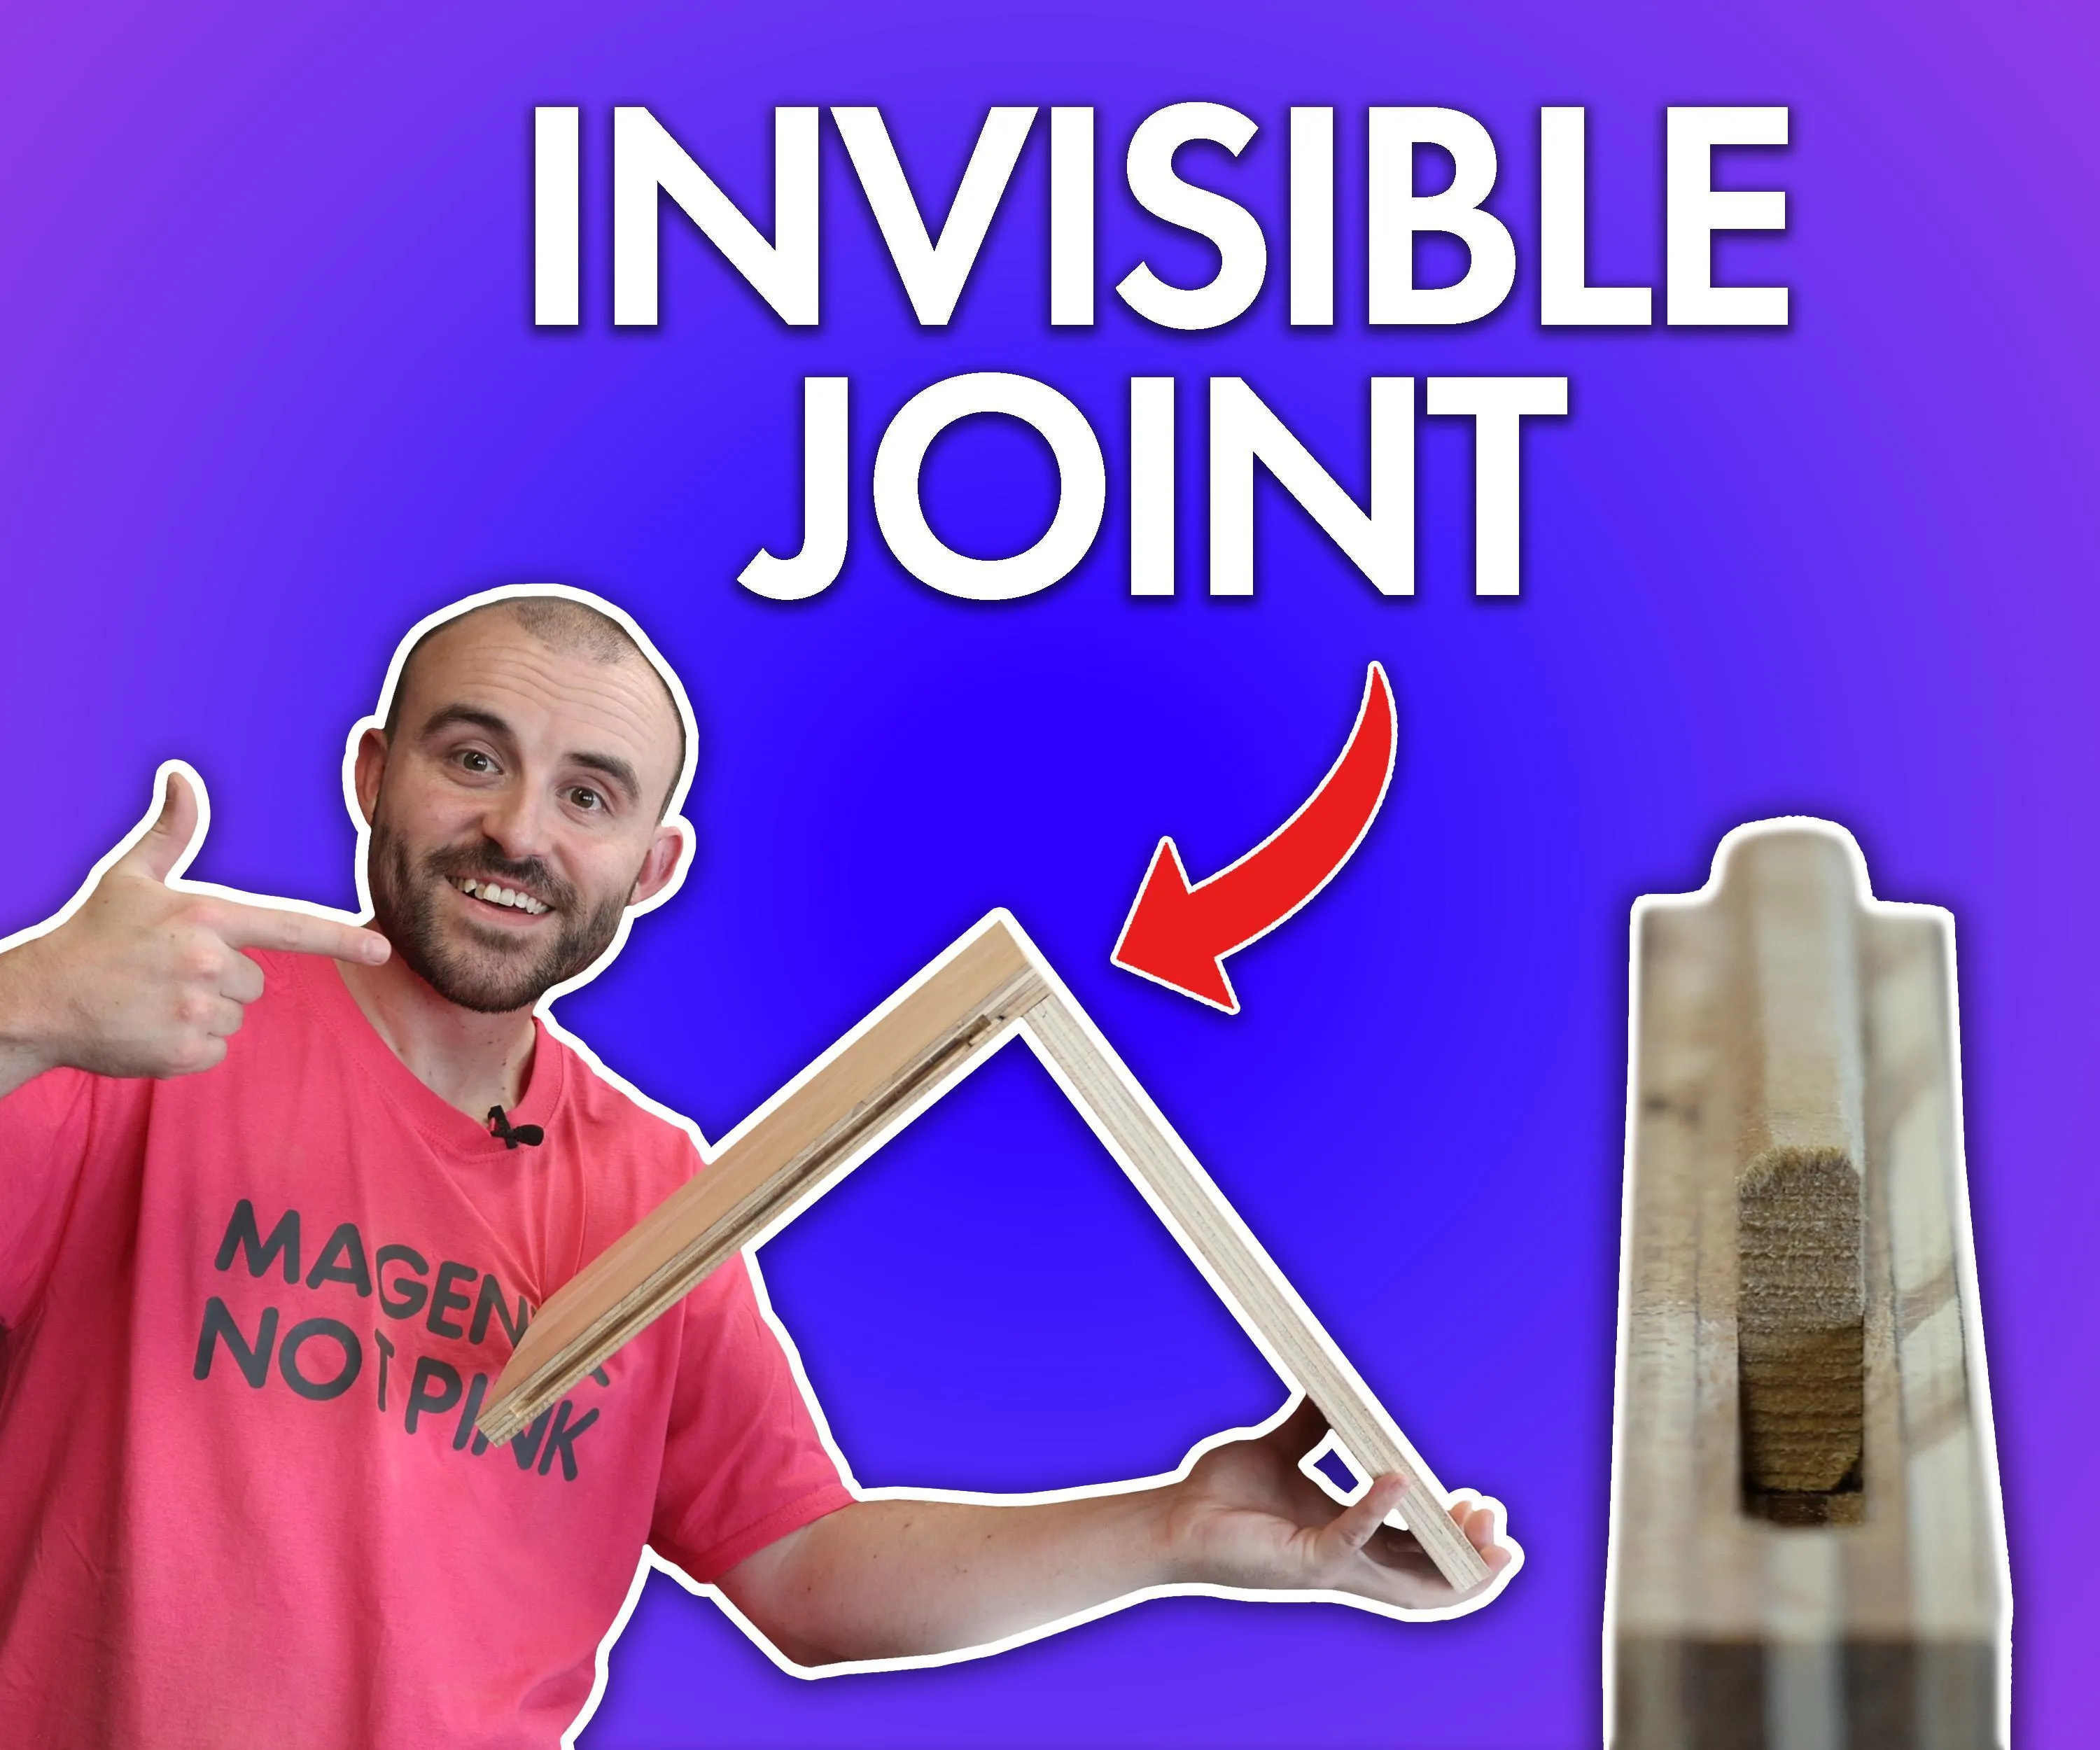
 My Favourite Joinery Method for Plywood, MDF & OSB
Step 3: Assembling the Drawer Boxes
Here’s where it starts looking like a real drawer!
- Smart Construction: For a stronger joint, position the front and back pieces inside the side pieces. This way, when you pull the drawer, the force is distributed more evenly.
- Pre-Drilling is Key: Pre-drill pilot holes to prevent the wood from splitting when inserting screws.
- Glue and Secure: Apply wood glue to the edges, join the pieces, and secure with screws.
- Don’t Forget the Bottom!: Attach the drawer bottom using glue and screws, ensuring it’s flush with the sides.
Step 4: Dowels – Your Secret Weapon for Strength
Dowels are small wooden rods that add incredible strength to your joints.
- Drilling for Dowels: Using a drill bit the same size as your dowels (6mm is a good choice), drill holes between the existing screws at each corner.
- Glue and Hammer: Add glue to the dowel holes, insert the dowels, and gently hammer them flush with the surface.
- Countersink and Repeat: Countersink the screws slightly below the surface. Repeat the doweling process on the bottom of the drawer for extra durability.
Step 5: Smoothing Out the Edges
Time to refine those edges for a professional look and feel.
- Flush Trim: Use a flush trim router bit to create a seamless transition between the drawer bottom and sides. If you don’t have a router, sanding is a great alternative.
- Round Over: Soften all the sharp edges with a round-over router bit. Again, you can achieve this manually with sandpaper, but it might take a bit longer.
Step 6: Adding a Personal Touch with Drawer Pulls
While you can opt for traditional drawer handles, cutout pulls lend a sleek, modern vibe.
- Create a Template: Use a bandsaw or jigsaw to cut out your desired pull shape from scrap wood. This acts as your template.
- Trace and Cut: Center and trace the template onto your drawer fronts. Use a jigsaw to carefully cut out the pulls.
- Route for Perfection: Clamp your template to the drawer front and use a flush trim router bit to follow the template, resulting in a smooth, identical cut on each drawer. Finally, round over the edges for a comfortable grip.
 Plywood Spiral Staircase Display Stand
Step 7: A Splash of Color with Paint
Elevate your drawers with paint that matches your bedroom decor!
- Skip the MDF Sealer: Contrary to popular belief, MDF sealer isn’t always effective. Opt for eggshell wood paint instead – it adheres beautifully to MDF and provides a durable finish.
- Apply Two Coats: Use a foam roller for smooth coverage. Allow the first coat to dry completely before lightly sanding and applying the second coat.
Step 8: Uniting the Drawers and Fronts
With the paint dry, it’s time for the grand reveal!
- Prepare for Bonding: Lightly sand the back of the drawer fronts and the front of the drawer boxes where they will meet. This ensures a strong glue bond.
- Clamp and Wait: Apply wood glue to the prepped surfaces. Carefully align the drawer front, clamp it securely, and let the glue dry completely.
Step 9: Adding Mobility with Wheels
Wheels are the finishing touch, making it a breeze to access your newfound storage space!
- Placement is Key: Position the wheels about an inch (25mm) in from the front and back edges of the drawer bottom.
- Secure with Screws: Use two screws per wheel to attach them securely to the drawer bottom.
Step 10: Admire Your Handiwork!
Congratulations! You’ve officially conquered the under-bed abyss. Fill your new drawers with out-of-season clothing, extra blankets, or anything else you want to keep organized and out of sight.
Share Your Creations with Robert Kline Art!
We’d love to see your under-bed storage triumphs! Share photos of your finished projects in the comments below or tag us on social media.
Looking for more unique storage solutions and handmade gift ideas? Explore the creative world of Robert Kline Art and discover a treasure trove of inspiration!
