Blog
Craft a Space-Saving Pantry Door Organizer: A DIY Project
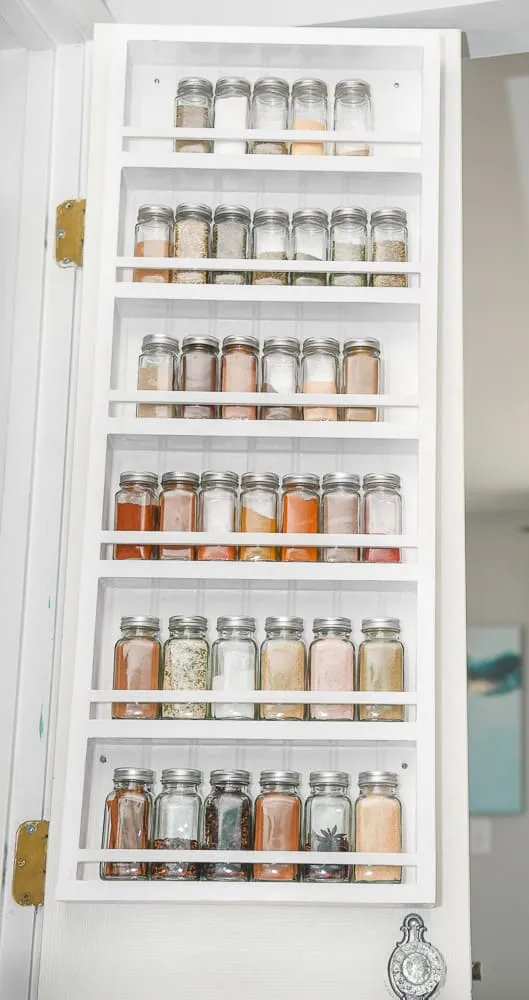
Oh, the pantry! That magical space that often turns into a chaotic abyss. We’ve all been there, staring blankly into the depths of a cluttered pantry, unsure of where to begin. But fear not, fellow kitchen warriors! Today, we’re diving into a simple DIY project that will reclaim your pantry space and bring order to your culinary domain. Get ready to craft a custom pantry door organizer!
 a pantry door organizer fully installed
Planning Your Masterpiece: Materials & Tools
Before we roll up our sleeves, let’s gather our trusty tools and supplies:
Supplies:
- 1 – 1×4 Common Board
- 3 – 1×3 Common Board
- Basswood Tinytrim Rectangle Moulding
- Beadboard
- Wood Glue
- 1 ¼” Kreg Pocket Hole Screws
- 1 ¼” Nails
- Sandpaper
- Wood Filler
- Glidden Flat Pure White Paint (or your preferred color!)
- Caulk
Tools:
- Table Saw
- Miter Saw
- Nail Gun
- Jigsaw
- Kreg Pocket Hole System (a DIYer’s best friend!)
Building Your Pantry Door Organizer: Step-by-Step
1. Measure Up:
Just like a good recipe starts with precise measurements, so does our DIY adventure. Measure the inside of your pantry door, keeping the door frame in mind. Remember, we want the organizer to fit snugly without hindering the door’s closing.
2. Beadboard Backing:
For this project, we’re using leftover beadboard for a touch of rustic charm. Use a circular saw for the initial cuts, shaping the beadboard to the dimensions you measured earlier.
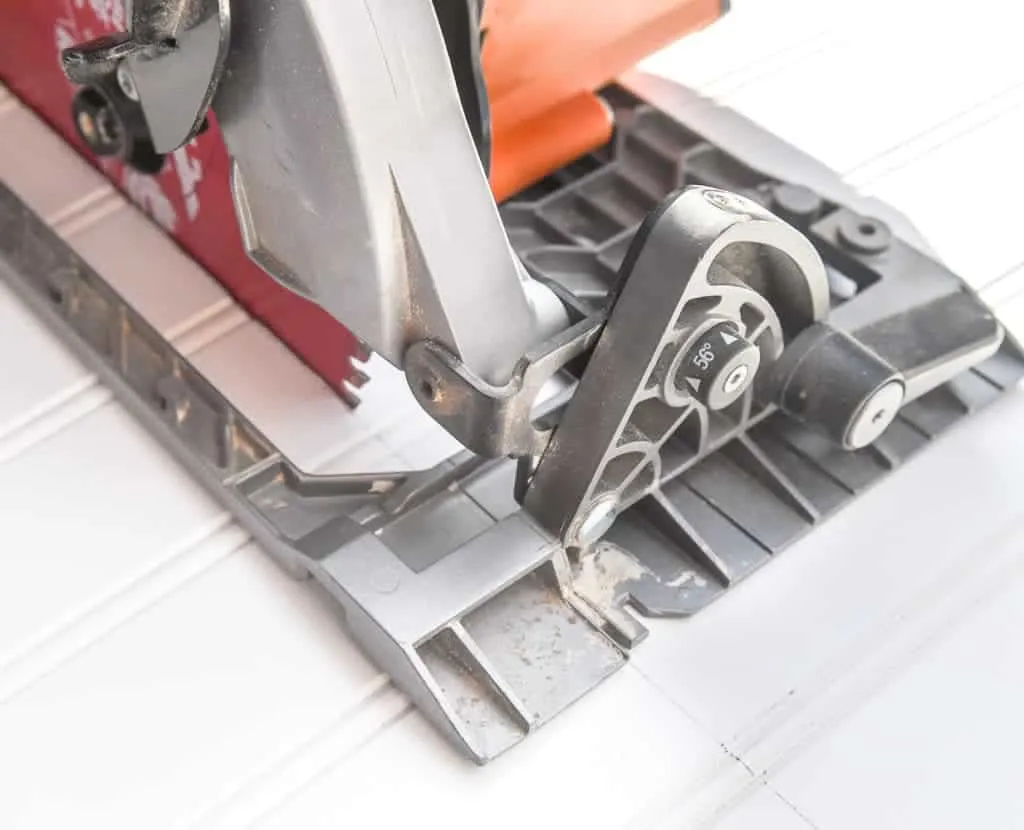 Close up of a circular saw cutting white beadboard
3. Precision is Key:
Once the beadboard is cut, smooth out the edges using a table saw. This ensures those corners are perfectly square, making for a professional-looking organizer.
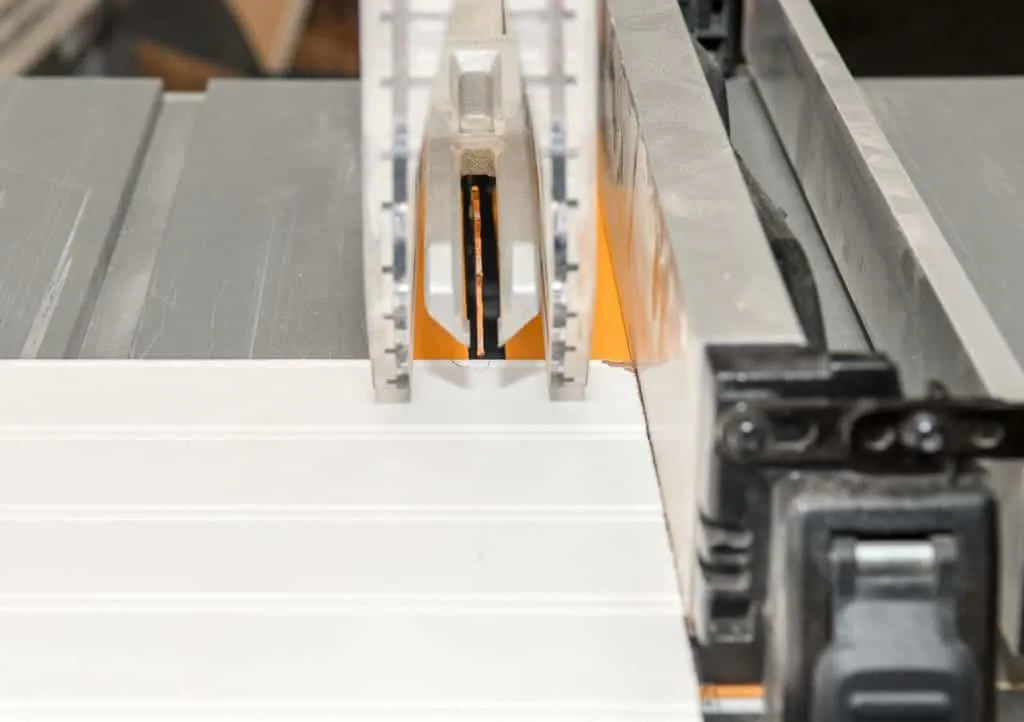 Close up of a DeWalt table saw cutting white beadboard
4. Designing Around Features:
Take note of any existing features on your door, such as decorative door knob plates. Incorporate these into your design to ensure a seamless fit.
5. Framing the Organizer:
We’ll be using 1x3s for the top organizer, perfect for smaller items like spice jars, and 1x4s for the lower organizer to accommodate larger pantry staples. A miter saw will be your go-to tool for creating precise cuts for the frames.
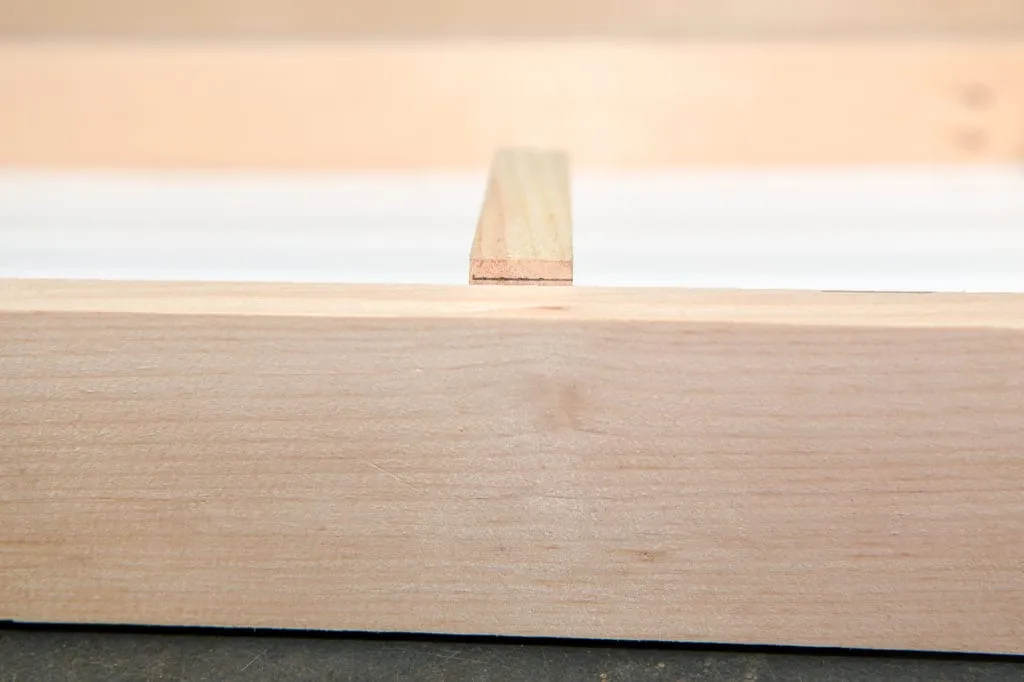 a piece of wood with a line drawn on it to be cut down
6. Pocket Hole Magic:
Now, for the satisfying part – assembling the frames using pocket holes! If you’re new to the Kreg Pocket Hole System, don’t fret. It’s incredibly user-friendly. Determine the wood thickness (ours is ¾”), adjust your jig and drill bit accordingly, and refer to the handy chart for the right screw size.
Pro Tip: When setting the pocket hole size, measure the drill bit to the end of the spiral. This guarantees a ¾” deep pocket hole with a channel to guide the screw.
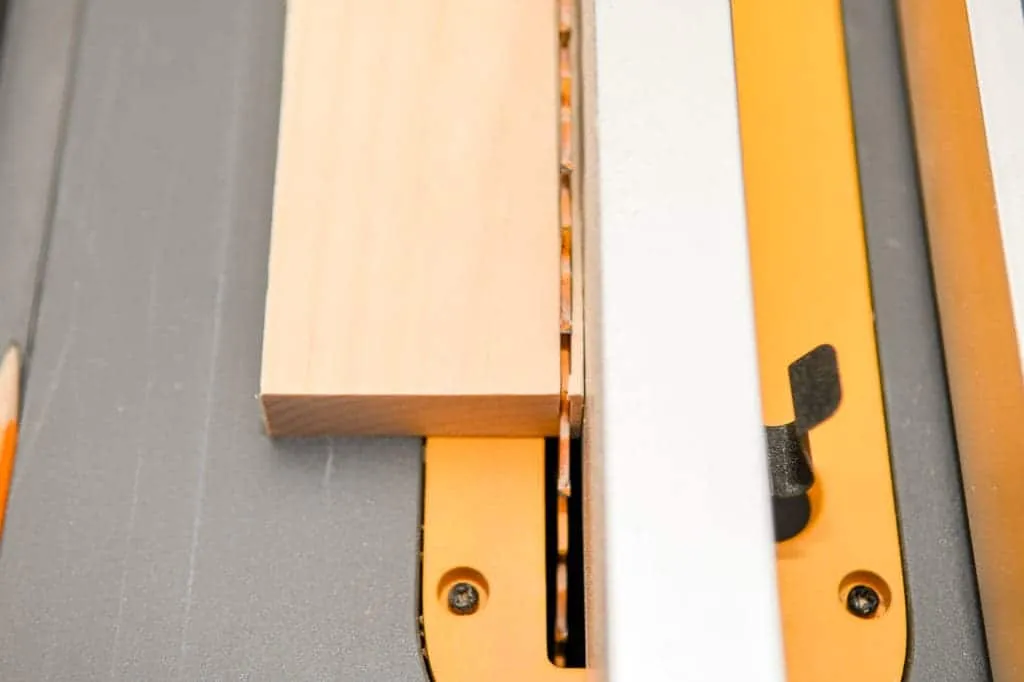 a piece of wood being cut on a table saw
7. Securing with Screws:
Drill those pocket holes at the ends of the boards, following the wood grain for maximum strength. Clamp the boards for a secure hold while driving in the screws. This prevents any unwanted movement and ensures those joints are sturdy as can be.
8. Shelves & Spacers:
With the frames assembled, it’s time to add shelves. Trim the shelves to fit perfectly within the frames, using spacers to ensure easy access when loading and unloading your pantry goods.
 a pantry door organizer fully installed
9. A Finishing Touch:
Install small molding along the front edges of the shelves using wood glue and a nail gun. This small addition prevents items from tumbling out when the door is opened and closed.
10. Prepping for Paint:
Before unleashing your inner artist, take a moment to caulk and fill any gaps. Fill the pocket holes with wood filler for a smooth finish. Allow everything to dry completely before sanding and painting.
 a pantry door organizer fully installed
11. Mounting on a Hollow Door:
For hollow doors, use hollow door anchors – they’re shorter than standard drywall anchors, ensuring a secure fit within the door. These little powerhouses can hold a surprising amount of weight.
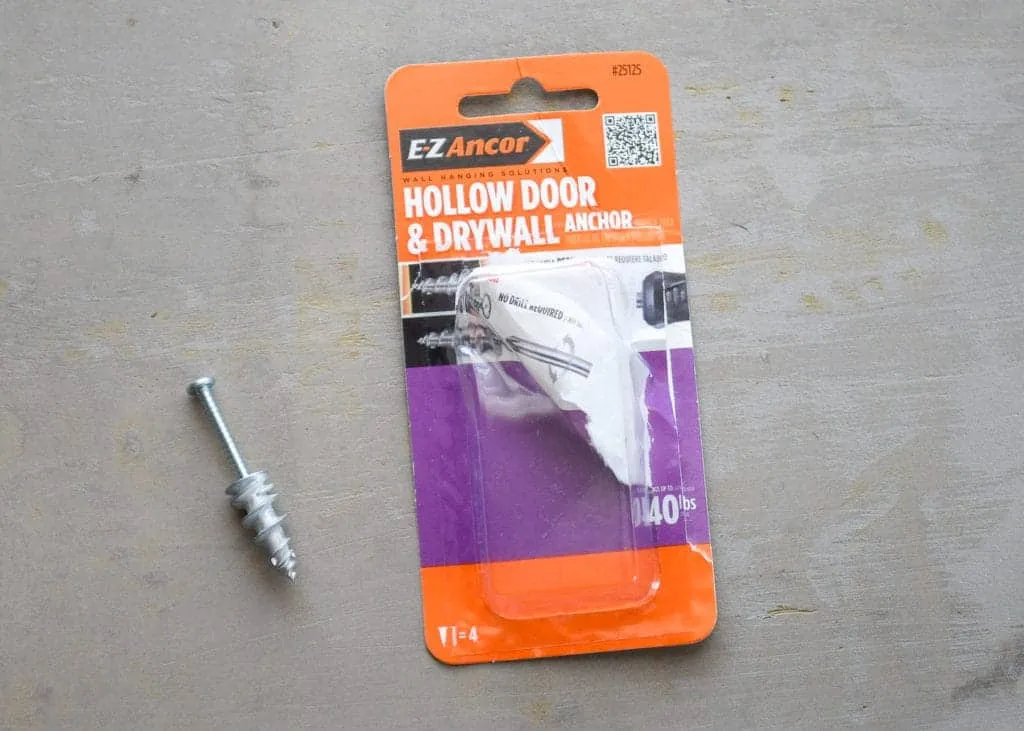 hollow door anchor
Revel in Your Organizational Triumph!
Step back and admire your handiwork. Your new pantry door organizer is not only functional but also adds a touch of personalized style to your kitchen. Now, go forth and conquer that pantry chaos!
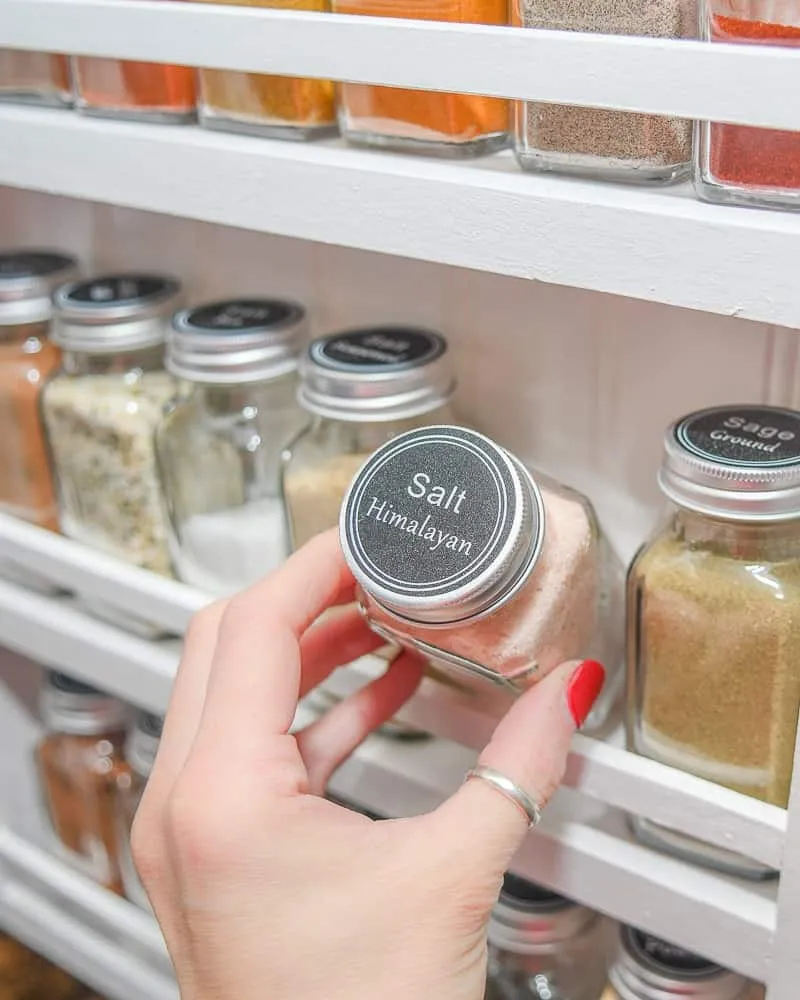 reorganize your pantry
Looking for More DIY Inspiration?
Head over to the Robert Kline Art website for a treasure trove of creative projects, tips, and tricks to elevate your crafting game. Don’t forget to share your creations and connect with fellow DIY enthusiasts in the comments below. Let’s get crafting!
