Blog
DIY Magazine Rack: Organize Your Reads in Rustic Style

In our digital world, there’s still something special about holding a tangible magazine or newspaper while sipping your morning coffee. However, scattered reading material can quickly clutter your space. That’s where this minimalist magazine rack comes in! This DIY project blends simple sewing and basic woodworking for a result that’s as functional as it is stylish. The best part? You can easily customize it to match your decor.
 Magazine rack set VARICOLOR® A4
Gathering Your Supplies
Before we dive in, let’s gather our tools and materials. For this project, you will need:
- Woodworking:
- 2 hardwood dowels (5/8″ thickness)
- Several wood slats
- 2 bolts (3/8″) with wing nuts
- Wood screws
- Sewing:
- Large piece of fabric (denim or your preferred choice)
- Needle and thread OR sewing machine
- Tools:
- Cordless drill
- Sandpaper
- Scissors
- Pins
- Measuring tape
Crafting Your Magazine Rack
Ready to get started? Let’s break down the process into manageable steps:
Step 1: Creating the Fabric Pouch
- Cut and Hem: Begin by cutting your fabric to 90 cm x 40 cm (including seam allowances). Fold and sew a 1 cm double hem along all four edges to create a clean and polished look.
- Forming the Loops: On each of the shorter sides, fold the fabric over by 5 cm and sew along the edge. This creates loops to thread the dowels through.
 black
black
Step 2: Assembling the Wooden Frame
- Prepare the Slats: Cut four wood slats to 40 cm each and smooth any rough edges with sandpaper. Mark the center point of each slat.
- Drill Pilot Holes: Using a drill bit slightly smaller than your bolt size, carefully drill a hole through the center of each slat.
- Attach Dowels to Slats: Cut your dowels into two 45 cm lengths and sand the edges. Position the flat end of one dowel perpendicular to one end of a slat. Securely fasten the dowel to the slat using a long wood screw. Repeat this process for the remaining dowels and slats.
 Magazine rack ECO A4
Step 3: Combining Fabric and Wood
- Thread the Pouch: Take one assembled dowel-and-slat section and thread it through one of the loops on your fabric pouch. Repeat this process for the other dowel-and-slat section, using the remaining loop on the pouch.
Step 4: Final Touches
- Connecting the Sides: Align the holes you drilled in the center of each slat. Insert a bolt through each set of aligned holes, creating an “X” shape with your magazine rack.
- Securing the Structure: Tighten a wing nut onto each bolt to hold the structure firmly in place.
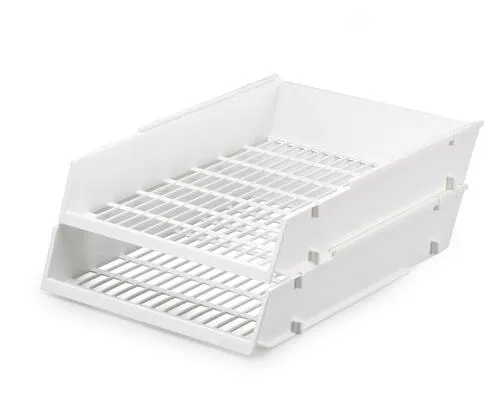 Letter tray ECONOMY A4
Customizing Your Creation
Here at Robert Kline Art, we believe in adding your personal flair to every project! Consider these options to customize your new magazine rack:
- Fabric Choice: Experiment with different fabrics, colors, and patterns to complement your space. Canvas, linen, or even a repurposed leather belt can create unique looks.
- Wood Finish: Enhance the natural beauty of the wood with stain or paint. Distressing techniques can lend a vintage vibe.
- Embellishments: Add decorative touches like stencils, embroidery, or metal accents for an extra dose of personality.
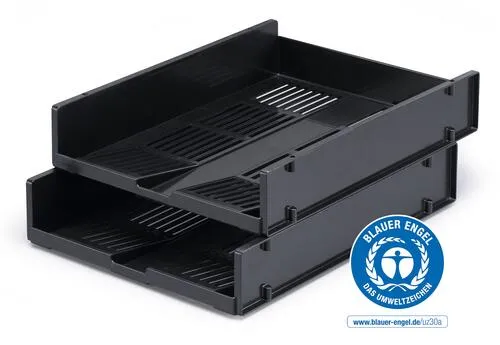 Letter tray OPTIMO A4
Beyond Magazines
This versatile DIY project isn’t limited to just magazines! Consider these alternative uses:
- Book Storage: Keep cookbooks, art books, or your current reads organized and within reach.
- Tablet Holder: Create a dedicated spot for your iPad or tablet, perfect for hands-free reading.
- Office Organization: Tame paperwork clutter by using your magazine rack to sort files, folders, or notebooks.
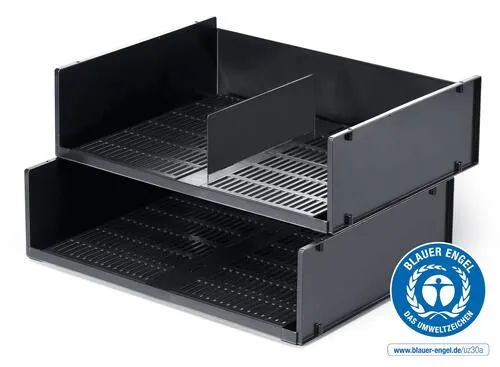 Letter tray OPTIMO A3 landscape
Share Your Creations!
We’d love to see your take on this DIY magazine rack. Share your finished projects with us on social media and inspire fellow craft enthusiasts. Happy crafting! And don’t forget to browse Robert Kline Art for more handcrafted gift ideas and creative inspiration.
