Blog
Building a DIY Pull-Out Trash Can Cabinet: A Step-by-Step Guide
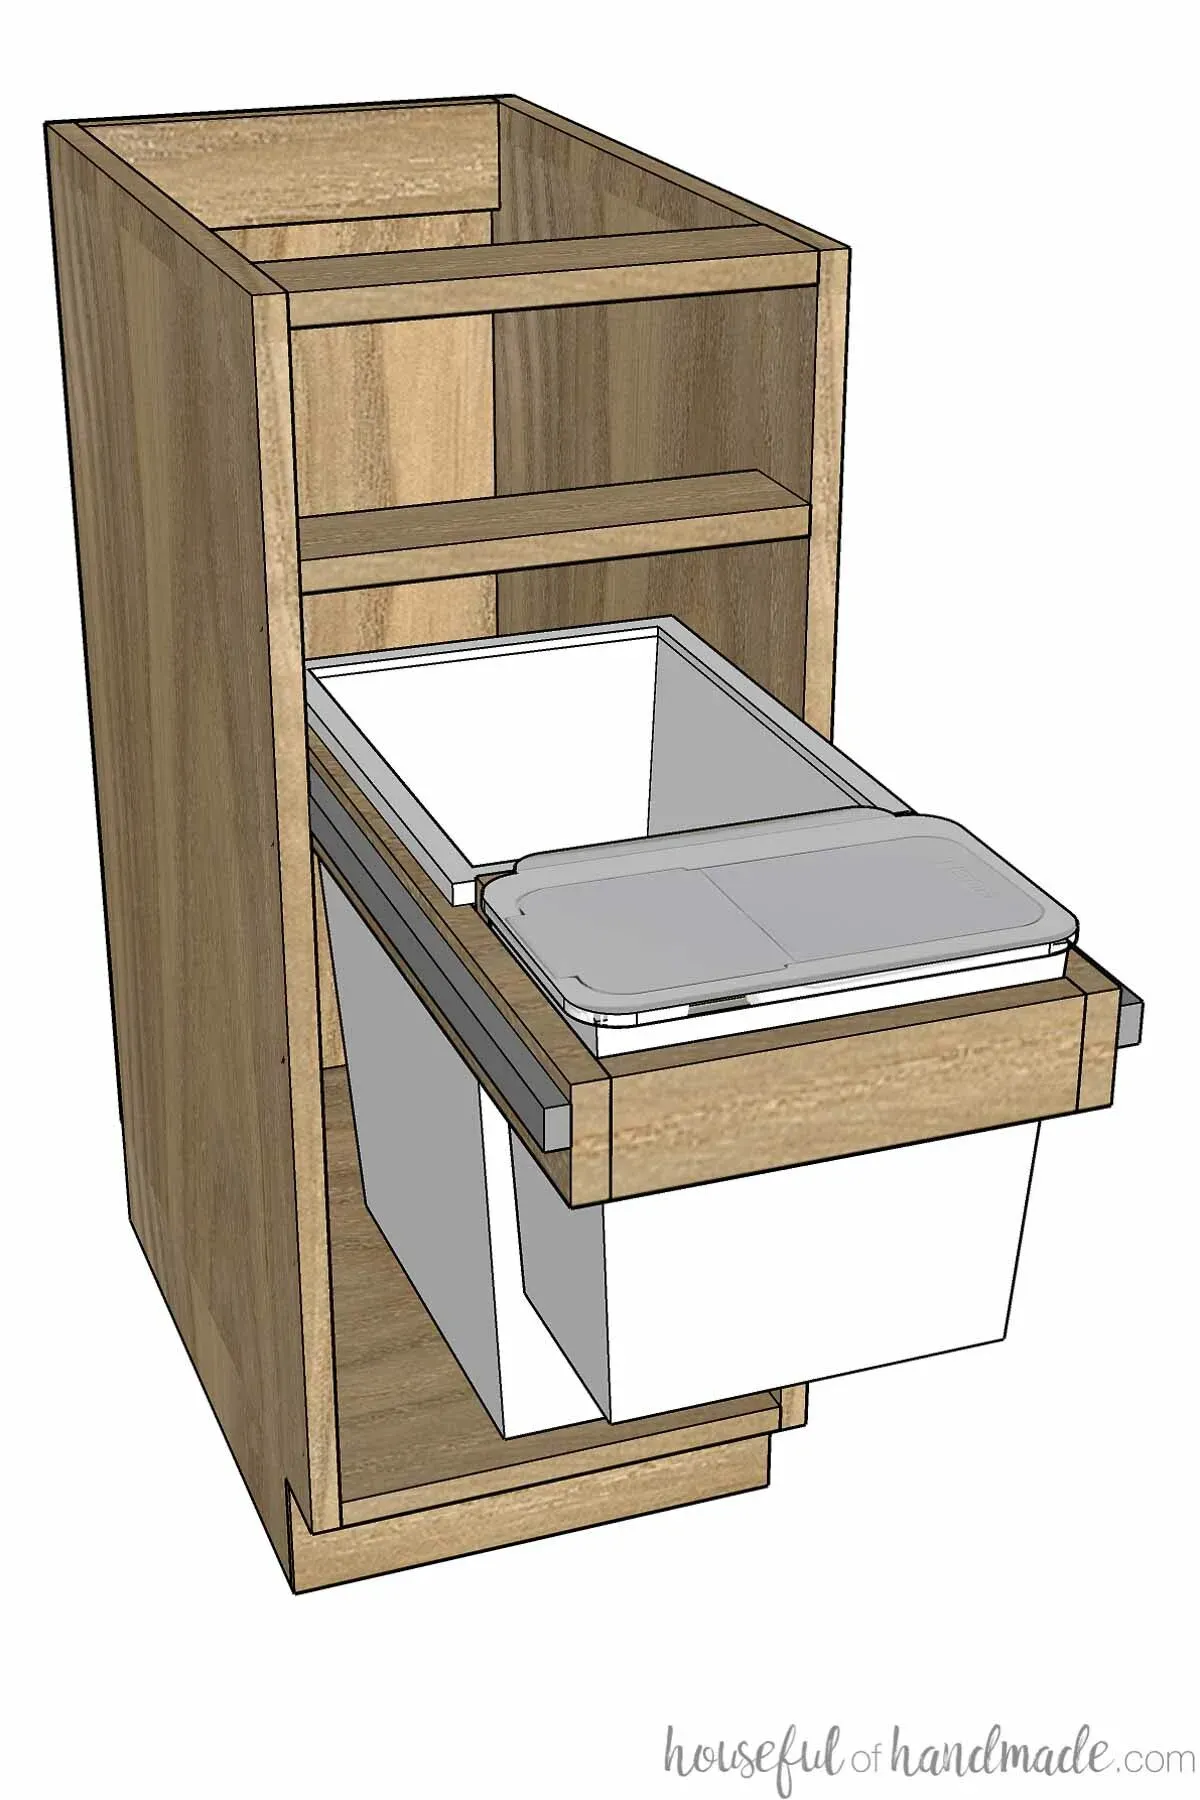
Tired of staring at your garbage can? I get it! As an avid DIYer and craft enthusiast, I understand the importance of both form and function in a well-designed space. In this tutorial, we’re going to tackle a project that will not only elevate your kitchen’s aesthetic but also enhance its practicality: a custom-built, pull-out trash can cabinet.
Hiding your trash can behind a cabinet door is a simple luxury within everyone’s reach! It conceals unsightly garbage and contains unpleasant odors. While you can purchase pre-made inserts, building your own allows for greater customization and often saves you money.
Planning Your DIY Pull-Out Trash Can Cabinet
Before grabbing your tools, let’s plan the project. This will ensure that your pull-out trash can cabinet perfectly suits your needs and existing kitchen layout.
1. Choosing the Right Drawer Slides
The right drawer slides are crucial for smooth operation. I recommend over-extension drawer slides, as they allow the cabinet to extend past the countertop overhang, providing complete access to your trash cans.
2. Selecting Your Trash Cans
Any trash can with a sturdy top lip will work perfectly. Consider your household’s recycling and composting needs to determine the ideal size and number of bins for your cabinet.
3. Designing Your Trash Can Insert
The insert is the heart of this project. Determine whether you want a simple frame or a top frame for a more polished look.
Here’s a breakdown of the components:
Top Frame Holder:
- Side Pieces (x2): Cut to the height of your trash can minus the thickness of the bottom and top frame pieces.
- Front/Back Pieces (x2): Cut to the width of your trash can plus the clearance needed for your drawer slides (typically 1″).
- Center Divider (x1): Cut to the same dimensions as the side pieces.
- Top Frame Pieces (x3): These pieces add a finished look. The front/back pieces are cut to the same width as the bottom frame, while the side pieces are cut shorter to fit within.
Simple Frame Holder:
- Side Pieces (x2): Cut to the height of your trash can.
- Front/Back Pieces (x2): Cut to the width of your trash can plus the clearance needed for your drawer slides (typically 1″).
- Center Dividers (x1-2): Cut to the same dimensions as the side pieces. You may need an additional divider depending on your trash can configuration.
 Drawing of build plans for a small trash can cabinet with a compost bin and drawer.
A detailed plan with measurements will help you visualize your trash can cabinet.
Building Your DIY Pull-Out Trash Can Cabinet
With the planning complete, let’s start building.
1. Building the Trash Can Insert
- Cut your pieces: Use the cut lists above to cut the plywood for your chosen insert style.
- Drill pocket holes: I recommend using pocket holes for strong and discreet joints. Drill pocket holes in the appropriate locations on your pieces.
- Assemble the frame: Use wood glue and pocket hole screws to assemble the bottom frame of your insert, attaching the front, back, and center dividers to the side pieces.
- Add the top frame (optional): If you’re using a top frame, assemble it separately and then attach it to the bottom frame using pocket holes or glue and a finish nailer.
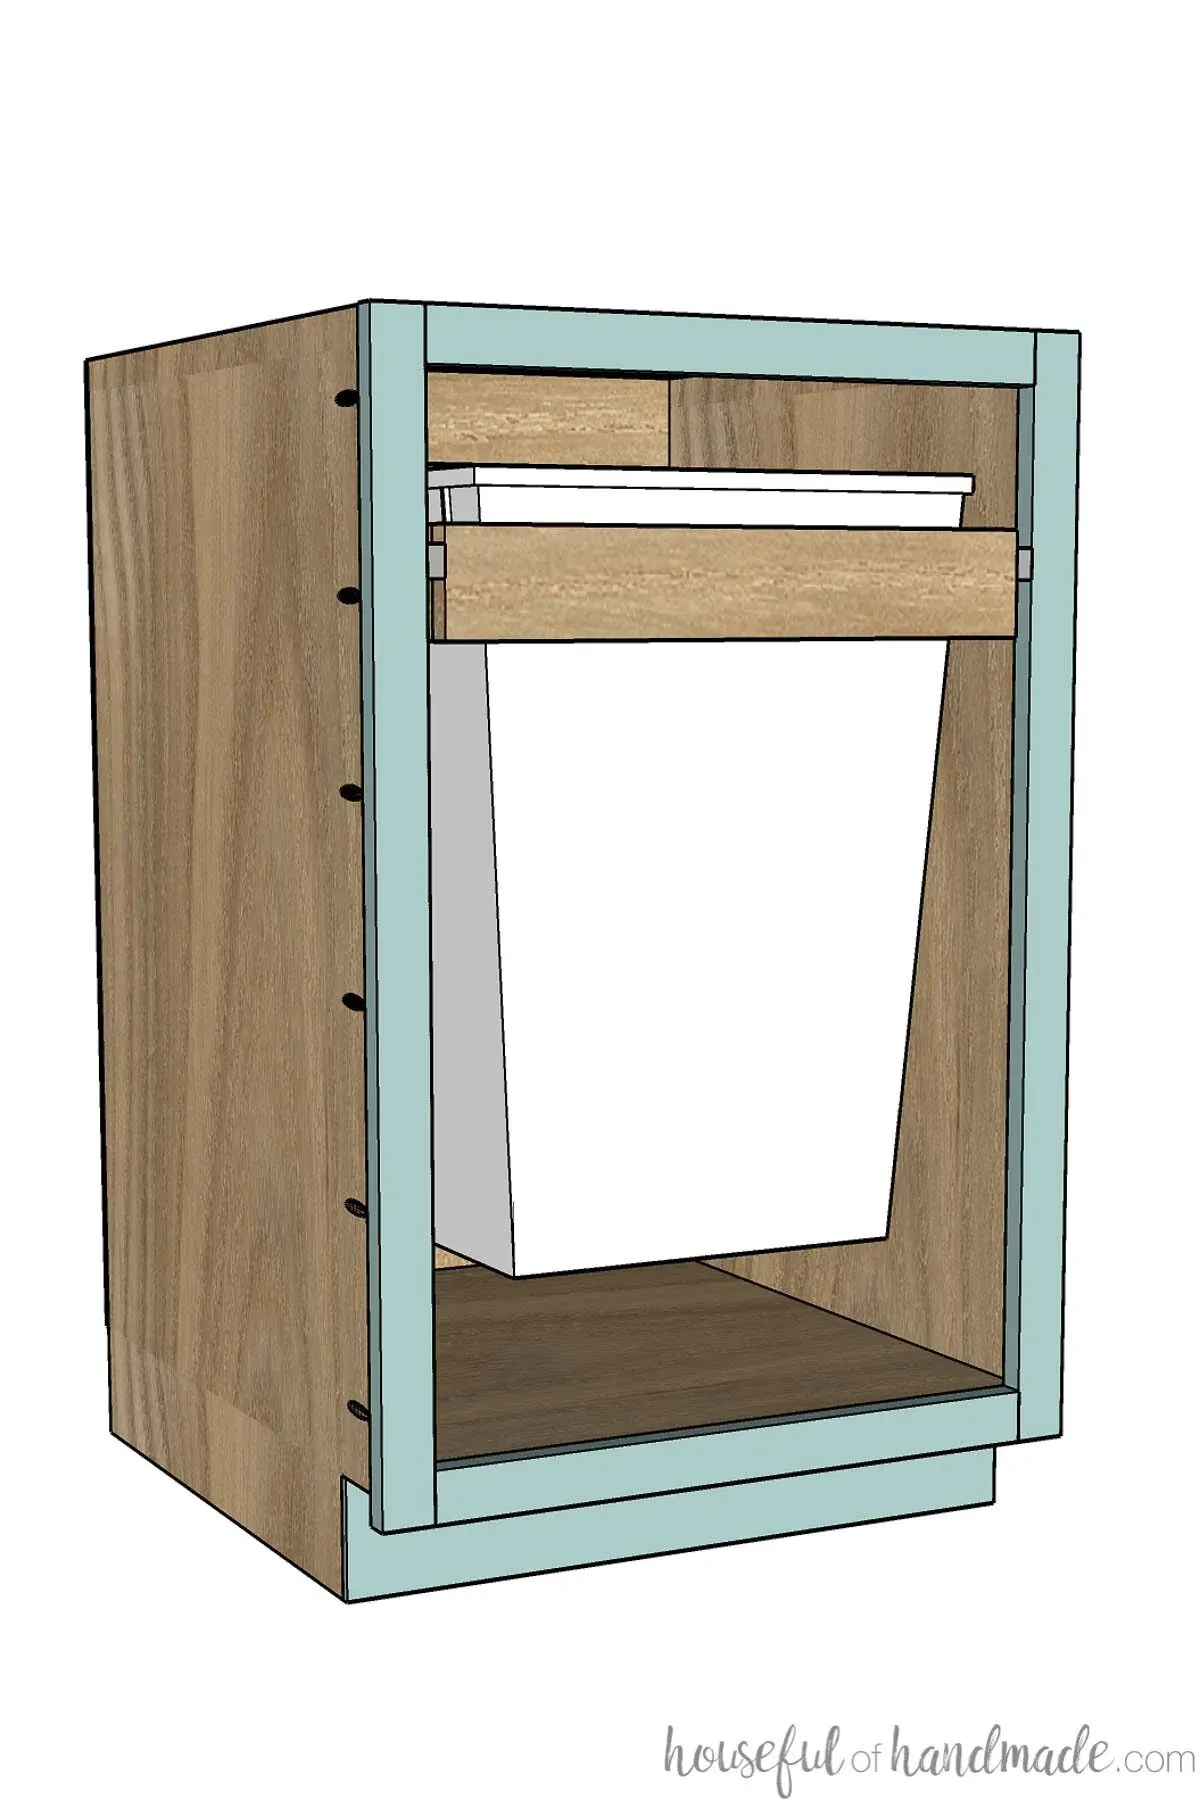 Garbage can cabinet with a custom can holder in a face frame cabinet.
This custom-built trash can cabinet features a simple frame holder.
2. Building the Cabinet
- Determine the cabinet size: Calculate the required cabinet opening by adding the width of your trash can holder plus the clearance needed for your drawer slides (typically 1″ total). Use this measurement to determine the overall cabinet width based on whether you’re building a face-frame or frameless cabinet.
- Build the cabinet box: Follow the same steps as you would for building any other base cabinet, using the dimensions you calculated.
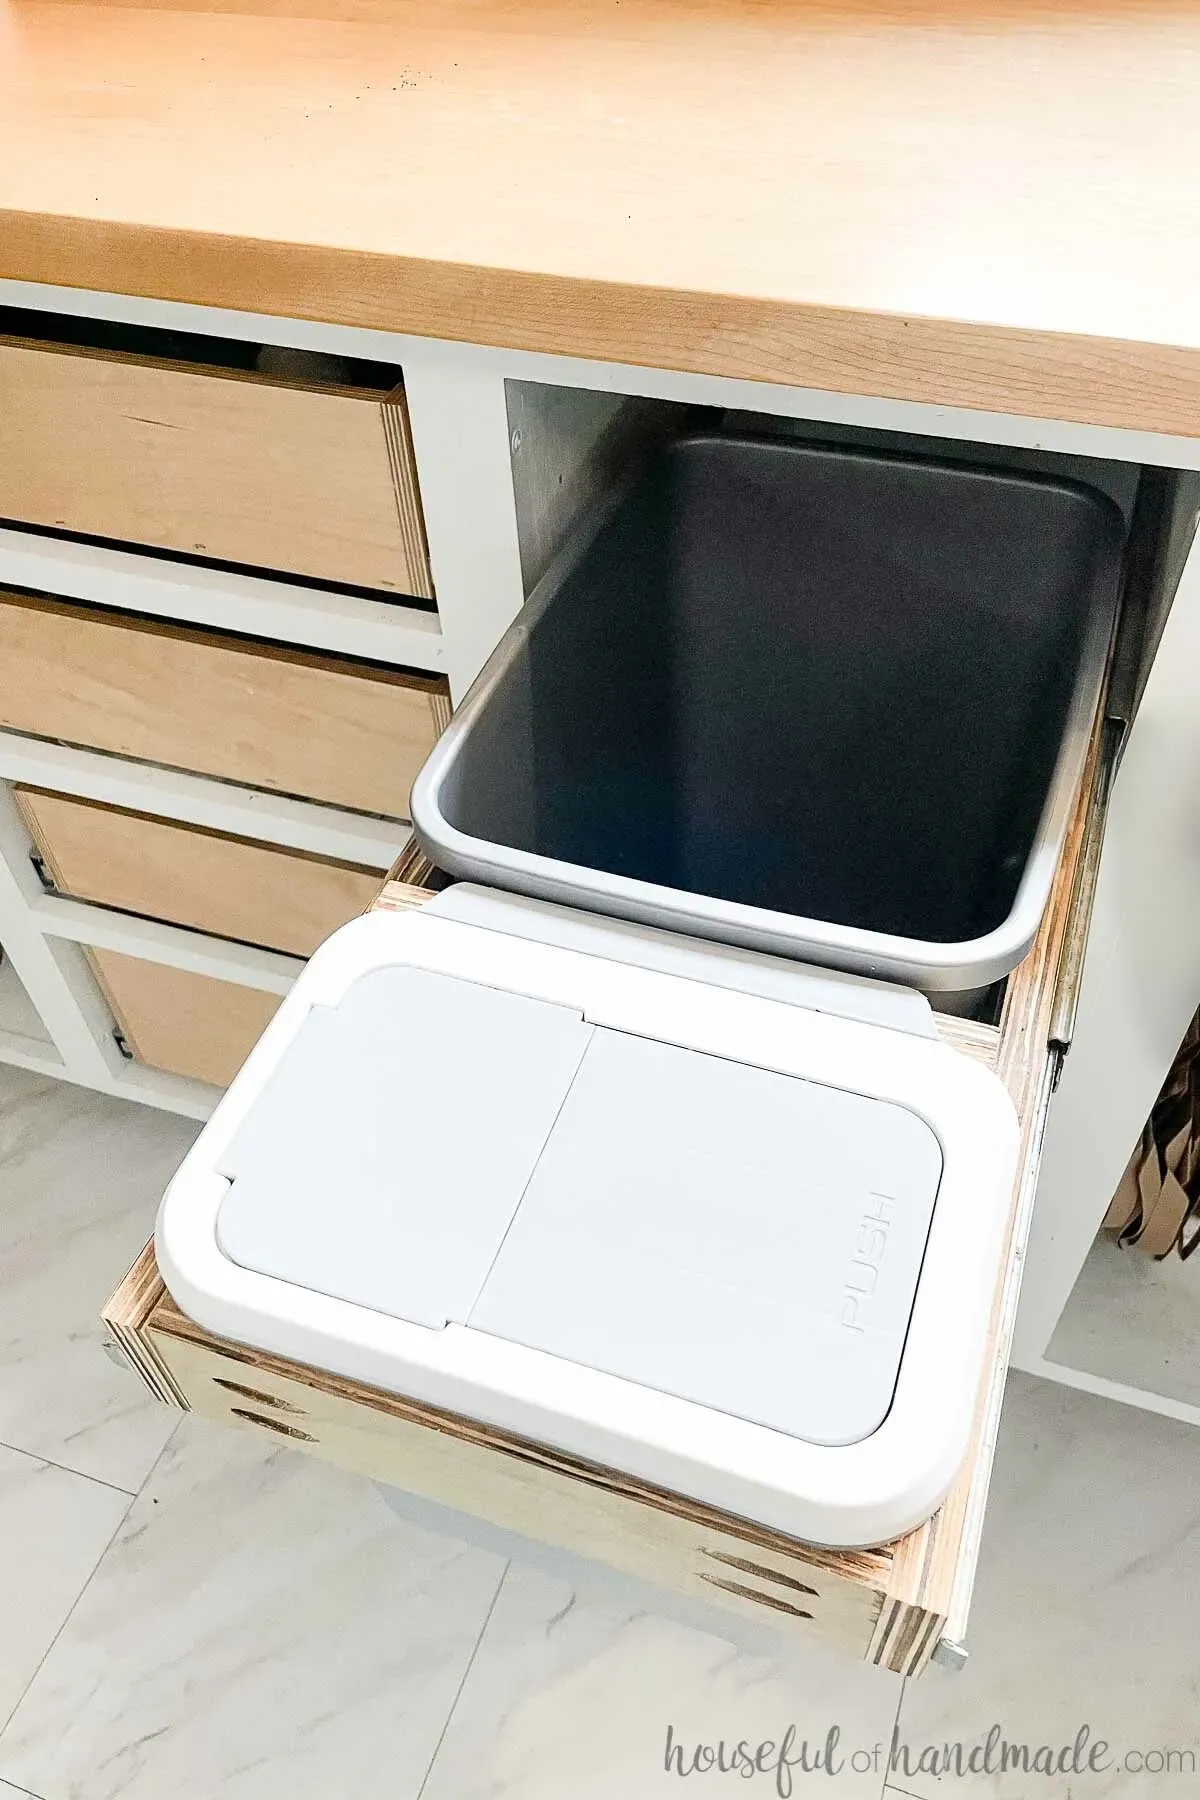 Looking down on a pull out trash can cabinet with a large garbage can and compost bin.
This pull-out trash can cabinet features a top frame for a polished look.
3. Installing the Trash Can Holder
- Attach the drawer slides: Install the drawer slides on the sides of the cabinet and the trash can holder.
- Secure the holder: Place the trash cans in the holder and position it in the cabinet. Ensure adequate clearance above and below the cans. Attach the cabinet door to the front of the trash can holder using wood screws.
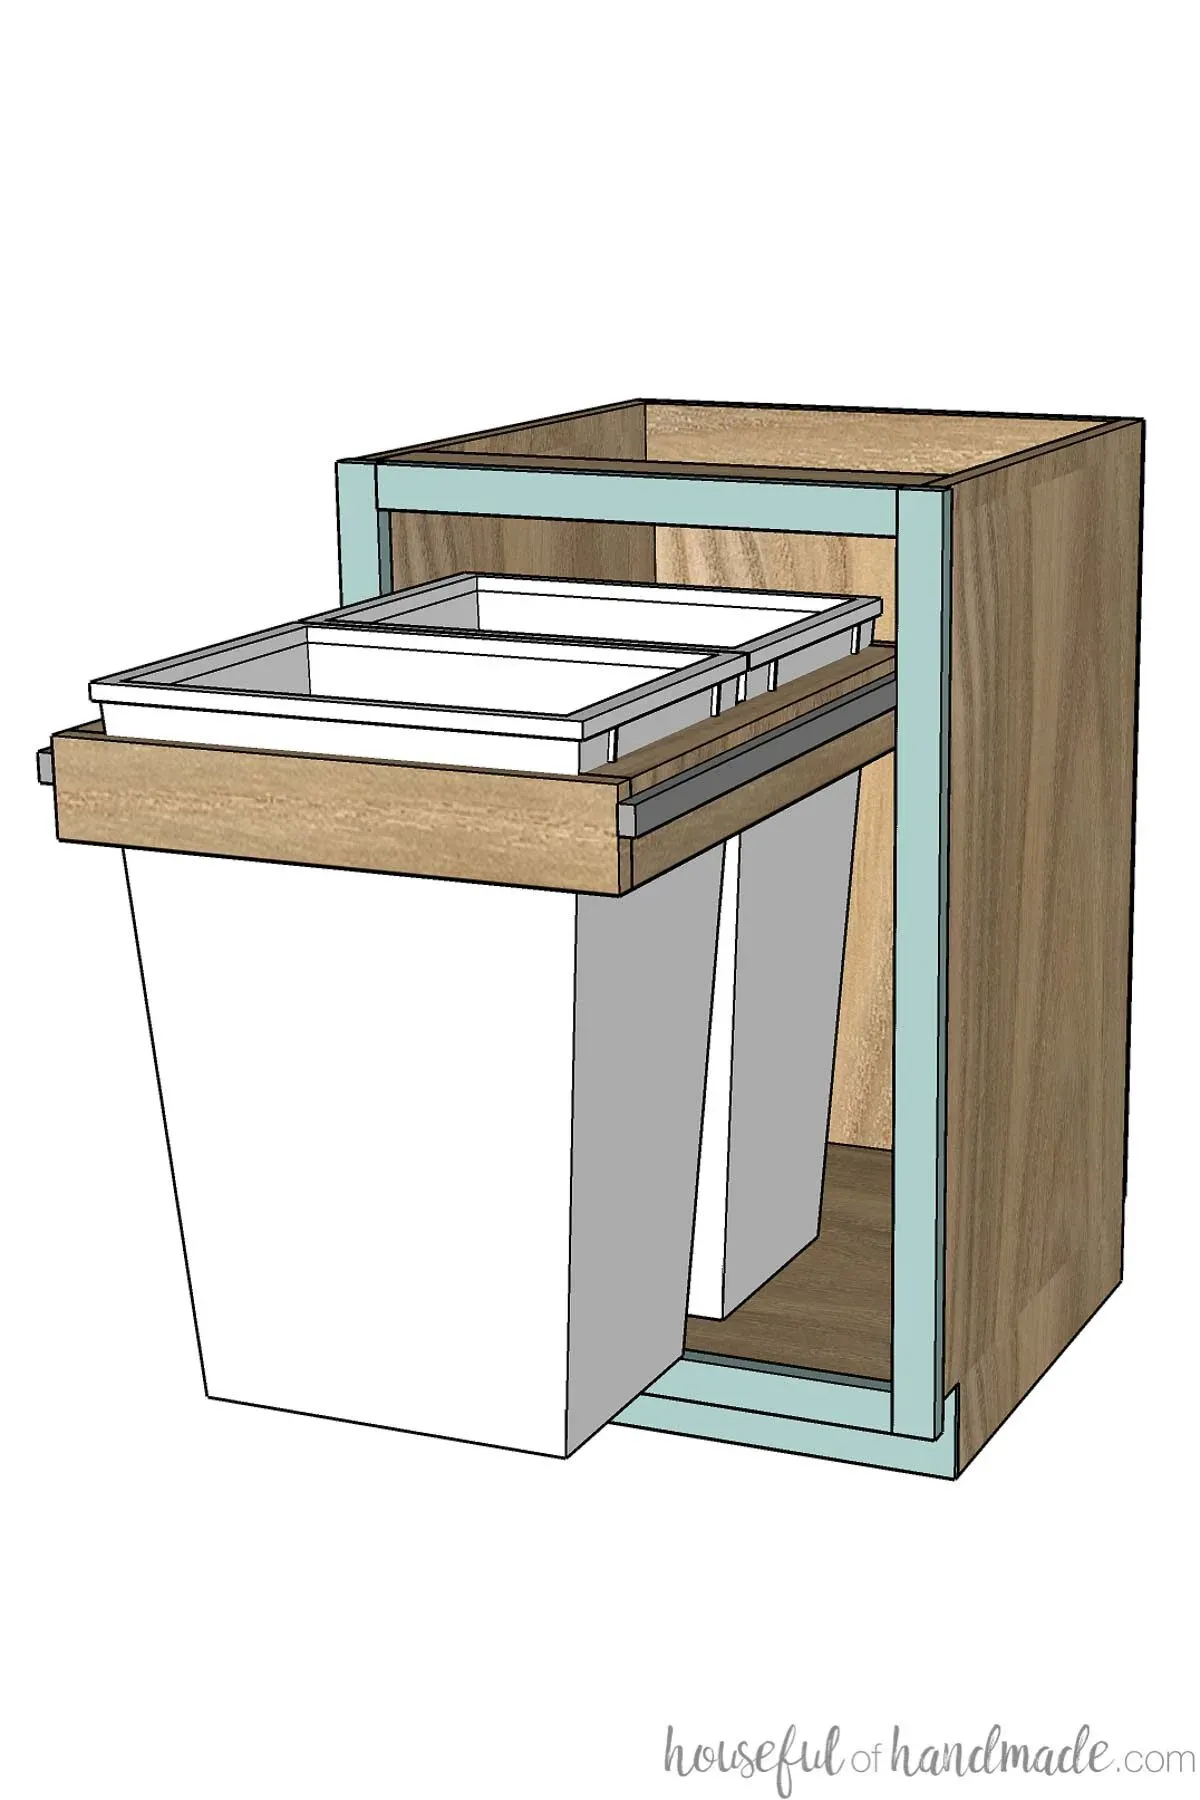 SketchUp drawing of a garbage can cabinet with two cans slide out on drawer slides.
Visualizing the installation process with a SketchUp drawing.
4. Adding the Finishing Touches
- Install the cabinet door: Build or choose a cabinet door that matches your kitchen’s style and attach it to the trash can holder.
- Add a handle: Choose a handle that complements your kitchen’s hardware.
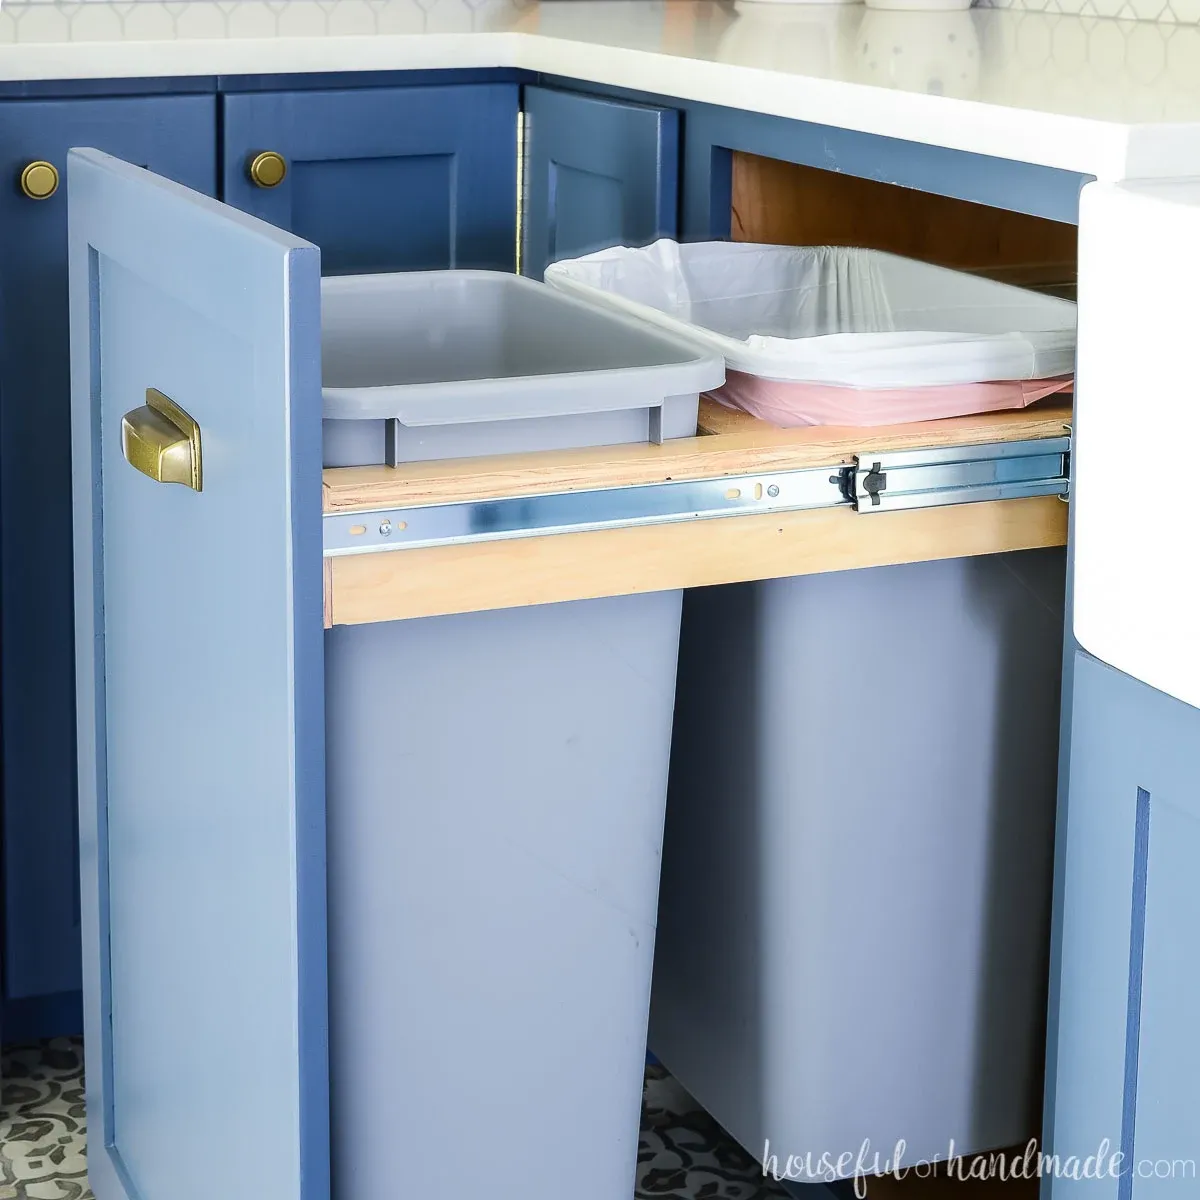 Pull out trash can cabinet slid open revealing the two large garbage cans inside.
The finished product: a functional and stylish pull-out trash can cabinet.
Customizing Your Pull-Out Trash Can Cabinet
The beauty of DIY lies in customization! Get creative and tailor your trash can cabinet to meet your specific needs.
- Multiple Bins: Divide your cabinet to accommodate trash, recycling, and compost.
- Extra Storage: Incorporate a drawer above or below the trash cans for storing trash bags, cleaning supplies, or other kitchen essentials.
- Unique Configurations: Experiment with different trash can sizes and placement to find the perfect fit for your kitchen.
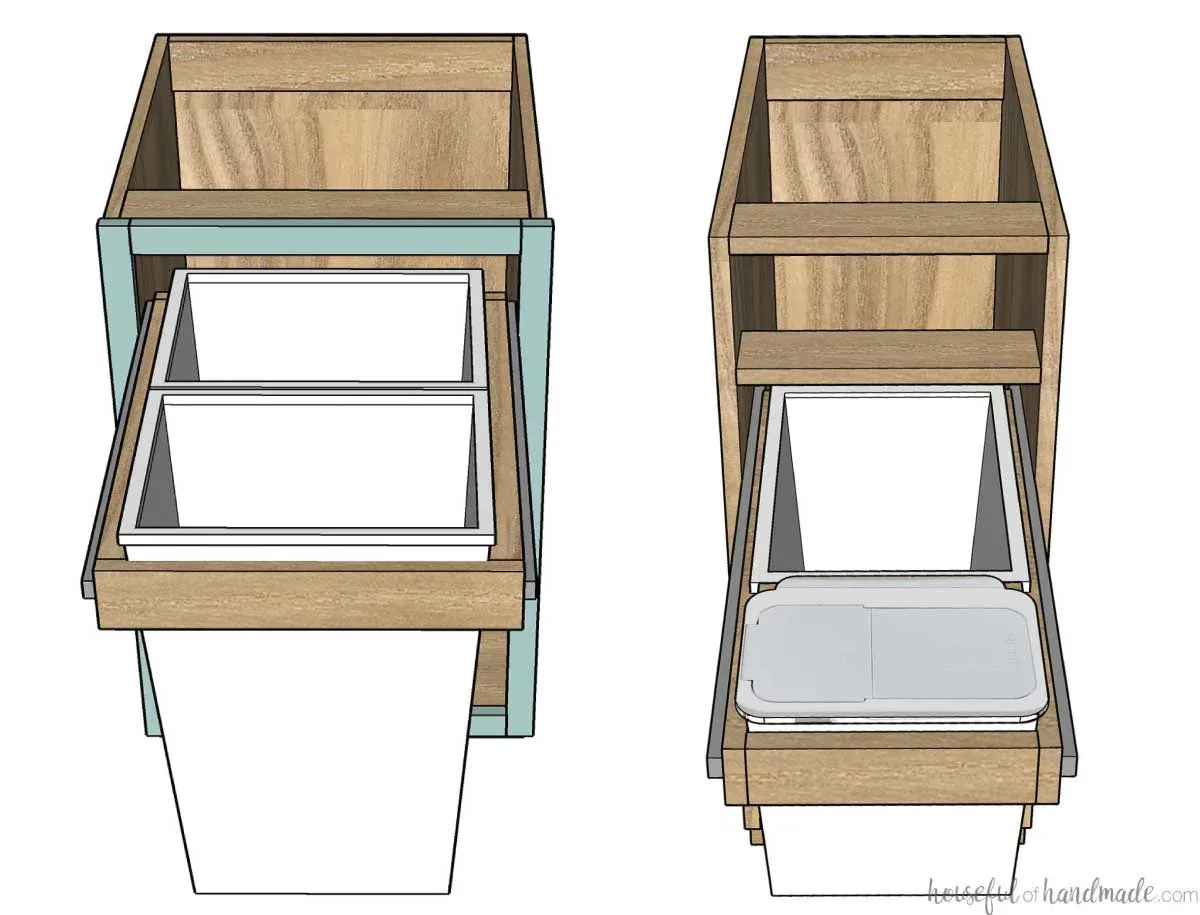 Two 3D sketches of two different custom configurations of pull out trash can cabinets you can build.
Consider different configurations to optimize your cabinet space.
Tips for Success
- Measure Twice, Cut Once: Accurate measurements are crucial for a smoothly operating cabinet.
- Choose Quality Materials: Use high-quality plywood and drawer slides to ensure your cabinet’s durability and longevity.
- Consider Your Kitchen’s Style: When choosing a cabinet door and handle, select options that blend seamlessly with your existing kitchen aesthetic.
Building your own pull-out trash can cabinet is a rewarding project that enhances both the functionality and aesthetics of your kitchen. With a bit of planning, patience, and creativity, you can create a custom solution that perfectly suits your needs.
Ready to Transform Your Kitchen?
I hope this guide has inspired you to tackle your own DIY pull-out trash can cabinet. If you enjoyed this project, I invite you to explore Robert Kline Art for more creative inspiration, DIY guides, and unique handmade gifts. Let’s create something beautiful together!
