Blog
DIY Baking Sheet Organization: Creating a Pull-Out Cabinet Organizer

Are you tired of struggling to find the right baking sheet in a cluttered cabinet? Do you dream of a kitchen where everything is organized and easily accessible? Then, my fellow baking enthusiast, you’ve come to the right place! Today, we’re going to roll up our sleeves and delve into the world of DIY kitchen organization with a focus on creating a convenient pull-out baking sheet organizer.
This project is simpler than you might think, and the reward is immense. Imagine yourself effortlessly sliding out your organized baking sheets, ready to tackle any recipe that comes your way. No more awkward stacking, no more frustrating searches – just pure baking bliss!
Planning & Materials
Every masterpiece begins with a plan, and our DIY organizer is no exception! Here’s what you’ll need:
Materials:
- Pull-out cabinet drawer slides (consider heavy-duty slides for durability)
- Wooden boards (for the frame and dividers – choose a sturdy wood like maple or birch)
- Wood glue
- Wood screws
- Sandpaper
- Wood finish (optional, for added protection and polish)
- Measuring tape
- Pencil
- Saw (circular saw or jigsaw)
- Drill
- Screwdriver
Building Your Baking Sheet Organizer
Step 1: Measure and Cut
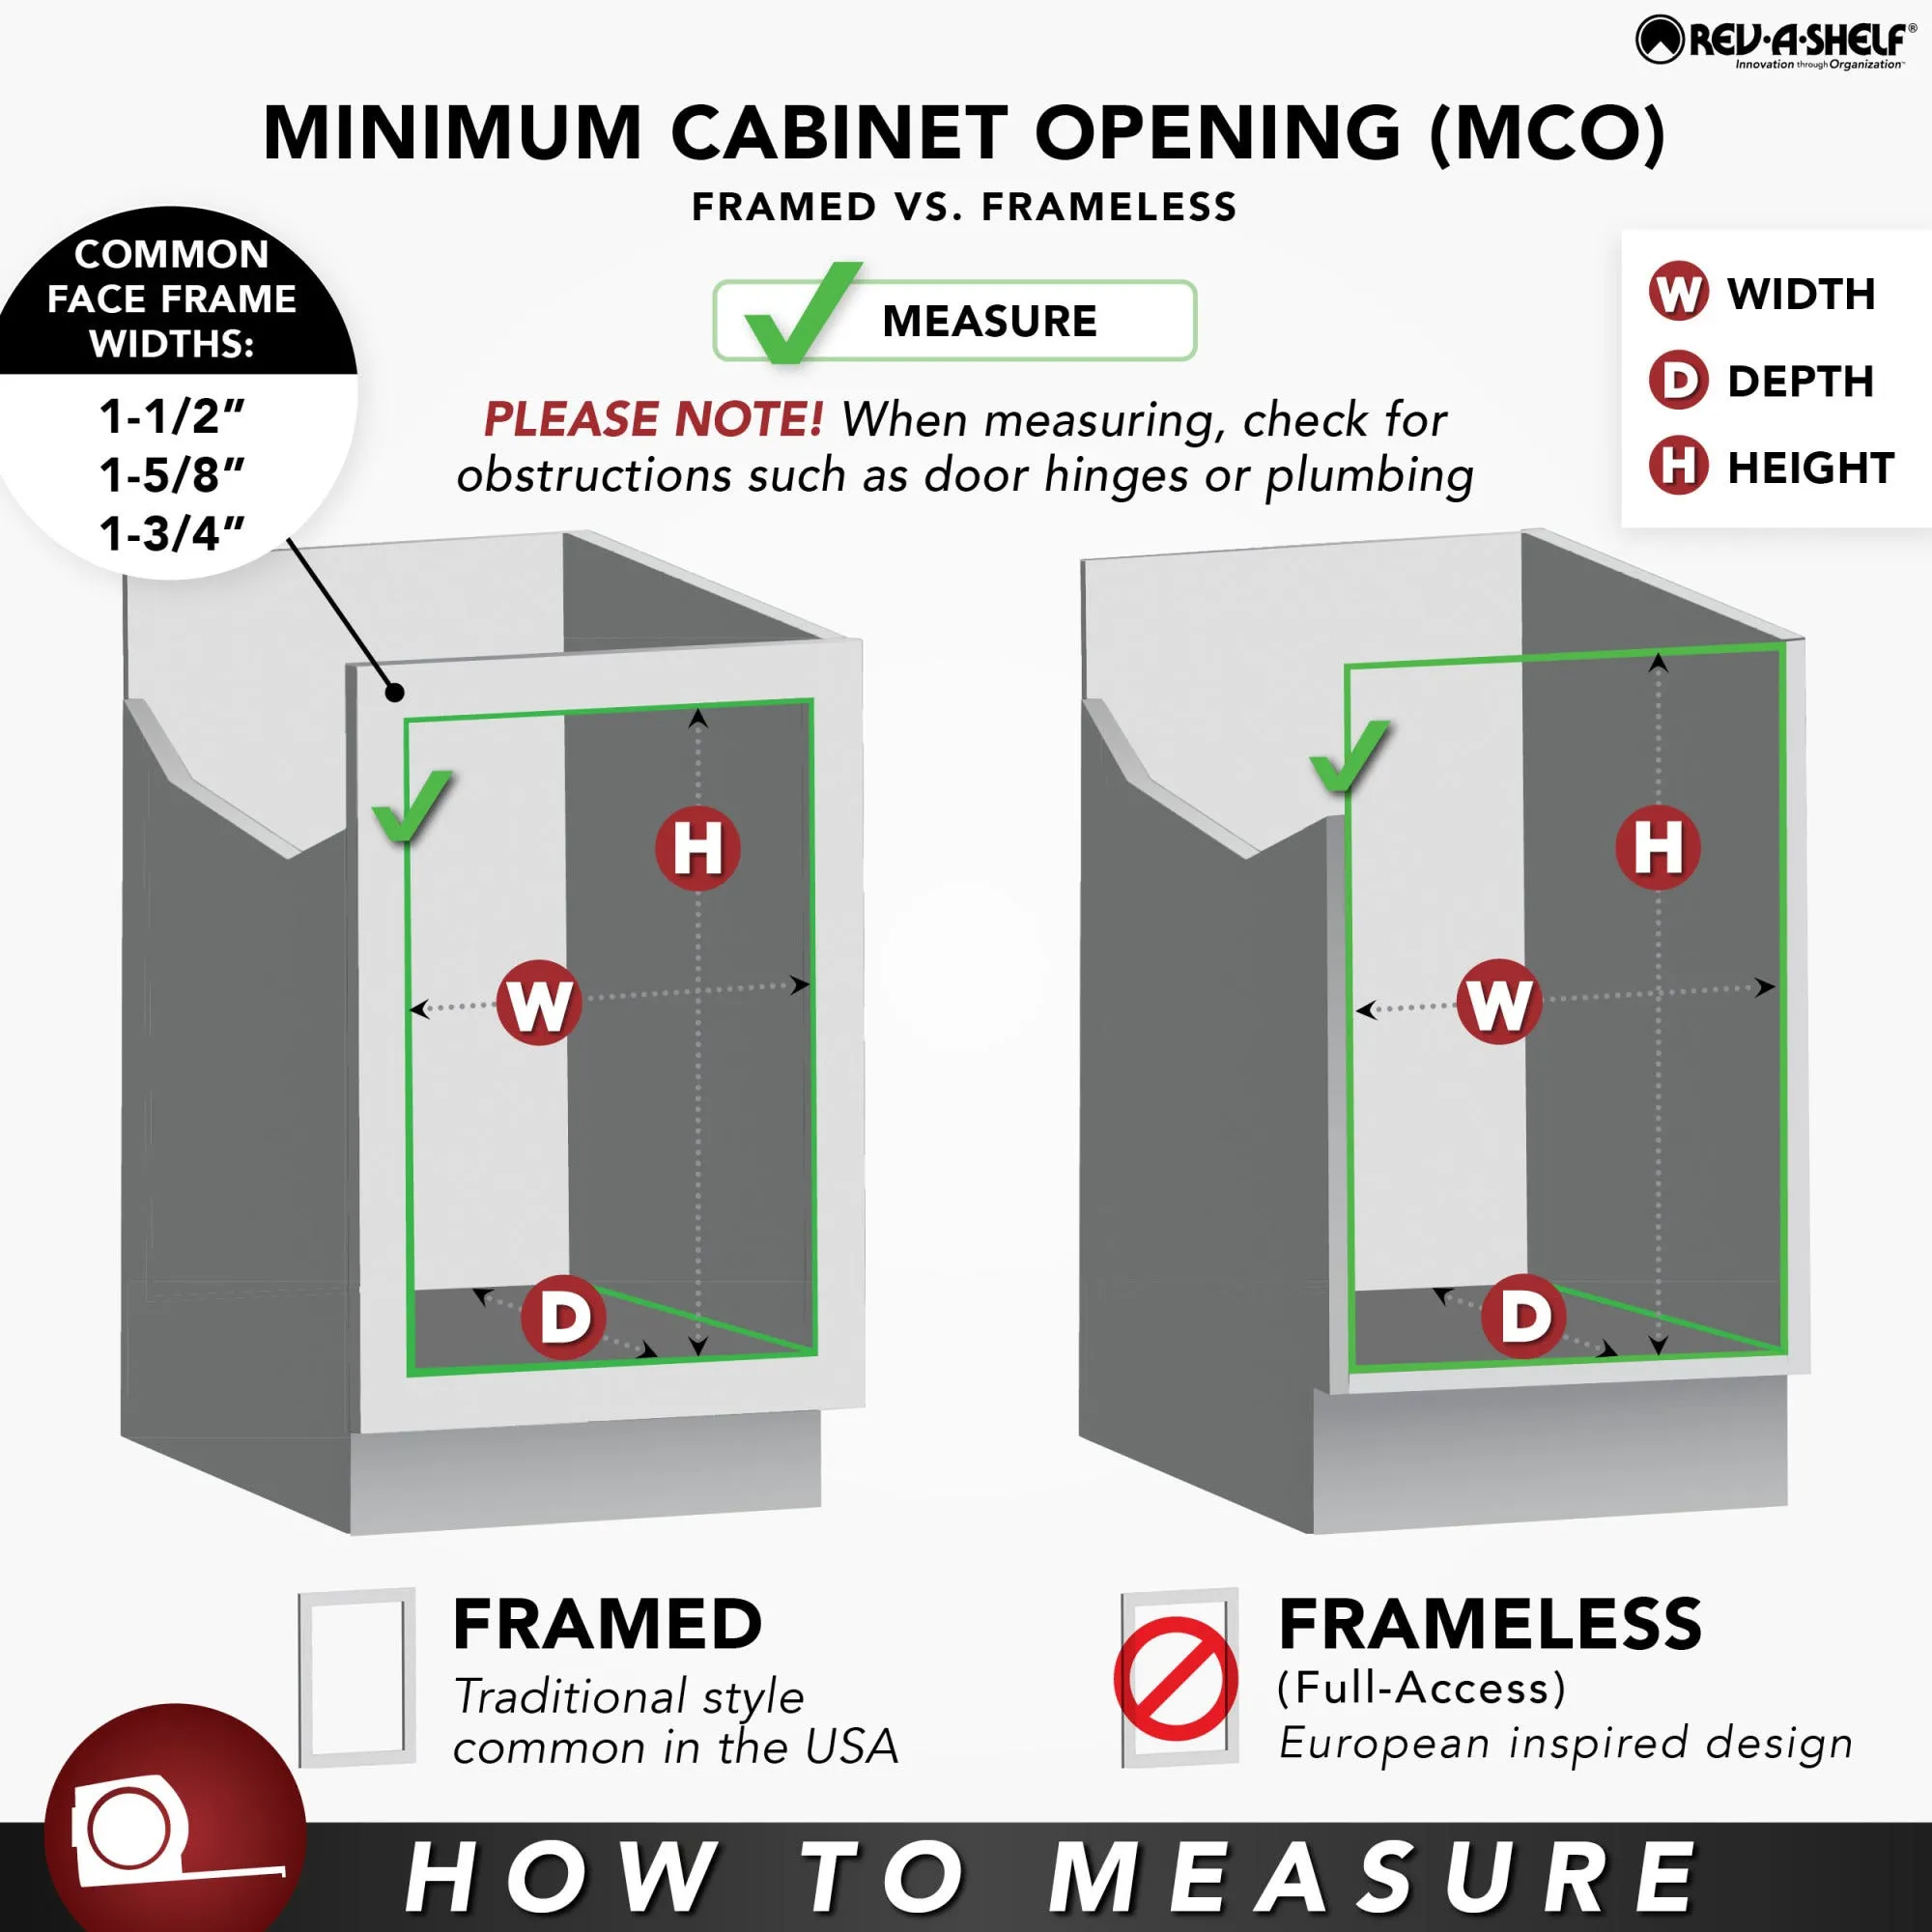
- Measure your cabinet: Carefully measure the width, depth, and height of the cabinet space where the organizer will reside.
- Cut the wood: Using your measurements as a guide, cut the wooden boards to create the frame of your organizer. You’ll need two side pieces, a top, a bottom, and potentially a back piece depending on your cabinet design.
Step 2: Assemble the Frame
- Assemble the frame: Use wood glue and screws to connect the cut wooden pieces, forming a sturdy rectangular frame. Remember the old adage: measure twice, cut once. Ensuring accuracy at this stage will pay off later!
Step 3: Install Drawer Slides
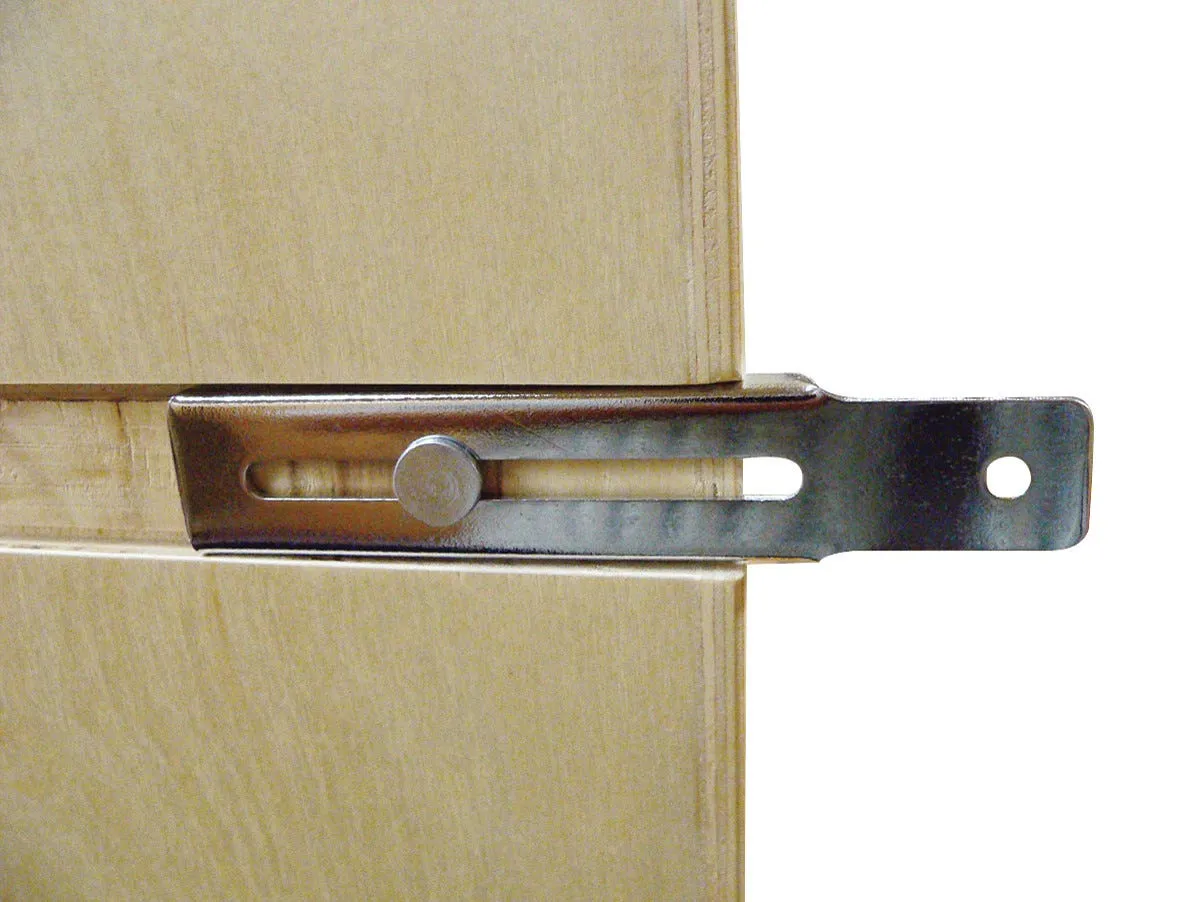
- Attach drawer slides: Following the manufacturer’s instructions, attach the drawer slides to the sides of the organizer frame and the inside of your cabinet. Make sure the slides are level and aligned for smooth operation.
Step 4: Create Dividers
- Measure and cut dividers: Decide how many compartments you need for your baking sheets, cutting boards, or trays. Measure and cut the dividers accordingly.
- Attach dividers: Secure the dividers within the organizer frame using wood glue and screws, creating individual slots for your baking items.
Step 5: Finishing Touches
- Sand and finish: Sand down any rough edges on your organizer for a polished look and feel. If desired, apply a wood finish to protect the wood and enhance its beauty.
Step 6: Installation
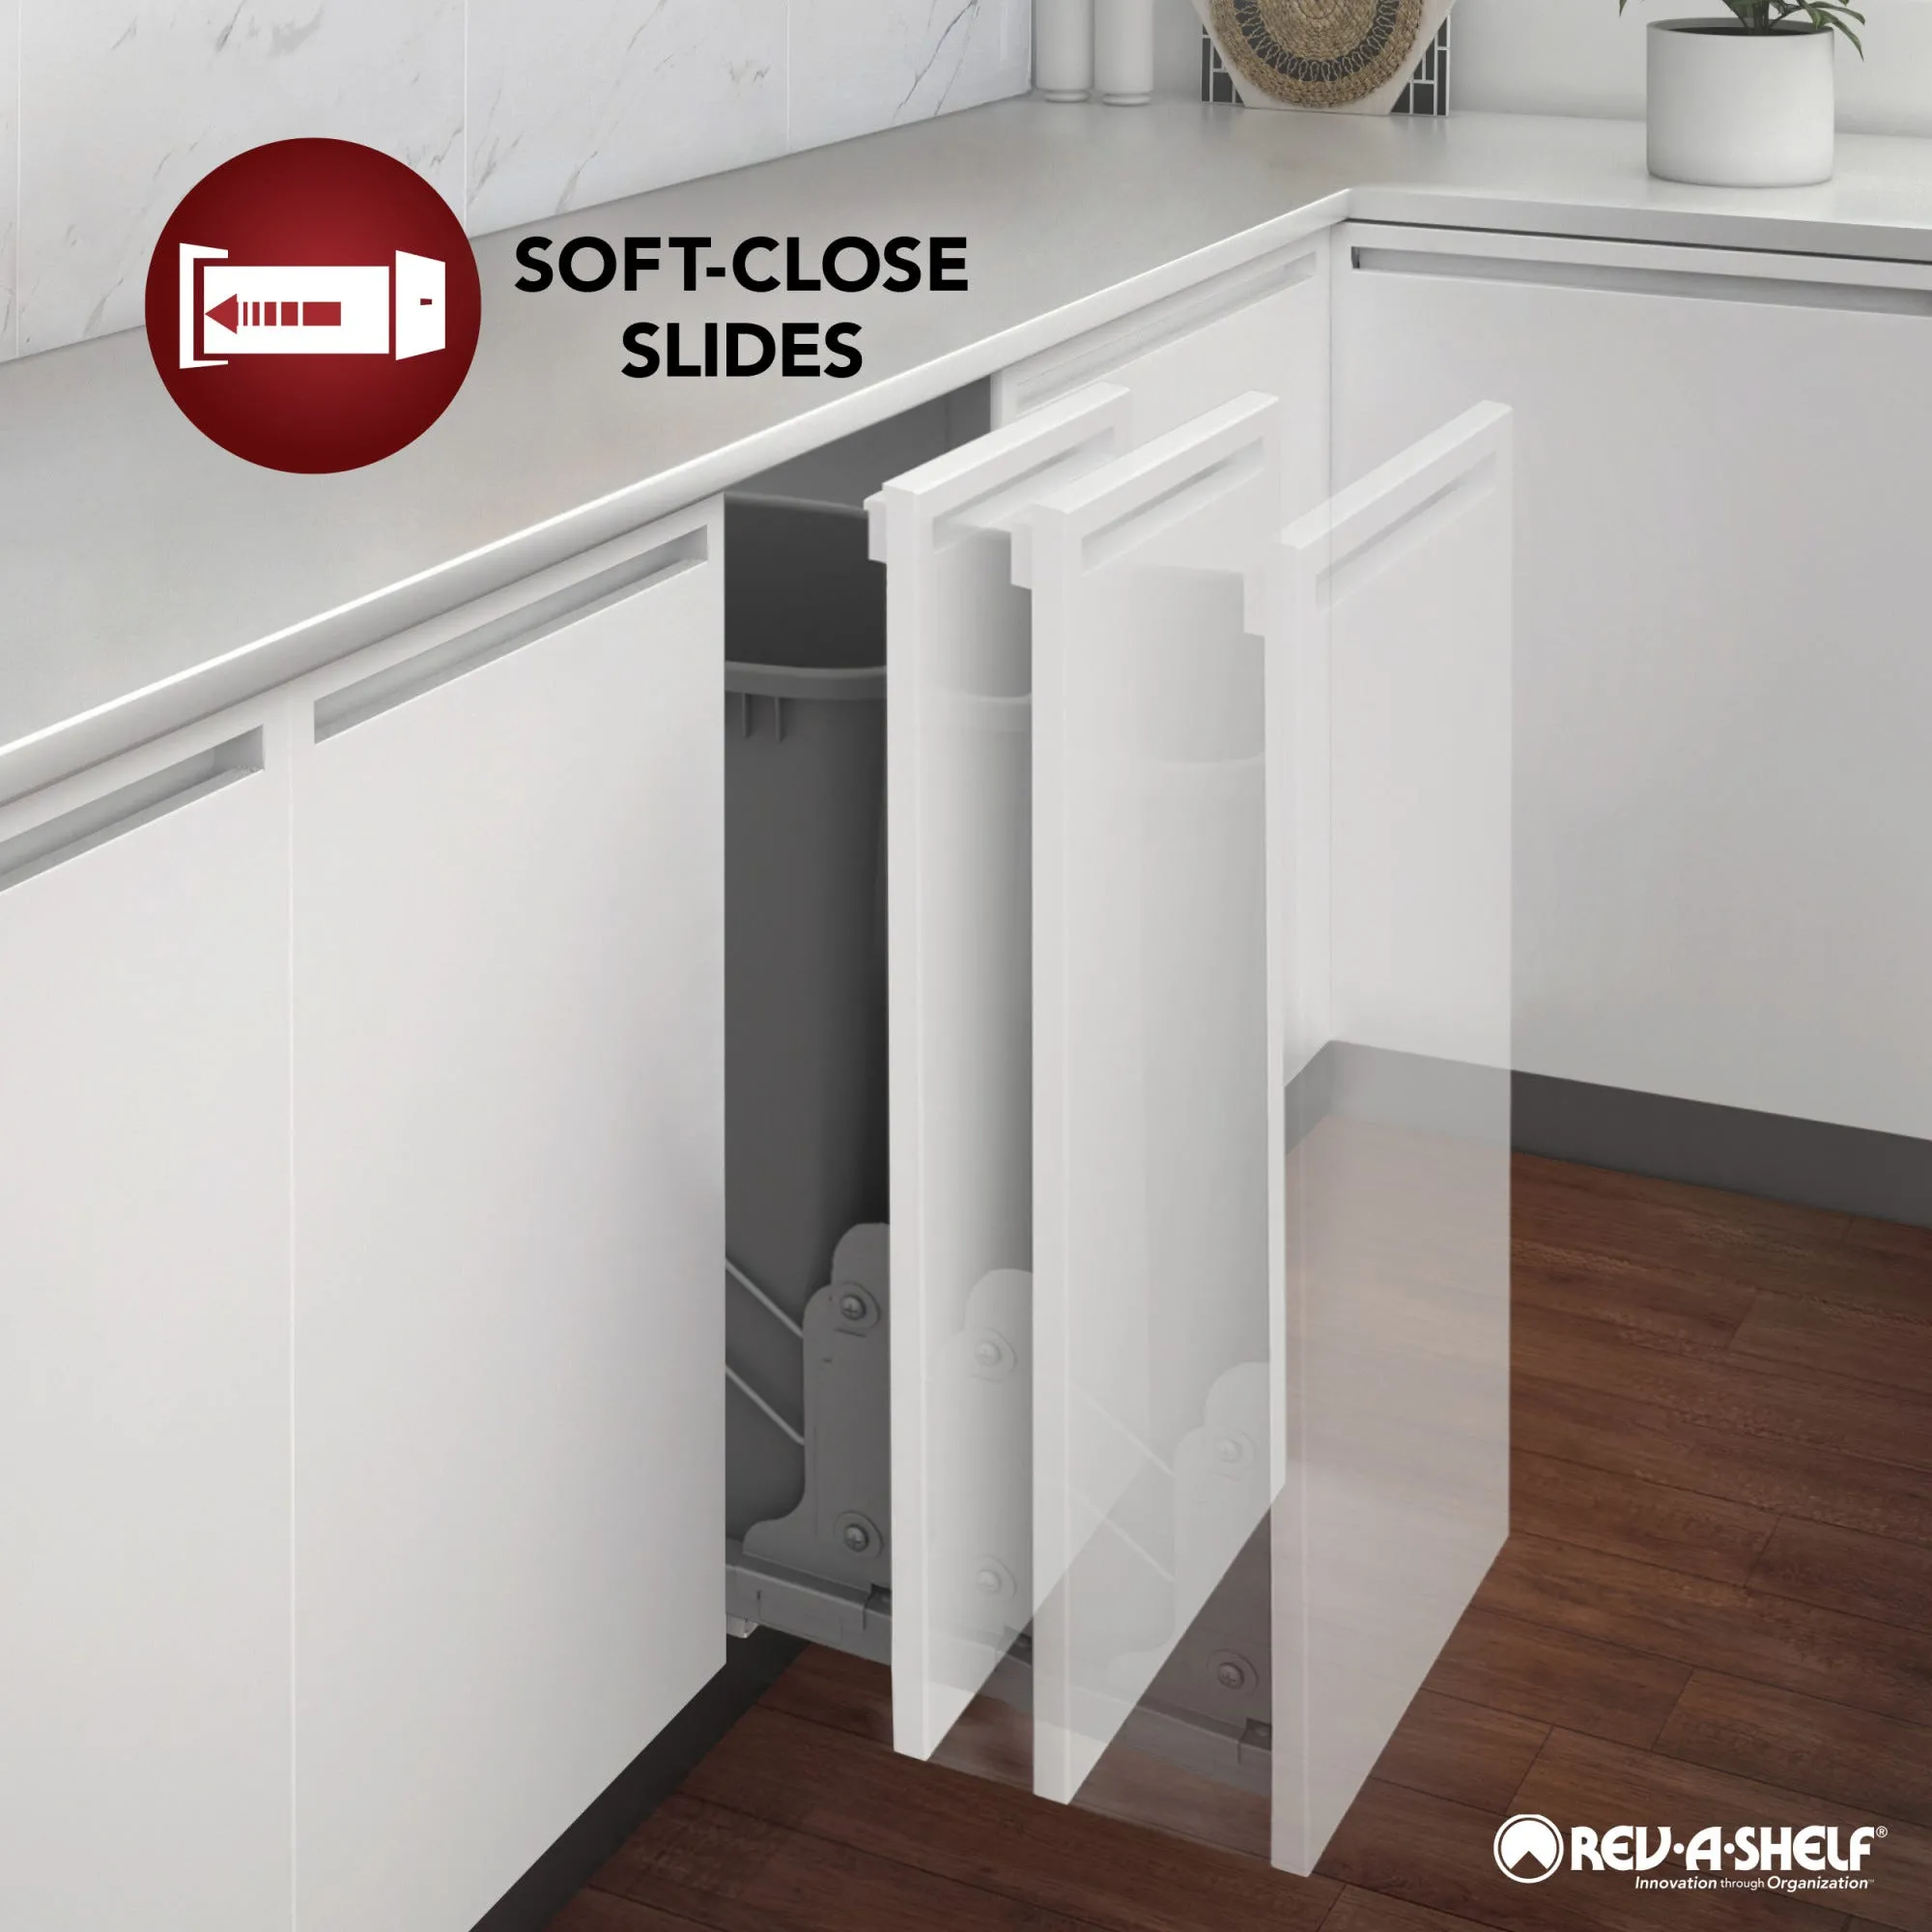
- Slide it in: Carefully slide your newly built baking sheet organizer into the cabinet, ensuring it glides smoothly on the drawer slides.
Tips and Tricks
- Consider using a pre-made drawer insert for the dividers if you prefer a quicker assembly.
- Add non-slip shelf liner to the bottom of each compartment to prevent your baking sheets from sliding around.
- If you have a narrow cabinet, opt for vertical dividers instead of horizontal to maximize space.
- Label your compartments for even easier organization.
Conclusion
Congratulations on taking the leap into DIY kitchen organization! You’ve now transformed a chaotic cabinet into a haven of baking sheet order. As you effortlessly slide out your new organizer, remember the satisfaction of creating something functional and beautiful with your own two hands.
Let me know how your project turns out and what clever customizations you incorporate. And don’t forget to explore Robert Kline Art for more inspiring DIY projects and handcrafted treasures. Happy baking!
 Image of a pull-out cabinet drawer
A well-organized baking sheet drawer makes all the difference.
 Image of a cabinet with dividers for baking sheets
Customizable dividers keep everything tidy.
 Image of a pull-out drawer with baking sheets
No more struggling to find the right pan!
