Blog
DIY Pull-Out Pantry Shelves: Maximize Your Kitchen Storage
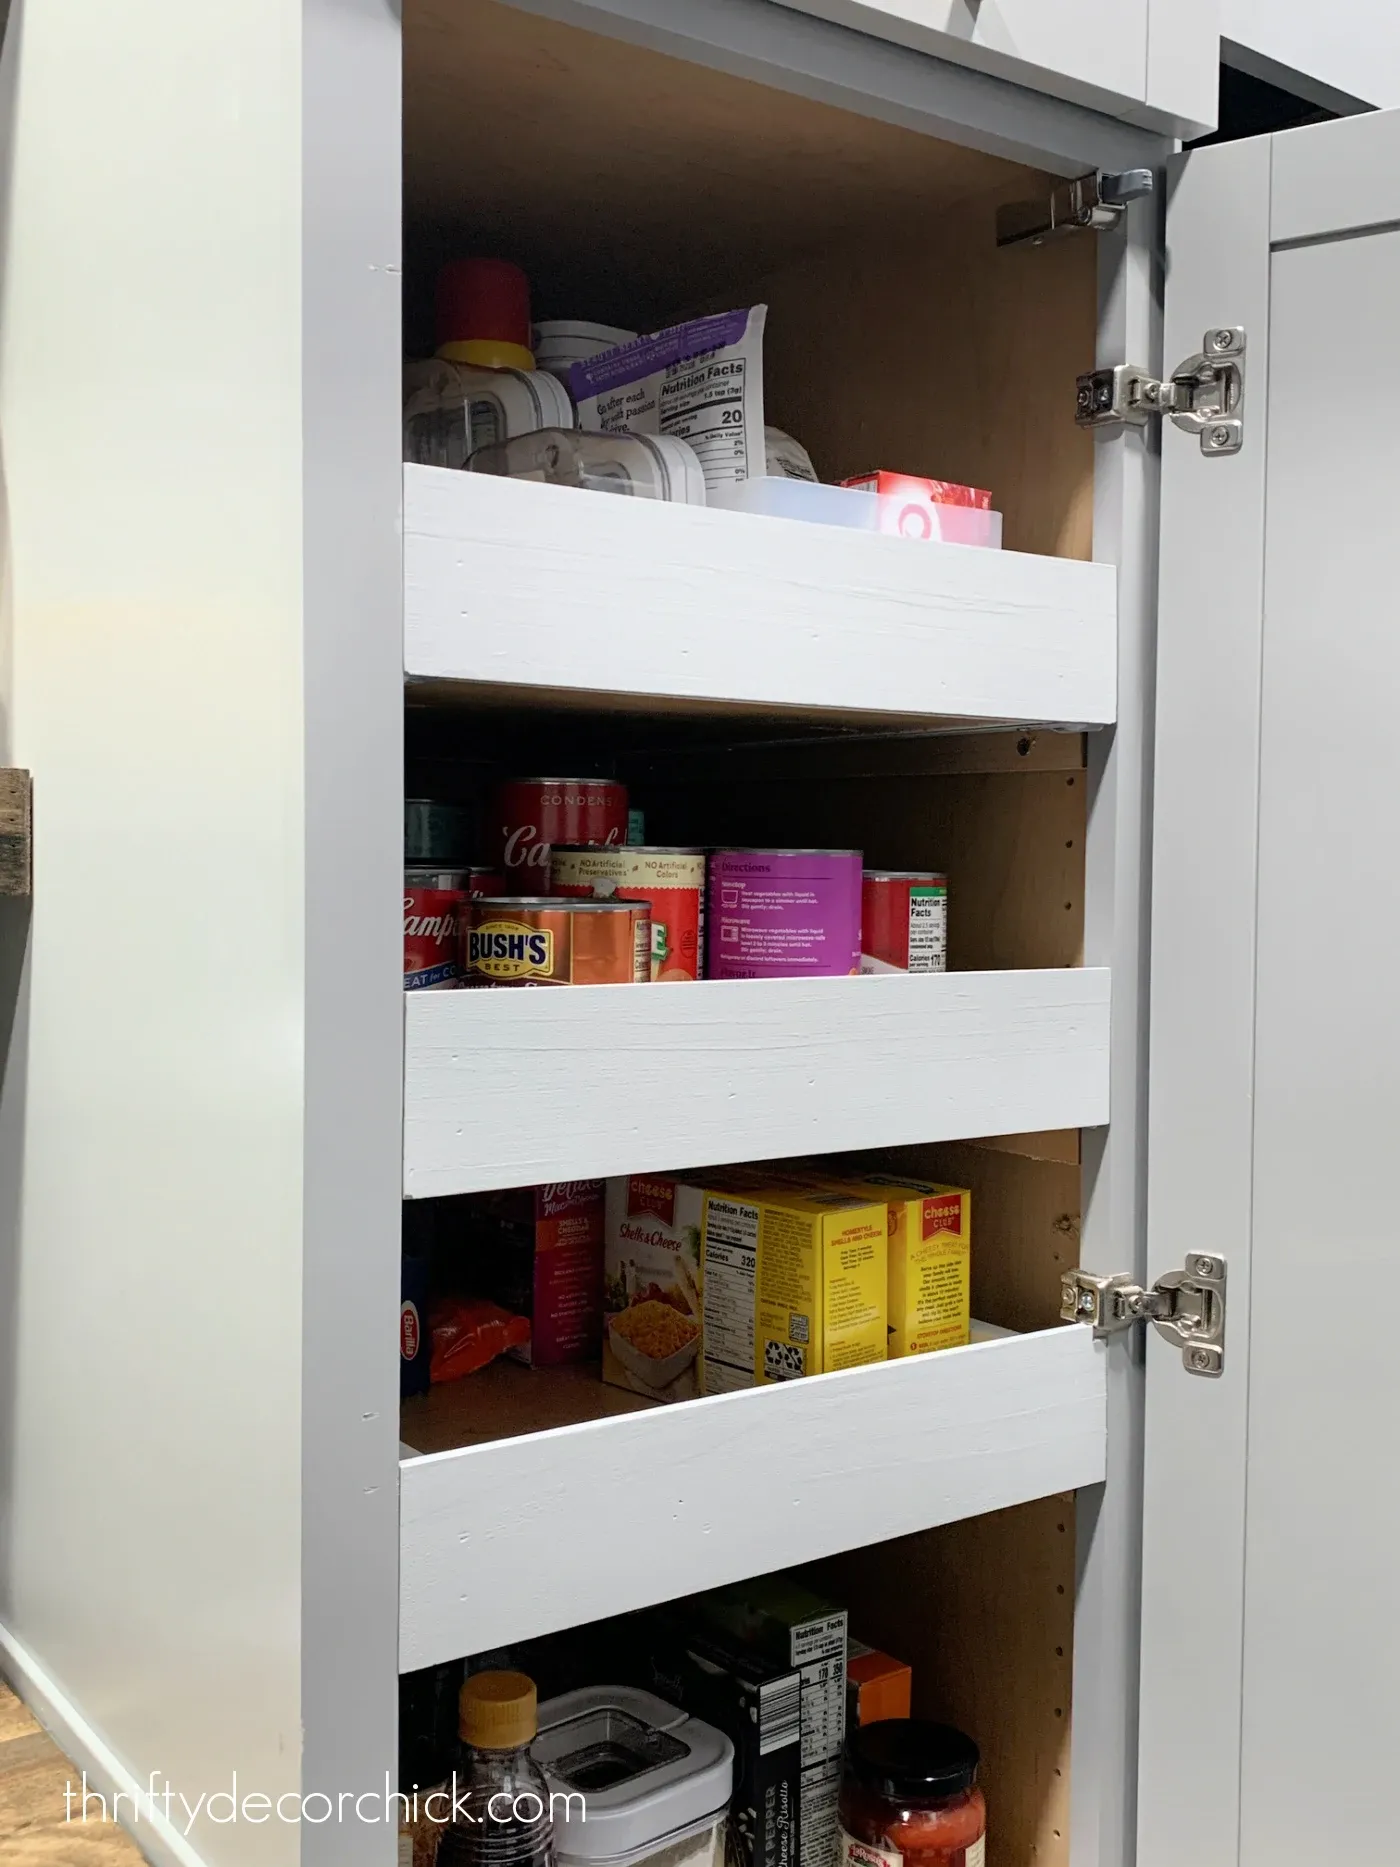
Have you ever stared into the depths of your pantry, overwhelmed by a jumbled mess of spices, cans, and snacks? You’re not alone! A well-organized pantry can be a game-changer in the kitchen, and one of the best ways to achieve pantry nirvana is with DIY pull-out shelves.
At Robert Kline Art, we love a good DIY project, especially when it transforms your living space without breaking the bank. Today, we’ll delve into the satisfying world of building your own pull-out pantry shelves. Get ready to say goodbye to pantry chaos and hello to a world of easy access and organized bliss.
Planning Your Project: Setting Yourself Up for Success
Before you grab your saw, let’s lay the groundwork for a successful project.
1. Assess Your Needs and Measure Twice!
Consider your pantry’s size and layout. How many pull-out shelves will maximize the space? What type of items will you be storing? Heavy cans require sturdier shelves.
Measure the width, depth, and height of your pantry, taking into account any obstructions like trim or hinges. Accurate measurements are crucial for choosing the right drawer slides.
2. Choosing the Right Drawer Slides: The Heart of the Operation
Drawer slides are the backbone of your pull-out shelves. There’s a variety to choose from, each with its pros and cons:
-
Bottom Mount Slides: A popular choice for their affordability and relatively easy installation.
 bottom mount drawer slides
 -
Side Mount Slides: Offer more stability for heavier items but can be trickier to install.
-
Full Extension vs. Partial Extension: Full extension slides allow you to pull the shelf all the way out for complete access, while partial extension slides are more budget-friendly.
-
Soft-Close Feature: A touch of luxury that prevents slamming and adds longevity to your project.
Expert Tip: “Don’t skimp on the quality of your drawer slides,” advises master craftsman, John Peterson. “Invest in sturdy slides that can handle the weight of your pantry items, especially if you’re storing heavier items like cans.”
Building Your Pull-Out Shelves: From Wood to Wonderful
Now, let’s get our hands dirty and build those beautiful pull-out shelves!
1. Gather Your Materials and Tools:
- Wood: 3/4 inch plywood for the shelf base, and 1×3 inch wood for the trim (adjust thickness based on your preference and weight requirements).
- Drawer Slides: Choose the type that best suits your needs and budget.
- Screws: Wood screws appropriate for the thickness of your wood and drawer slides.
- Wood Glue: For added strength and durability.
- Kreg Jig (optional but recommended): For creating strong, pocket-hole joints.
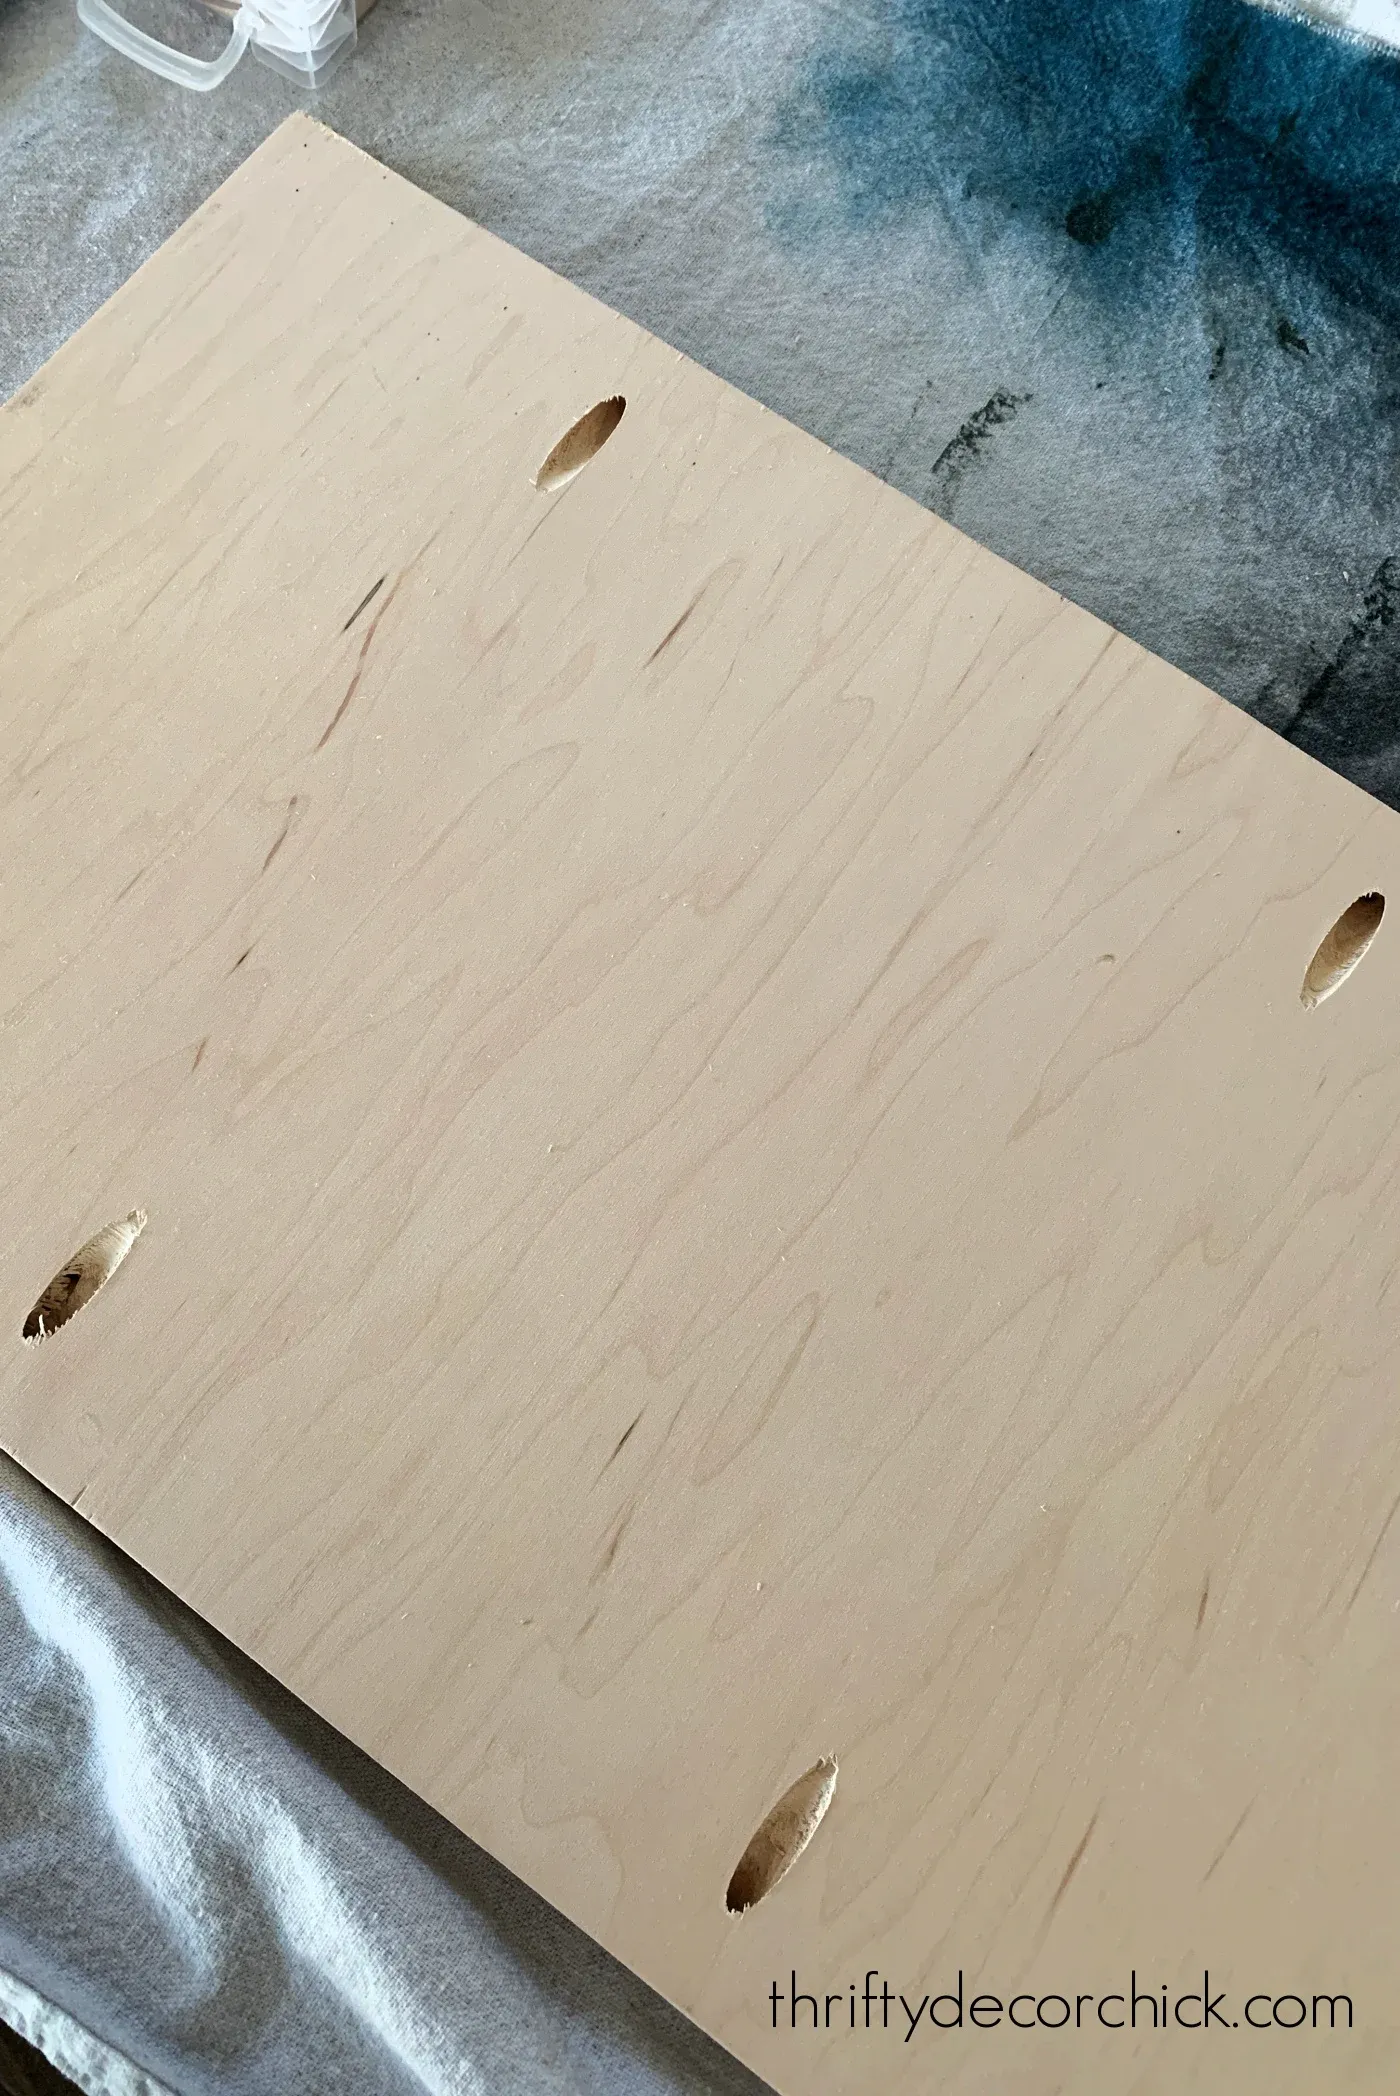 Kreg clamp pocket holes
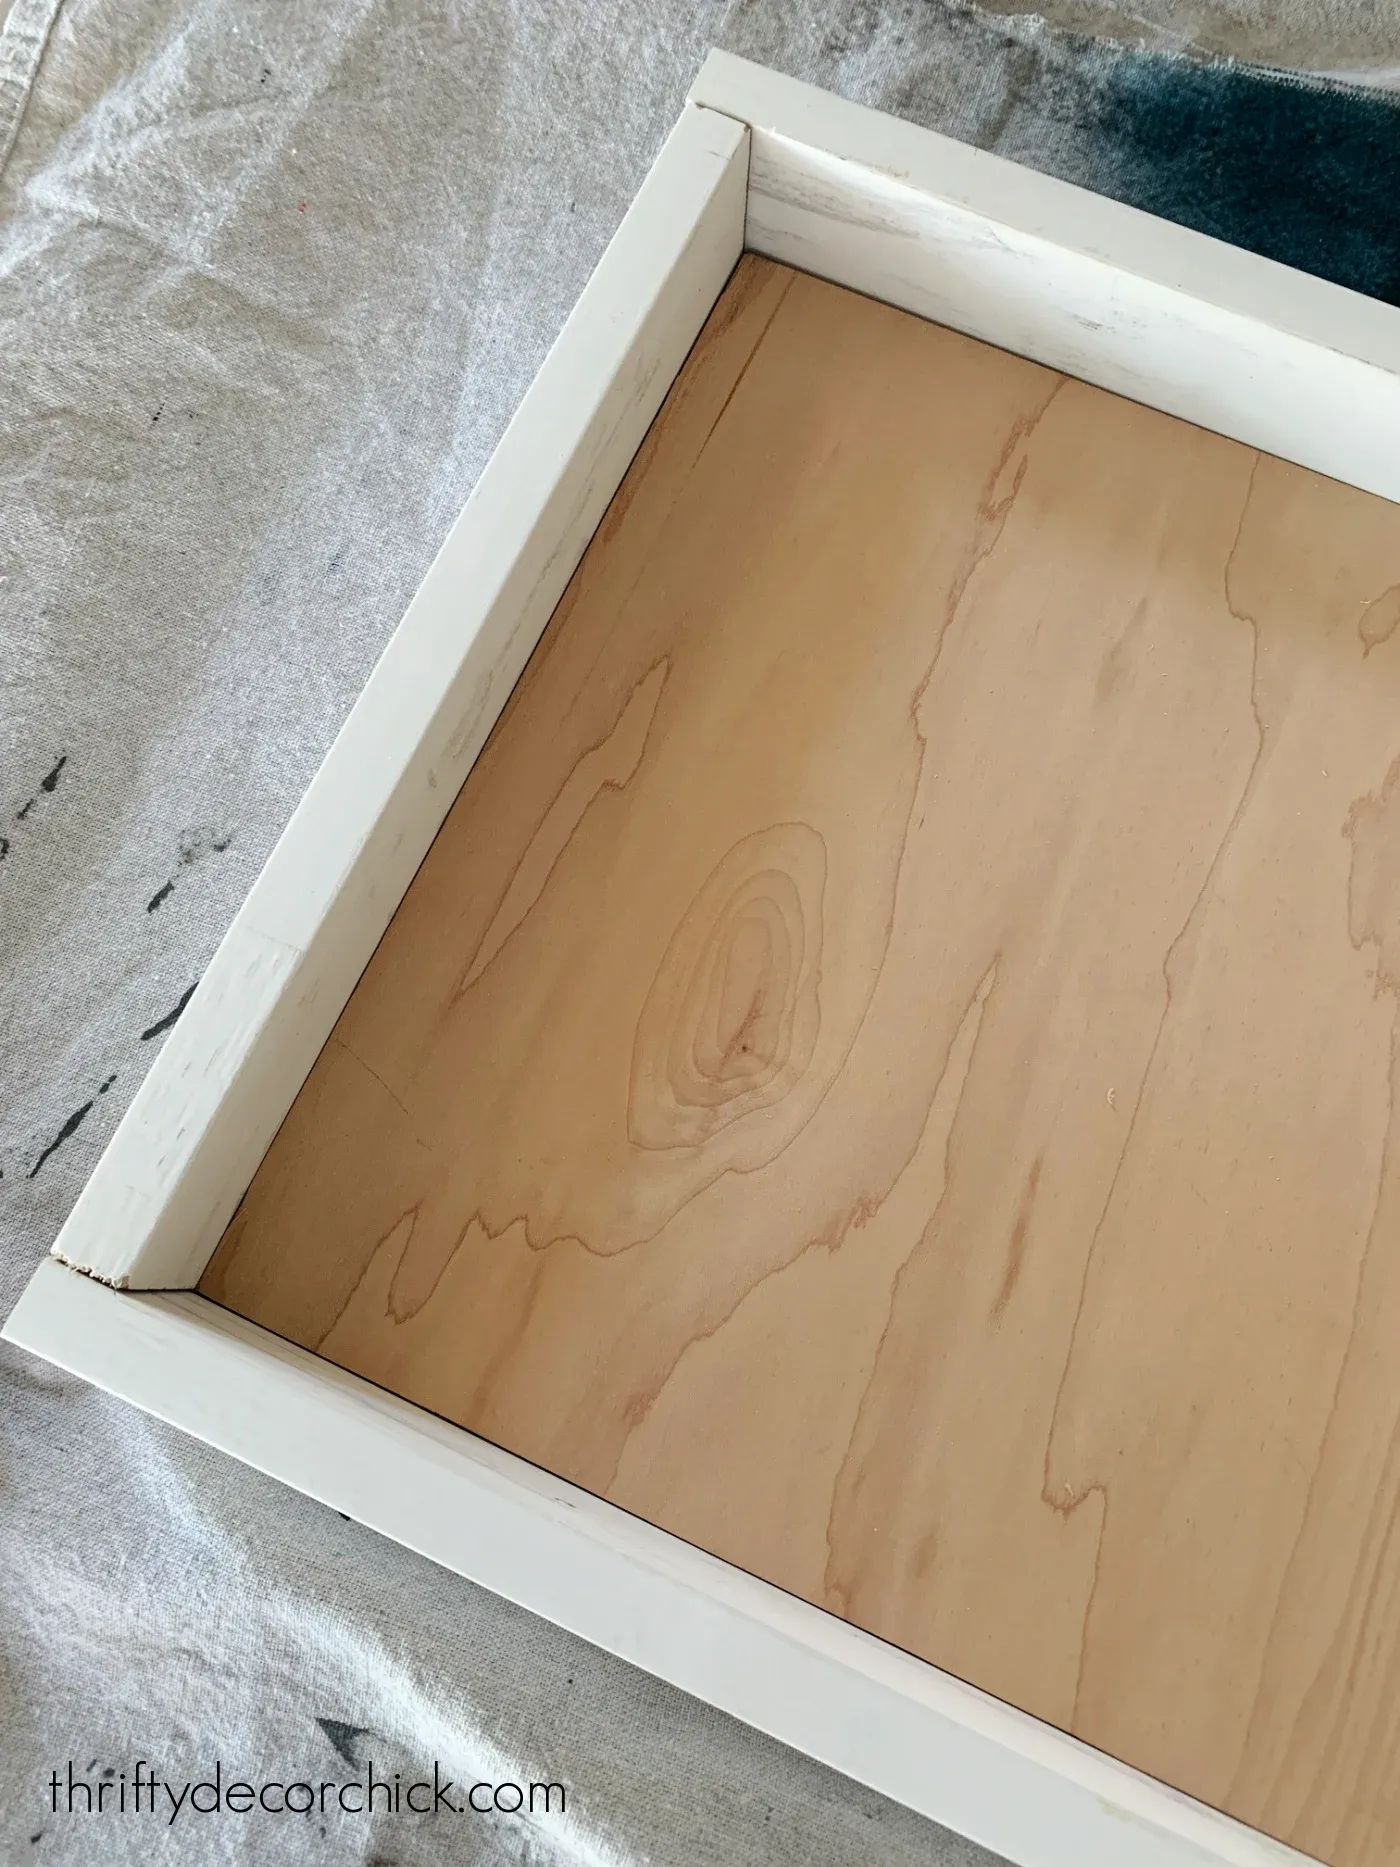 Kreg jig 720 pocket holes
 - Saw: A circular saw or jigsaw will work for cutting the wood.
- Drill: With drill bits for pilot holes and driving screws.
- Measuring Tape: Precision is key in this project!
- Level: To ensure your shelves are level and slide smoothly.
2. Building the Drawers:
-
Cut the Shelf Base: Measure and cut the plywood to the desired size for your shelf base. Remember to account for the space the drawer slides will take up.
-
Add the Trim: Cut the 1×3 wood to create a frame around the shelf base. This adds strength and provides a finished look.
-
Assemble the Drawer: Using wood glue and either pocket-hole screws or regular wood screws, attach the trim pieces to the shelf base. Ensure your corners are square and secure.
-
Optional Finishing Touches: Sand down any rough edges and consider painting or staining the drawers for a polished look.
3. Installing the Drawer Slides:
-
Attach Slides to the Drawers: Follow the instructions that came with your drawer slides to attach them to the underside of the drawers. Make sure they are flush with the edges and securely fastened.
-
Install Mounting Supports (if necessary): If using bottom mount slides, install sturdy supports inside the pantry cabinet where the drawer slides will be mounted. Use scrap wood to create these supports and ensure they are level.
-
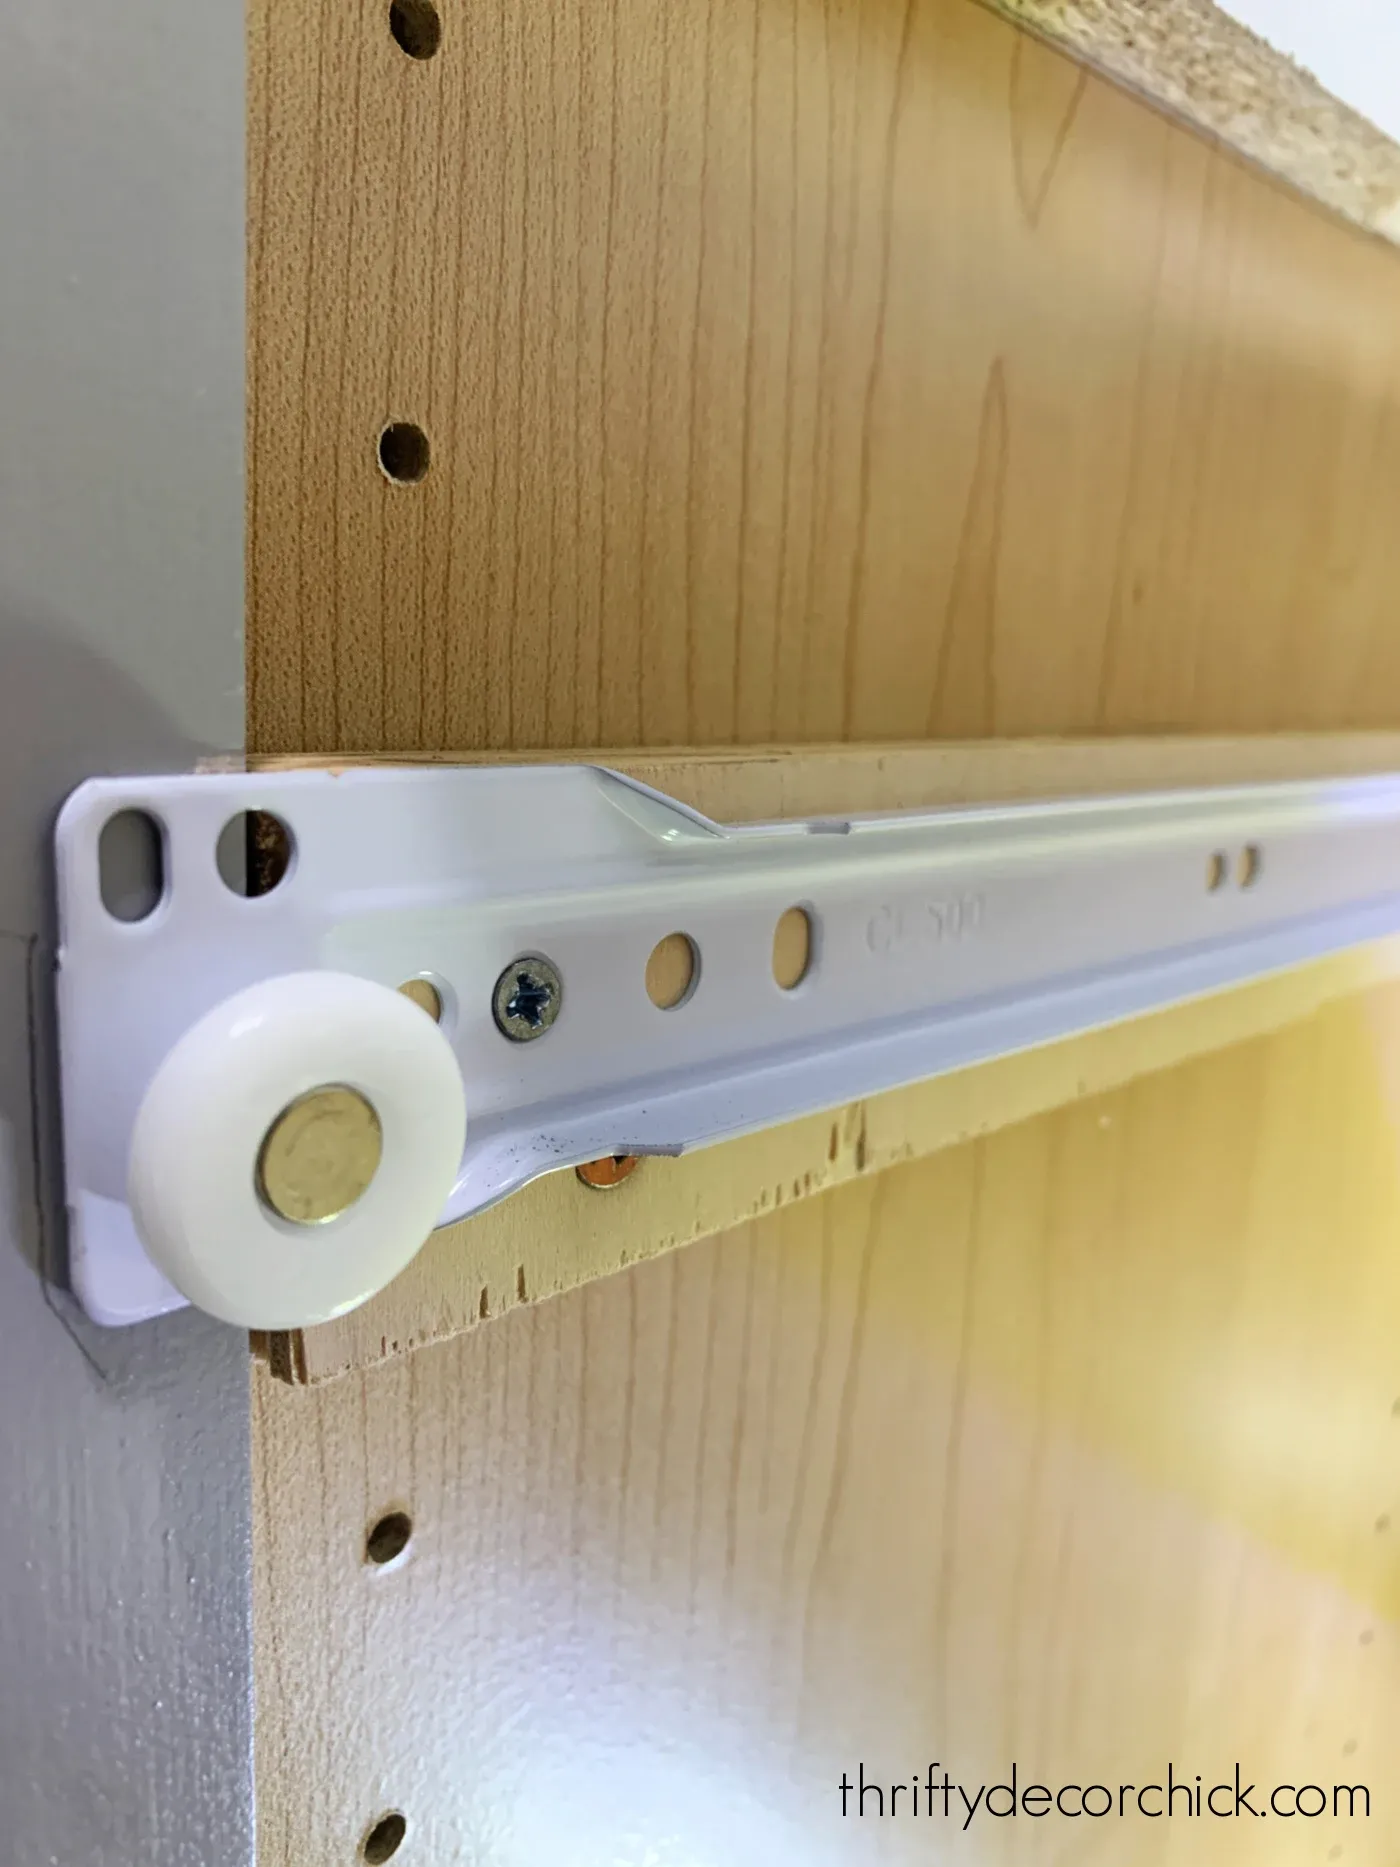
Attach Slides to the Supports or Cabinet: Carefully align the drawer slides on the supports or directly to the cabinet sides if your slides allow. Use a level to ensure they are perfectly horizontal and screw them into place.
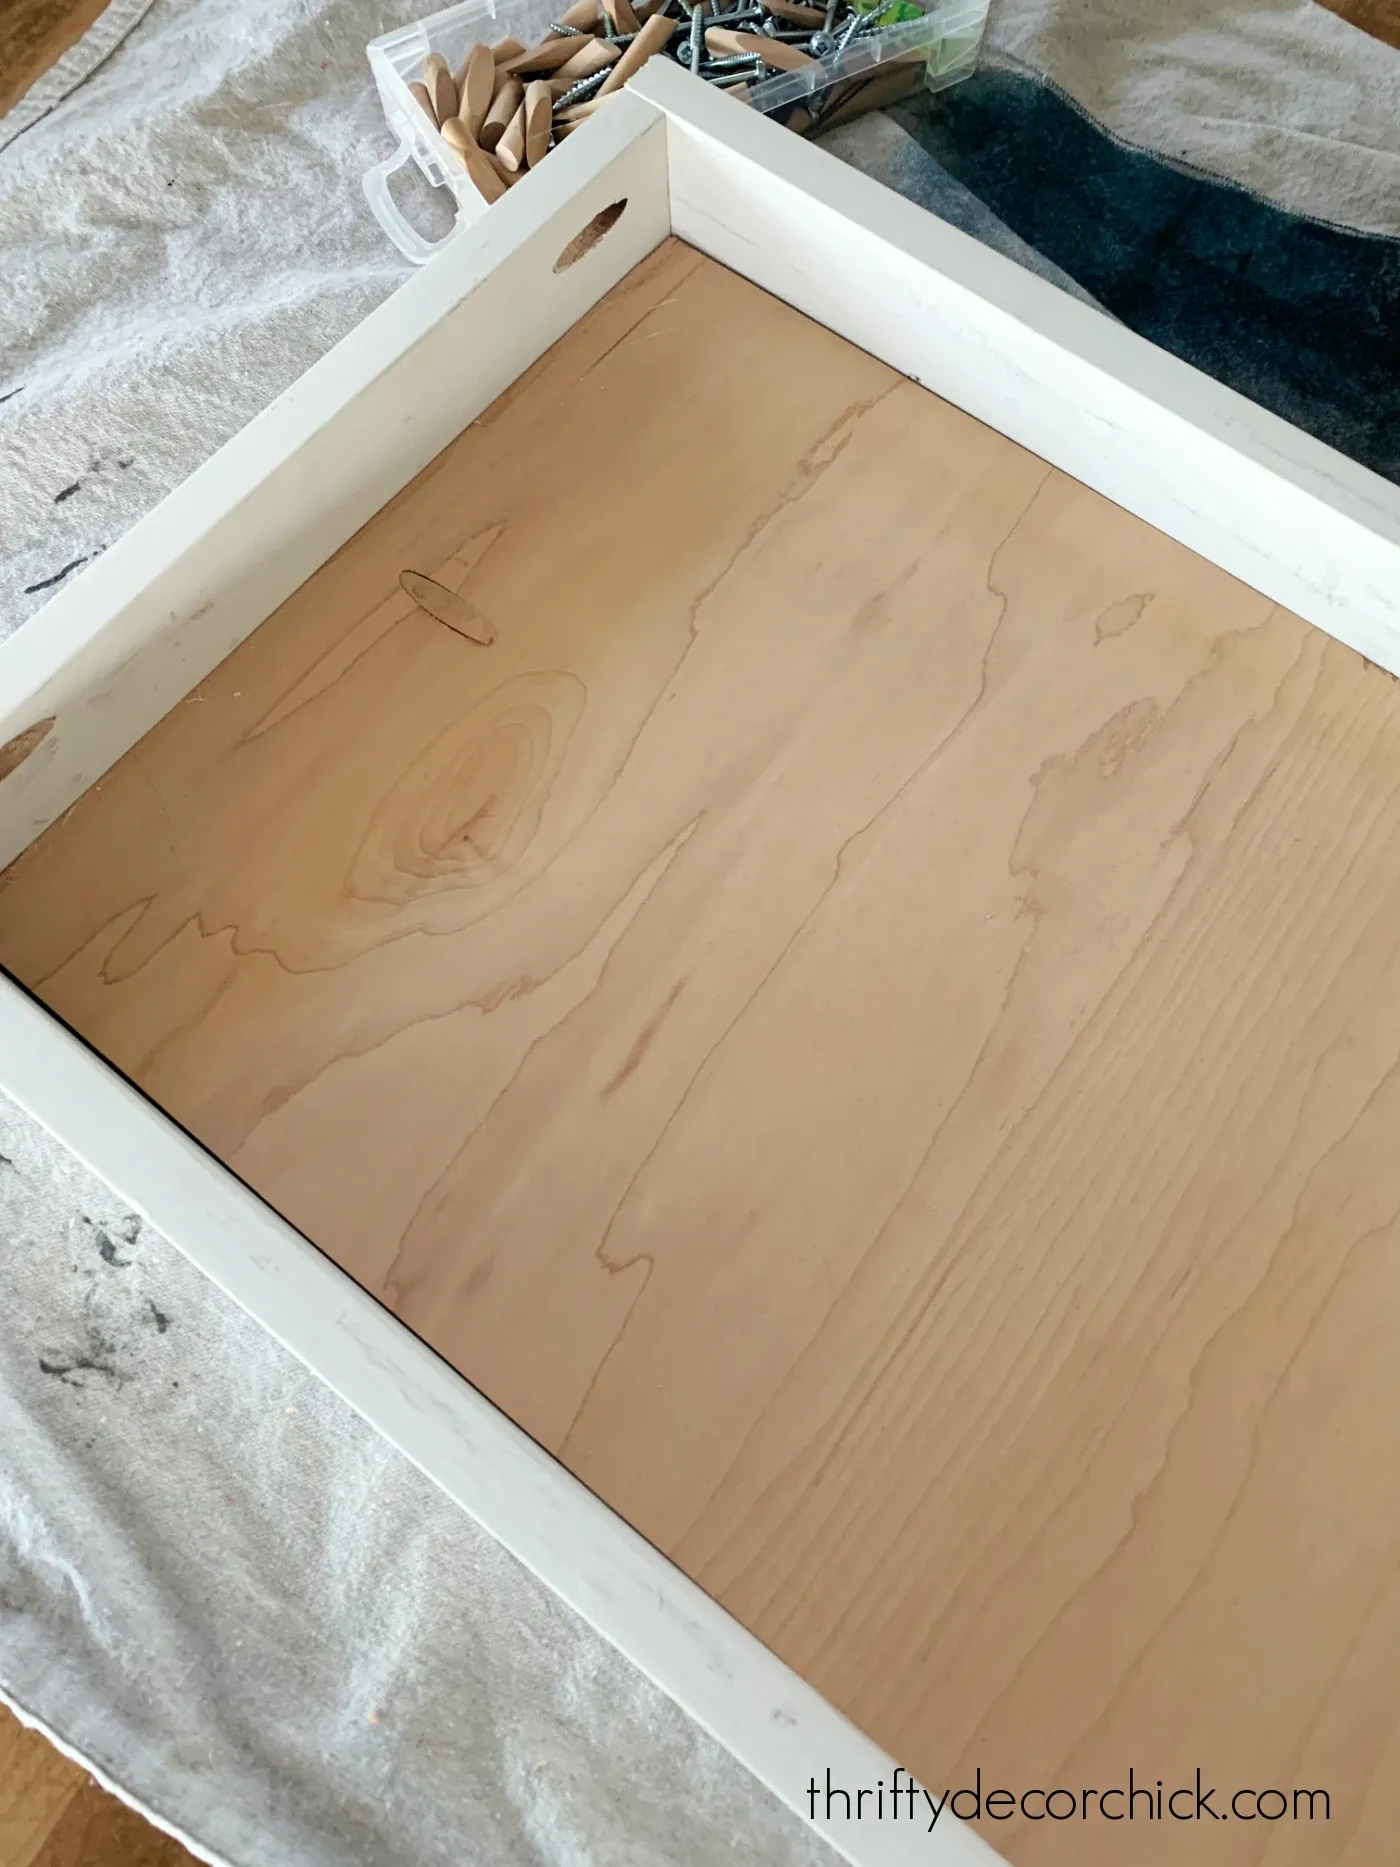 how to install bottom mount drawer slides
 how to install drawer slides
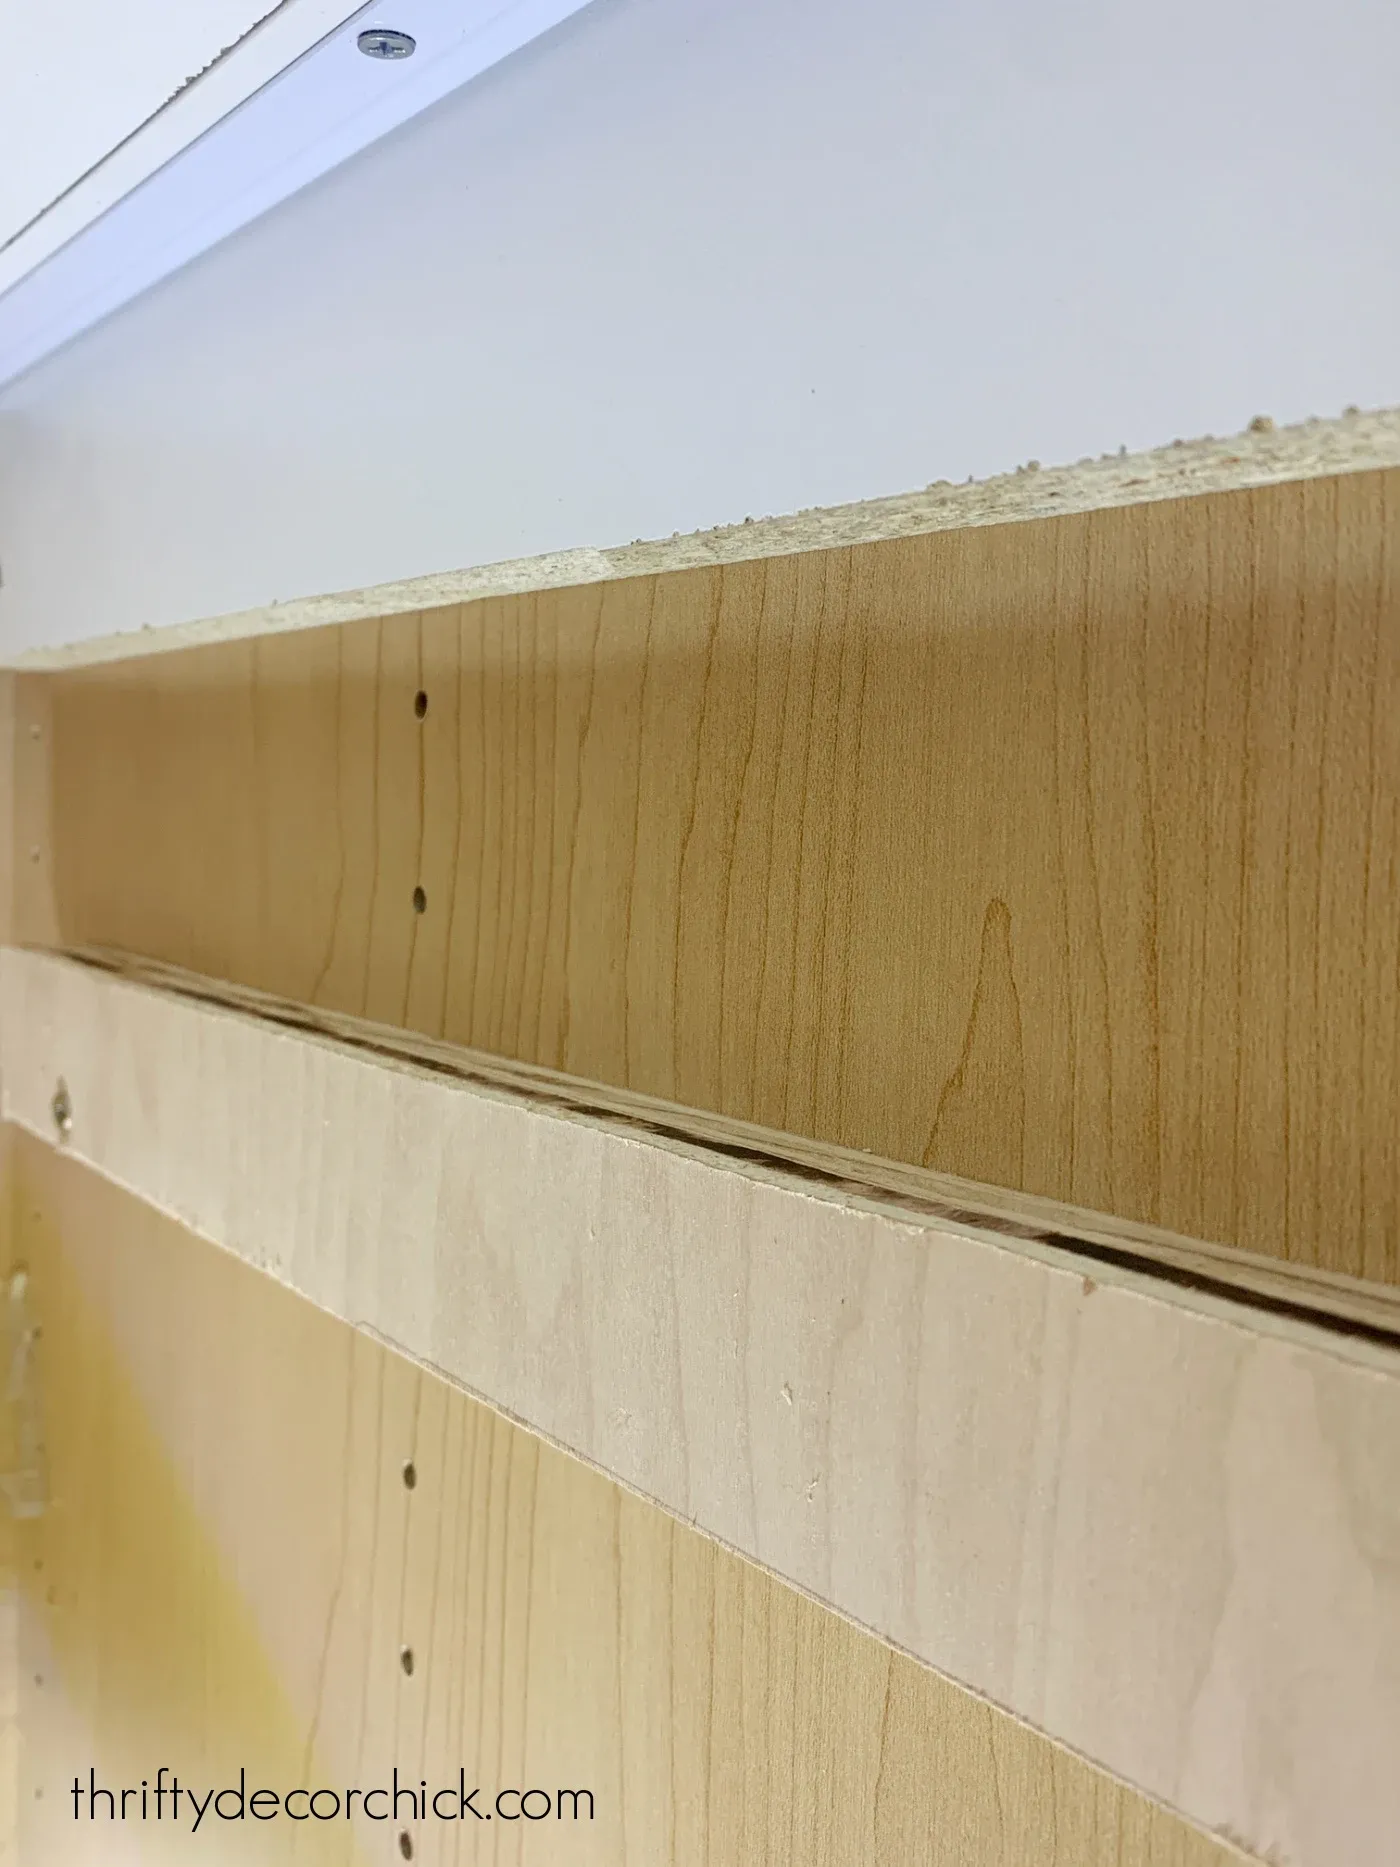 trick for installing drawer slides
4. Slide in Your Shelves and Enjoy:
Carefully slide your newly built shelves onto the mounted drawer slides. Test the movement to ensure they glide smoothly and make any necessary adjustments.
Variations and Tips: Making It Your Own
-
DIY Pull-Out Drawer Attached to a Shelf: For a more streamlined look, consider attaching the drawer slides directly to the top of an existing shelf and the bottom of your new drawer.
 how to install drawer slides
 -
Heavy-Duty Storage: If you plan on storing heavy items, reinforce your shelves with additional supports and consider using thicker wood for the base and trim.
-
Custom Compartments: Divide your shelves into compartments using thin pieces of wood or acrylic dividers to create customized storage for spices, cans, or baking supplies.
-
Add Drawer Fronts: For a polished and cohesive look, add drawer fronts to your pull-out shelves. You can use wood, beadboard, or even chalkboard paint for a fun and functional touch.
Conclusion: Revel in Your Organized Oasis
Congratulations! You’ve conquered the DIY pull-out pantry shelves! Step back and admire your handiwork—your pantry is now a haven of organization and accessibility. These custom-built shelves not only add functionality but also increase your storage space, making even the smallest pantries feel more spacious.
What are you waiting for? Grab your tools and get ready to transform your pantry into the envy of the neighborhood! And don’t forget to share your DIY triumphs with us at Robert Kline Art; we’d love to see your creative solutions! You can also browse our website for more inspiring DIY projects and unique handcrafted gifts.
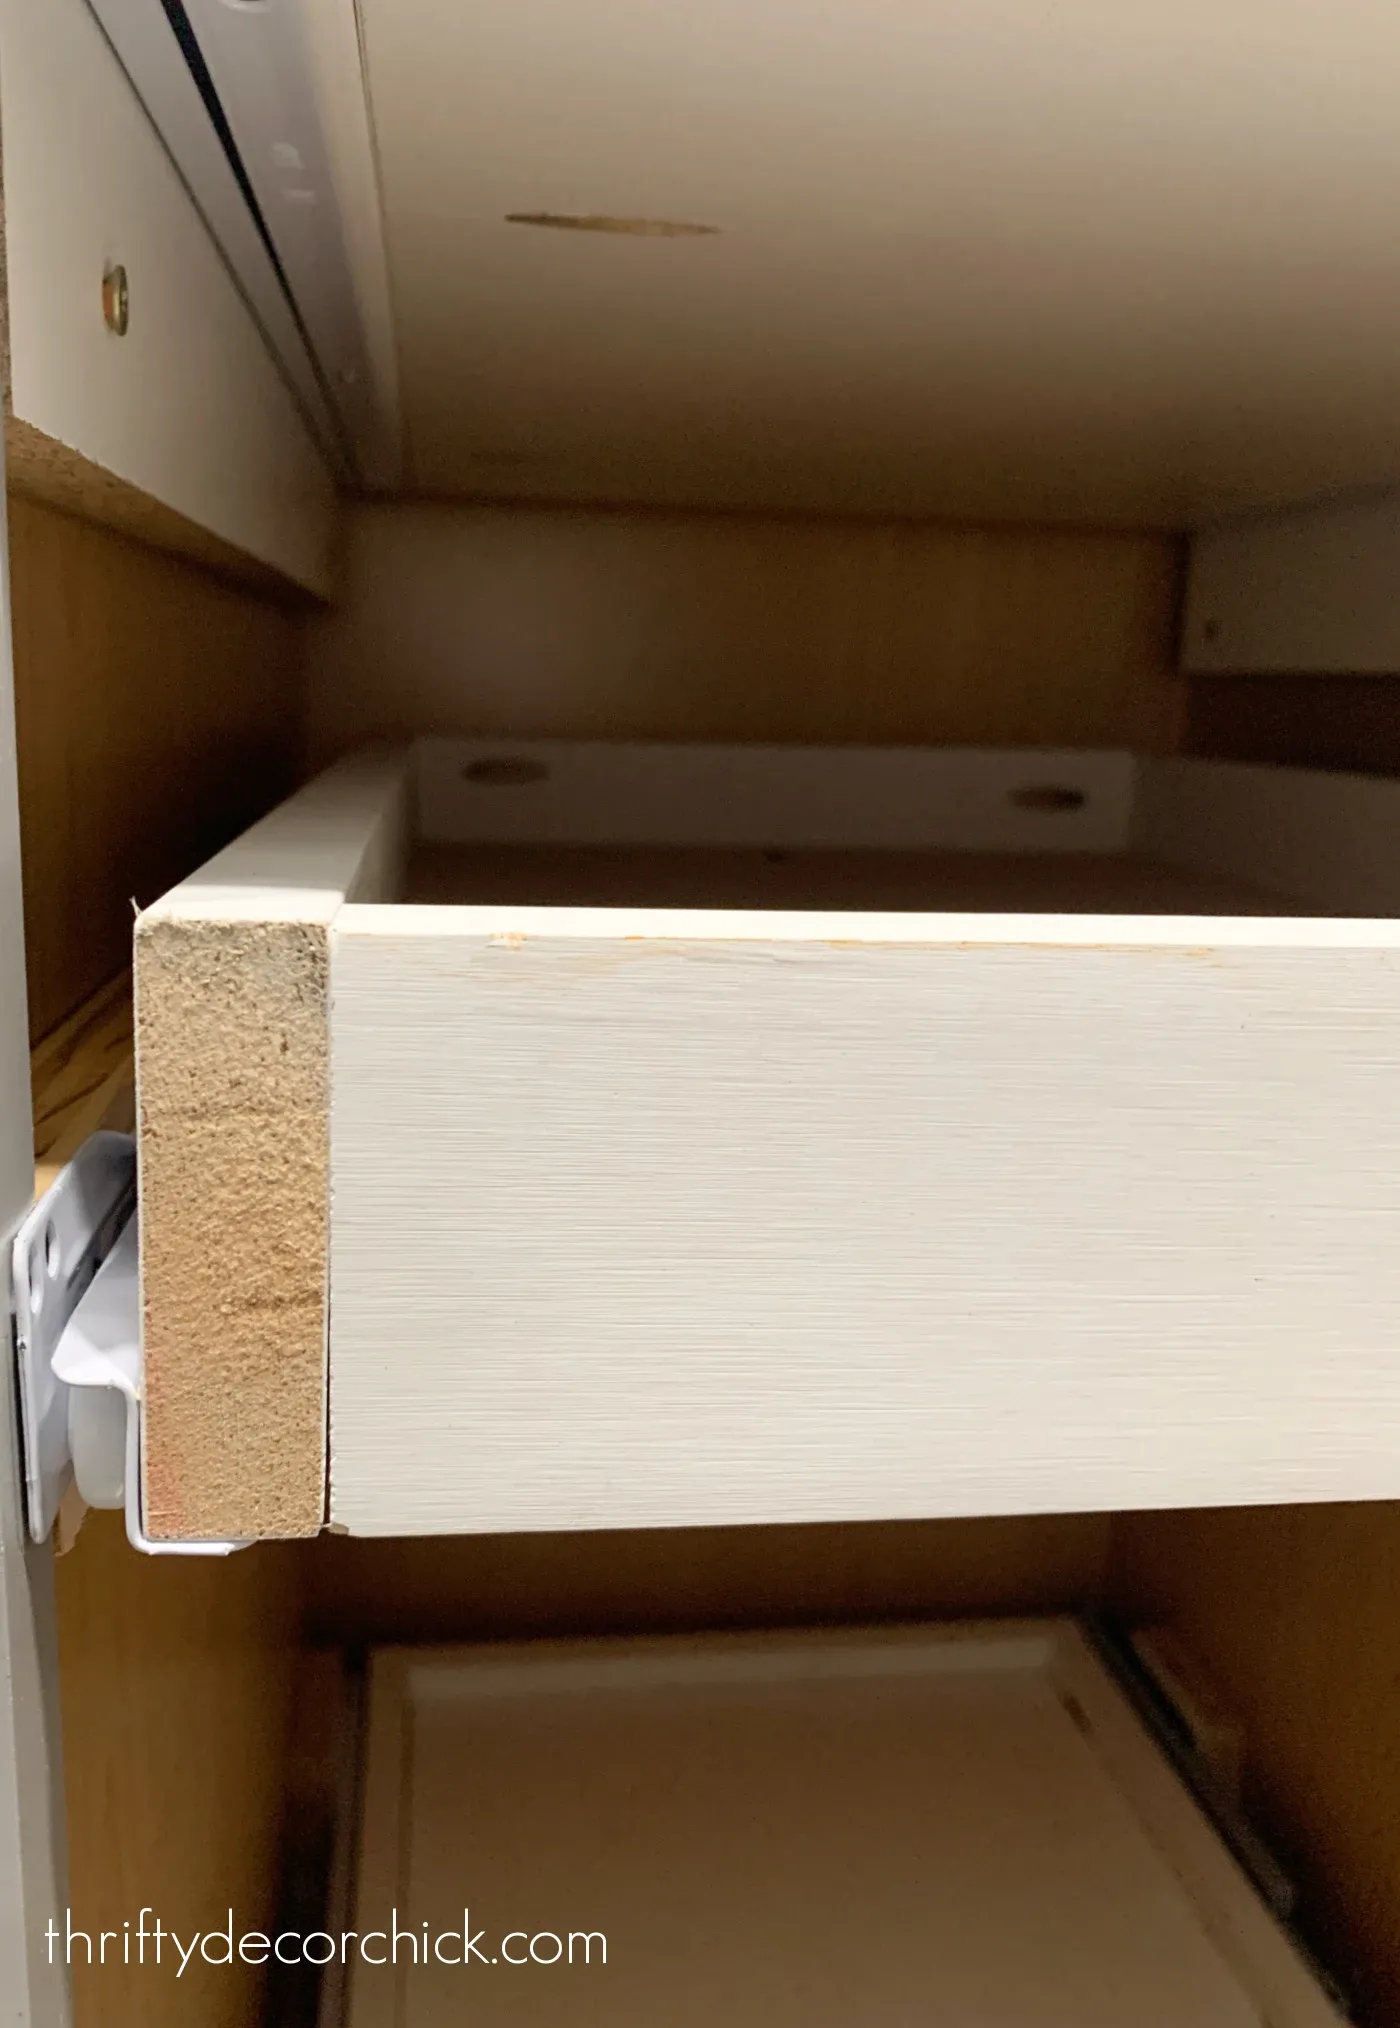 DIY roll out pantry shelves
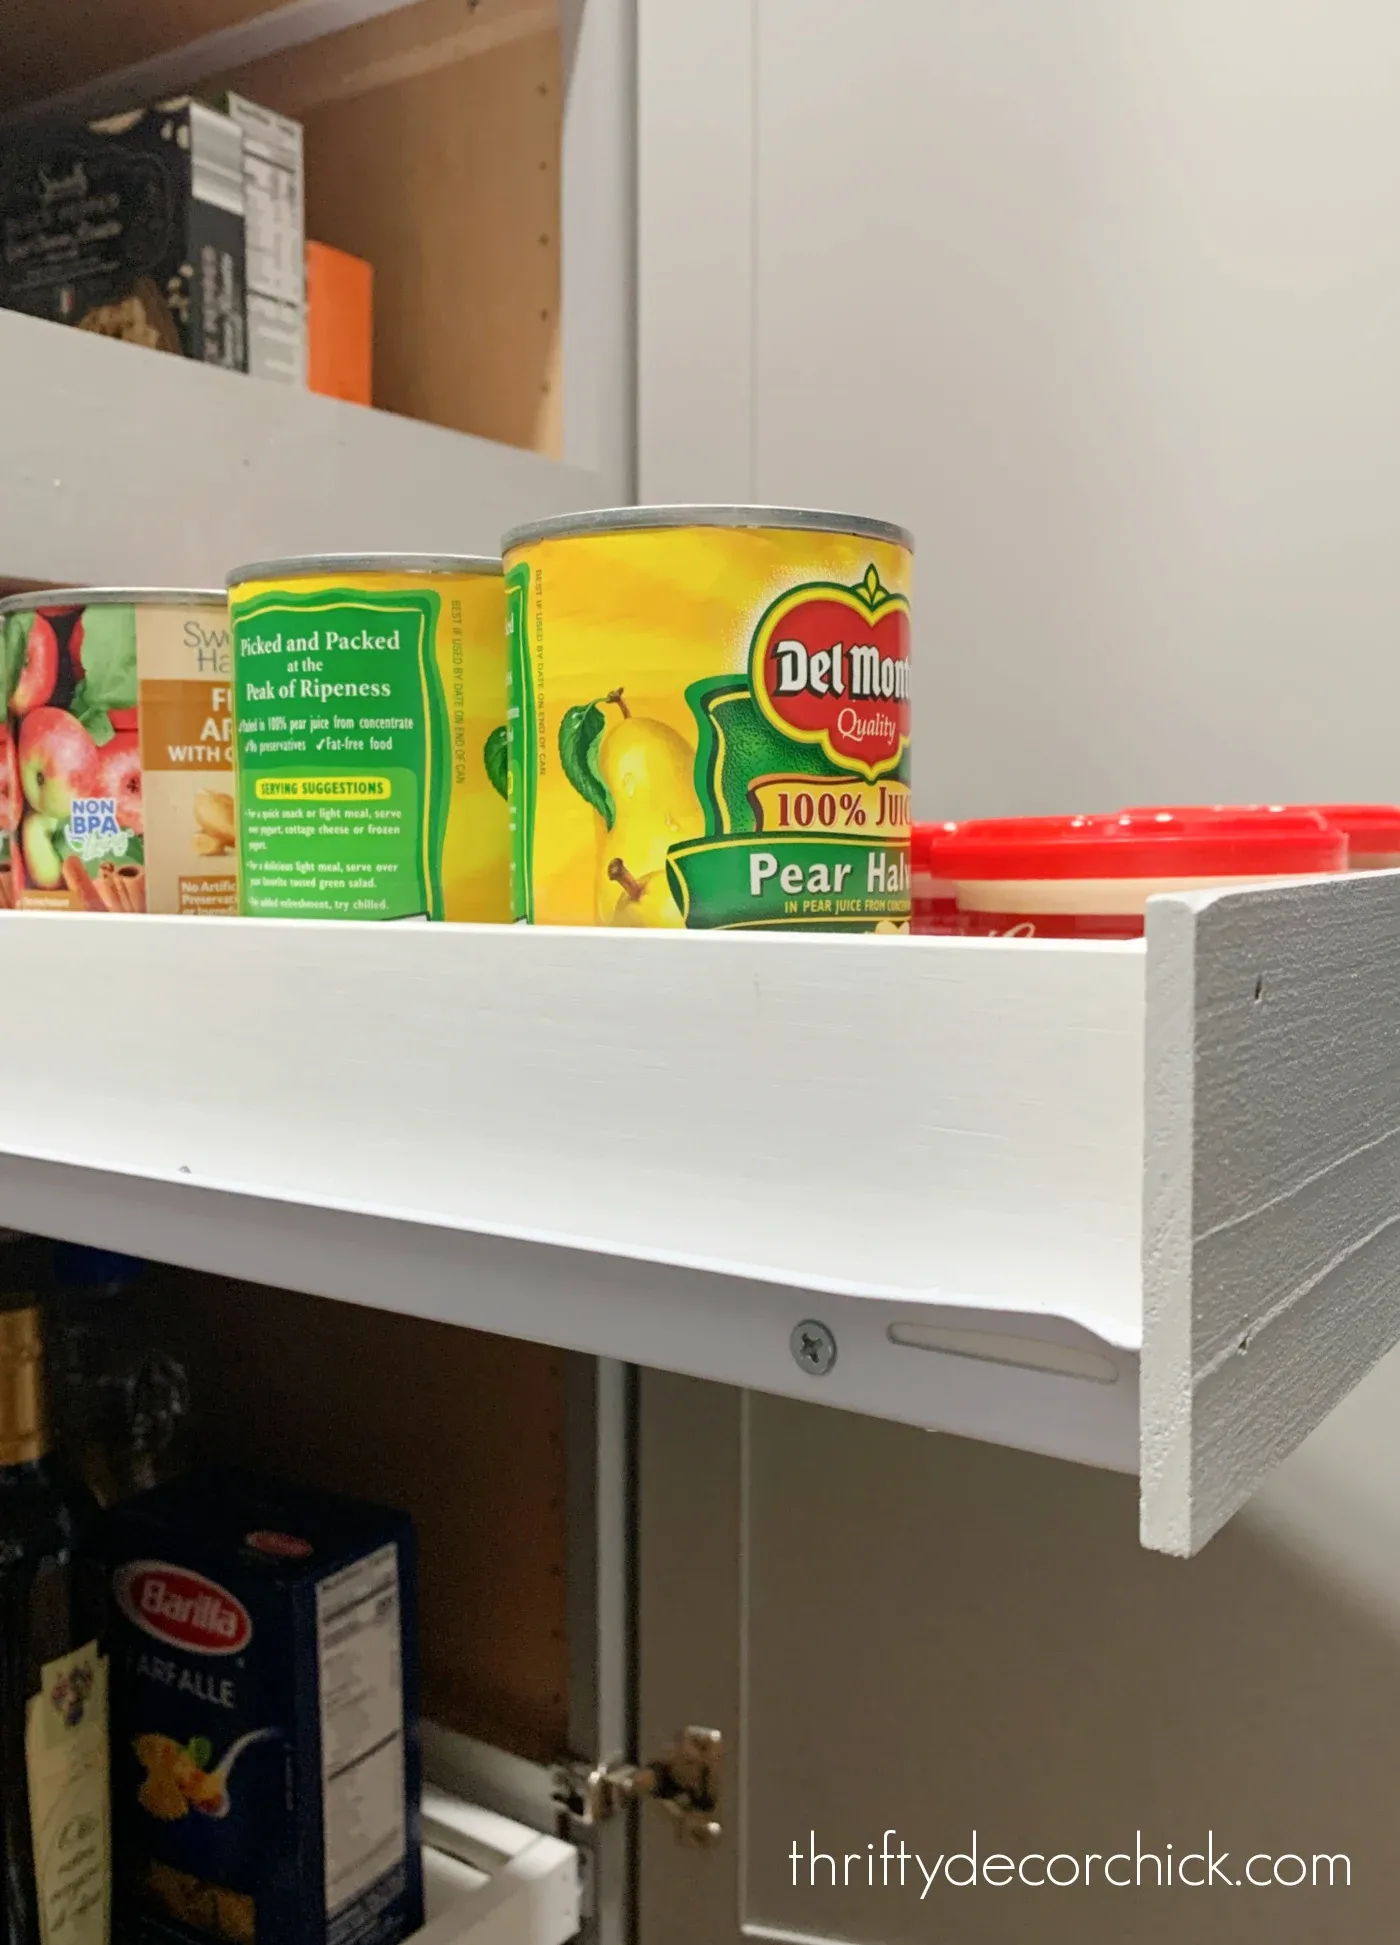 slide out appliance drawer
