Blog
Building Your First Workbench: A Quick and Easy Guide

So, you’re ready to dive into the world of DIY and crafting? Congratulations! Every maker needs a dedicated workspace, and nothing beats a sturdy workbench. Don’t worry if you’re a beginner; building a simple yet functional workbench is easier than you think. In this guide, I’ll walk you through the process step-by-step, sharing my personal tips and experiences along the way. Let’s get started!
Gathering Your Materials and Tools
First things first, let’s gather everything you need for this project. You’ll be surprised at how few materials are required for a basic workbench. Here’s a list to get you started:
- Five 2x4s: These will form the sturdy frame of your workbench. I recommend opting for Prime KD Pine 2x4s as they tend to be straighter and more manageable.
- MDF Project Panels: These pre-cut panels are perfect for the workbench top. I used three 3/4-inch MDF panels for my bench. They’re easier to transport than full sheets, especially if you don’t have a truck.
- Screws: Choose screws that are appropriate for the thickness of your MDF and 2x4s.
- Optional: Casters: If you want your workbench to be mobile, add a set of casters. Look for double-locking casters for added stability.
Tool-wise, you’ll need:
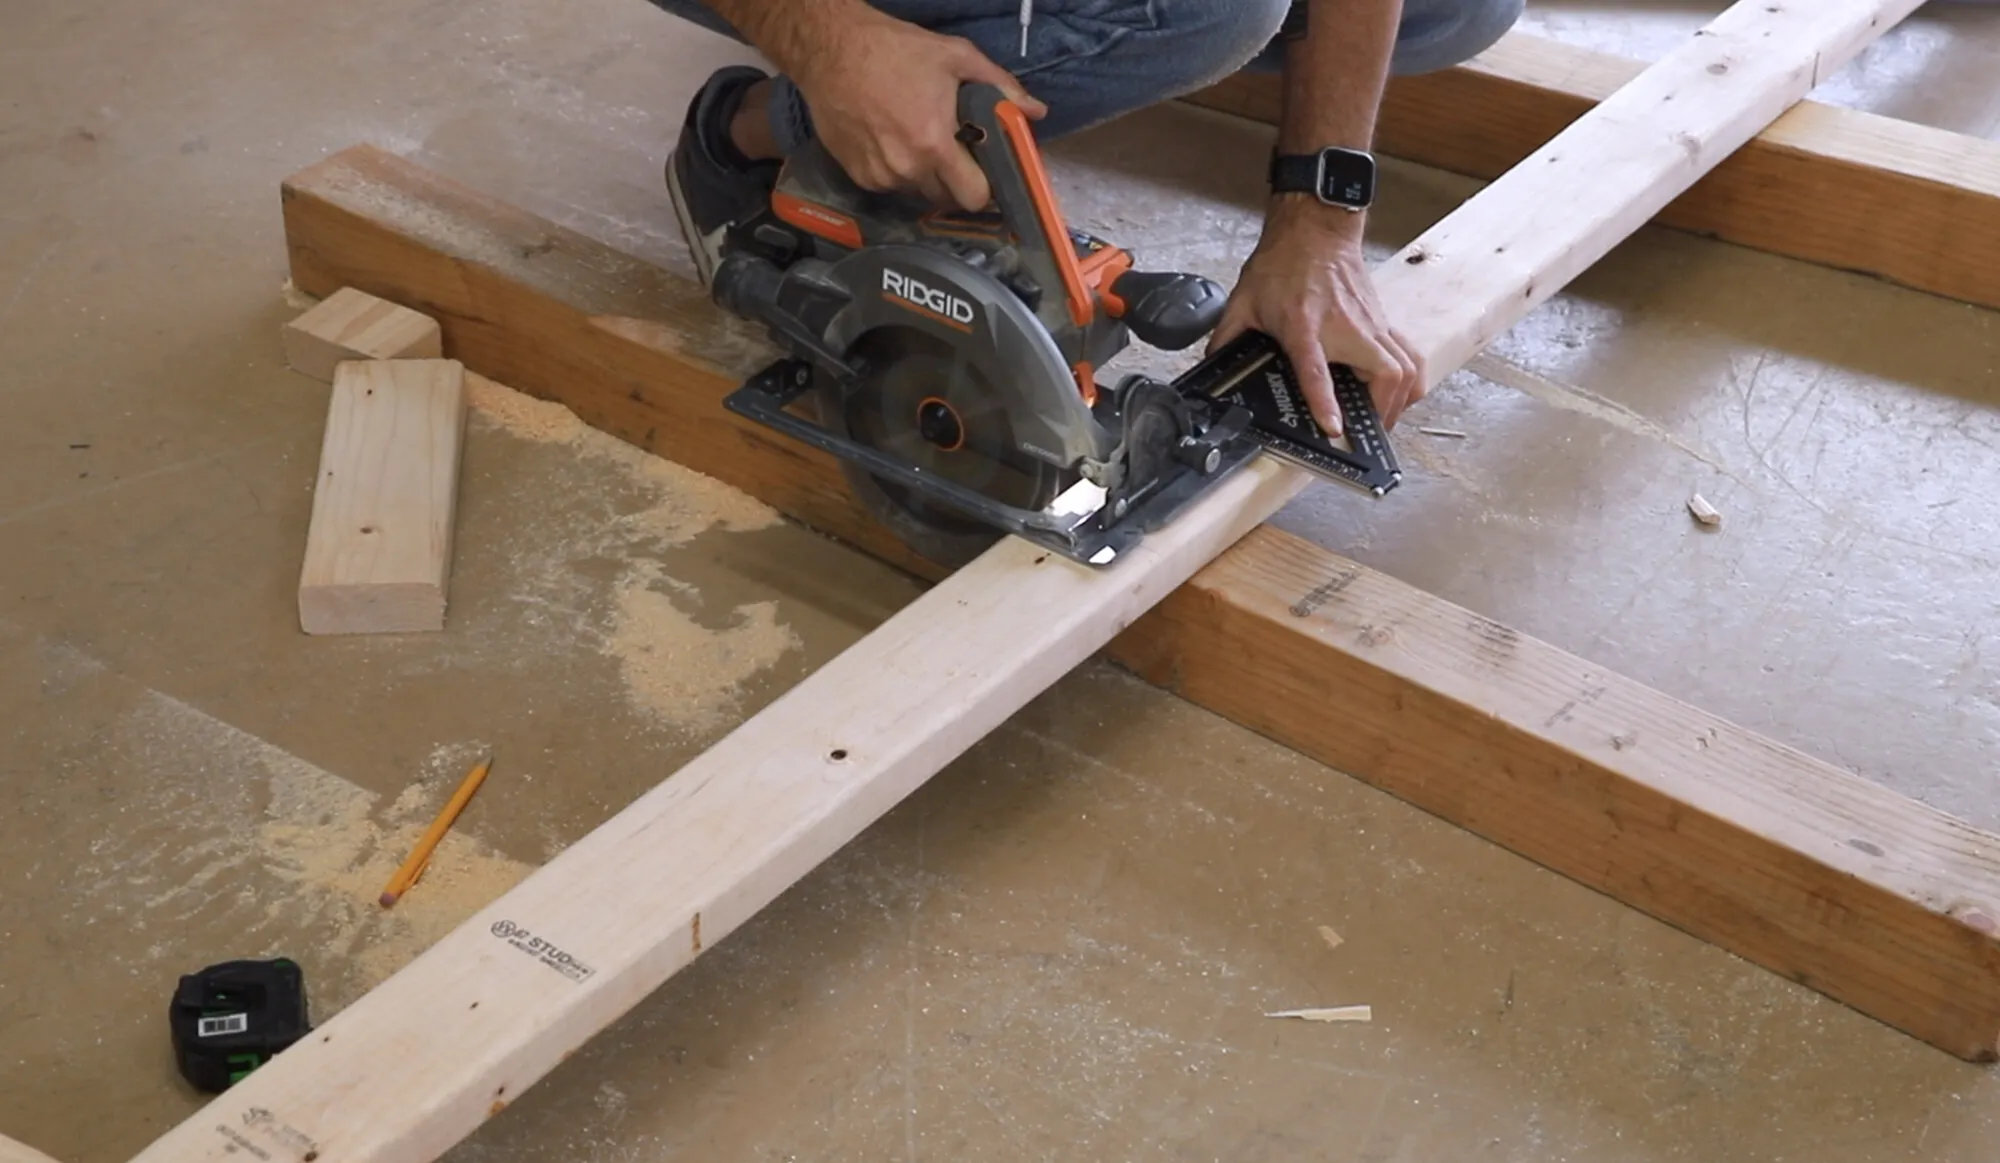
- Circular Saw: A battery-powered one offers convenience, but a corded one will work just as well.
- Impact Driver: This tool will make driving screws a breeze. If you’re on a budget, a corded drill will do the trick.
- Speed Square: A reliable speed square, like the Husky 6-inch Extendable Square, is invaluable for marking accurate cuts. I use mine all the time, and it doubles as a straight edge for my circular saw!
- Tape Measure: Because accurate measurements are key!
- Pencil: For marking your cuts and assembly points.
Assembling Your Workbench
With your materials and tools ready, let’s start building!
- Cut the 2x4s: Following the measurements outlined in my free plans (link in bio!), cut the 2x4s to create the legs and supports of your workbench frame.
- Assemble the Frame: Using your speed square to ensure everything is square, attach the 2x4s together using screws.
- Attach the MDF Top: Place the MDF panels onto your assembled frame and secure them using screws.
- Add Casters (Optional): If you’re using casters, flip your workbench upside down and attach them to the bottom of each leg. Make sure they’re securely fastened.
 Work bench being assembled in a workshop
 Work bench being assembled in a workshop
 Work bench being assembled in a workshop
Personalizing Your Workbench
Now that you’ve got a solid workbench, it’s time to make it your own!
- Finishing Touches: Consider sanding down any rough edges and applying a coat of paint or sealant to protect the wood.
- Storage Solutions: I highly recommend investing in some storage solutions to keep your workbench organized. Toolboxes, pegboards, and shelves are all great options. Personally, I love the Husky 9-drawer workbench and the Husky 52-inch tool cabinet. They offer ample storage space and are built to last.
Conclusion
And there you have it – a simple, sturdy workbench that’s ready to be put to good use! Remember, building your own furniture is incredibly rewarding. It allows you to create pieces tailored to your exact needs and preferences. So go ahead, gather your materials, fire up those tools, and experience the joy of building something with your own two hands!
Don’t forget to share pictures of your finished workbenches in the comments below. I’d love to see what you create! And for more DIY inspiration and project ideas, be sure to explore the rest of the Robert Kline Art website, where you’ll find a treasure trove of handcrafted wonders perfect for gifting or adding a personal touch to your home.
 Completed work bench with tools and tool boxes
 Completed work bench with tools and tool boxes
