Blog
Building a Sliding Door Storage Cabinet: The Ultimate Guide to Garage Organization
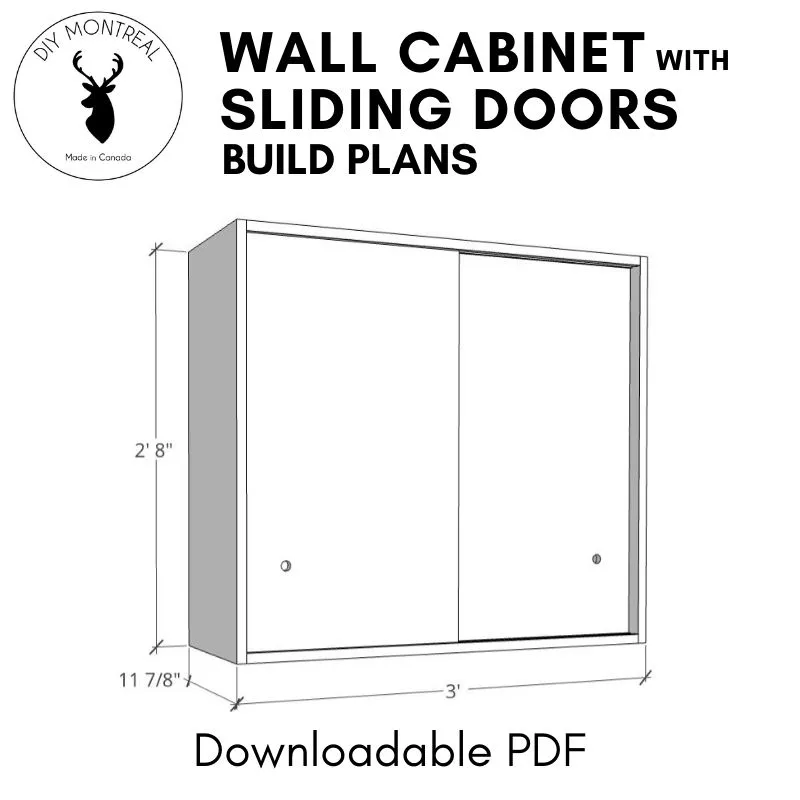
Are you tired of digging through cluttered drawers and boxes in your garage, desperately searching for the right screw or fastener? I’ve been there, and it’s a huge time-waster! That’s why I decided to take control of my workspace and build a DIY sliding door storage cabinet to organize all my bits and pieces. Trust me, this project is a game-changer!
This comprehensive guide will walk you through the entire process, from planning and gathering materials to assembling and organizing your brand-new storage solution. So grab your tools, and let’s get started!
Planning Your Sliding Door Cabinet
 DIY sliding door cabinet plans
Having detailed plans makes the building process much smoother.
Before diving into the construction, having a plan is crucial. You can find detailed plans online or design your own based on your needs and available space. Consider the following:
- Cabinet Size: Measure your space to determine the ideal cabinet dimensions.
- Storage Needs: Think about the items you need to store and how many shelves and compartments you’ll need.
- Material: 3/4-inch plywood for the cabinet body and 1/2-inch plywood for the doors are great options for a sturdy build.
Gathering Your Tools and Materials
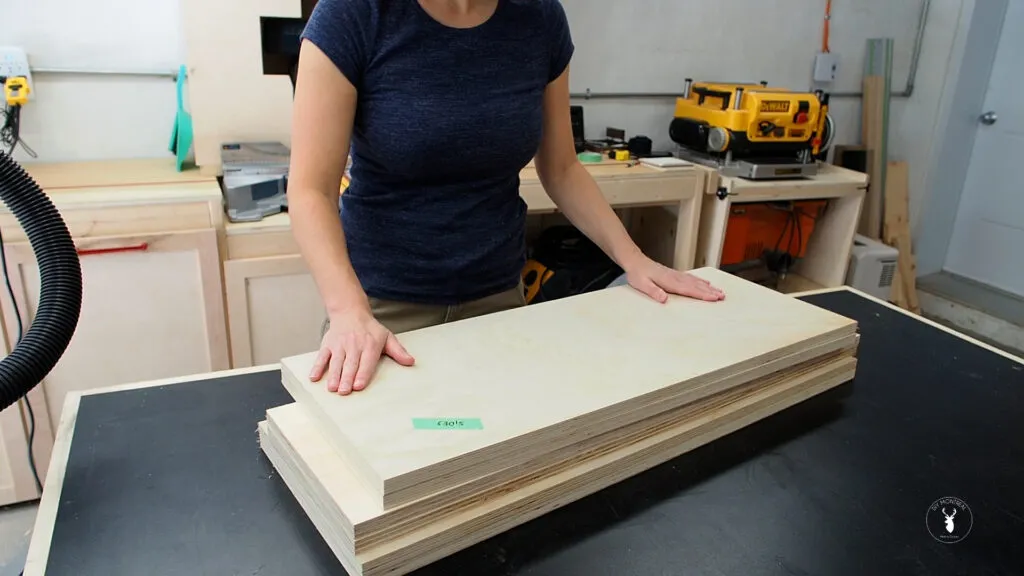 Preparing materials and tools for the DIY cabinet
Having all your tools and materials ready will streamline the building process.
Once you have a plan, gather your tools and materials. Here’s a list to get you started:
Materials:
- 3/4-inch plywood
- 1/2-inch plywood
- Pocket screws
- Wood glue
- Edge banding (optional)
- Finger pulls
- Tapcon screws (if mounting on masonry)
- Plastic storage boxes
Tools:
- Table saw or circular saw
- Handheld router
- Cordless drill
- Hammer drill (if mounting on masonry)
- Track saw (optional)
- Straight bits (1/2-inch and 3/4-inch)
- Forstner bit (3/4-inch)
- Clamps (parallel, gear, mini F-clamps)
- Pocket hole jig
- Drywall T-square
- Push pads
- Ruler
- Level
- Sanding block
- Glue brush
- Digital angle gauge (optional)
- Bit setting gauge (optional)
- Edge band trimmer (if using edge banding)
- Safety glasses and hearing protection
Building Your Sliding Door Storage Cabinet
Now, let’s get to the exciting part – building the cabinet!
1. Creating the Sliding Door Tracks
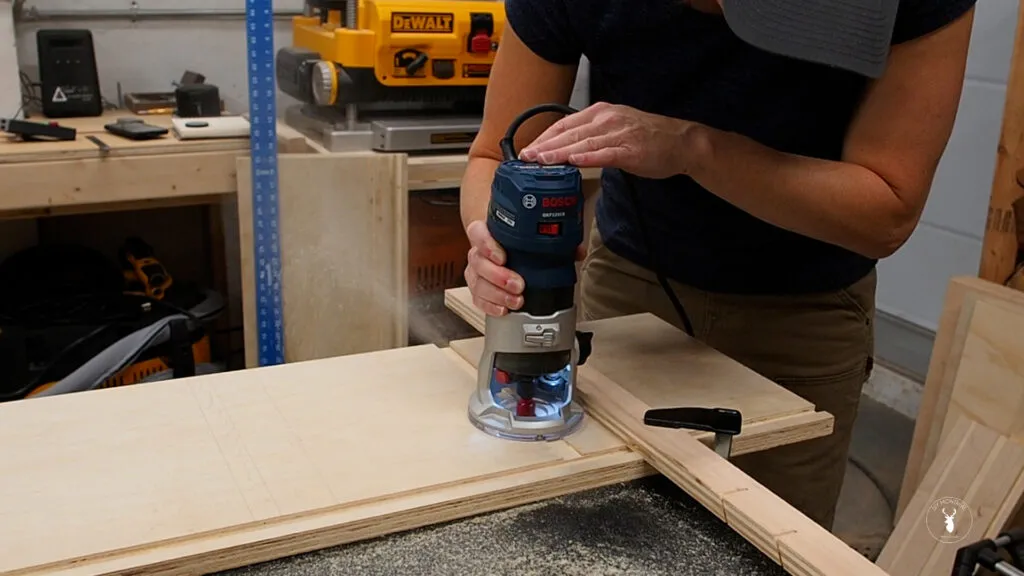
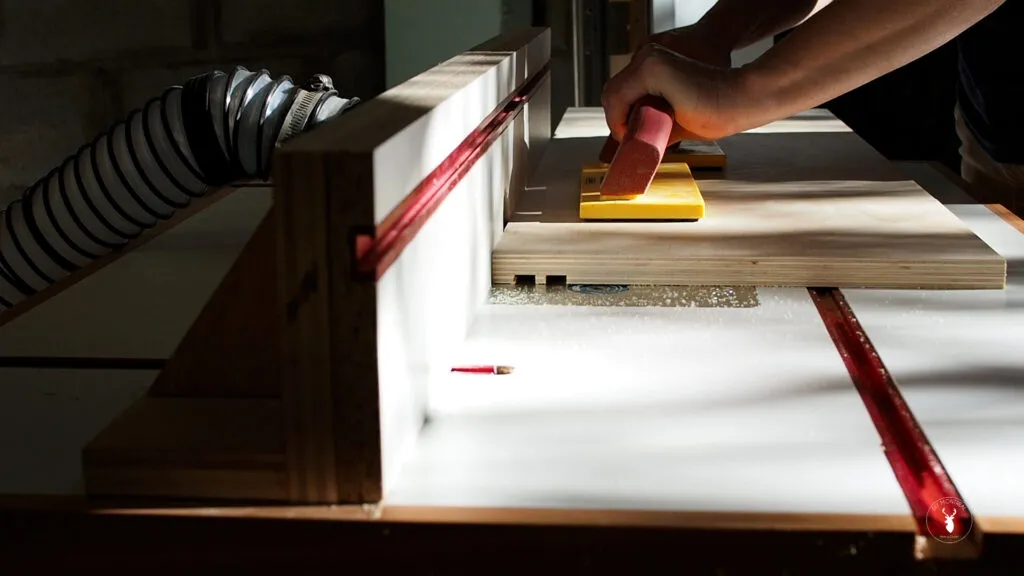 Cutting dadoes for the sliding doors
Accurate dadoes are crucial for smooth sliding doors.
Start by cutting the dadoes for the sliding doors. Using a 1/2-inch straight bit and a router, create two parallel tracks on the top and bottom panels. Remember, the top tracks need to be slightly deeper to allow the doors to pop in and out.
2. Cutting Dadoes for the Shelves
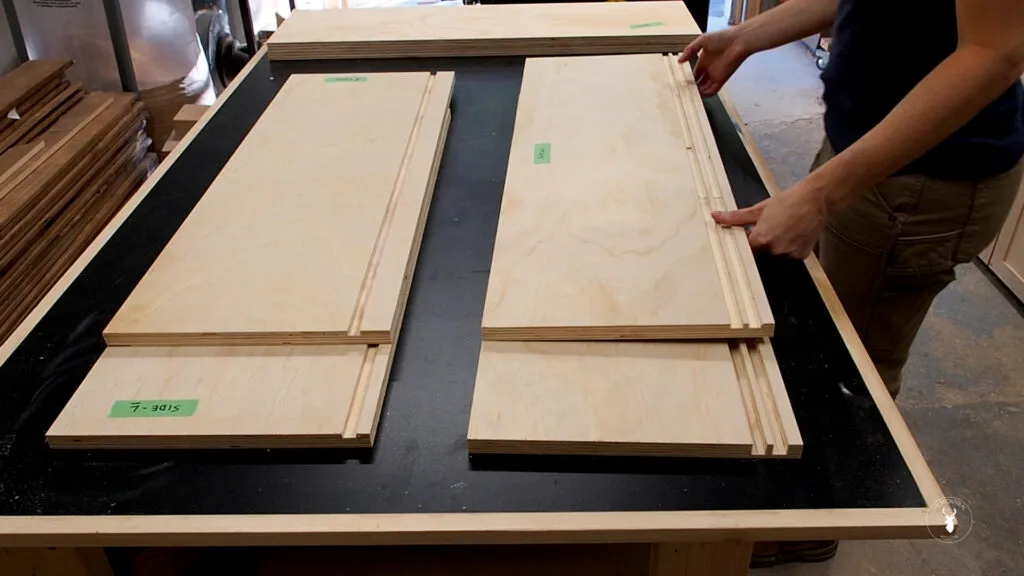 Using a router to create dadoes for the shelves
Dadoes provide extra support and rigidity to the shelves.
Next, cut the dadoes for the shelves using a 3/4-inch straight bit. These dadoes will provide additional support and prevent the shelves from sagging.
3. Applying Edge Banding (Optional)
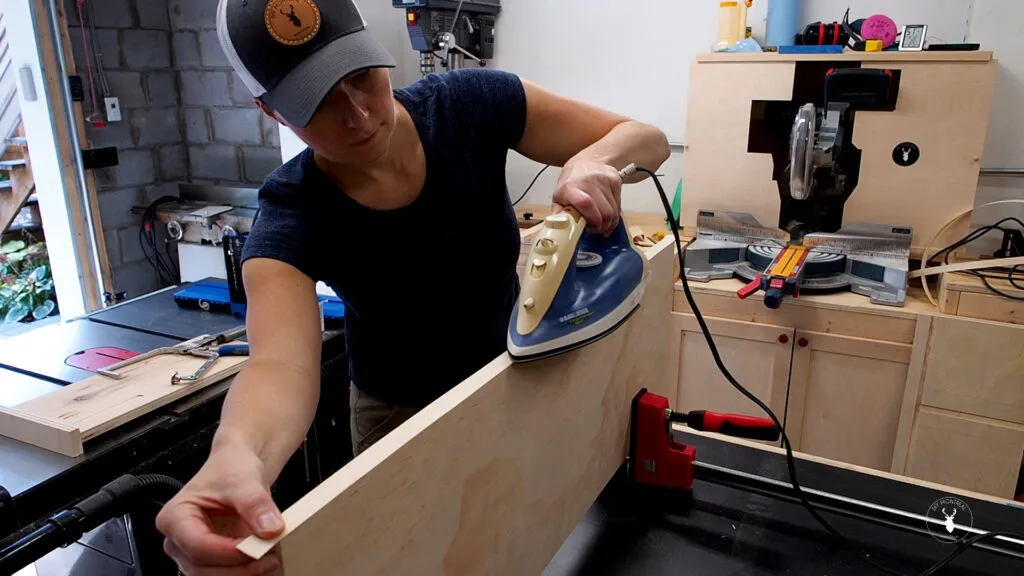
 Applying edge banding for a polished look
Edge banding gives your cabinet a professional finish.
For a more polished look, consider adding edge banding to the plywood edges. Iron-on edge banding is a quick and easy option.
4. Assembling the Cabinet Carcass
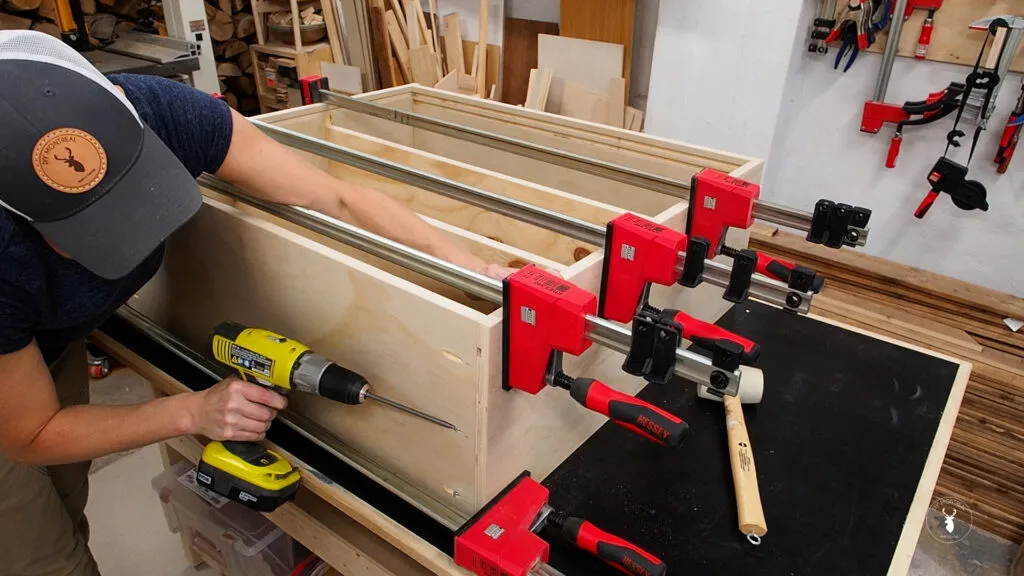
 Assembling the cabinet carcass
Use wood glue and pocket screws for a strong and durable cabinet carcass.
With the dadoes cut and edge banding applied, it’s time to assemble the cabinet carcass. Apply wood glue to the shelf dadoes, insert the shelves, and secure them with clamps. Attach the side panels using pocket screws and glue.
5. Mounting the Cabinet to the Wall
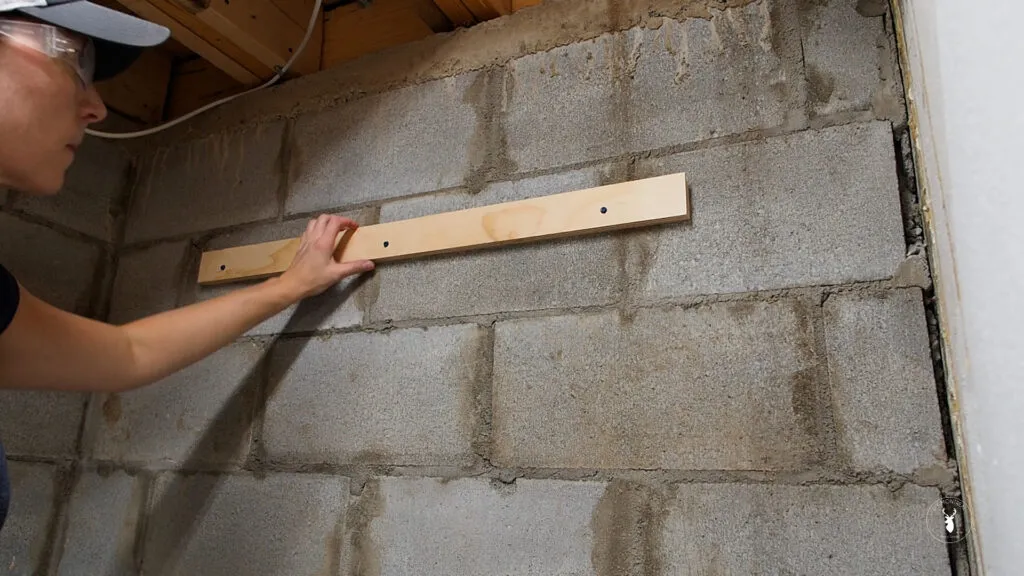
 Installing a French cleat system
French cleats provide a secure and sturdy way to hang your cabinet.
To mount the cabinet securely, consider using a French cleat system. Attach one part of the cleat to the wall and the other to the back of the cabinet. This system allows you to easily hang and detach the cabinet when needed.
6. Adding the Sliding Doors
 Installing the sliding doors
Installing the sliding doors is a satisfying final step.
With the cabinet mounted, it’s time to install the sliding doors. Attach finger pulls to the doors for easy opening and closing. Then, simply pop the doors into the tracks – first into the top track, then the bottom.
7. Organizing Your Tools and Supplies

Time to organize and enjoy your clutter-free workspace!
Congratulations, your DIY sliding door storage cabinet is complete! Now comes the fun part – organizing your tools, fasteners, and supplies into clearly labeled containers and bins.
Conclusion
Building your own sliding door storage cabinet is a rewarding project that will transform your garage or workspace. By following these steps and putting in a little effort, you’ll be amazed at how much easier it is to find what you need when you need it.
Remember to check out the free plans available on Robert Kline Art to get started on your own sliding door storage cabinet. And while you’re there, explore the website for more inspiring DIY projects and creative ideas. Happy building!
