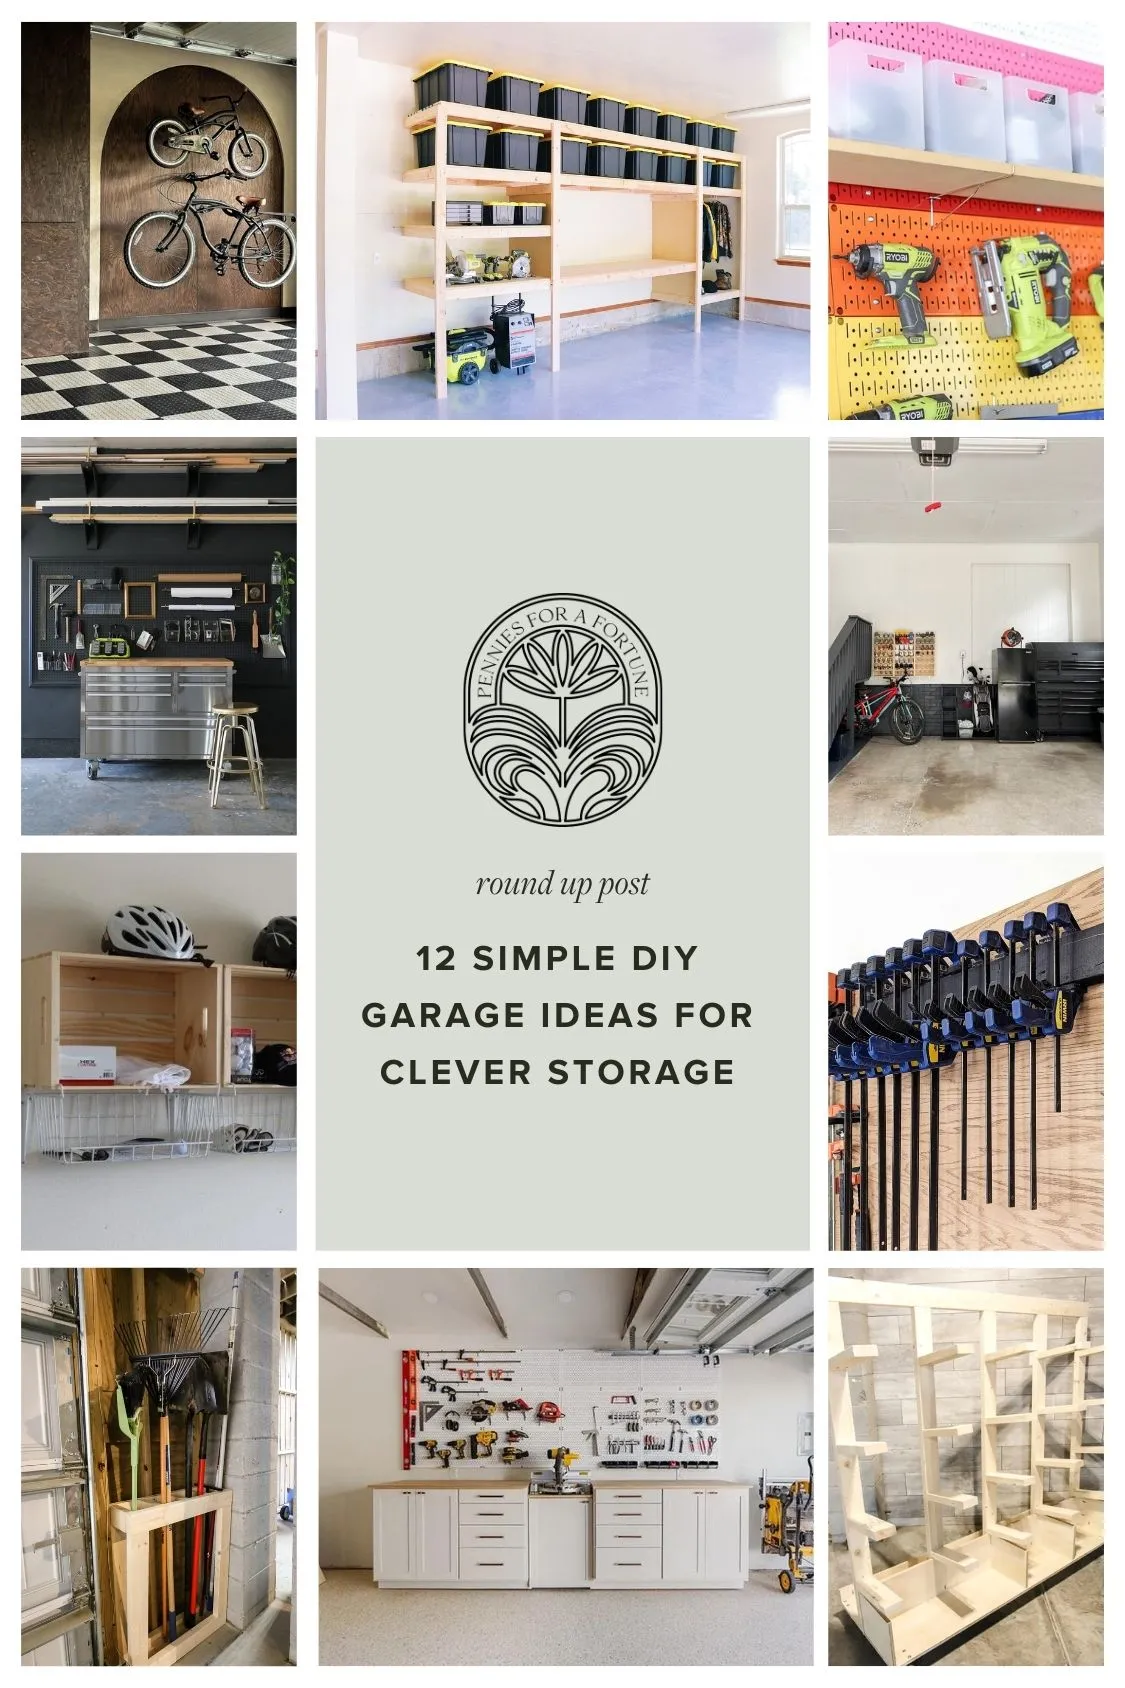
Building the Ultimate Garage Pegboard Tool Organizer: A DIY Guide

Hey there, fellow craft enthusiasts! Robert Kline here, and if you’re anything like me, your garage doubles as a workshop – a space where creativity flows as freely as sawdust! But let’s be honest, a cluttered workshop can stifle even the most inspired maker. That’s why today, we’re diving headfirst into the world of garage organization with a project that’s close to my heart: constructing a basic garage pegboard tool organizer.
Why Pegboard? The Unsung Hero of Garage Storage
Now, you might be thinking, “Pegboard? Isn’t that a bit old school?” And to that, I say a resounding “Absolutely not!” Pegboard is a timeless classic for a reason. It’s affordable, versatile, and incredibly practical. Plus, there’s just something so satisfying about seeing all your tools neatly displayed and within easy reach.
Gathering Your Supplies: The Essential Toolkit
Before we get our hands dirty, let’s make sure we have everything we need:
- Pegboard Panels: These come in various sizes, so measure your space and choose accordingly.
- Wood for Frame: A simple frame adds stability and a finished look.
- Pegboard Hooks and Accessories: This is where the fun begins! Choose hooks, shelves, and bins designed specifically for pegboard.
- Screws and Mounting Hardware: Make sure these are appropriate for your wall material.
- Level, Stud Finder, Drill, and Saw: Basic tools for accurate cutting and installation.
 Beginner's Toolkit Essentials for DIY
Caption: Having the right tools on hand makes any DIY project a breeze! This beginner’s toolkit has everything you need to get started on your pegboard journey.
Planning Your Pegboard Layout: A Place for Everything
Take a moment to envision your ideal tool organization.
- Group Similar Tools: Keep wrenches together, screwdrivers within reach of each other, and so on.
- Prioritize Frequently Used Items: Place your most-used tools at eye level and within easy reach.
- Don’t Be Afraid to Experiment: The beauty of pegboard is its adaptability. You can always rearrange things later!
Building Your Garage Pegboard Organizer: A Step-by-Step Guide
- Locate and Mark Studs: Use a stud finder to locate and mark the wall studs where you’ll be mounting your pegboard.
- Cut and Assemble the Frame: Measure, cut, and assemble the wood frame for your pegboard. This will provide a sturdy base and a polished look.
- Mount the Pegboard to the Frame: Secure the pegboard panels to the frame using screws. Ensure it’s level throughout the process.
- Install the Frame on the Wall: Align the frame with your stud markings and firmly attach it to the wall using appropriate screws.
- The Fun Part: Add Your Hooks and Accessories!: This is where you personalize your organizer. Hang your tools, add shelves, and arrange everything to your liking.
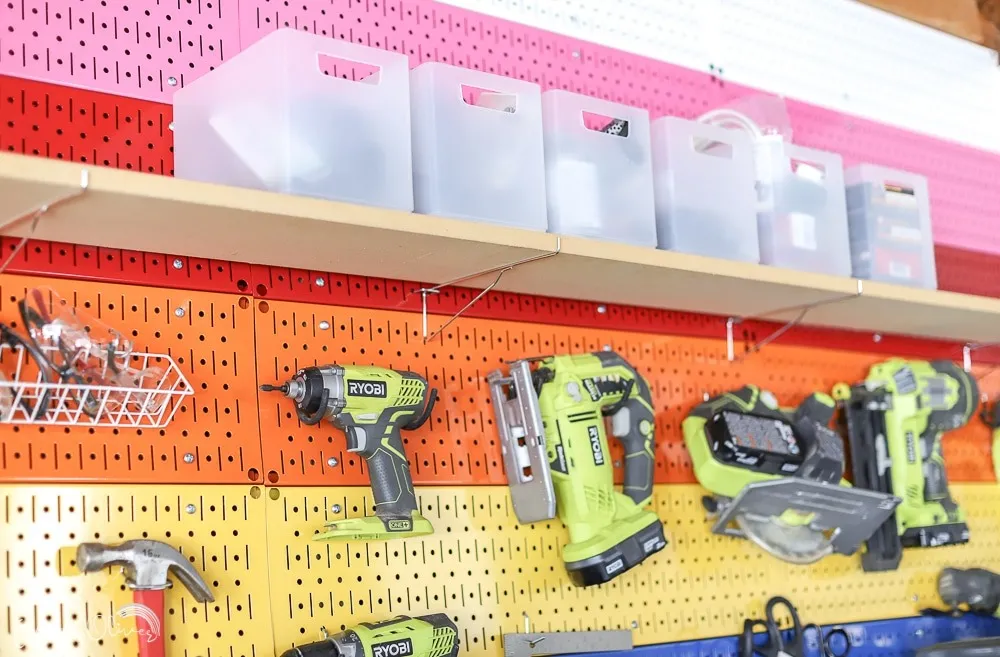
 Charleston Crafted DIY Wall Mounted Yard Tool Organizer
Caption: Get creative with your pegboard design! Colorful panels and a variety of hooks create a visually appealing and highly functional storage solution.
Pro Tips From Years of Pegboard Wisdom
- Label Everything: Trust me, your future self will thank you. Labels make it easy to find what you need, when you need it.
- Utilize Vertical Space: Don’t be afraid to go high! Use the full height of your pegboard for maximum storage capacity.
- Revisit and Adjust: Your organizational needs may change over time, so don’t hesitate to rearrange your pegboard layout as needed.
Conclusion: Reclaiming Your Garage Workshop
Congratulations, my friend! You’ve just taken a giant leap toward a more organized and efficient garage workshop. With your new pegboard tool organizer in place, you’ll spend less time searching for tools and more time creating, building, and crafting.
And remember, this is just the beginning. The world of DIY garage organization is vast and filled with endless possibilities. For more inspiring ideas and step-by-step guides, be sure to explore the fantastic collection of handmade projects and tips on the Robert Kline Art website. Now go forth and conquer that clutter!
What are your go-to tips for keeping your workshop organized? Share your thoughts and experiences in the comments below! Don’t forget to share this post with your fellow makers and spread the joy of a clutter-free workspace!
