Blog
How to Build a Garage Pegboard for Ultimate Tool Organization
As any seasoned DIY enthusiast or craft lover knows, a well-organized workspace is key to a successful project. But let’s be honest, garages have a knack for attracting clutter like a magnet. Tools pile up, leftover materials seem to multiply overnight, and finding anything quickly becomes a treasure hunt. But fear not, fellow makers! At Robert Kline Art, we believe in taming the chaos with clever solutions. That’s where the trusty pegboard comes in – a simple yet incredibly versatile system that can transform your garage from a cluttered catch-all to a haven of organization.
In this guide, we’ll walk you through the step-by-step process of building your very own garage pegboard, empowering you to take control of your space and elevate your crafting game.
Planning Your Pegboard Project
Before you grab your tools and head to the hardware store, let’s lay the groundwork for a successful pegboard installation.
Choosing the Right Pegboard
The size of your pegboard will depend on the available wall space in your garage and the number of tools you need to store. For smaller spaces or a more compact setup, you can find pre-made pegboard sheets at retailers like Target, Amazon, and Walmart. These are perfect for above-the-desk areas, home offices, or even smaller mudrooms.
However, if you’re looking to maximize storage in a larger garage, heading to your local hardware store is your best bet. There, you can find full-size pegboard sheets and have them cut to your exact specifications.
Pro Tip: Measure your wall space carefully before heading to the store, and make sure you have a way to transport the pegboard safely.
Gathering Your Materials and Tools
Here’s a list of what you’ll need for your DIY garage pegboard:
Materials:
- One pegboard sheet
- Three pieces of 1″ x 2″ board (cut three inches shorter than the width of your pegboard)
- Wood screws
- Pegboard accessories (hooks, bins, shelves, etc.)
Tools:
- Level
- Drill
- Stud finder
- Pencil or pen
Pro Tip: Before you head to the hardware store, take inventory of the tools and items you plan to store on your pegboard. This will help you determine the types and quantities of accessories you’ll need.
Building Your Garage Pegboard: A Step-by-Step Guide
Now that you have all your materials and tools ready, let’s get down to building your pegboard.
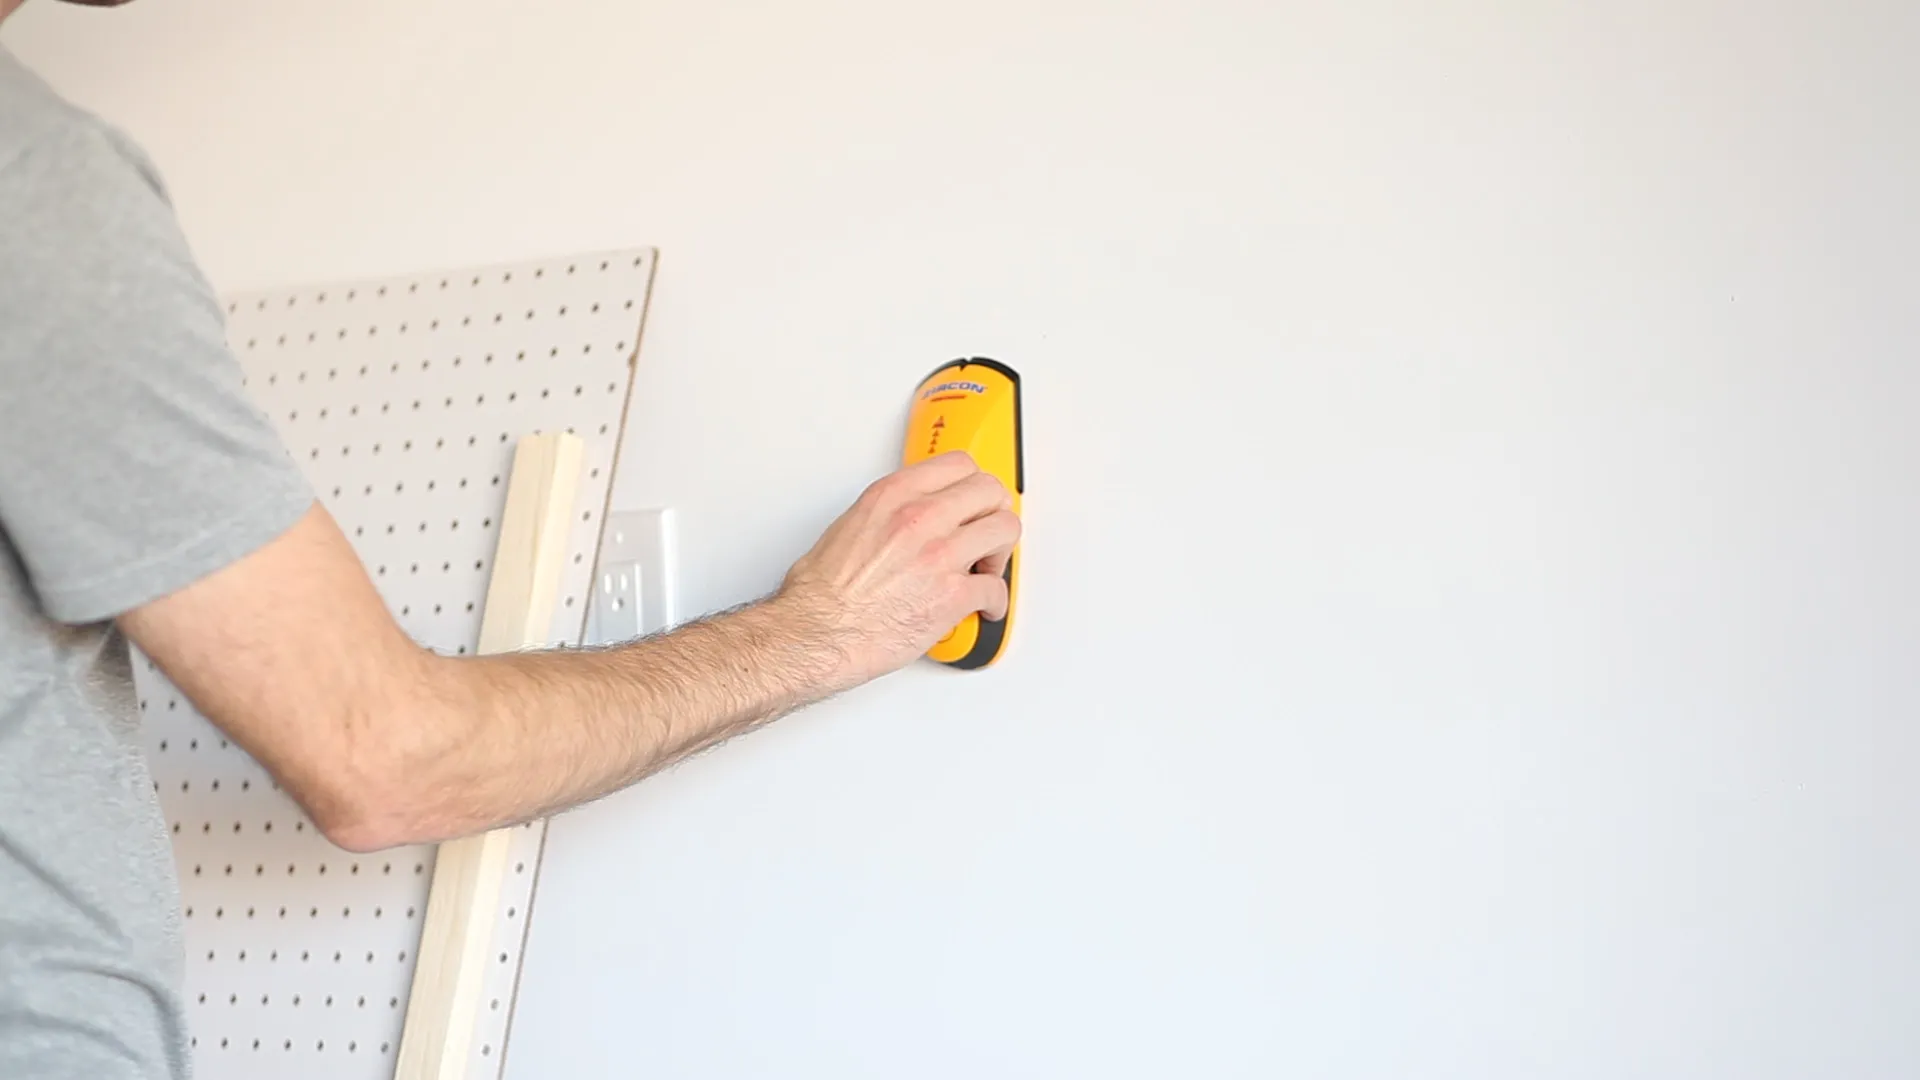
Step 1: Locate and Mark Studs
Use your stud finder to locate the studs in your garage wall, and mark their locations with a pencil or pen in the area where you’ll install the top frame board.
 find and mark studs yellow stud finder
Caption: Ensure a secure installation by locating and marking studs.
Step 2: Measure and Mark for the Pegboard
Decide where you want the top of your pegboard to sit on the wall and mark it. Remember to account for the frame boards, which are shorter than the pegboard itself.
Step 3: Pre-Drill Holes
Pre-drill three holes horizontally along each of the 1″ x 2″ boards, ensuring each hole aligns with a stud. Start with the top board, ensuring it’s level after drilling the first hole and securing it with a screw. Then, secure the remaining two screws (right side first, then middle).
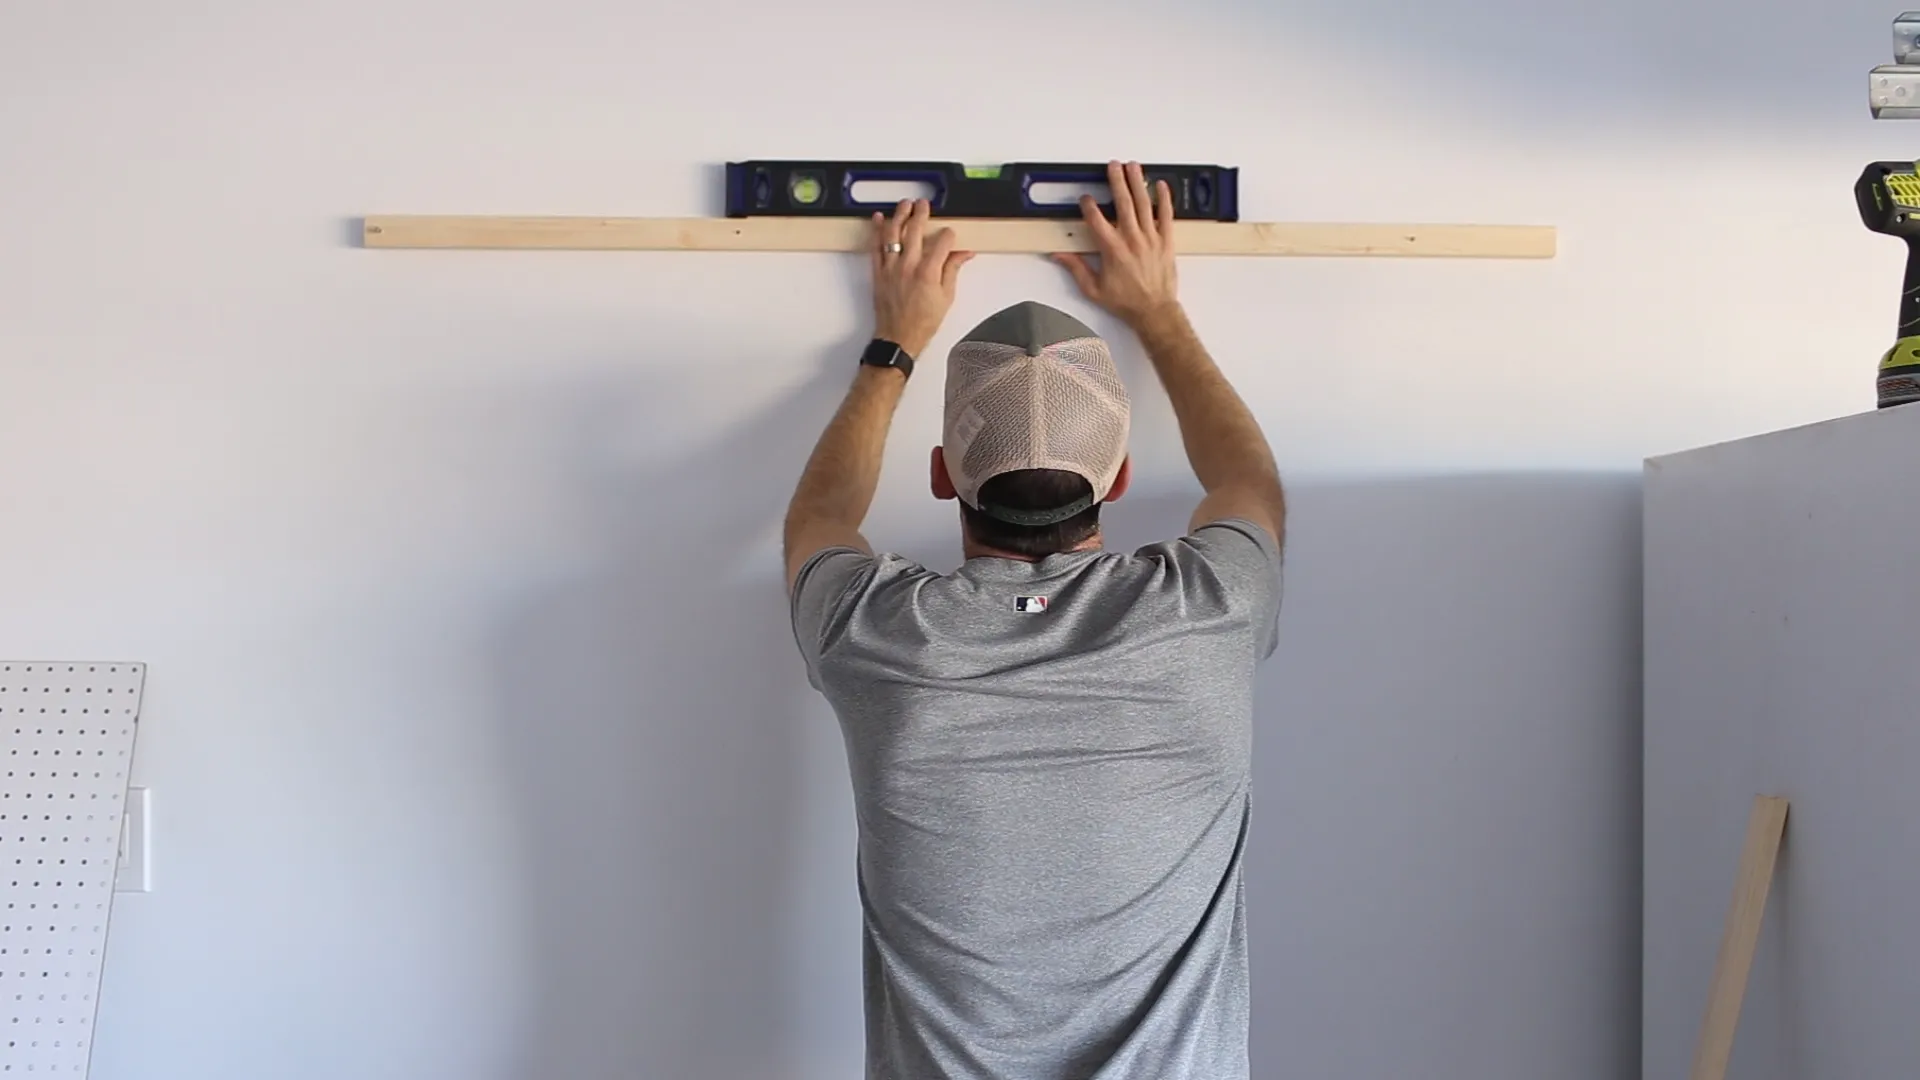 level board frame before screwing into garage wall
Caption: Pre-drilling holes ensures a smooth and accurate installation.
Step 4: Install the Bottom Frame Board
Repeat Step 3 for the bottom frame board, ensuring it’s level and aligned with the top board.
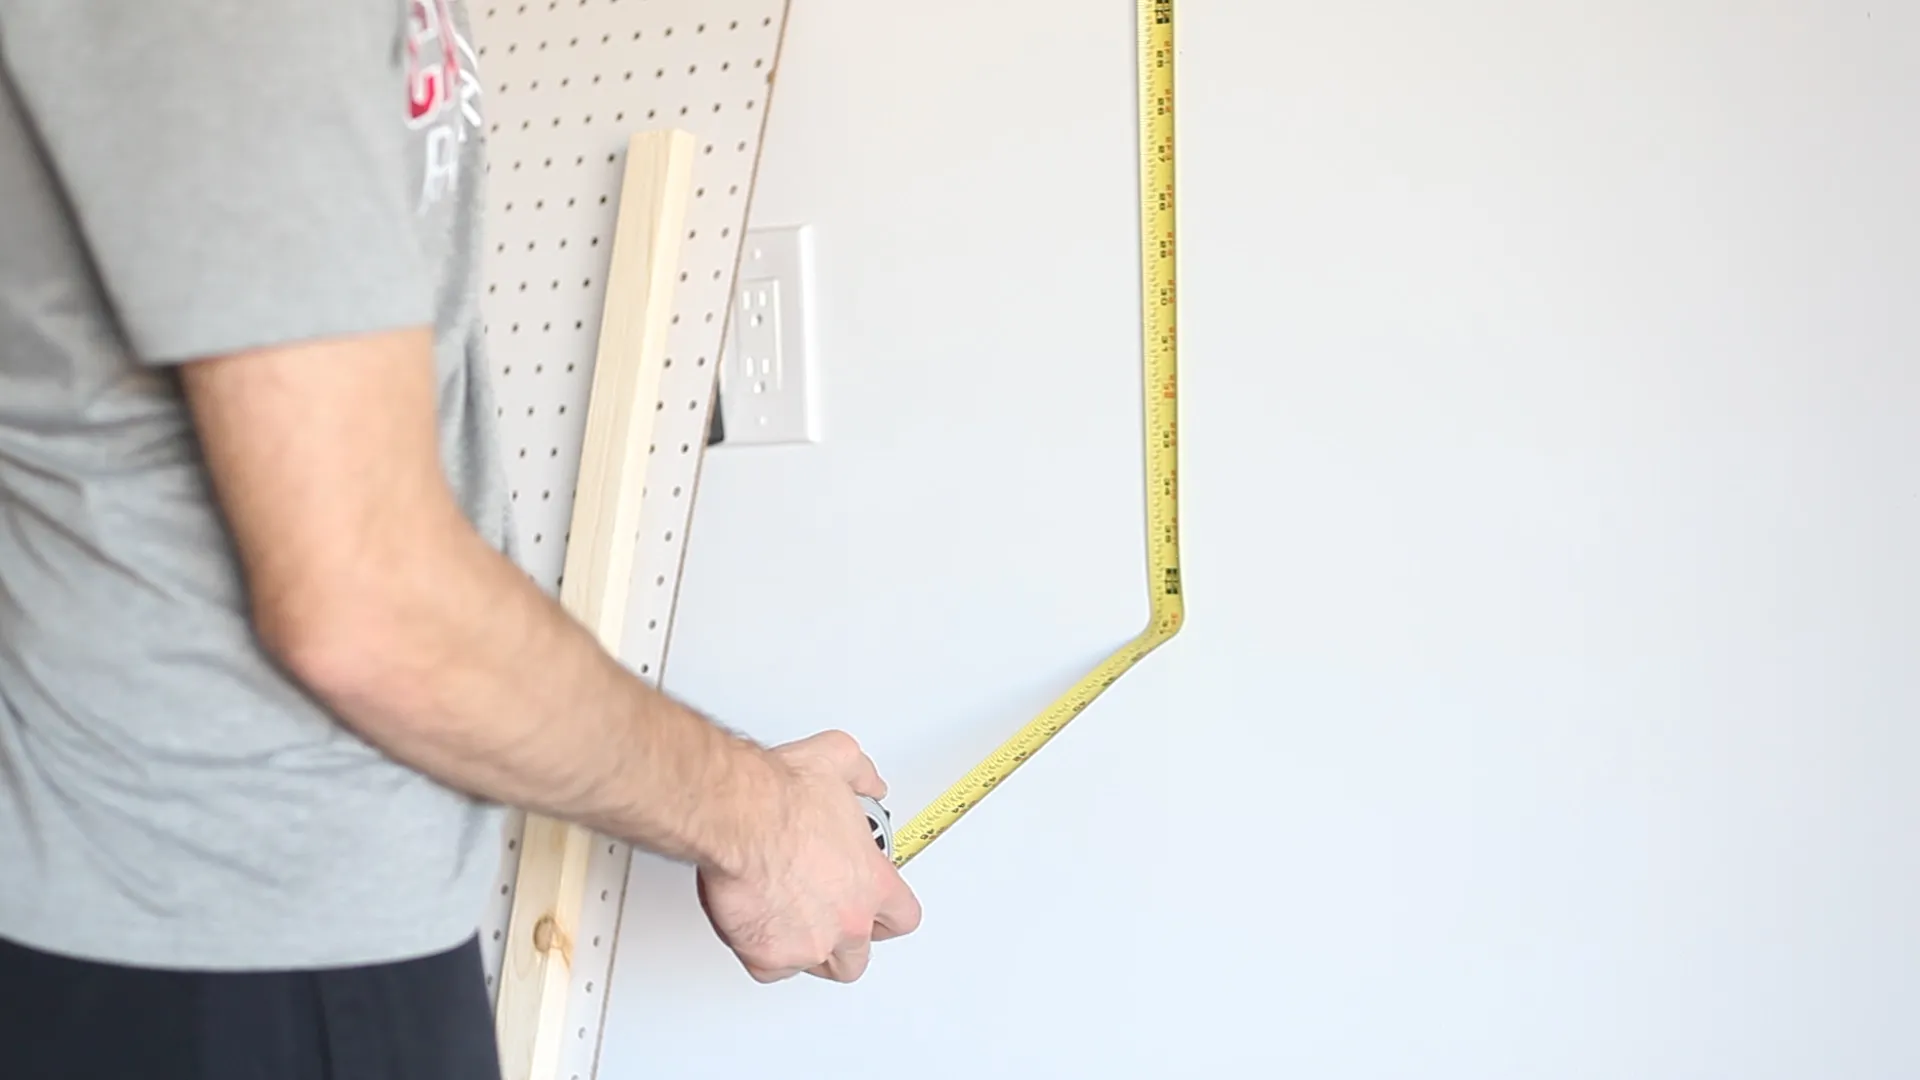 measure and mark place for bottom frame board
Caption: Accurate measurements are crucial for a level and sturdy pegboard.
Step 5: Attach the Middle Frame Board
For the middle board, you can visually estimate its placement. Ensure it’s level and aligned with the top and bottom boards.
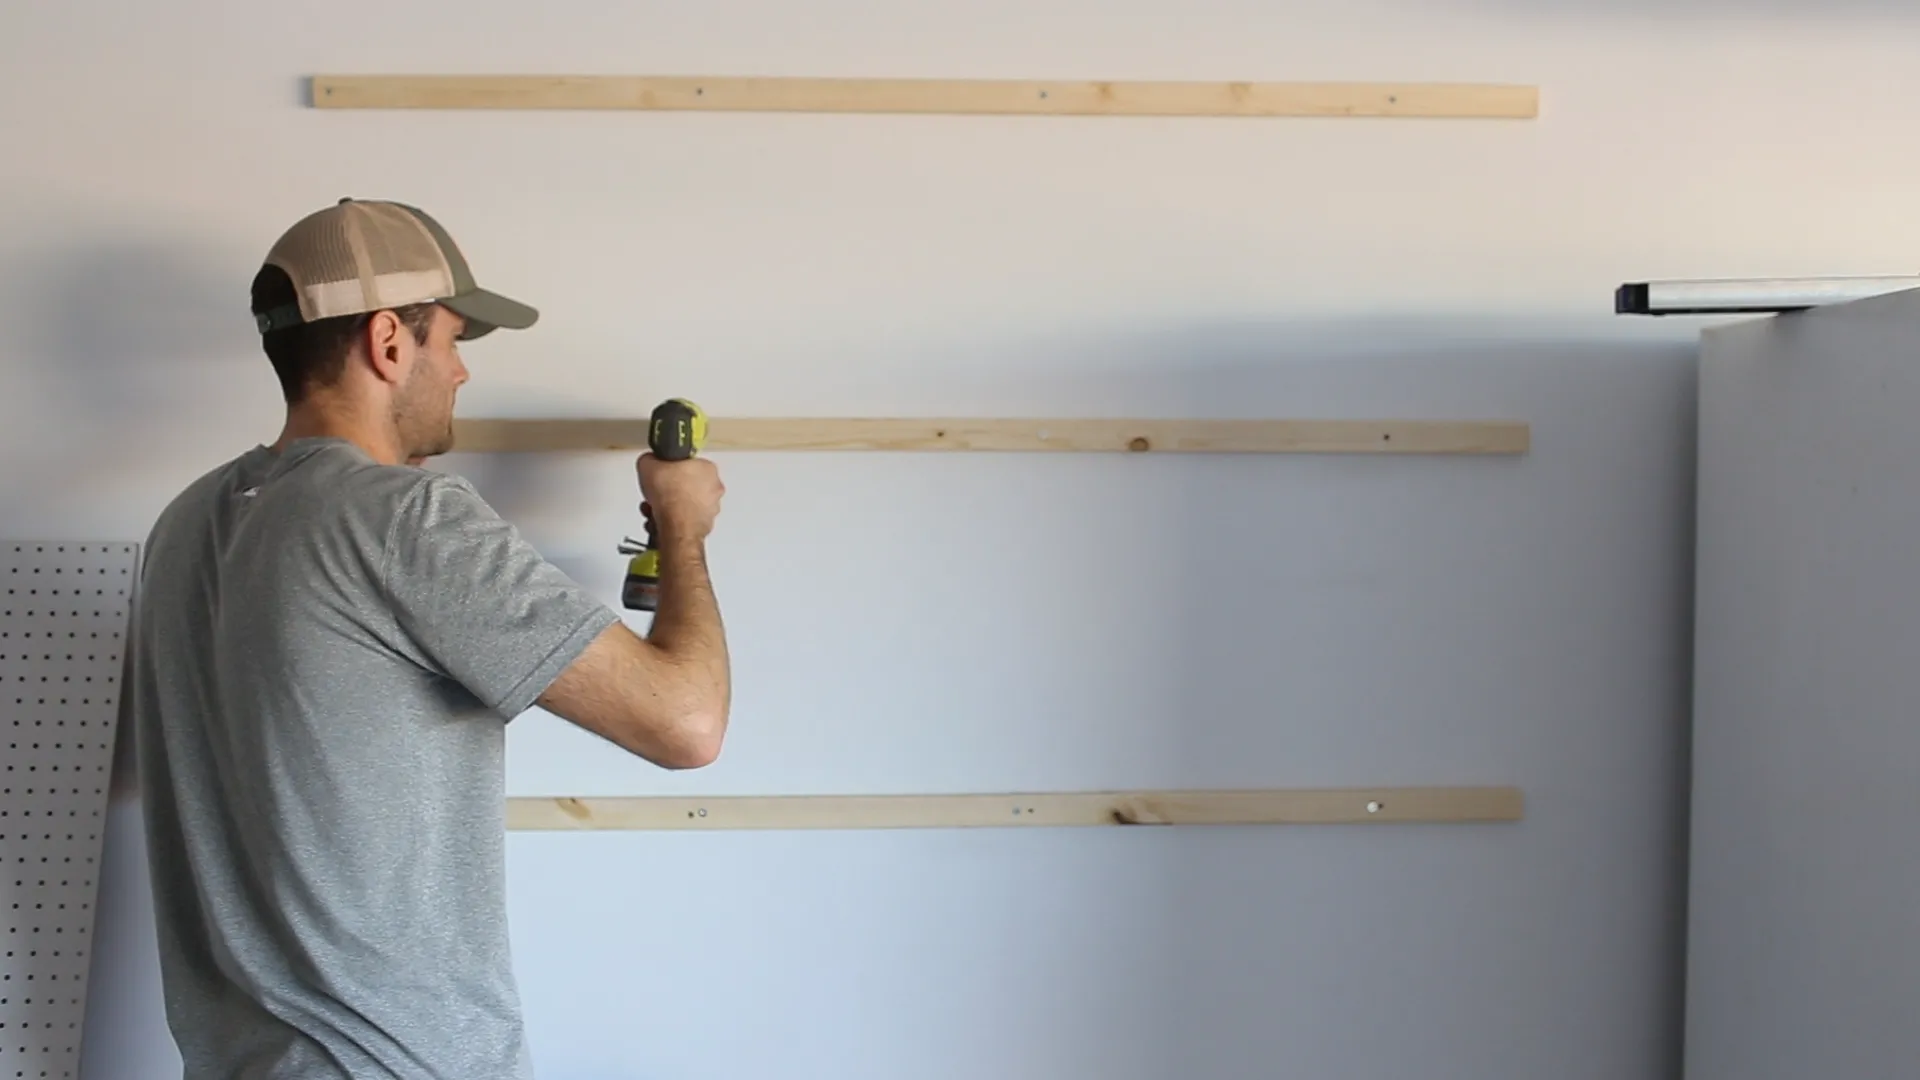 middle board mounted to garage wall for pegboard
Caption: The middle frame board provides additional support for the pegboard.
Step 6: Mount the Pegboard
Enlist a helper if needed, especially if you have a large pegboard. Lift the pegboard into place, centering it along the frame boards (which are shorter). Align the pegboard holes with the frame boards for the most secure hold. Pre-drill through the pegboard and into the frame boards, then secure the pegboard with wood screws.
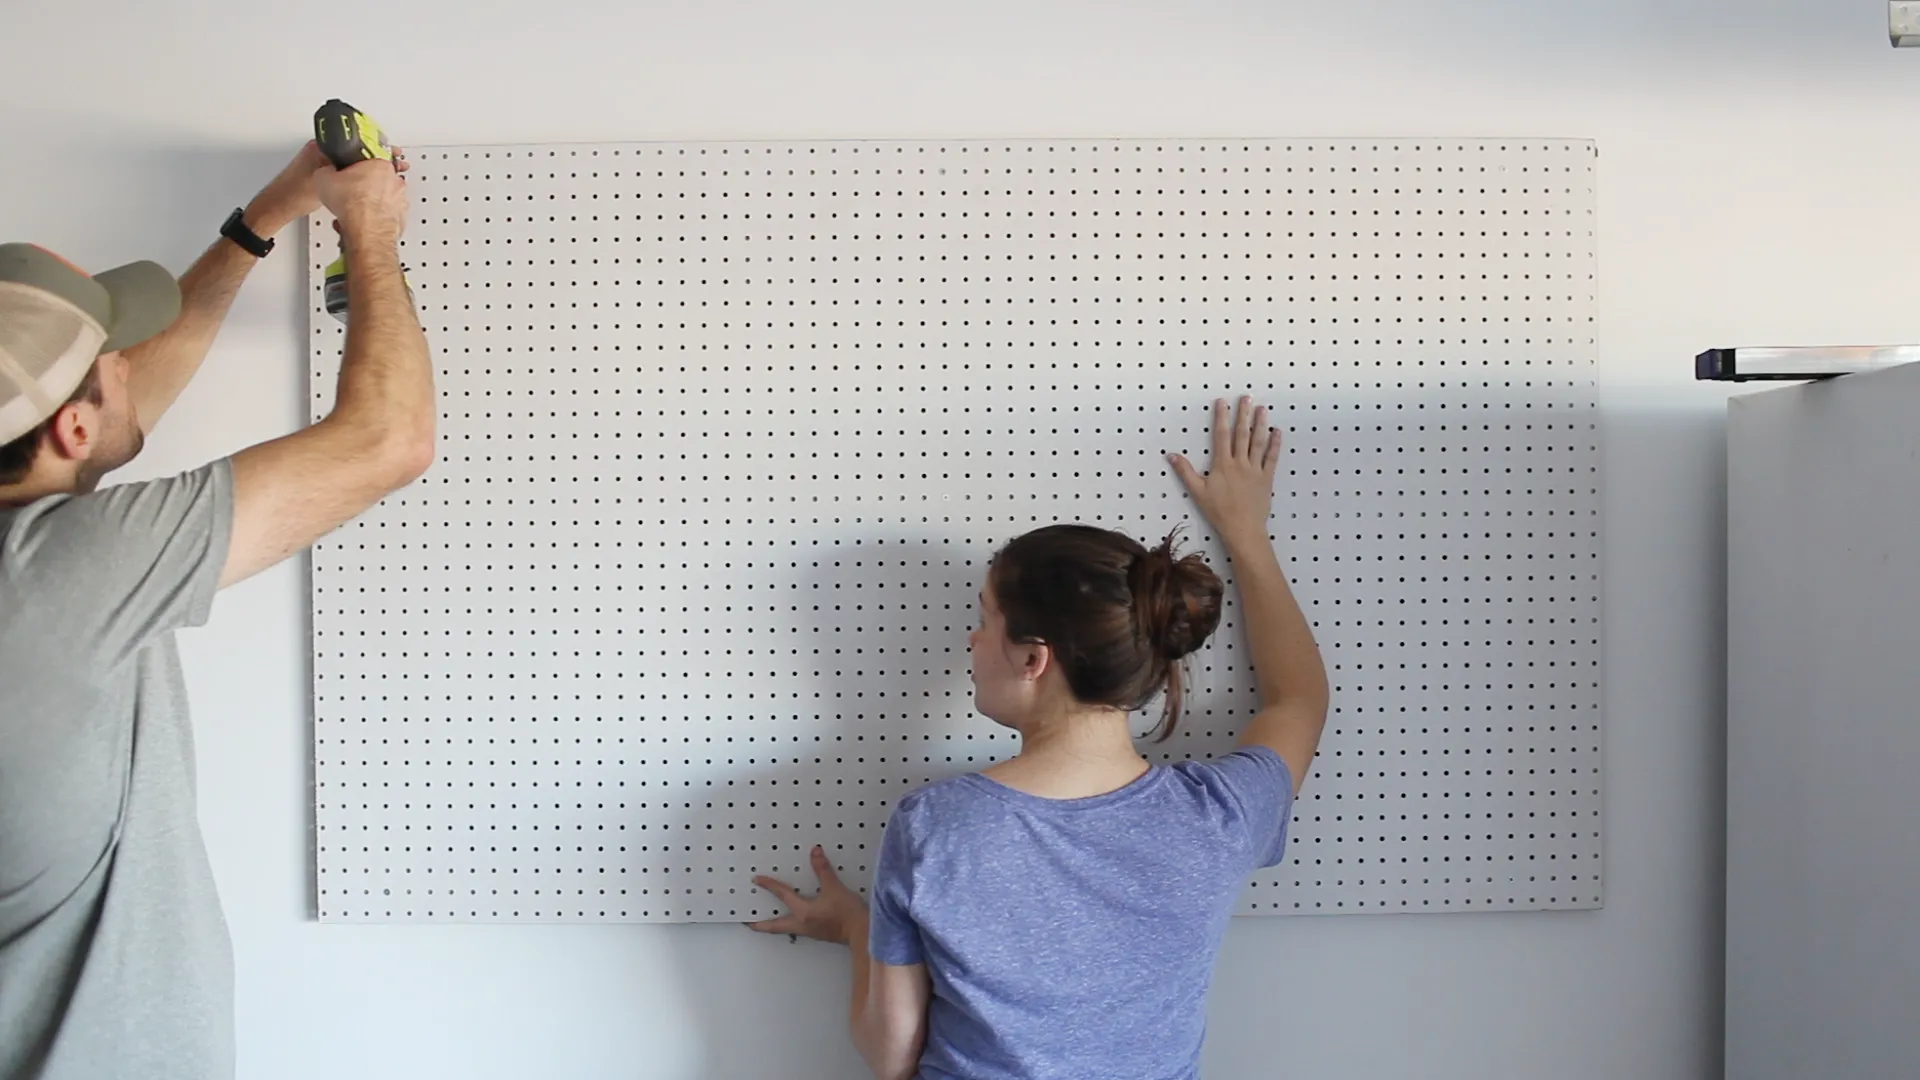 mount pegboard to garage wall and secure
Caption: Securely mounting the pegboard ensures stability for your tools.
Step 7: Customize Your Pegboard!
This is where the fun begins! Start organizing your tools and materials by hanging your chosen pegboard accessories. Remember, the beauty of a pegboard lies in its flexibility – feel free to rearrange and adjust as needed to suit your evolving needs.
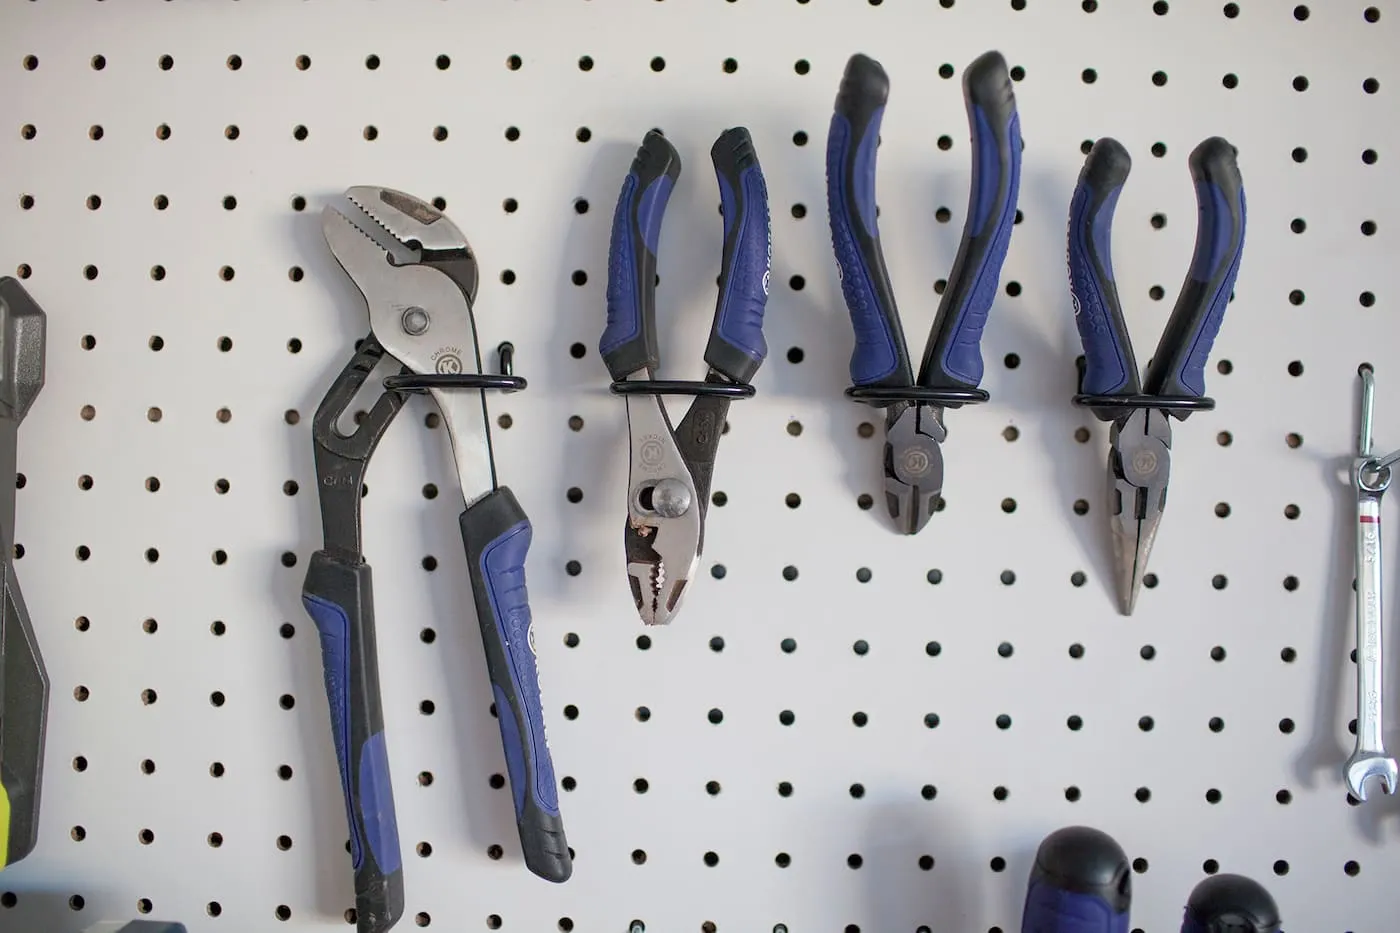 hang pegboard accessories and tools to organize garage
Caption: Let your organizational creativity shine as you customize your pegboard.
Tips for Styling and Organizing Your Pegboard
Organizing by Function and Frequency of Use
- Group similar tools together: This makes finding what you need a breeze.
- Prioritize frequently used tools: Keep them at eye level or within easy reach for maximum efficiency.
- Use a variety of accessories: Hooks, bins, shelves, and even magnetic strips can be combined to accommodate different tools and materials.
Adding a Touch of Style
- Embrace color: Paint your pegboard in a vibrant hue to inject personality into your garage.
- Get creative with accessories: Choose colorful hooks, bins, and containers to add visual appeal.
- Personalize it: Display artwork, inspirational quotes, or even small plants to make your pegboard uniquely yours.
Conclusion
Congratulations! You’ve successfully built a garage pegboard that will transform your workspace and elevate your crafting game. With a bit of planning and effort, you’ve created a storage solution that’s both functional and stylish. At Robert Kline Art, we believe in the power of organization to inspire creativity.
Now it’s your turn! We’d love to see your pegboard creations. Share your photos and organization tips with us on social media!
