Blog
Building a DIY Coat Rack: The Perfect Solution for Busy Entryways

Do you find yourself constantly tripping over coats and backpacks scattered across your entryway? As an artist who appreciates a well-organized space, I understand the importance of a functional and stylish entryway. A simple coat rack can be the perfect solution, providing a designated spot for everything and adding a touch of handmade charm to your home. In this post, I’ll guide you through the process of building a sturdy and stylish DIY coat rack that you can be proud to display.
Gathering Your Tools and Materials
Before we dive in, let’s gather everything you’ll need for this project. Don’t worry, you won’t need a workshop full of equipment. Here’s a list of the essentials:
- Circular Saw: For cutting the pine board to size.
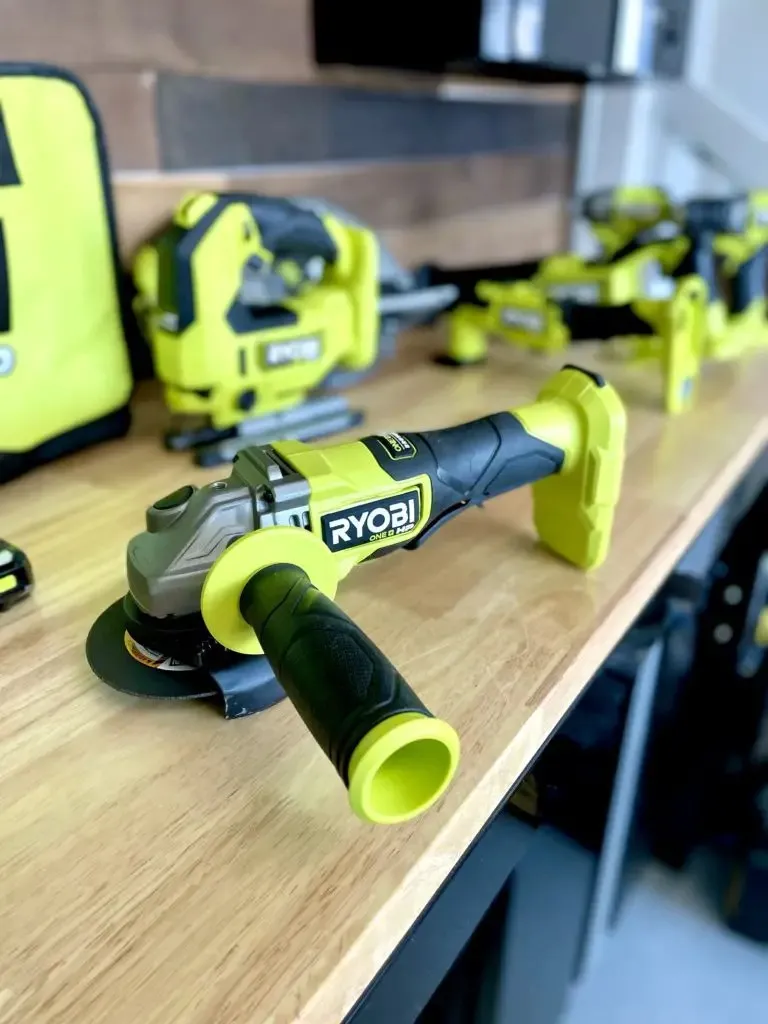
- Cordless Drill: Essential for securing the board to the wall and installing hooks. I highly recommend the RYOBI 18V One+ HP Brushless Cordless 7-Tool Combo Kit available at The Home Depot. This versatile kit has everything you need for a wide range of DIY endeavors and is powered by the impressive RYOBI 18V ONE+ Battery system, compatible with over 225 tools!
- Stud Sensor: This handy tool will help you locate wall studs for maximum support.
- Measuring Tape: Accurate measurements are key to a successful project.
- Level: Nobody wants a crooked coat rack! A level ensures your board is perfectly straight.
- 1×3 Pine Board: This will serve as the base of your coat rack. You can opt for a primed MDF board for a smoother finish.
- 2-inch Screws: These will securely attach the board to the wall studs.
- Wall Anchors: If you can’t secure the board directly to studs, wall anchors will provide the necessary support.
- Coat Hooks: Choose hooks that complement your style and provide ample hanging space.
- Paint: Select a paint color that complements your entryway decor. Consider using a paint and primer in one for added convenience.
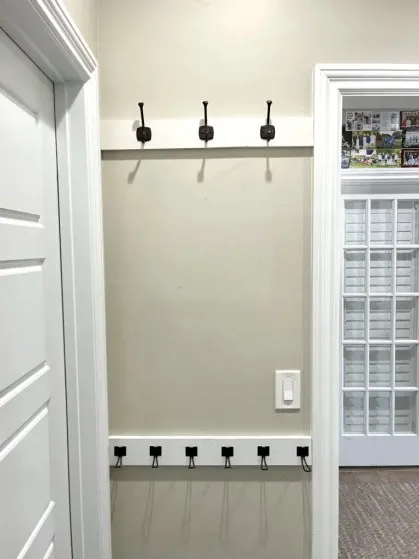
 Coat Rack
A beautifully crafted DIY coat rack.
Step-by-Step Guide to Building Your DIY Coat Rack
Now that you have your tools and materials ready, let’s get started on building your very own coat rack!
Step 1: Measure and Prep Your Wall
Begin by measuring the wall space where you envision your coat rack. Consider the available space and how many items you need to hang. Using a stud sensor, carefully mark the location of wall studs. These will provide the most secure points to mount your coat rack.
 Ryobi Tools
Essential tools for your DIY project.
Step 2: Cut Your Wood to Size
Using the measurements you took in step one, mark your 1×3 pine board accordingly. Use a level to draw a straight line across the board, ensuring a precise cut. Don your safety glasses and carefully make the cut with your circular saw.
Pro Tip: If you’re new to using a circular saw, practice on a scrap piece of wood first to get comfortable with the tool. The Home Depot offers informative video tutorials on their website to guide you through the process safely and effectively.
 Ryobi Tools
Safety first! Always wear protective gear when using power tools.
Step 3: Add a Touch of Color
Sand down the edges of your board for a polished look and feel. Now it’s time to add a personal touch with paint! Choose a shade that complements your entryway’s aesthetic. A paint and primer in one can save you time and effort. Apply two even coats, allowing ample drying time between each coat.
 Ryobi Tools
A fresh coat of paint adds a personalized touch.
Step 4: Secure Your Coat Rack to the Wall
Locate the stud markings you made earlier. Align your painted board with the markings, ensuring it’s level, and use your cordless drill to drive the 2-inch screws through the board and into the wall studs. If you’re unable to drill into studs, use wall anchors to provide adequate support.
Pro Tip: The RYOBI 18V Cordless Drill is a fantastic tool for this task, offering power and precision for a seamless installation.
 Ryobi Tools
Securely attach the board to the wall.
Step 5: Install the Finishing Touches
The final step is to install your chosen coat hooks! Space them evenly along the board, ensuring they are positioned to cover the anchor screws.
 Ryobi Tools
Add coat hooks for a functional and stylish touch.
Conclusion
Congratulations! You’ve successfully built a beautiful and functional DIY coat rack. Not only will this handmade addition enhance the organization of your entryway, but it also serves as a testament to the joy of creating something with your own two hands. I encourage you to personalize this project further by experimenting with different wood finishes, paint colors, and unique coat hook designs.
Remember to share your creations with the Robert Kline Art community by leaving a comment below. We’d love to see your take on this project and hear about your crafting journey.
For more inspiring DIY ideas and to discover a curated collection of handcrafted gifts, be sure to explore the rest of the Robert Kline Art website. Embrace the world of crafting and unleash your creativity!
