Blog
DIY Pull-Out Shoe Tray: The Ultimate Guide to Closet Organization

Are you tired of the daily struggle to find your favorite pair of shoes in a cluttered closet? Do you dream of a well-organized space where your footwear is easily accessible and beautifully displayed? Look no further! In this comprehensive guide, we’ll embark on a journey to create DIY pull-out shoe trays, transforming your closet from chaos to calm. As a seasoned craftsman, I’ve tackled countless organization projects, and these shoe trays are a game-changer!
Why Choose Pull-Out Shoe Trays?
Let’s face it, we’ve all been victims of the “black hole” closet. You know, the one where shoes get tossed in haphazardly, creating a jumbled mess. Pull-out shoe trays are the antidote to this common dilemma. They offer:
- Effortless Accessibility: Say goodbye to digging through piles of shoes. Pull-out trays bring your entire shoe collection to you, making it a breeze to find what you need.
- Optimal Visibility: No more mystery shoes hiding in the back! With pull-out trays, you can see all your footwear at a glance, making getting ready a breeze.
- Space Optimization: Pull-out trays maximize vertical space in your closet, leaving you with more room for other essentials.
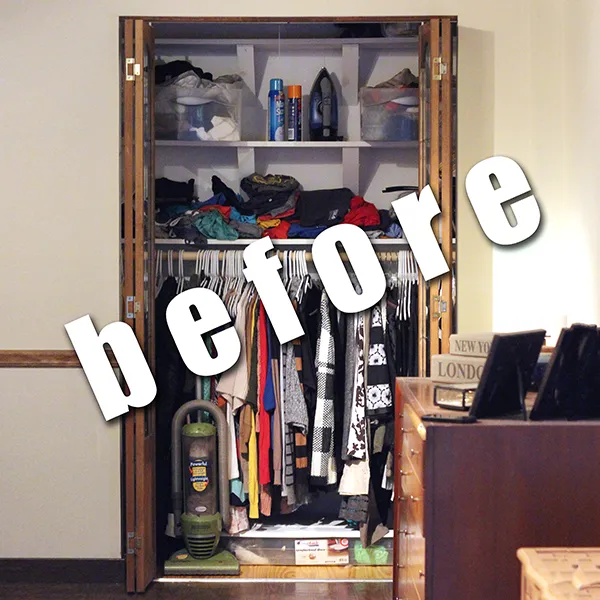
 Before Photo of a messy closet
A typical “before” scenario: a cluttered closet with limited visibility and accessibility.
Planning Your Project: Key Considerations
Before diving into the construction phase, let’s map out a plan:
1. Closet Dimensions:
- Width and Depth: Measure the width and depth of your closet to determine the maximum size of your shoe trays.
- Shelf Height: Consider the height of your shoes (boots, heels, sneakers) to determine the ideal shelf placement.
2. Shoe Tray Capacity:
- Number of Trays: Based on your closet dimensions and shoe collection size, decide how many trays you can comfortably fit.
- Shoe Quantity Per Tray: Consider the average number of shoes you’d like to store per tray. Remember, overcrowding can lead to damage.
 Closet dimension plan with measurements
A well-planned design ensures your shoe trays fit perfectly and maximize storage capacity.
Expert Tip: “I always recommend measuring your largest pair of shoes to ensure they’ll fit comfortably on the trays,” says Sarah Miller, professional organizer and founder of “Tidy Homes, Tidy Minds.”
Gathering Your Materials and Tools:
- Wood: 3/4″ plywood for the shelf ledge and 1″x3″ boards for the tray frames.
- Support: 2″x2″ boards or a piece of 3/4″ plywood for the center support.
- Cleats: 1″x2″ boards to provide secure support for the shelf ledge.
- Pegboard: For added ventilation and to prevent shoes from slipping.
- Drawer Glides: Opt for soft-close, full-extension drawer glides (18″) for smooth operation.
- Screws: Wood screws in appropriate sizes for assembly.
- Wood Glue: For added strength and durability.
- Tools: Table saw (or circular saw and straight edge), miter saw, pocket hole jig, jigsaw, sander, drill, level, measuring tape, stud finder.
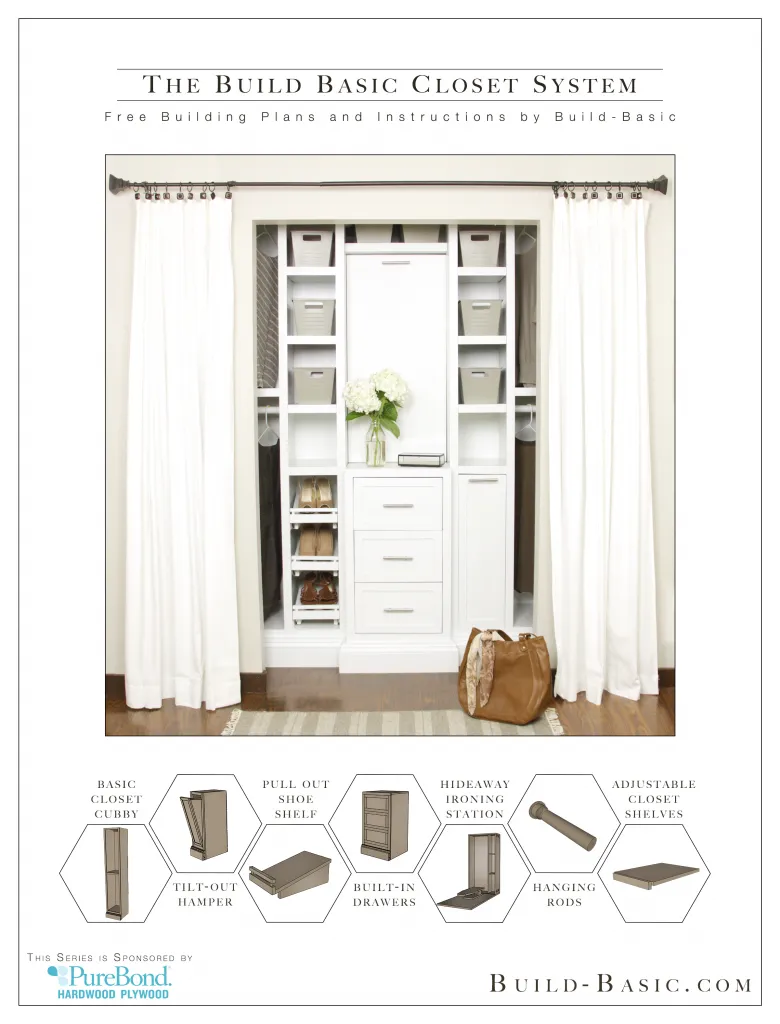
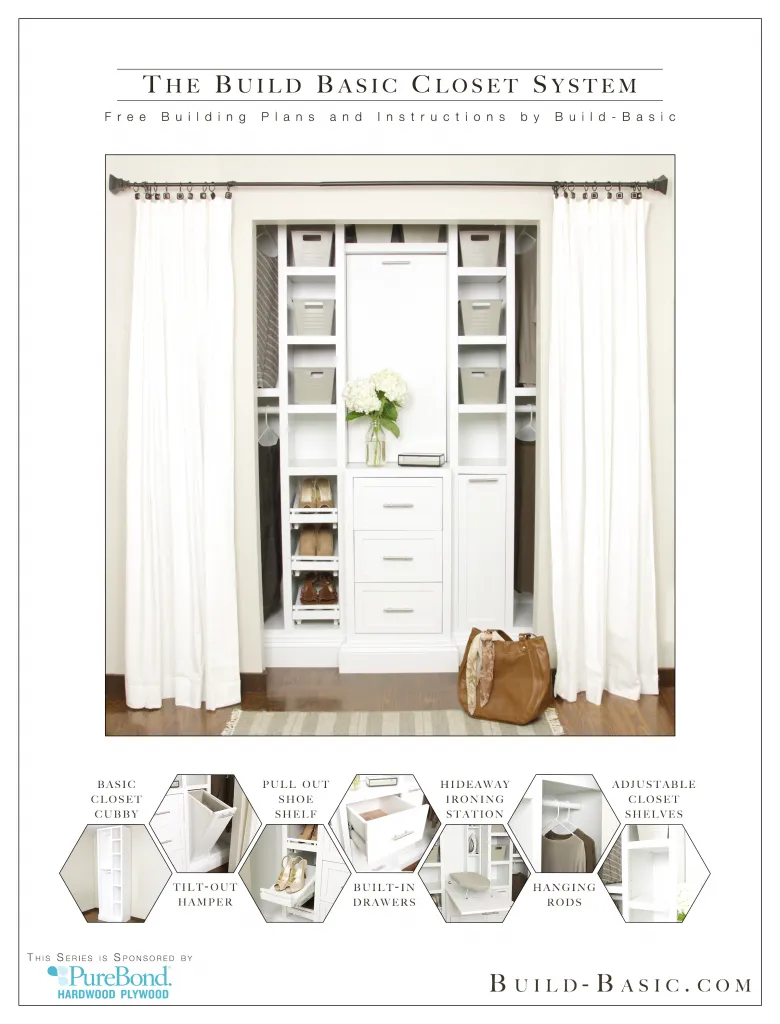
 Closet with new shelves and pull-out shoe trays
The satisfying “after” – A well-organized closet with easy-access shoe storage.
Building Your DIY Pull-Out Shoe Trays: A Step-by-Step Guide
Step 1: Constructing the Shelf Ledge
- Locate Studs: Use a stud finder to locate and mark the studs in your closet wall. This ensures a secure and stable foundation for the shelf.
- Attach Cleats: Attach the 1″x2″ cleats to the studs, ensuring they are level. This provides a solid base for the shelf ledge.
- Cut and Install Plywood: Cut the 3/4″ plywood to the desired width and depth for your shelf ledge. Secure it to the cleats using screws.
Step 2: Creating the Pull-Out Trays
- Cut Tray Frames: Cut the 1″x3″ boards to size for the tray frames, ensuring they are slightly narrower than the opening between the shelf supports.
- Create Pegboard Channels (Optional): For added ventilation and shoe grip, use a table saw to create channels along the inside edges of the tray frames to accommodate pegboard.
- Assemble Tray Frames: Assemble the tray frames using wood glue and screws, creating a rectangular box shape.
- Attach Pegboard (Optional): If desired, cut the pegboard to size and attach it to the underside of the tray frames using wood glue and brad nails or screws.
Step 3: Installing Drawer Glides and Finishing Touches
- Attach Drawer Glides: Install the drawer glides to the underside of the tray frames and the inside of the closet walls according to the manufacturer’s instructions.
- Insert Trays: Carefully insert the trays into the drawer glides.
- Sand and Finish (Optional): For a polished look, sand down any rough edges and apply paint or stain to match your closet decor.
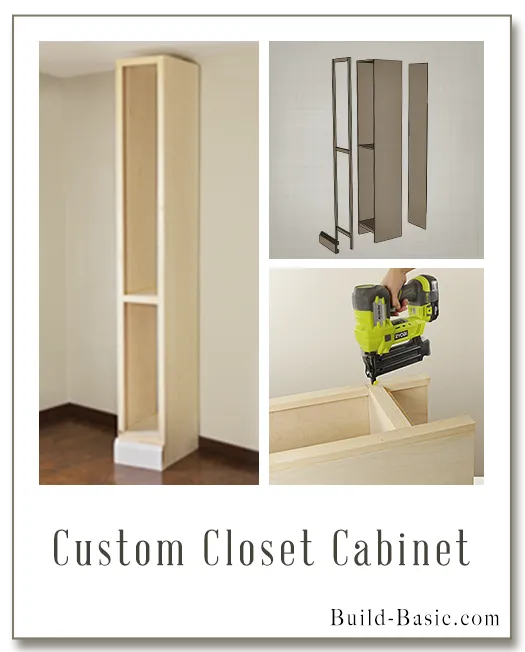
 Display frame for a custom closet cabinet
Enjoying the Fruits of Your Labor: Tips for Organizing Your New Shoe Trays
Now that you’ve built your dream shoe storage solution, here’s how to maximize its organizational potential:
- Categorize by Style: Group similar shoe styles together (e.g., sneakers, heels, flats) for easy access.
- Seasonal Rotation: Store off-season shoes elsewhere to free up space for in-season footwear.
- Utilize Shoe Trees: Invest in shoe trees to help maintain the shape of your shoes and prevent creasing.
Conclusion: Step into a World of Organized Bliss!
Congratulations on conquering your closet chaos! With your newly constructed pull-out shoe trays, you’ve not only enhanced the functionality of your closet but also added a touch of personalized craftsmanship. Share your before-and-after photos and organizational tips in the comments below. Happy crafting!
Explore More DIY Inspiration:
Looking for more ways to transform your living spaces? Check out these inspiring DIY projects:
- Pretty Plywood Shelves: Add a touch of elegance and storage to any room.
- Kids Easy Closet Shelf Nooks: Create a fun and functional storage solution for your little ones.
- Pantry Closet Makeover: Transform your pantry into a well-organized haven for all your culinary essentials.
