Blog
DIY Belt Organizer: Upcycle a Vintage Hanger
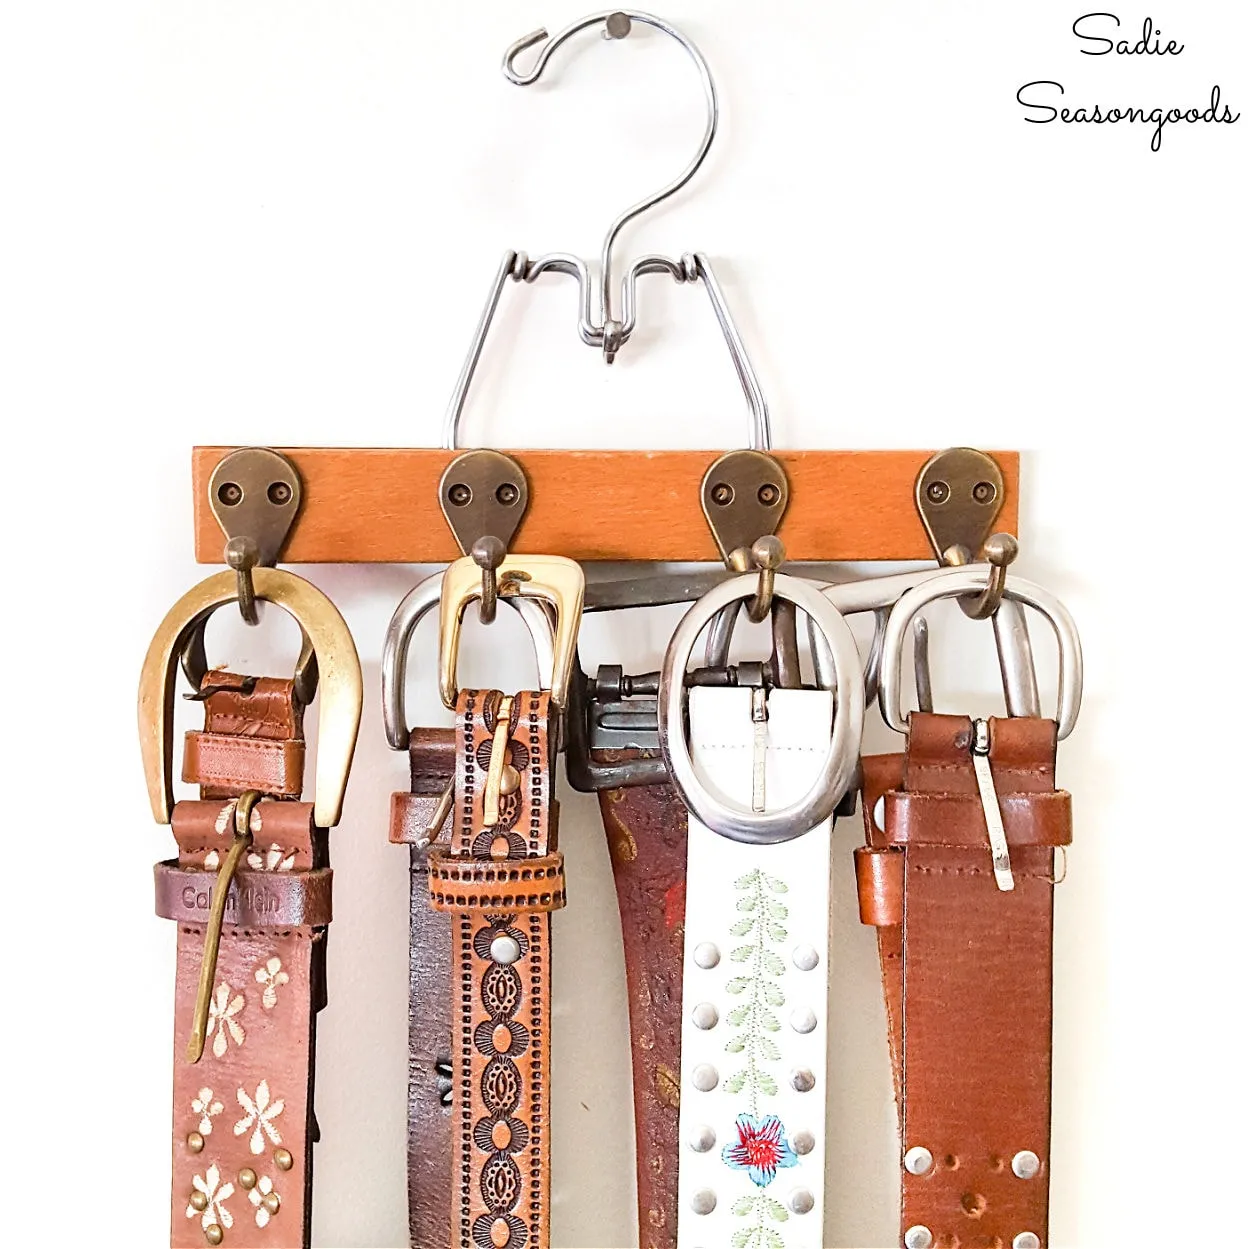
Hey there, fellow craft enthusiasts! Today we’re diving into the world of organization with a super simple and satisfying project: a DIY belt organizer made from a vintage wooden hanger. I’ve always been passionate about giving new life to old things, and this project is a testament to that love for upcycling.
Why a DIY Belt Organizer?
We’ve all been there – a tangled mess of belts in the back of the closet. It’s frustrating and makes it nearly impossible to find the perfect belt when you need it. “A dedicated belt organizer is a game-changer,” says Lisa Miller, professional organizer and founder of “Tidy Transformations”. “Not only does it keep your belts neat and accessible, but it also adds a touch of vintage charm to your closet.” Inspired by Lisa’s words, I knew I had to tackle this project and share it with you all.
What You’ll Need:
- A vintage wooden hanger (the kind with the short slats for pants)
- Robe hooks (choose the finish you like best!)
- Strong glue (epoxy or superglue)
- Masking tape
- Pencil or marker
Let’s Get Crafting!
Step 1: Plan Your Design
Before you start gluing, hold your hooks up to the hanger to determine the best spacing. I found that four hooks per side worked perfectly for my hanger, but yours might be different. Remember, this is your project, so feel free to customize!
Step 2: Mark Your Spots
Once you’ve determined the hook placement, use masking tape to temporarily hold them in place. Use a pencil or marker to mark the spots where you’ll need to apply the glue.
Step 3: Glue It Up!
Apply a generous amount of glue to the back of each hook and firmly press it onto the marked spot on the hanger. I recommend using a strong glue that’s suitable for both wood and metal.
Step 4: Let It Dry
Allow the glue to dry completely overnight. This will ensure that your hooks are securely attached and ready to hold your belts.
Tips and Tricks
- If you’re worried about the wood cracking, try pre-drilling pilot holes for the hooks.
- Get creative with your hook choices! Vintage or modern, brass or silver – the options are endless!
- This DIY belt organizer also makes a fantastic gift for the men in your life. Father’s Day, birthdays, or even Christmas – it’s a unique and thoughtful present that any guy would appreciate.
Conclusion
And there you have it – a stylish and functional belt organizer made from an upcycled vintage hanger! Not only is this project incredibly easy and budget-friendly, but it also adds a touch of personality and charm to your closet.
So, what are you waiting for? Grab those vintage hangers and let’s get crafting! Don’t forget to share your creations with me in the comments below.
For more unique and inspiring DIY projects, be sure to explore the rest of Robert Kline Art. We have a treasure trove of creative ideas waiting to be discovered!
 Belt Organizer from a Vintage Wooden Hanger
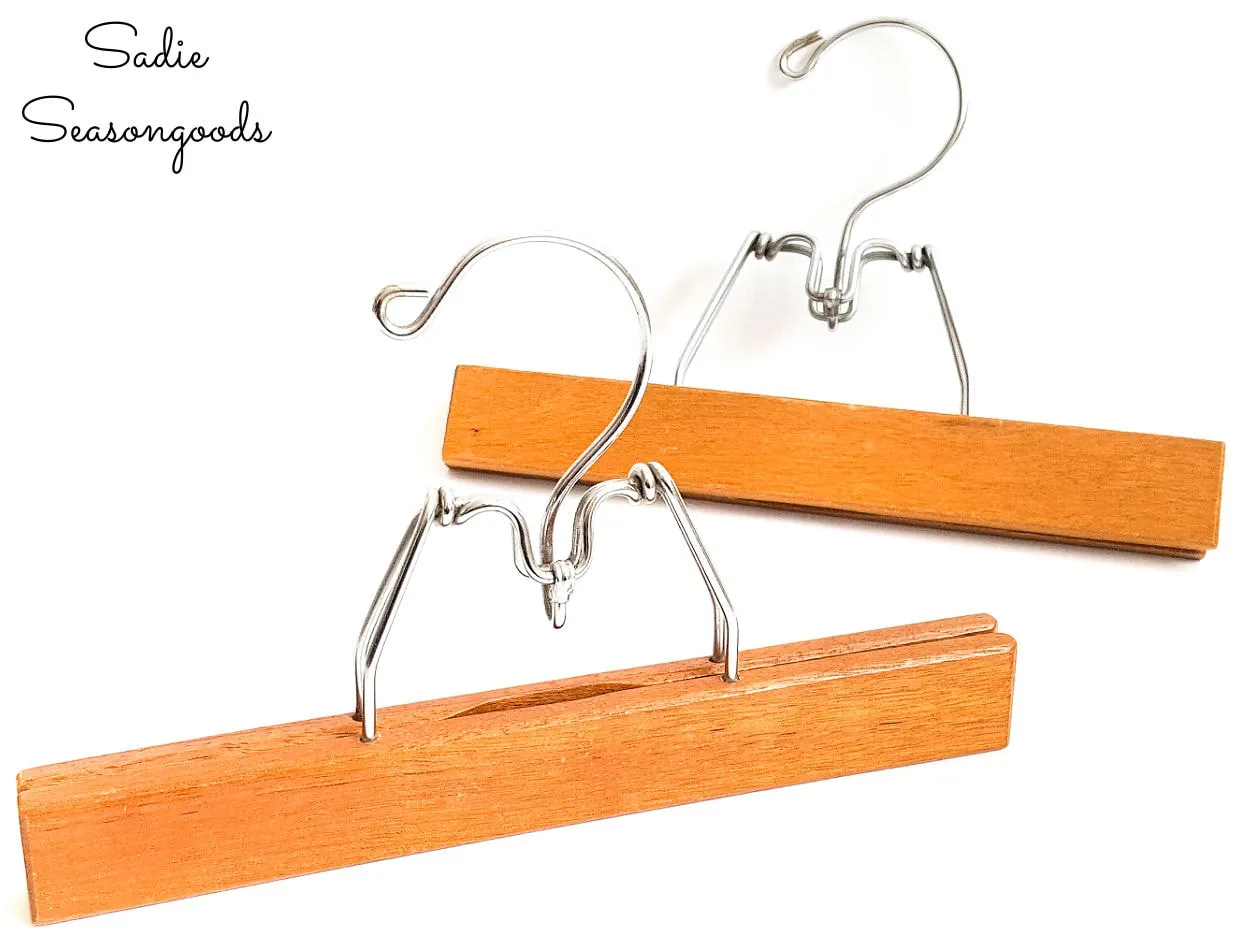 Vintage wooden hangers
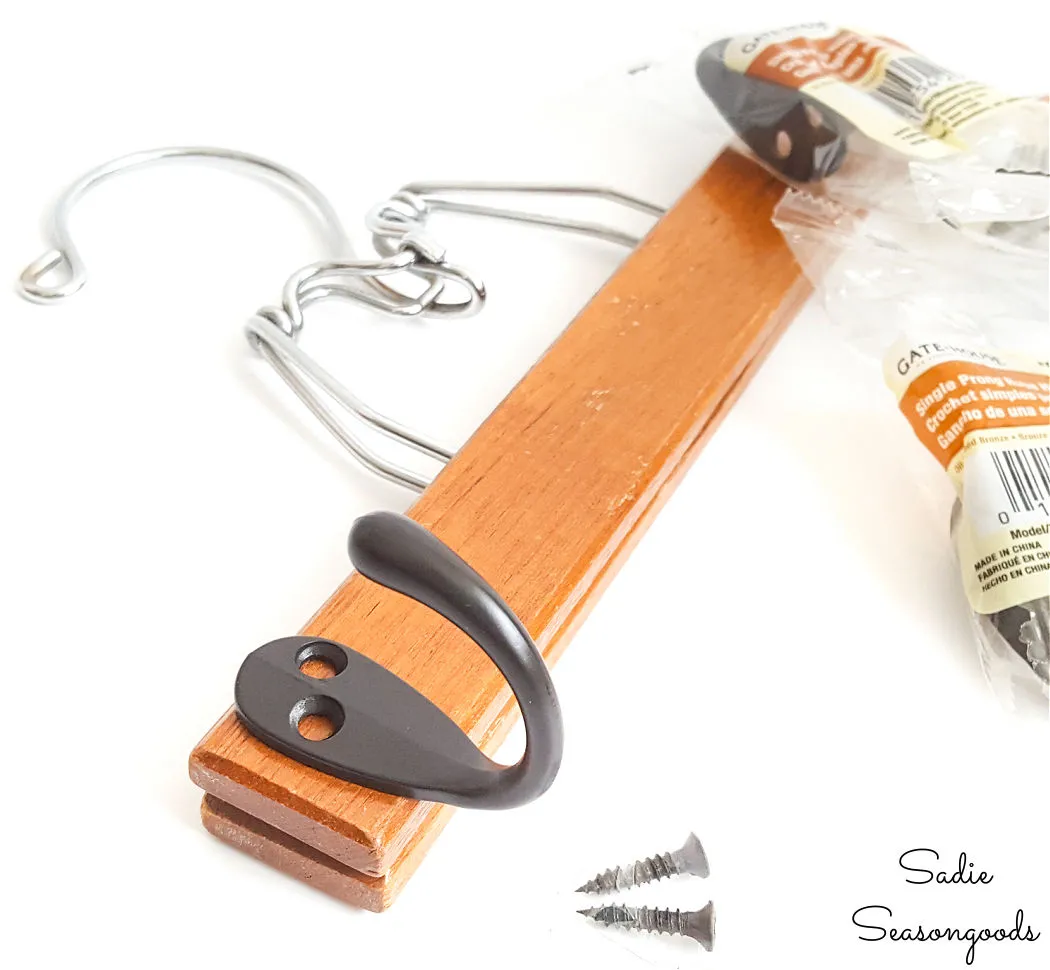 Coat hooks to hold belts
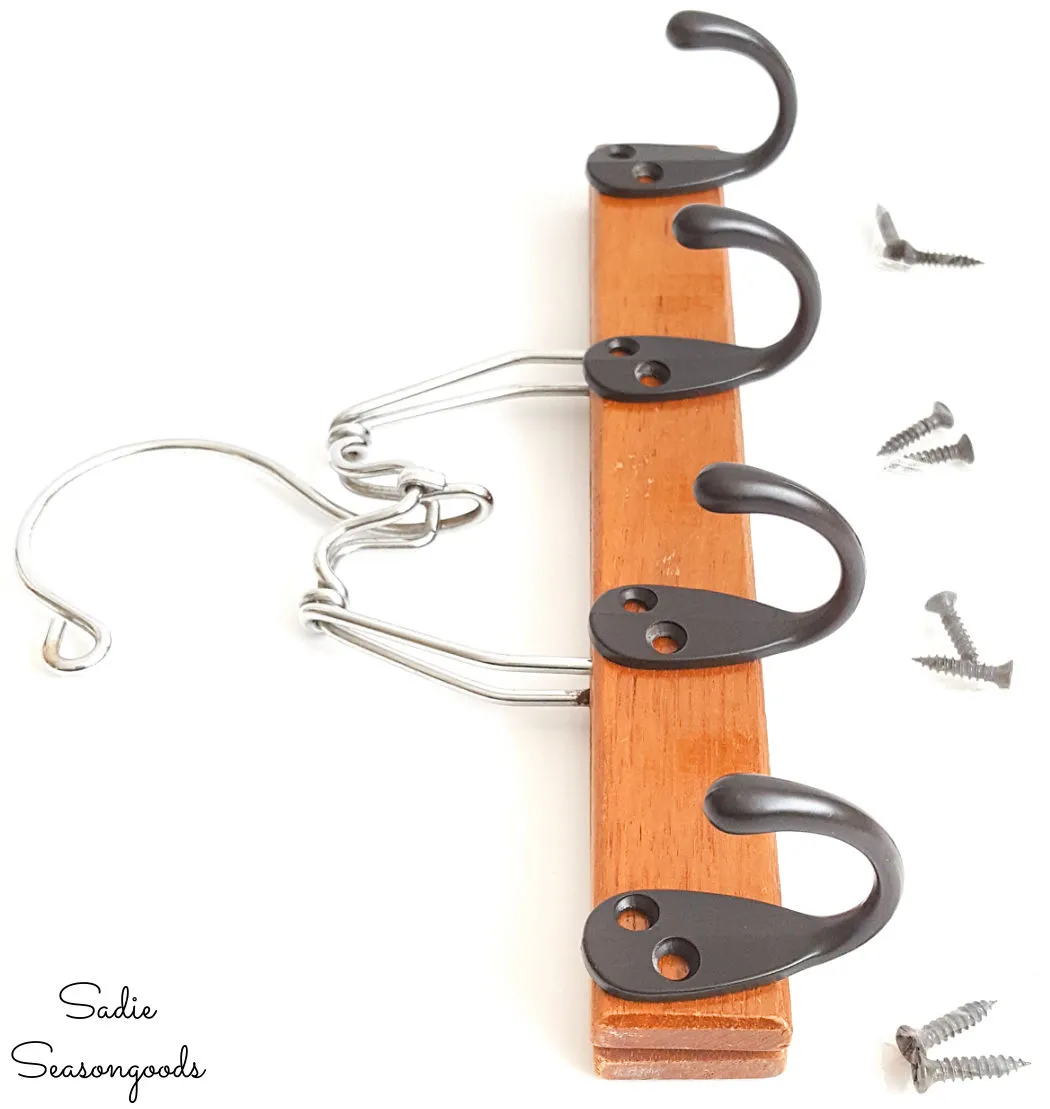 Making a belt organizer
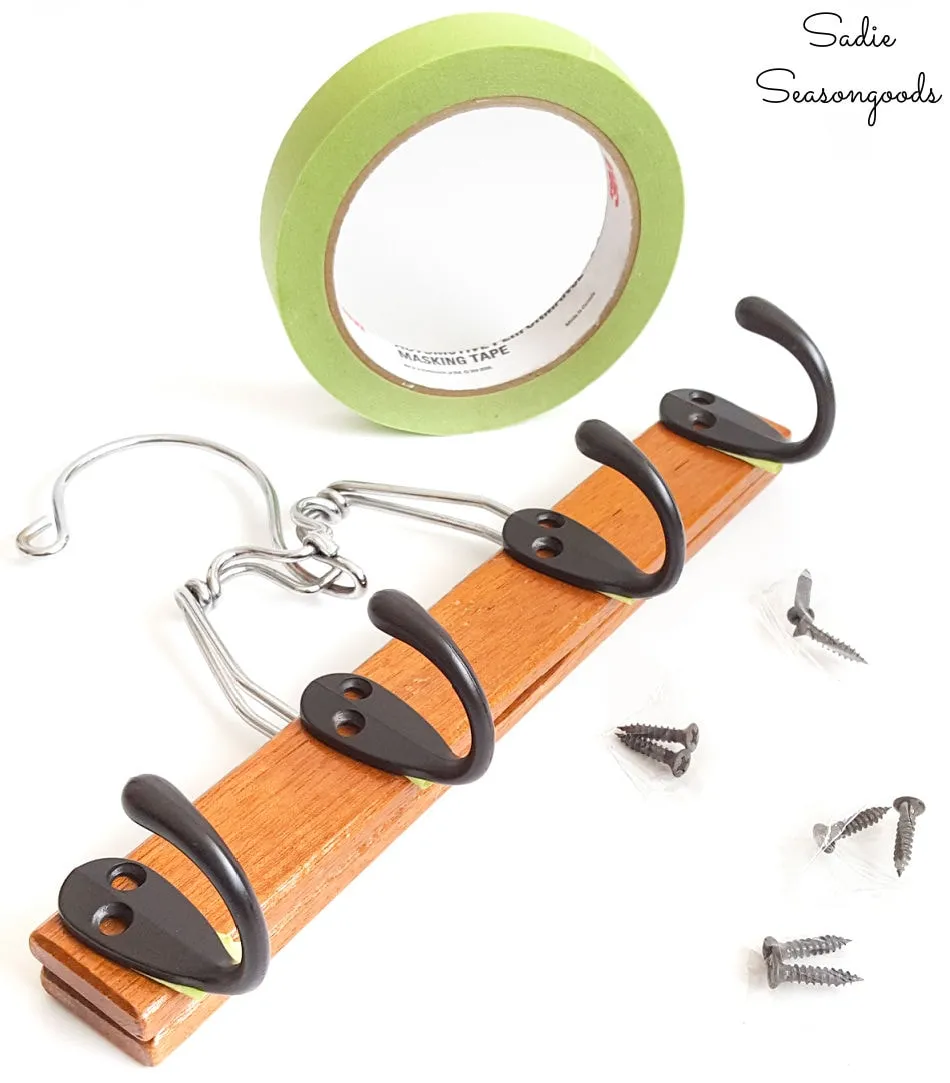 Upcycling a vintage wooden hanger
 Making a belt organizer
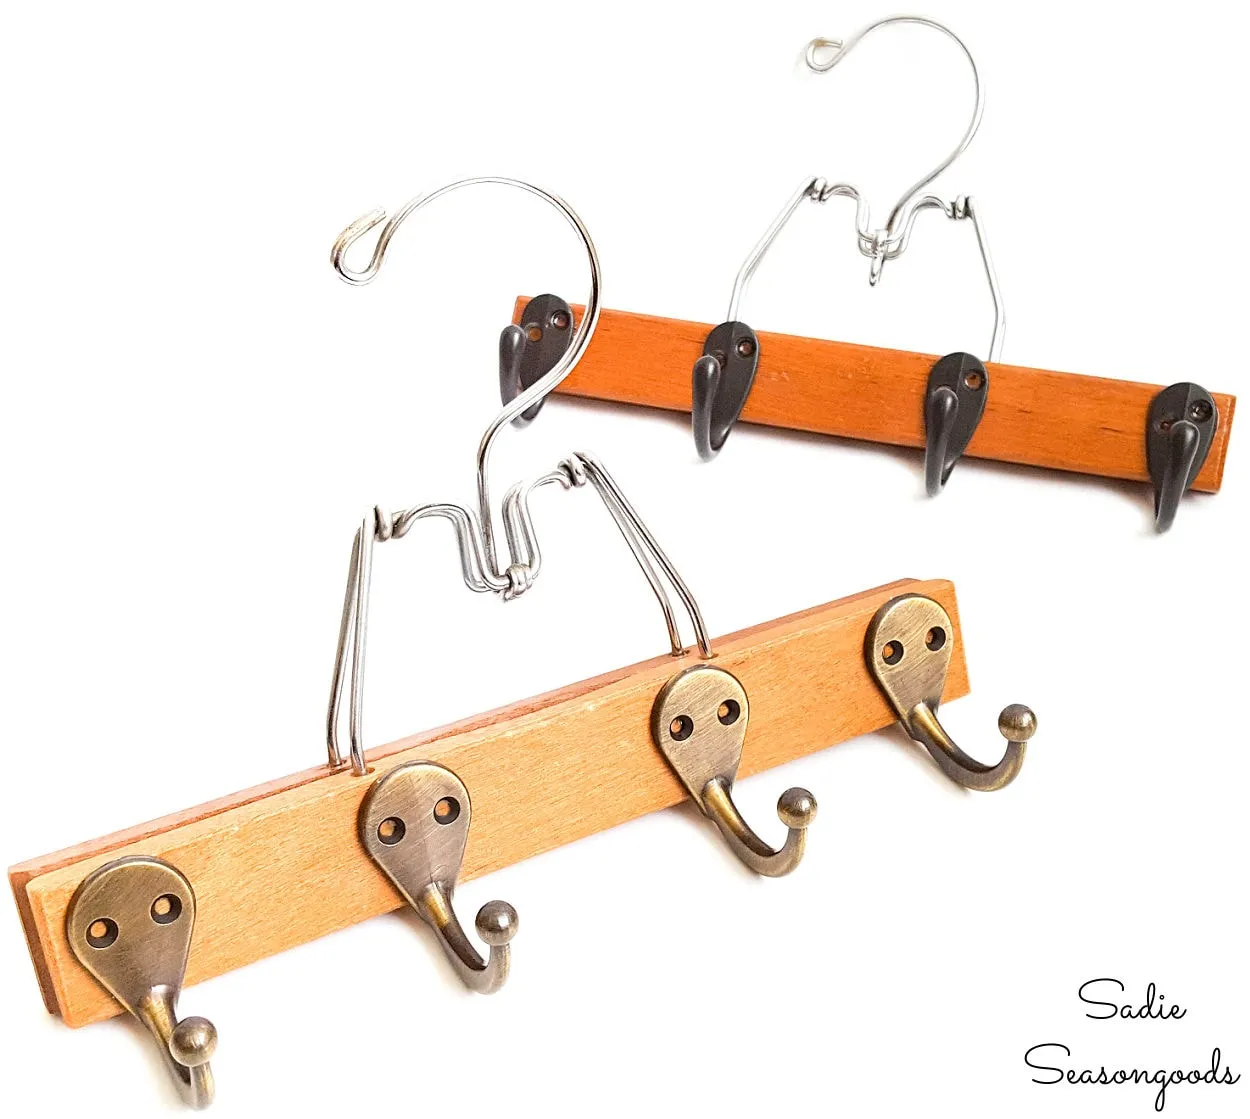 Belt hangers
