DIY Under-Sink Storage: Conquer Clutter with Custom Pull-Out Drawers
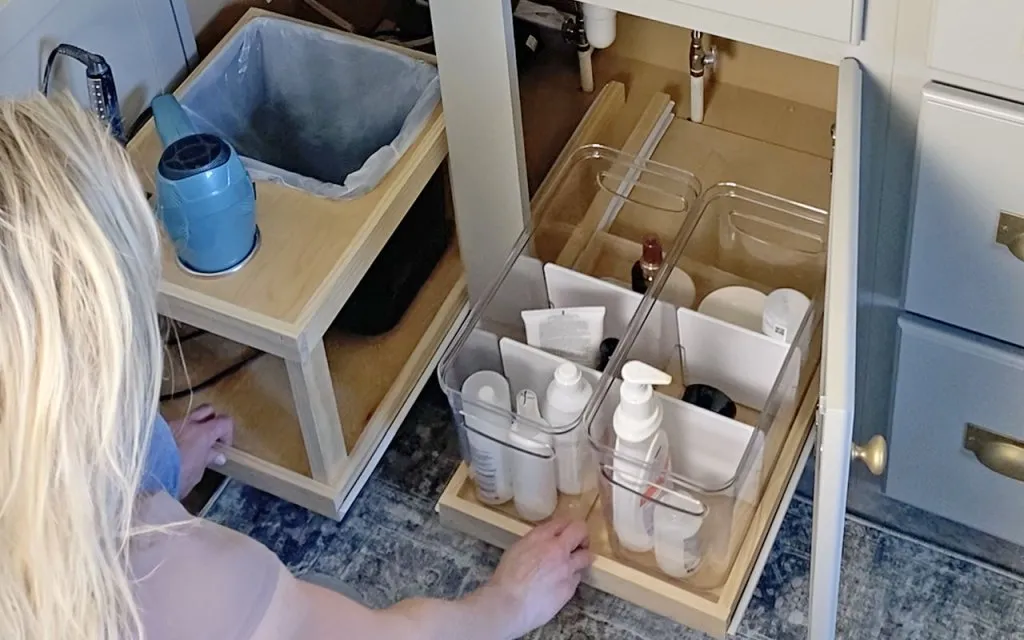
Me too! That’s why I’m sharing my latest DIY project: building custom pull-out drawers for under-sink storage. When I saw the price tag on pre-made options, I knew I could create something even better myself. Trust me, with a little creativity and these easy steps, you can conquer bathroom chaos and create a functional and organized space. Let’s get started!
 Organized bathroom vanity drawers
Gathering Your DIY Arsenal
Before we dive in, let’s gather our supplies. Here’s what you’ll need:
Materials:
- Scrap Plywood: The heart of our drawers! This is a great way to use up leftovers from other projects.
- 1×2 Wood Pieces: We’ll use these for drawer support and framing.
- Wood Glue: For securing those drawer joints.
- Nails: Because every good drawer needs some holding power.
- Side Mount Drawer Slides: The magic that makes it all slide smoothly.
- Screws: For attaching those essential drawer slides.
- Optional Customizations:
- Hair Styling Tool Holders
- 3-Gallon Trash Can
- Clear Storage Bins
- Flat Plug Power Strip
- Vanity Pulls
Tools:
- Measuring Tape: Precision is key, my friends.
- Pencil: For marking our cuts and assembly points.
- Saw: For cutting the plywood and 1x2s to size.
- Nail Gun (or Hammer and Nails): For securing the drawer pieces.
- Drill/Screwdriver: For attaching the drawer slides.
Building Our Under-Sink Champions
Now, let’s roll up our sleeves and build those drawers!
Step 1: Crafting the Drawer Base
- Measure and Cut: Using your measuring tape and pencil, measure and mark the dimensions of your drawer bottoms and sides on the plywood and 1×2 pieces. Grab your saw and carefully cut them out.
- Assemble and Secure: Apply wood glue to the edges of the drawer bottom and attach the sides, reinforcing them with nails.
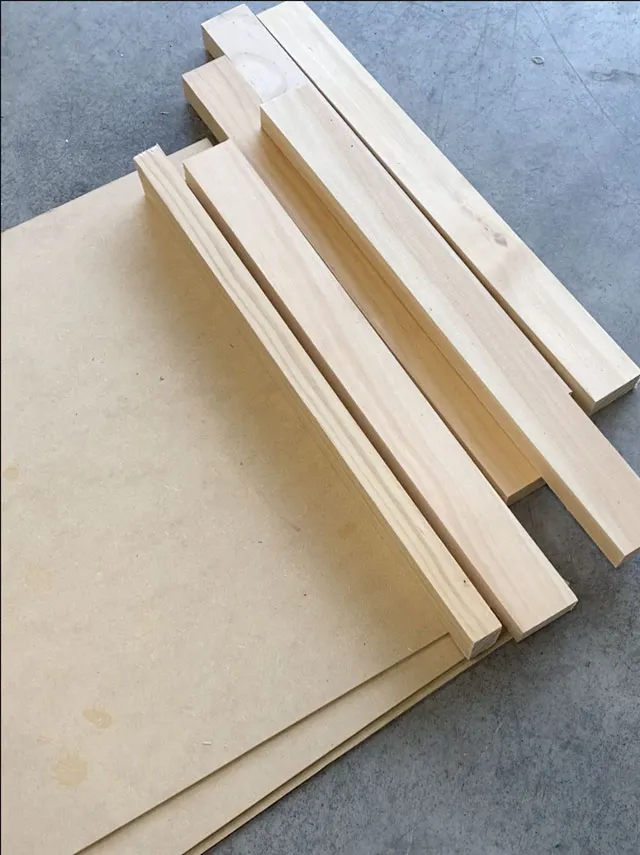 Building under the sink storage drawers
Step 2: Installing the Sliding Mechanism
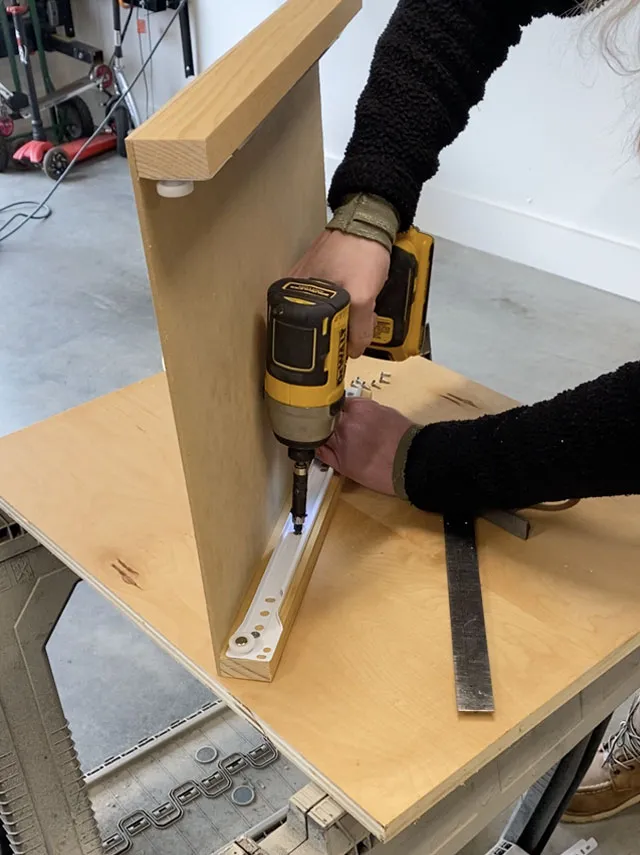
- Attach Drawer Slides: Screw the side mount drawer slides to the sides of your newly built drawers. Remember, precision is key here!
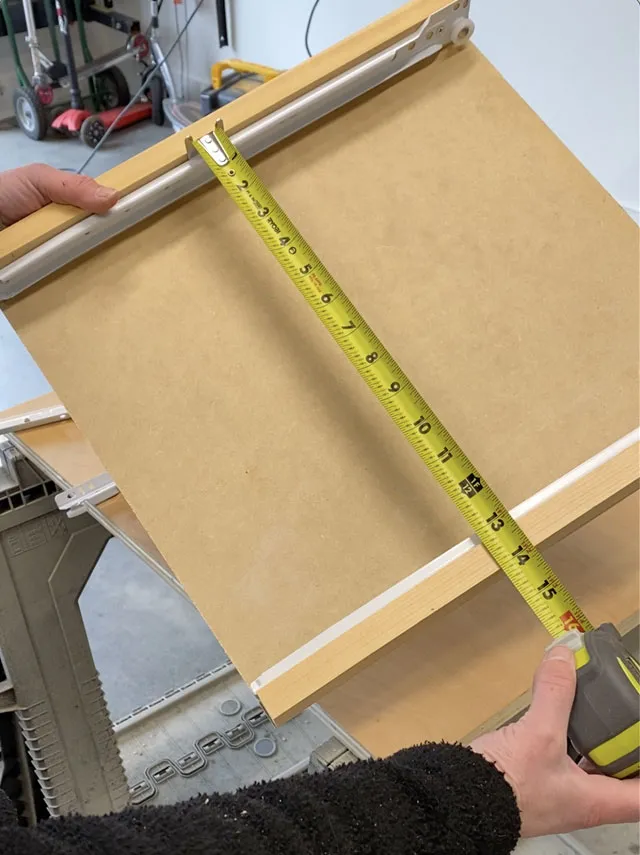
- Measure for the Sliding Shelf: Measure the inside width of the drawer and subtract 1 inch. This measurement determines the width of your sliding shelf.
- Construct the Sliding Shelf: Cut your plywood and 1x2s to create a shelf that matches the width you just calculated. Use wood glue and your trusty nail gun to assemble the shelf.
- Integrate Slides: Attach the other side of the drawer slides to the bottom of the shelf. Voila! You have a sliding shelf ready to conquer clutter.
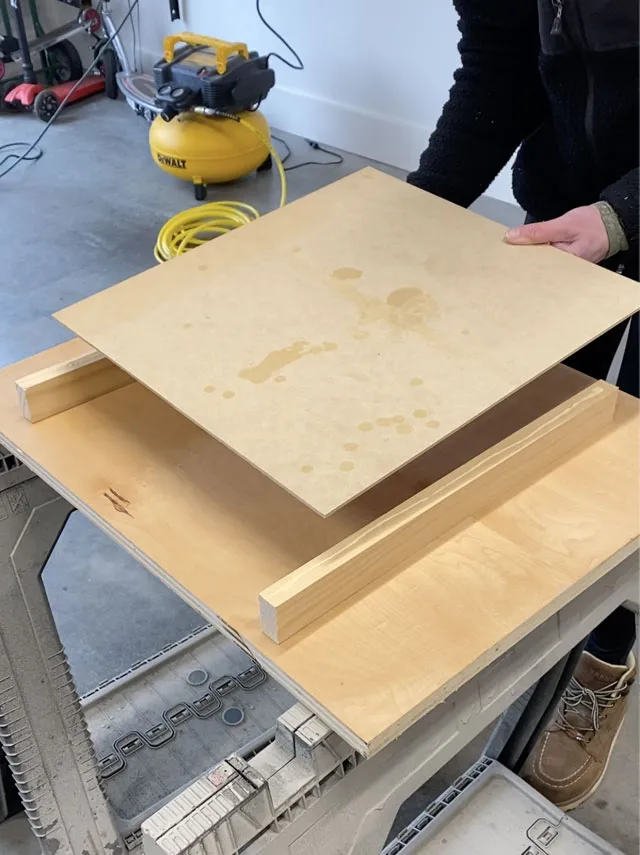 Adding drawer slides to bathroom vanity
Step 3: Customizing Your Storage Oasis
- Make it Yours: Here’s where the fun begins! You can customize your drawers to perfectly suit your storage needs. Consider adding shelves, dividers, or even designated spots for specific items like hair tools or a trash can.
- “Expert Tip: Sarah, an organization guru, suggests, “Using clear storage bins allows for easy visibility of items, making finding what you need a breeze.”
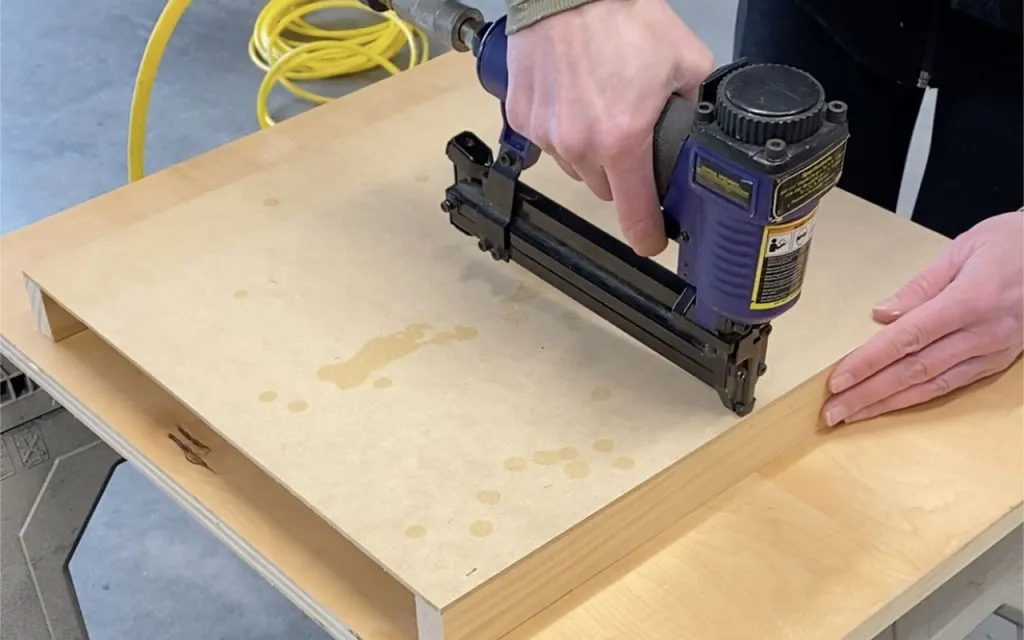 Custom drawers for bathroom storage
Step 4: Installing Your Storage Masterpieces
- Position and Secure: Carefully place your custom-built drawers inside your vanity cabinet. Use a nail gun to secure them in place.
- Add Finishing Touches: If desired, add drawer pulls for an extra touch of style and functionality.
 DIY storage drawers under a bathroom vanity
Reveling in Organization Glory
Congratulations, my friend! You’ve transformed your under-sink chaos into a haven of organization. No more bending and digging for lost toiletries! Now, you can effortlessly slide out your drawers and access everything you need with ease.
 DIY bathroom storage drawers
Share Your Creations
I’m so excited for you to experience the joy of a clutter-free bathroom! Show off your handiwork and inspire others by sharing your creations. Remember, crafting is more fun when we share the journey together.
Looking for more inspiration? Explore the unique, handmade treasures on [Robert Kline Art](your website url). You’ll discover one-of-a-kind gifts and decor that bring artistry and heart to your home.
