Build Your Own Stylish Bathroom Towel Ladder: A DIY Guide
Looking for a chic and practical storage solution for your bathroom? Look no further than a DIY towel ladder! This simple project adds a touch of rustic charm while providing extra space to hang towels, clothes, or even display decorative items. This guide will walk you through the steps to create your own unique ladder, elevating your bathroom’s aesthetic with a personal touch.
Gather Your Materials
Before we embark on this creative journey, let’s gather our tools and materials. You’ll need:
- Two 2″ round x 72″ long wooden dowels (for the sides)
- Three 1″ round x 48″ long wooden dowels (for the rungs)
- Wood glue
- 1″ hole saw or drill press with a 1″ bit
- Chop saw or hand saw
- Measuring tape
- Pencil
- Safety glasses
Pro Tip: Consider the dimensions of your bathroom and adjust the length and width of the dowels to create a ladder that fits perfectly in your space.
Step-by-Step Guide
1. Measure and Cut
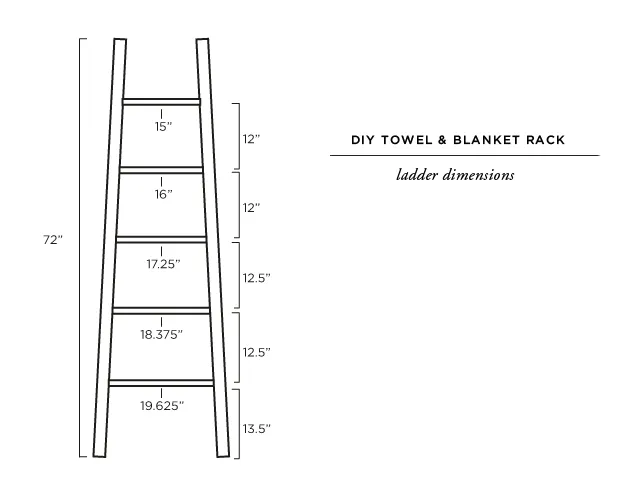
- Determine the desired length for your ladder rungs, keeping in mind the slight taper towards the top for visual balance.
- Using your measuring tape and pencil, mark the 1″ dowels for cutting. Remember, precision is key for a sturdy and aesthetically pleasing result.
- Carefully cut the 1″ dowels to the marked lengths using your chop saw or hand saw.
 diy-towel-blanket-rack-ladder-dimensions
This helpful diagram illustrates the dimensions and angles for a perfectly balanced towel ladder.
2. Drill the Holes
- This step requires accuracy to ensure the rungs sit securely within the side rails. If using a drill press:
- Set the working table at a slight angle (around 3 degrees) to create the angled holes for the ladder’s taper.
- Drill holes at the marked locations on the 2″ dowels, ensuring they are deep enough to accommodate the 1″ dowels.
- If using a drill and hole saw:
- Carefully mark the angle and position of each hole on the 2″ dowels.
- Drill slowly and steadily to create clean and precise holes.
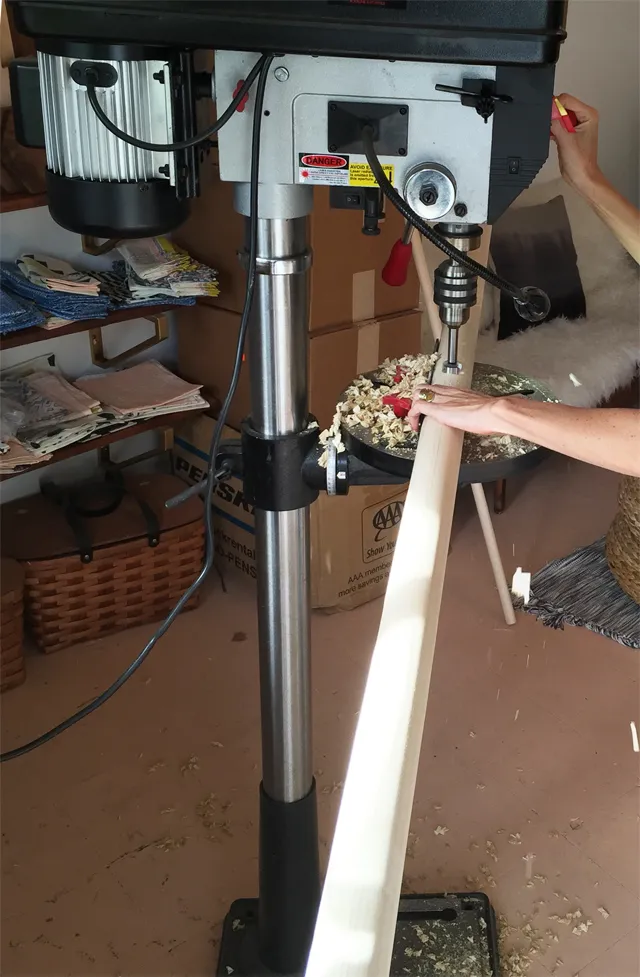 towel-rack-ladder-DIY1
Using a drill press makes drilling angled holes a breeze.
3. Assemble Your Ladder
- Now for the satisfying part – putting it all together! Apply a generous amount of wood glue to the ends of the 1″ dowels (the rungs) and insert them into the pre-drilled holes on the 2″ dowels (the sides).
- Ensure each rung is firmly seated and aligned properly.
- Wipe away any excess glue immediately with a damp cloth.
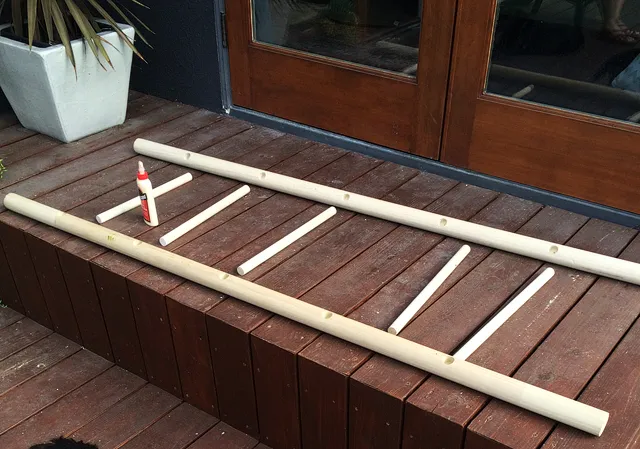 towel-rack-ladder-DIY
Applying wood glue ensures a strong and lasting bond.
4. Drying and Finishing
- Lay the assembled ladder flat on a protected surface, allowing the glue to dry completely according to the manufacturer’s instructions.
- Once dry, you can choose to leave the wood natural or enhance its beauty with a finish:
- Polyurethane: Provides a clear protective coating, preserving the wood’s natural color.
- Stain: Adds color and depth to the wood, highlighting its grain.
- Paint: Allows for endless customization with your favorite shades.
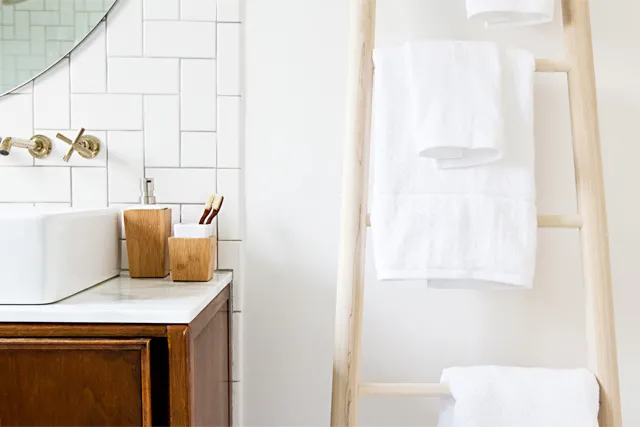 bathroom re-fresh DIY towel ladder // sarah sherman samuel
This beautifully finished ladder adds warmth and functionality to a bright bathroom.
Styling Your New Towel Ladder
Congratulations on crafting your own towel ladder! Now, let’s explore some styling options:
- Functional Elegance: Hang fresh towels on the rungs for a spa-like ambiance.
- Organized Chic: Use the ladder to store extra blankets or throws in the bathroom or bedroom.
- Decorative Flair: Drape decorative items like fairy lights or a small plant to add a touch of whimsy.
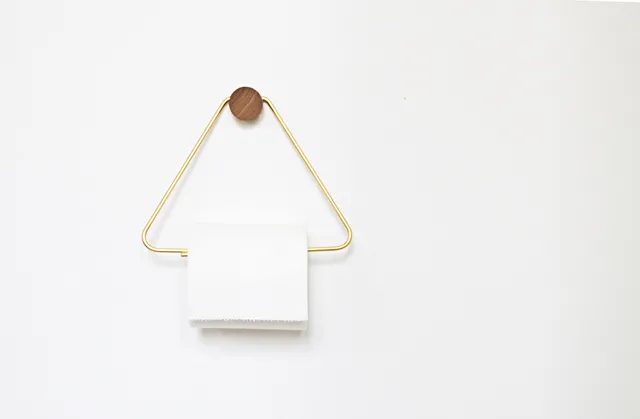 bathroom-refresh5
This ladder effortlessly blends with a minimalist aesthetic, showcasing fresh towels and adding visual interest.
Conclusion
Creating your own DIY towel ladder is a rewarding way to personalize your space with a functional and stylish piece. This project is an excellent starting point for exploring your creativity and crafting unique home décor. We at Robert Kline Art encourage you to give it a try and share your creations with us!
Ready to discover more handcrafted treasures? Explore our website for unique and inspiring pieces that will bring joy to your home and make wonderful gifts for loved ones.
