Blog
How to Build a DIY Bathroom Towel Ladder: A Step-by-Step Guide

Looking for a simple yet stylish way to add storage and charm to your bathroom? Look no further than a DIY towel ladder! This easy-to-follow guide will walk you through the process of crafting your own rustic towel ladder, perfect for displaying towels, blankets, or even decorative items. As a seasoned crafter here at Robert Kline Art, I’m thrilled to share my personal experience and tips for this rewarding project.
Gathering Your Materials: A Trip to the Hardware Store
Before we begin, let’s gather our tools and materials. For this project, you will need:
- Wood:
- 2 pieces of 2″x2″ wood for the sides
- 1 piece of 1″x2″ wood for the rungs
- Tools:
- Bernzomatic TS3500 Torch (or similar)
- Bernzomatic Propane Hand Torch Cylinder
- Measuring Tape
- Pencil
- Brad Nailer
- Sandpaper (medium and fine grit)
- Tack Cloth
- Paint (optional – for an aged finish)
- Paintbrush (if using paint)
- String or twine (for hanging baskets)
 diy-bathroom-towel-ladder
Image: A finished rustic towel ladder leaning against a bathroom wall
Step-by-Step Guide: Crafting Your Towel Ladder
1. Measure and Cut: Creating the Framework
- Measure the width: Measure the width of your toilet and add 3-4 inches for comfortable clearance.
- Determine the height: Decide how tall you want your ladder and cut the 2″x2″ wood pieces accordingly.
- Pro Tip: “When choosing wood, opt for pieces that are as straight as possible to minimize any natural bowing,” advises experienced woodworker, Johnathan Miller.
2. Marking and Attaching the Rungs: Building the Steps
- Mark rung placement: On the 2″x2″ side pieces, mark the desired locations for your rungs, ensuring even spacing. Leave enough room between the bottom rung and the floor for easy cleaning.
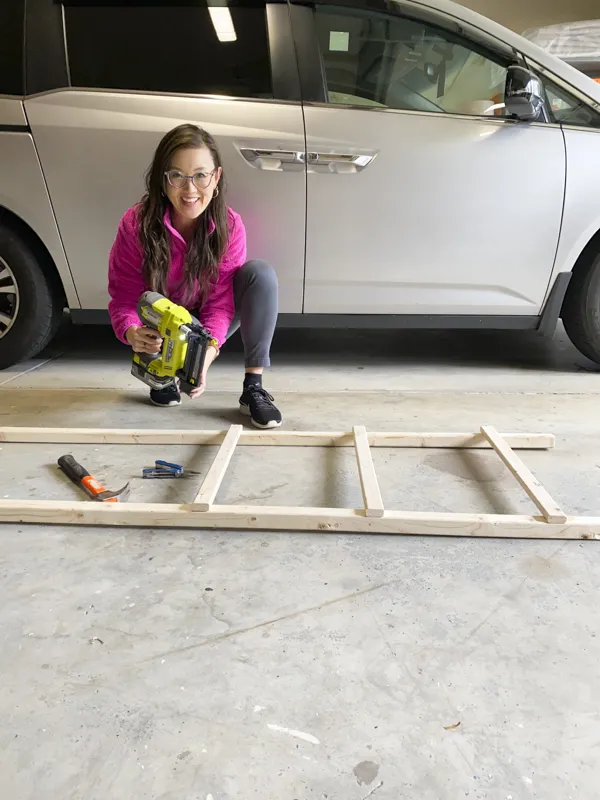
- Secure the rungs: Use your brad nailer to securely attach the 1″x2″ rungs to the marked locations on the side pieces.
 how-to-build-bathroom-towel-ladder
Image: Attaching the rungs to the side pieces of the towel ladder using a brad nailer
3. Torching for Rustic Charm: Adding Character and Depth
- Safety First: Work in a well-ventilated area and wear appropriate safety gear, including gloves and eye protection.
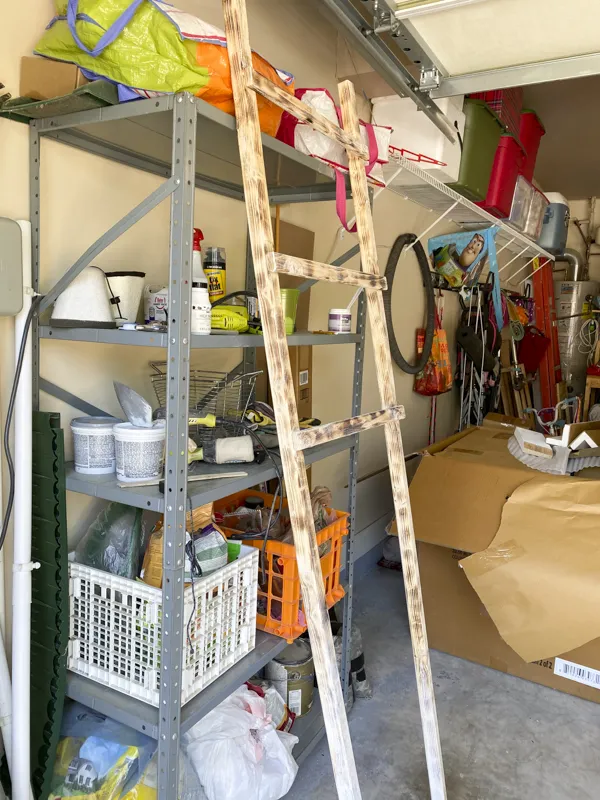
- Apply the torch: Use the Bernzomatic TS3500 (or a similar torch) to lightly burn the wood, creating a beautiful rustic finish.
 diy-towel-ladder
Image: Using a torch to create a rustic, aged finish on the towel ladder
4. Sanding and Finishing: Smoothing Out the Edges
- Smooth it out: Use medium-grit sandpaper to smooth any rough edges and create a uniform surface.
- Fine tune: Follow up with fine-grit sandpaper for an extra smooth finish.
- Clean Up: Wipe down the entire ladder with a tack cloth to remove any dust or debris.
5. Optional Paint for an Aged Look: Enhancing the Rustic Vibe
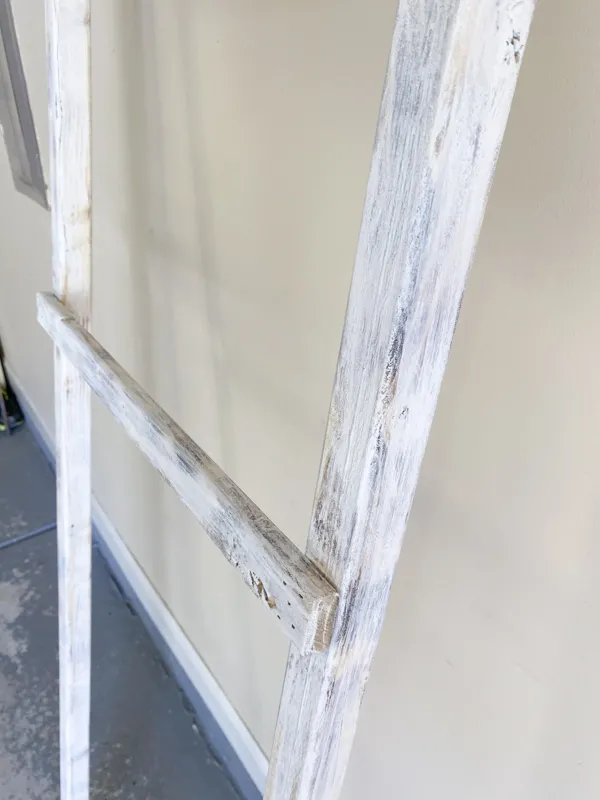
- Apply Paint (optional): If desired, apply a thin coat of white paint (or your chosen color) to the ladder and wipe away most of it with a cloth. This will accentuate the wood grain and enhance the rustic look.
 diy-towel-and-blanket-ladder
Image: Applying a wash of white paint to the towel ladder for an aged, rustic finish.
6. Let it Dry and Enjoy! Adding the Finishing Touches
- Drying time: Allow the ladder to dry completely before moving it to your bathroom.
- Accessorize: Once dry, hang baskets or hooks from the rungs for additional storage.
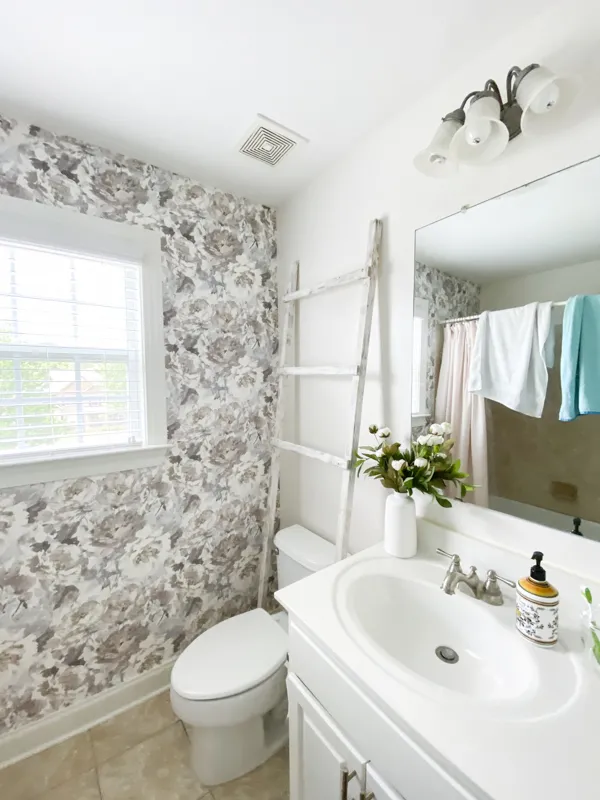
- Personalize: Drape towels, blankets, or even decorative items over the rungs to create a cozy and inviting atmosphere.
 diy-towel-ladder-1
Image: The finished towel ladder in a bathroom setting, draped with towels and holding a basket
Conclusion: Embrace Handmade Charm
Creating your own DIY bathroom towel ladder is a simple and rewarding project that can instantly elevate your bathroom’s style and functionality. By following these steps and adding your own personal touches, you’ll have a beautiful and functional piece that reflects your unique style.
We’d love to see your creations! Share your finished towel ladders with us in the comments below. And be sure to explore Robert Kline Art for more inspiring DIY projects and handcrafted treasures perfect for your home or as unique gifts.
