Blog
DIY Leaning Ladder Shelf: A Step-by-Step Guide

Hey there, fellow craft enthusiasts! Robert Kline here, and today we’re diving into a project that’s both stylish and practical – building your own DIY leaning ladder shelf! I’ve always been drawn to the rustic charm and versatility of these shelves, but the hefty price tags often made me think twice. So, I decided to roll up my sleeves and create my own, and let me tell you, it was surprisingly easy and rewarding!
Inspiration and Materials
My inspiration came from a gorgeous leaning bookshelf I stumbled upon online, but with a price tag close to $300, I knew I could create something just as beautiful for a fraction of the cost.
Here’s what you’ll need:
-
Wood:
- Two 1 x 4 x 6 pine boards (for the ladder sides)
- Six .5” x 2.5” x 3ft. pine boards (for the shelves)
- 3/4” plywood cut into the following measurements for the shelf bases:
- 4.5” x 22”
- 6.75” x 22”
- 9” x 22”
- 11.5” x 22”
- 14” x 22”
- 3/4” trim for the front of each shelf
-
Tools:
- Chop saw (highly recommended for accurate cuts)
- Nail gun
- Level
- Measuring tape
- Pencil
- Wood glue (I recommend DAP Rapid Fuse)
- Stain and polyurethane (optional, for finishing)
 DIY Leaning Shelf Tools
Essential tools for crafting your DIY ladder shelf
Building Your DIY Leaning Ladder Shelf
Step 1: Prepare the Shelves
Begin by cutting your plywood sheets to the dimensions listed above. If you don’t have a saw at home, most hardware stores will cut the wood for you.
Step 2: Create Shelf Trim
Next, cut the 3/4″ plywood into strips for the shelf trim. You’ll need one long piece for the back and two shorter pieces for the sides of each shelf. Use a scrap piece of plywood to mark the lengths for accurate cuts.
Step 3: Attach Back Trim
Apply wood glue to the back of each shelf base and firmly attach the long trim piece along the back edge.
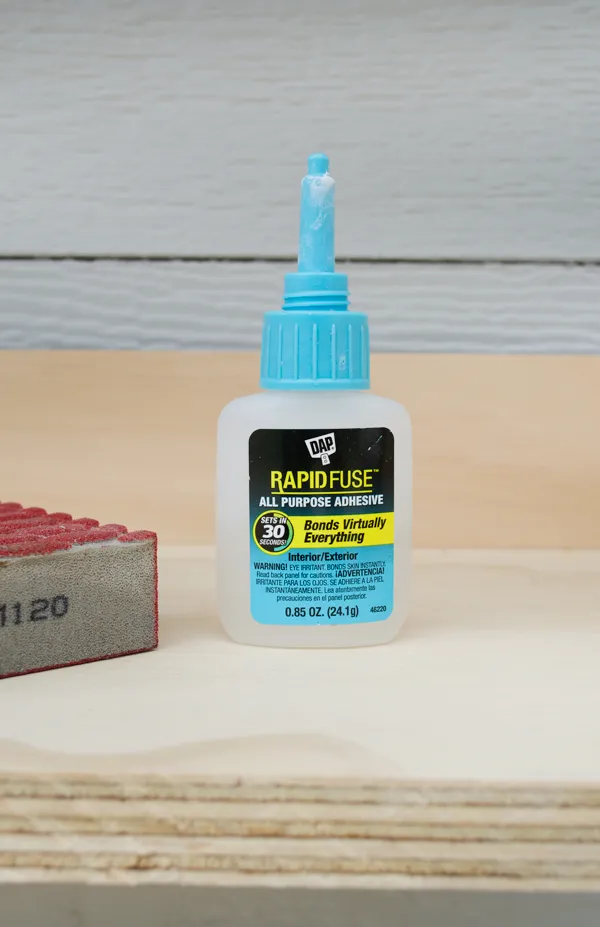 Glue used for wood working and building ladder shelf
Securely attach the back trim using wood glue
Step 4: Angle the Ladder Sides
Using your chop saw, cut a 10-degree angle at the bottom of each 1×4 board. This will create the slanted look of the ladder legs.
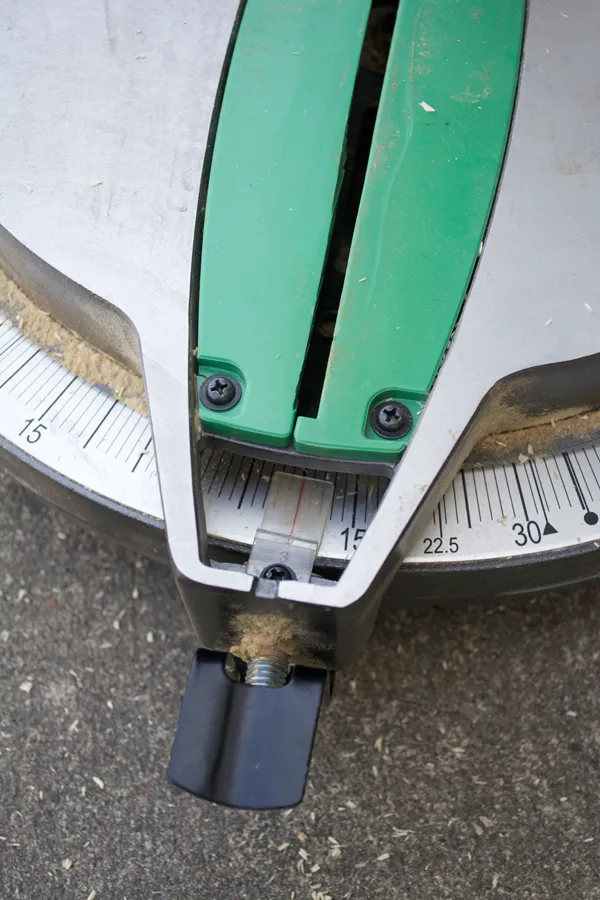 Chop Saw for wood working
Achieve the perfect angle for your ladder legs using a chop saw.
Step 5: Attach the Shelves
Enlist a helping hand for this step! Once the glue on the shelf bases is dry, it’s time to attach them to the ladder sides. Hold the shelf in place, ensuring it’s level, and use the nail gun to secure it to the ladder sides with two nails on each side.
Expert Tip: “Using a level is crucial at this stage to ensure your shelves are straight. Don’t be afraid to ask for help – having an extra pair of hands makes this step a breeze!” – Sarah M., DIY Furniture Expert
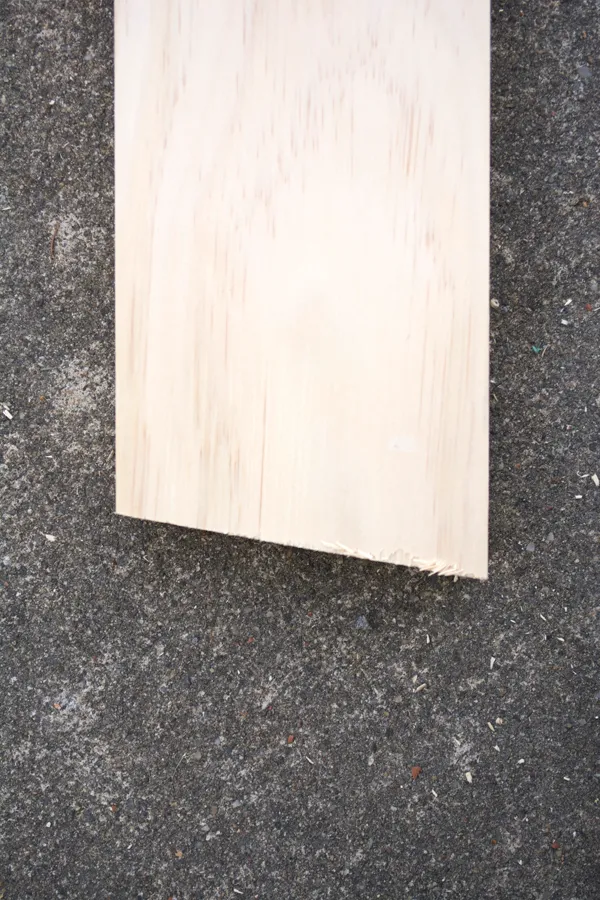 DIY Leaning Shelf Step by step Guide
Attach the shelves securely using a nail gun, ensuring they are level.
Step 6: Add Side Trim
Hold each side trim piece in place on the shelf and mark the angle needed for a perfect fit. Cut the trim pieces and glue them to the sides of each shelf.
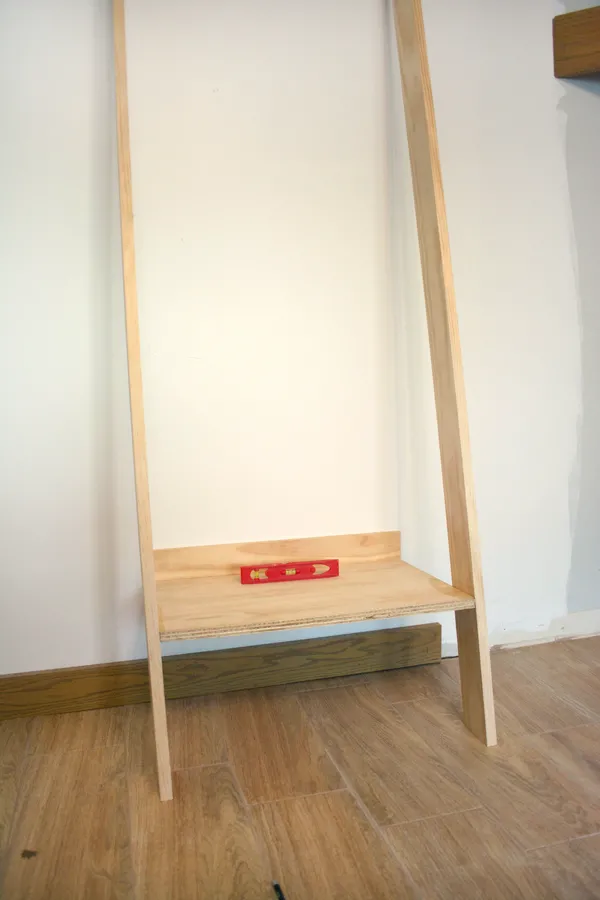 Tutorial for DIY Leaning Ladder Shelf
Carefully attach the side trim pieces for a polished look.
Step 7: Finishing Touches
At this stage, you can choose to stain or paint your ladder shelf. I opted for a warm “Red Chestnut” stain to complement my bathroom décor. Apply a coat or two of polyurethane for added durability and a polished finish.
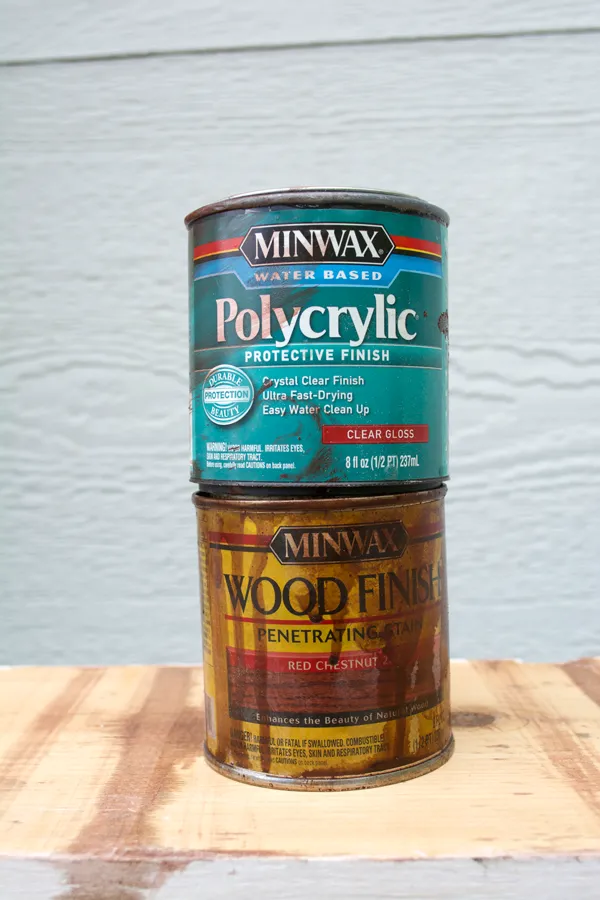 Stain and polycrylic used on wooden ladder shelf
Enhance the natural beauty of wood with a stain and protective finish
Your DIY Ladder Shelf: Ready to Shine!
Congratulations! You’ve now built a beautiful and functional leaning ladder shelf. Not only is it a statement piece for any room, but it also provides valuable storage space.
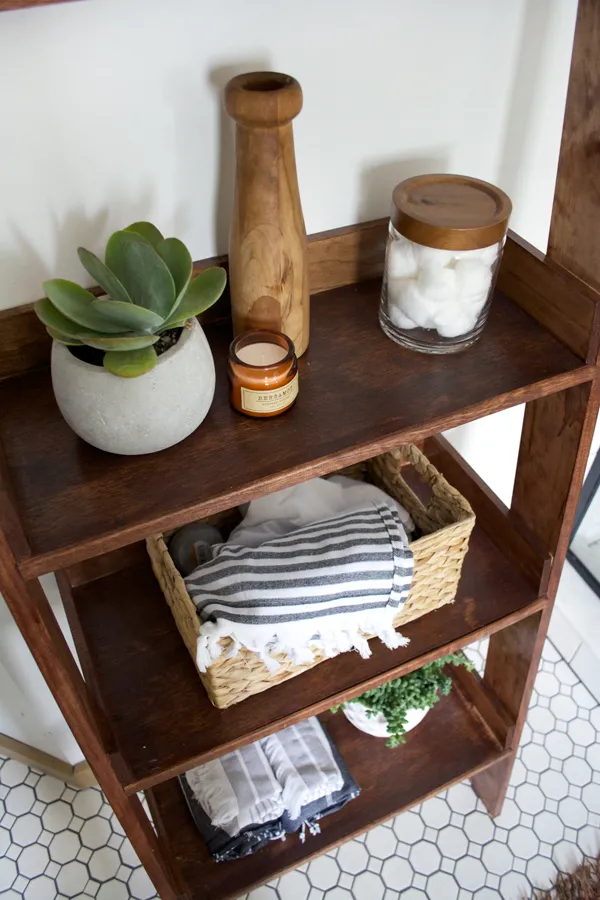 Wooden Leaning Ladder Shelf Brepurposed
Admire your handiwork! Your DIY ladder shelf is ready to elevate your home décor.
Get Creative and Share!
The beauty of DIY projects lies in their endless customization options. Get creative with different wood finishes, paint colors, or even add hooks for extra storage. I’d love to see your unique creations – feel free to share your finished projects in the comments below!
