Blog
Crafting the Perfect DIY Bath Caddy: A Step-by-Step Guide
Hey there, fellow craft enthusiasts! Robert Kline here, and let me tell you, nothing beats sinking into a hot bath after a long day. But you know what makes it even better? A luxurious bath caddy! Today, we’re diving into a project that’s close to my heart: crafting a simple yet elegant DIY bath caddy. This isn’t just any caddy; we’re talking about a customizable masterpiece designed to hold your bath time essentials – a glass of wine, a captivating book, and maybe even a flickering candle or two. Let’s transform your bath time routine into a spa-like experience!
Materials You’ll Need:
- Cedar board (1″ x 10″ x desired length)
- Cedar board (1″ x 2″ x desired length)
- Handsaw or circular saw
- Power drill with 7/8″ spade bit and 3/32″ drill bit
- Jigsaw (optional)
- Measuring tape
- Pencil
- Sandpaper (100-grit, 150-grit, 400-grit wet/dry)
- Sanding sponge (fine/medium)
- Wood glue (water-resistant recommended)
- Screws
- Teak oil, exterior polyurethane finish, or exterior deck stain
- Natural bristle brush or lint-free cloth
- Tack cloth or damp paper towel
Step 1: Measure Twice, Cut Once
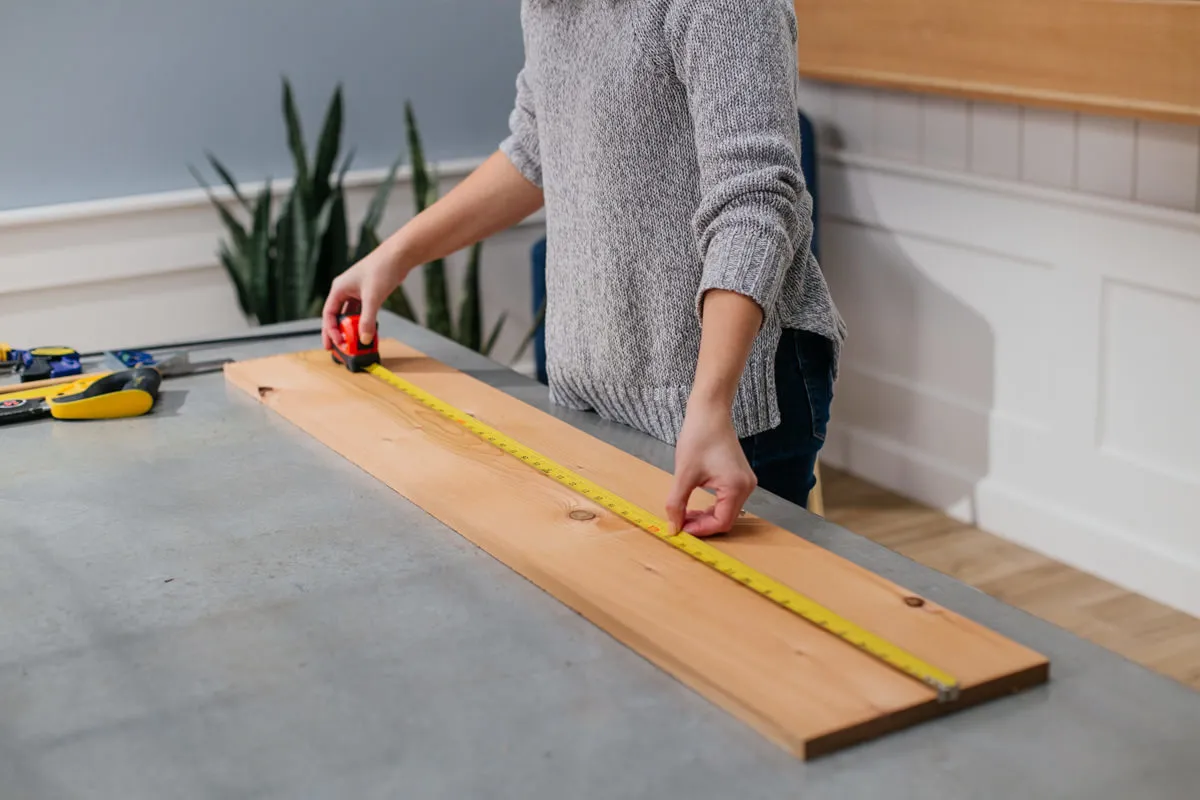
 measuring the width of cedar board
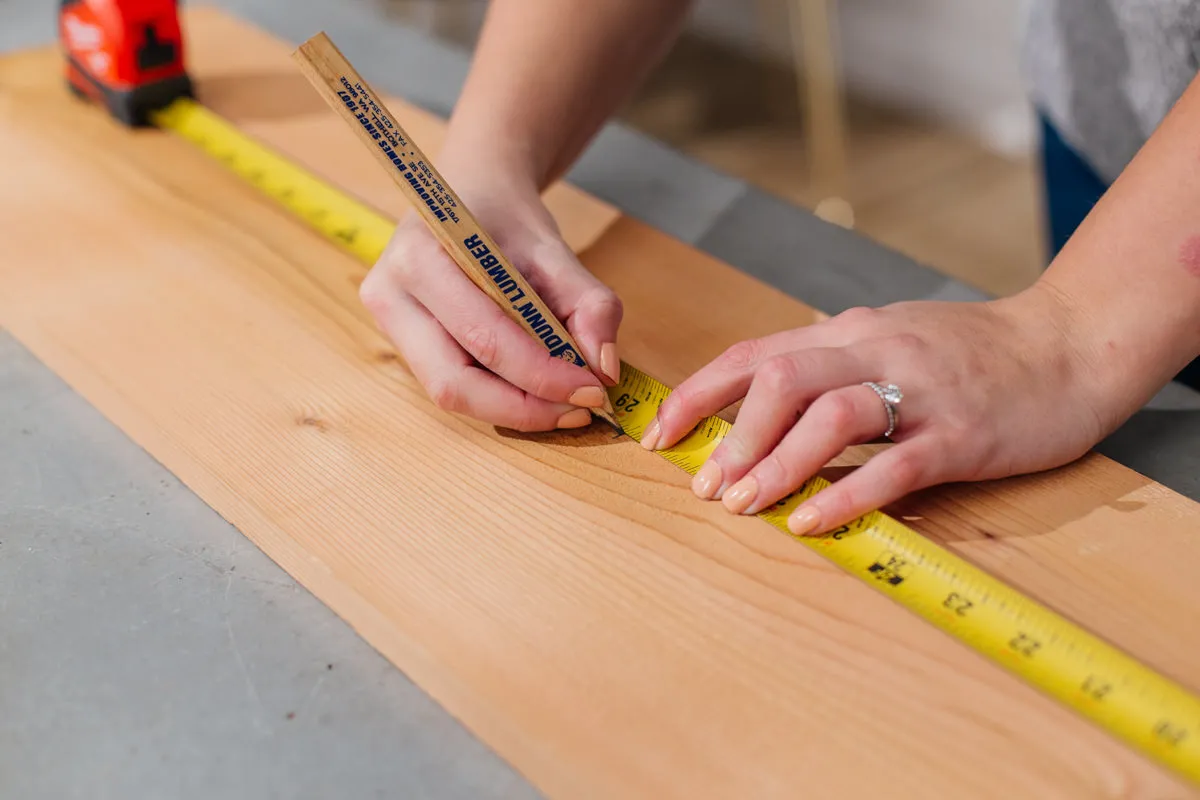 Measure Cedar for Bath Caddy
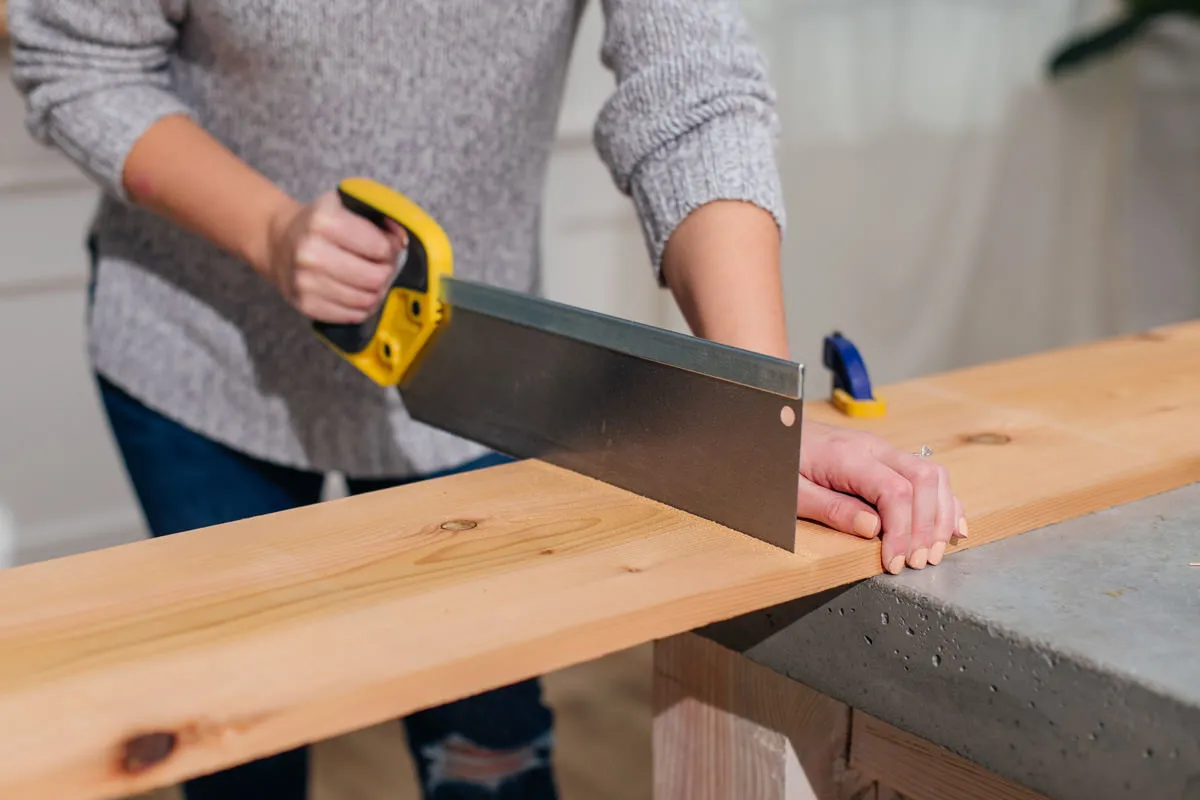 Cut cedar for bath caddy
First things first, measure the width of your bathtub. This will determine the length of your caddy. Using a handsaw or circular saw, cut your 1″ x 10″ cedar board to the desired length. Next, cut two 9 1/4″ pieces from the 1″ x 2″ cedar board – these will be your trusty bumpers to prevent any unwanted slips and slides. Finally, cut two 13″ pieces for the book holder.
Step 2: Wine Not? Crafting the Perfect Wine Glass Holder
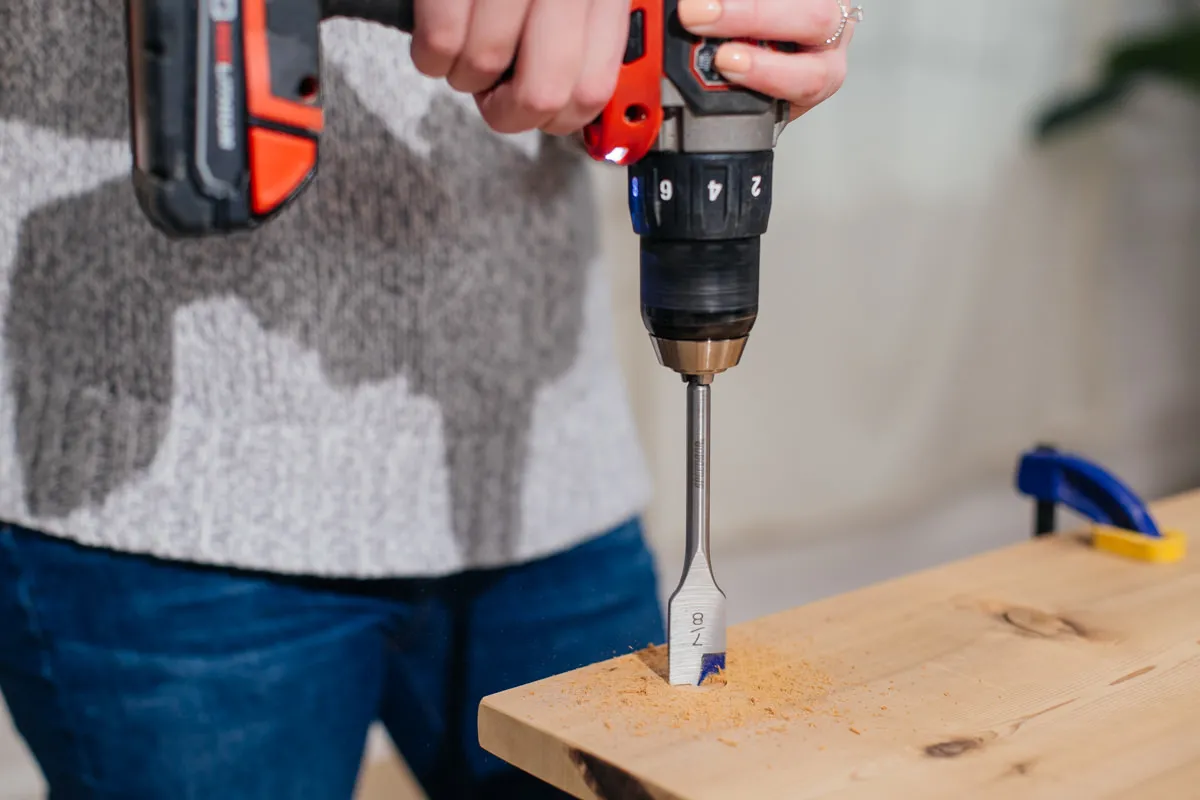 creating wine glass holder for bath caddy
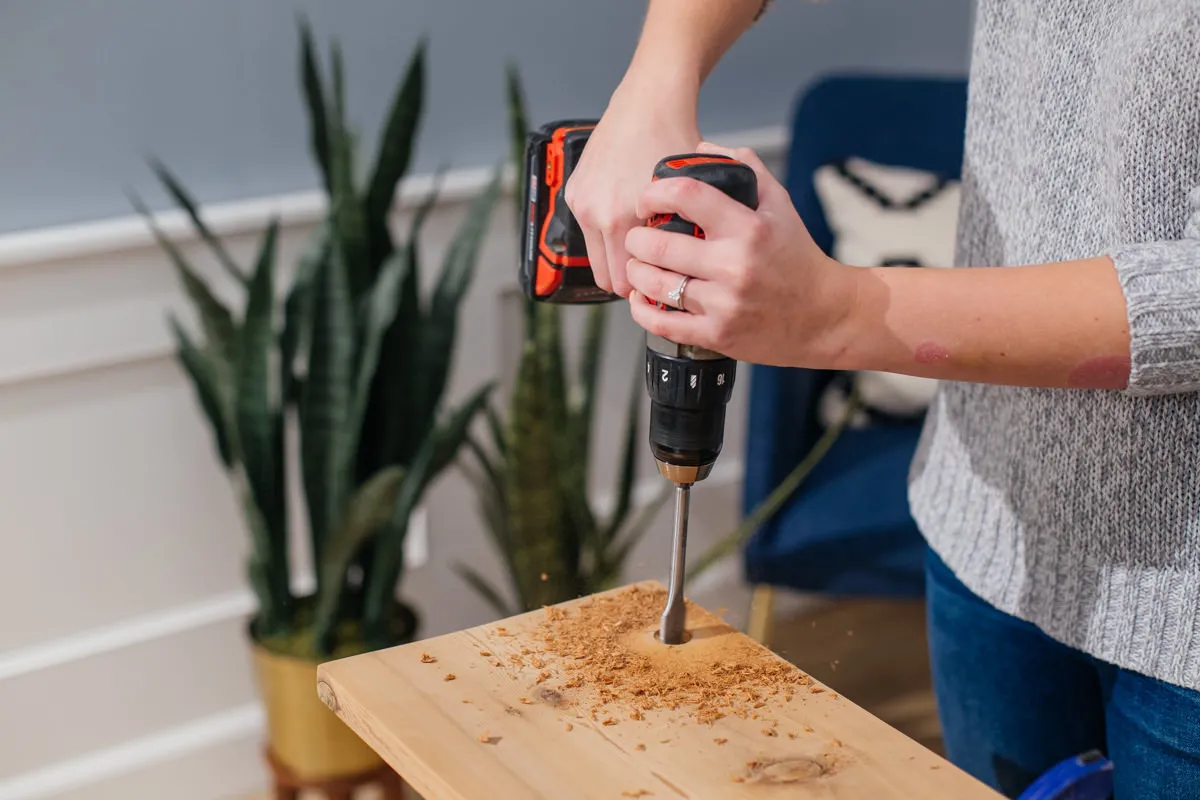 drill hole for wine holder
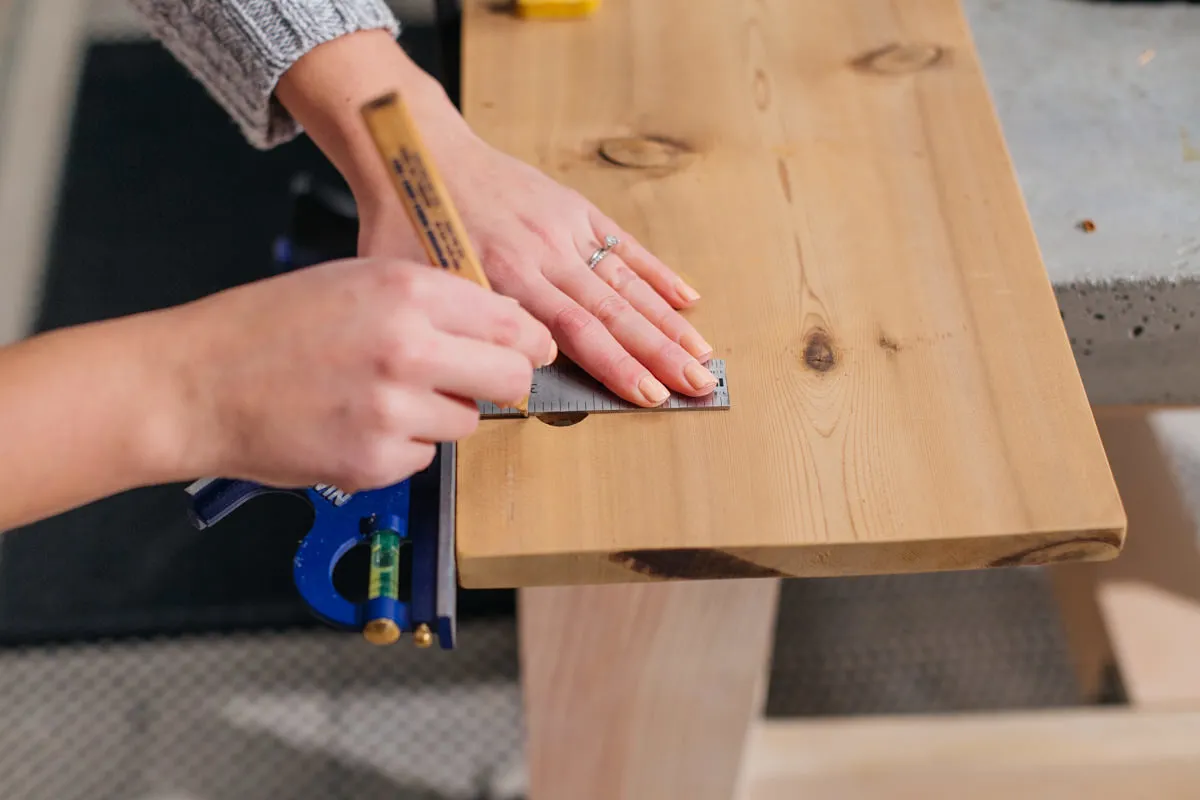 Wine holder for bath caddy
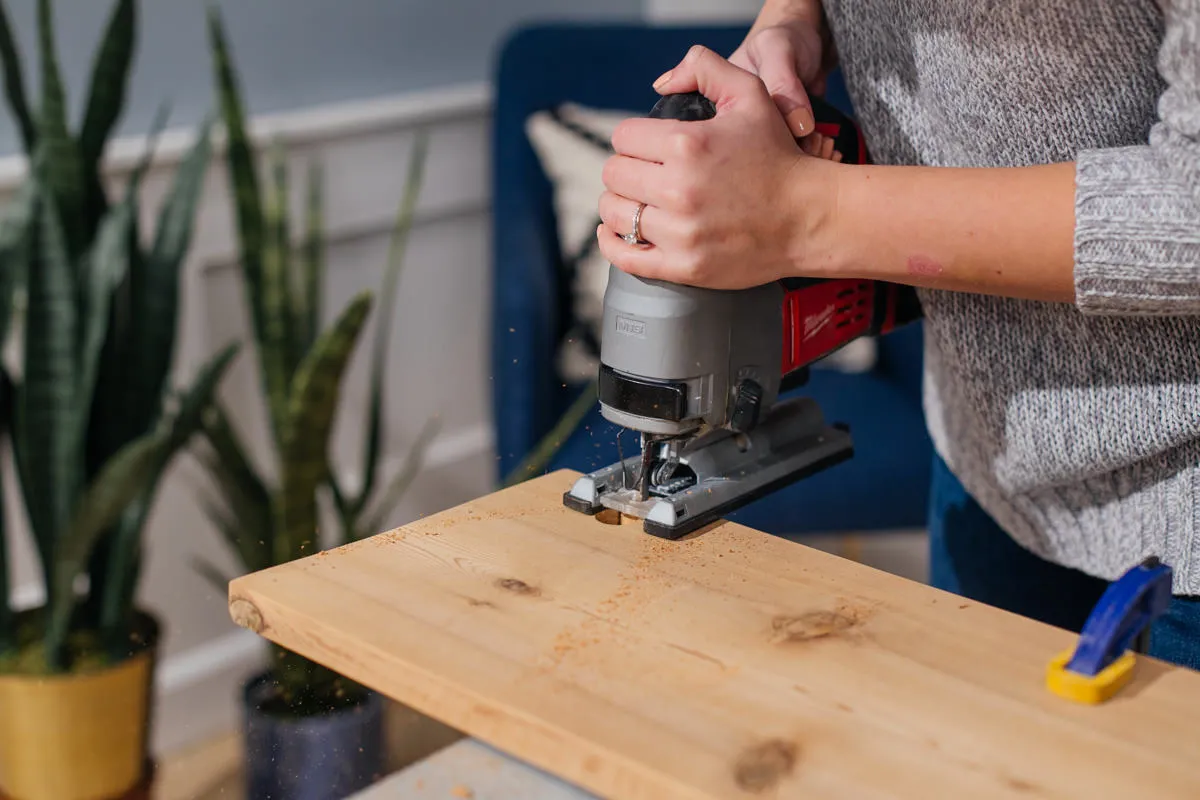 jigsaw hole for wine glass
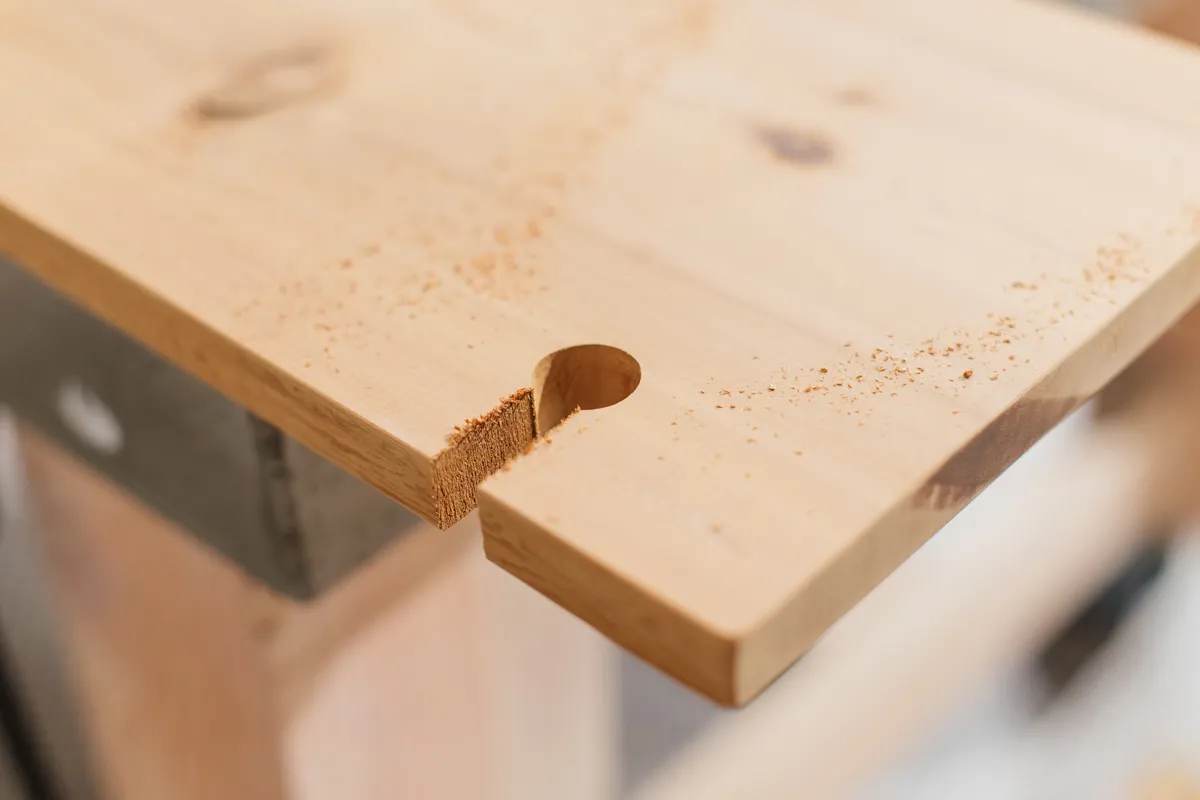 wine glass holder slot
Now, for the fun part – the wine glass holder! Measure 1 1/4″ in from the front edge of the caddy and mark the spot. Using a 7/8″ spade bit, drill a hole at your mark. This will be the resting place for the base of your wine glass.
Next, measure and mark two lines, 1/2″ apart, from the edge of the board to the edge of the drilled hole. Use a jigsaw or handsaw to carefully cut along these lines, creating a slot for your wine glass stem.
Pro Tip: Always test the holder with your own wine glass and adjust the measurements as needed to ensure a snug and secure fit!
Step 3: Let There Be Light: Adding Candle Holders
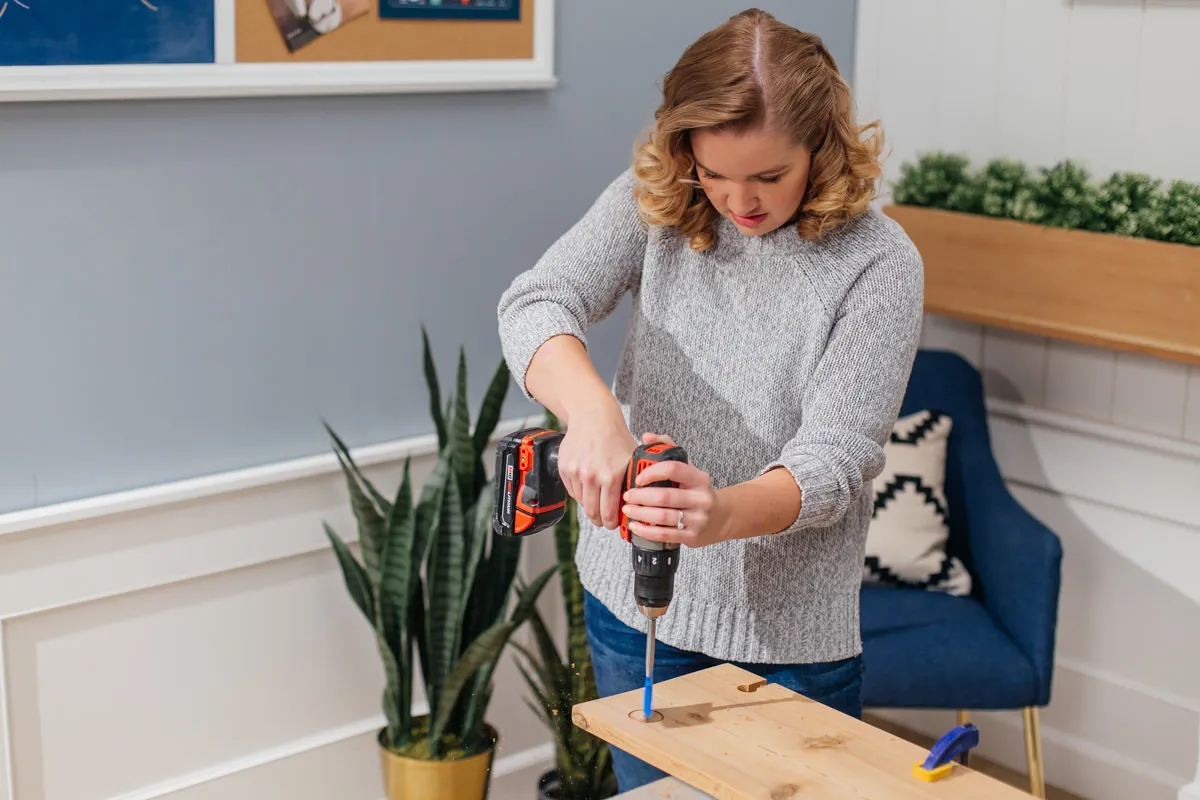 make candle holder for bath caddy tray
For a touch of ambiance, we’ll be adding candle holders. Decide where you’d like your tea lights to sit and mark their positions. Using a 1 1/2″ spade bit (or adjust the size to fit your candles), drill partially into the caddy to create shallow holders. Remember, safety first! Make sure the candles sit securely and won’t tip over easily.
Step 4: Smooth Operator: Sanding for a Flawless Finish
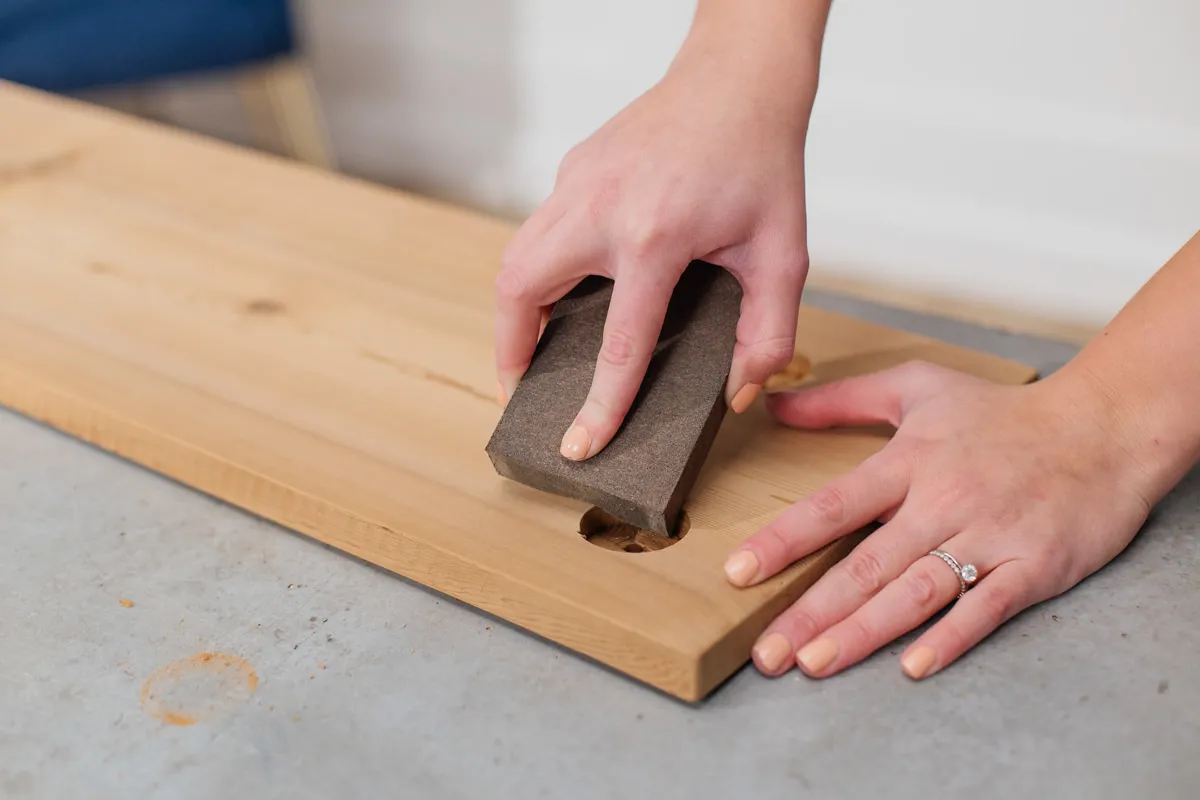 Sand Bath Caddy Cedar tray
With all the drilling done, it’s time to give our caddy a silky smooth finish. Grab your sandpaper (100-grit, then 150-grit) or a sanding sponge and smooth out all the surfaces of the caddy and the pre-cut 1″ x 2″ pieces.
Robert’s Tip: A power sander can speed up this process, but a little elbow grease and some good old-fashioned sandpaper work just as well.
Step 5: Bookworm Bliss: Creating the Book Holder
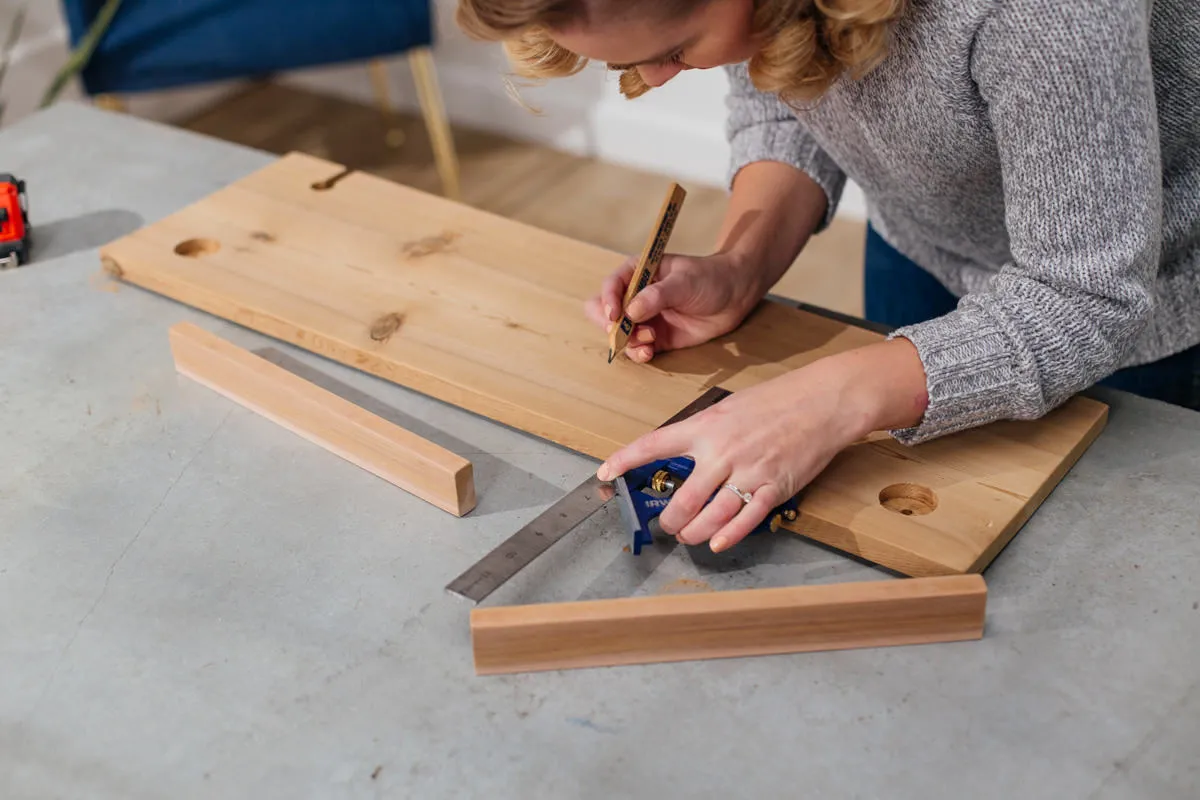 making book holder for bath tray
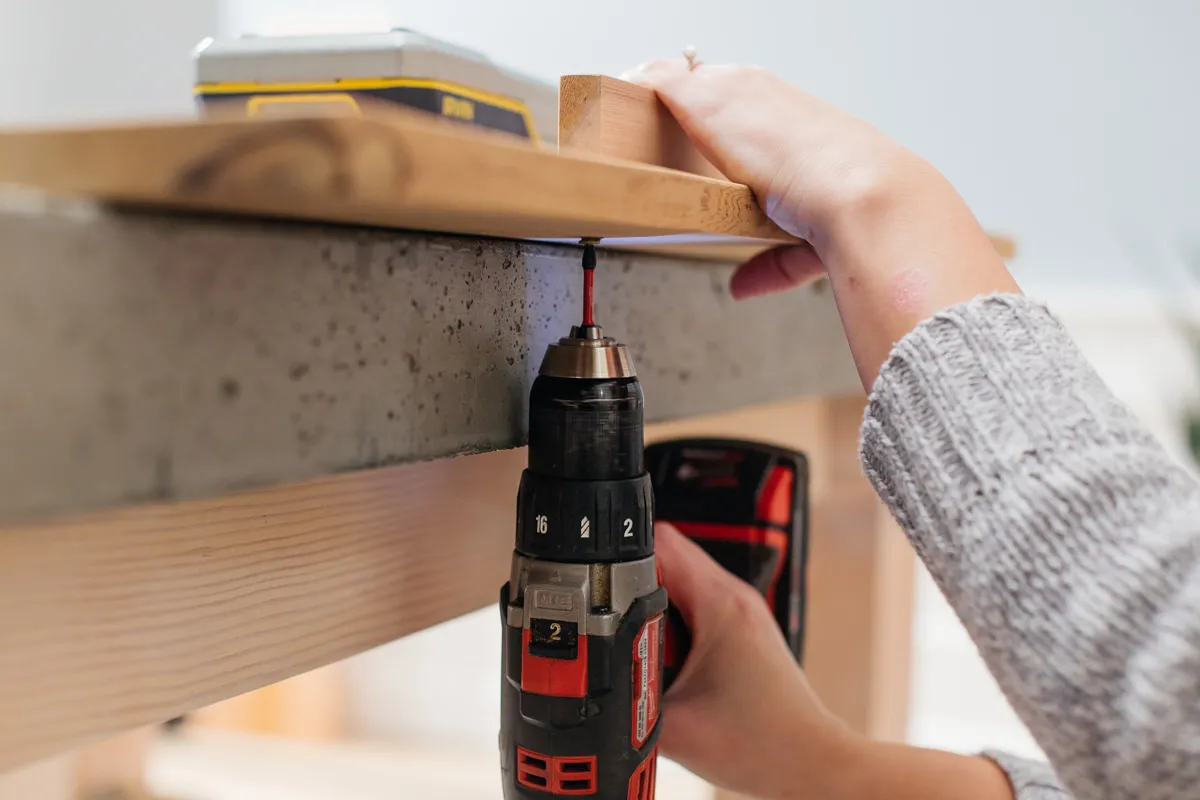 Drilling Book holder for bath tray
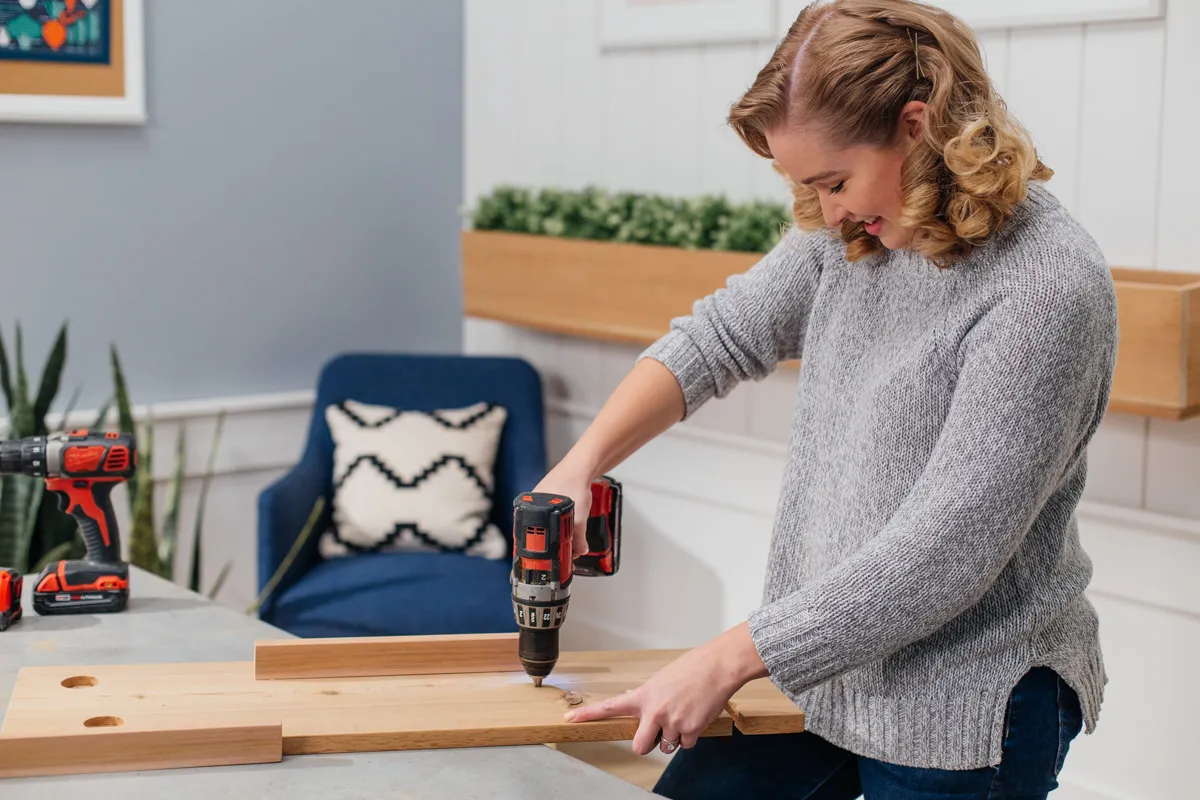 drill holes for bath caddy book holder
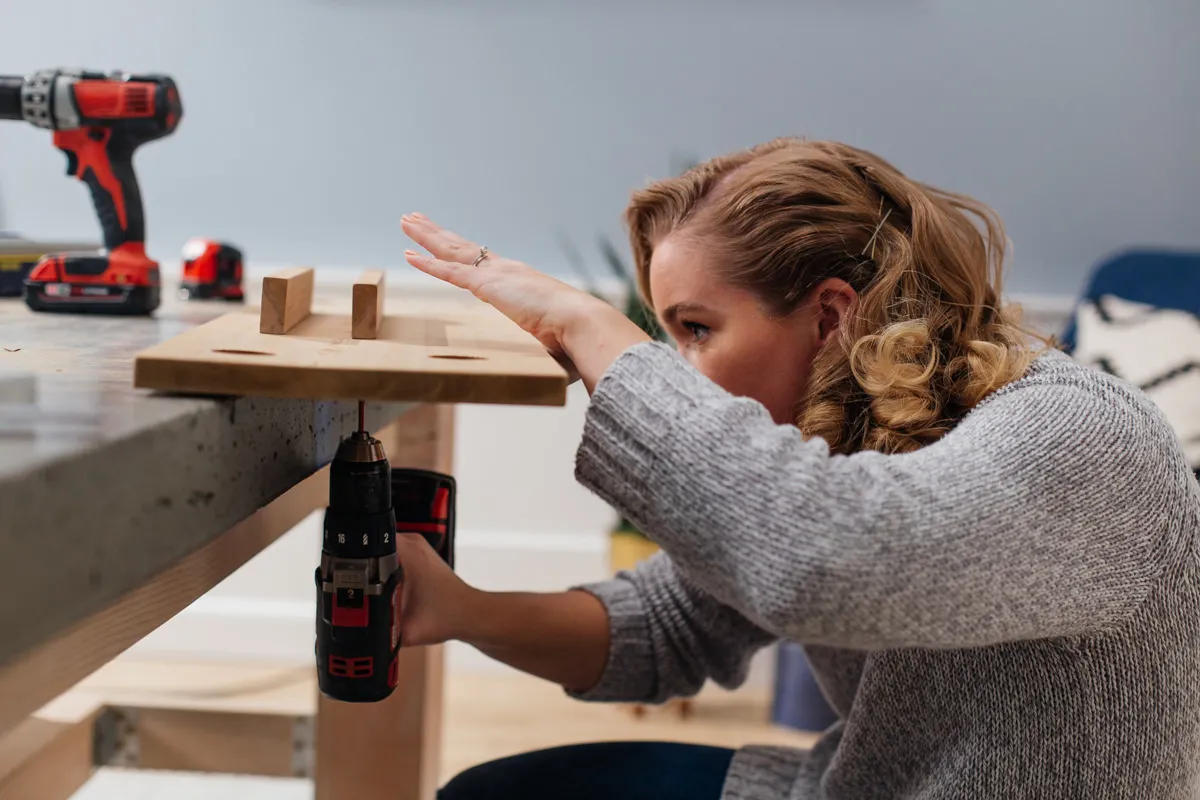 Book holder for bath caddy
No bath is complete without a good book! To create the book holder, position your 13″ 1″x2″ pieces on edge in the center of the caddy, parallel to the short edges. Space them 1 3/4″ apart. Pre-drill holes using your 3/32″ drill bit and secure the pieces with screws and/or water-resistant glue.
Bonus Tip: You can adjust the spacing to accommodate your favorite reading material – whether it’s a slim paperback or a hefty hardcover.
Step 6: Bumpers Up: Preventing Slips and Spills
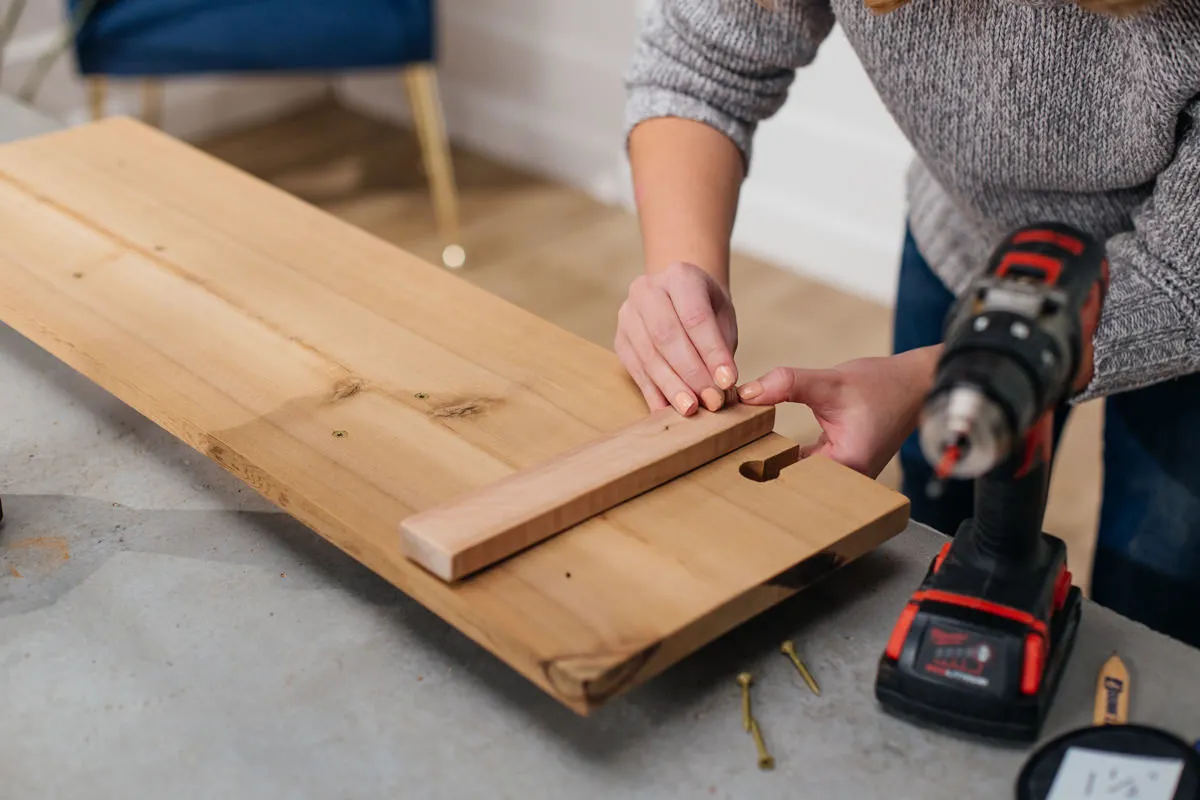 attach bumpers to bath tray
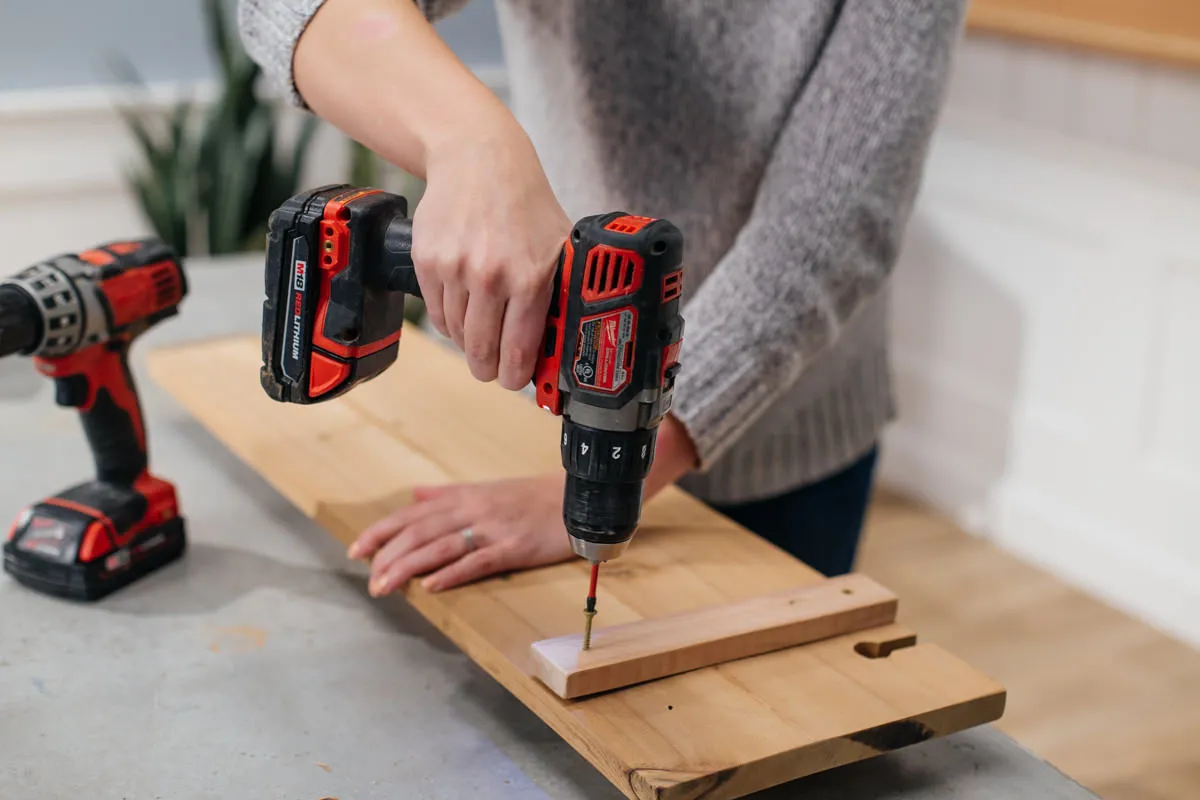 bath caddy bumpers
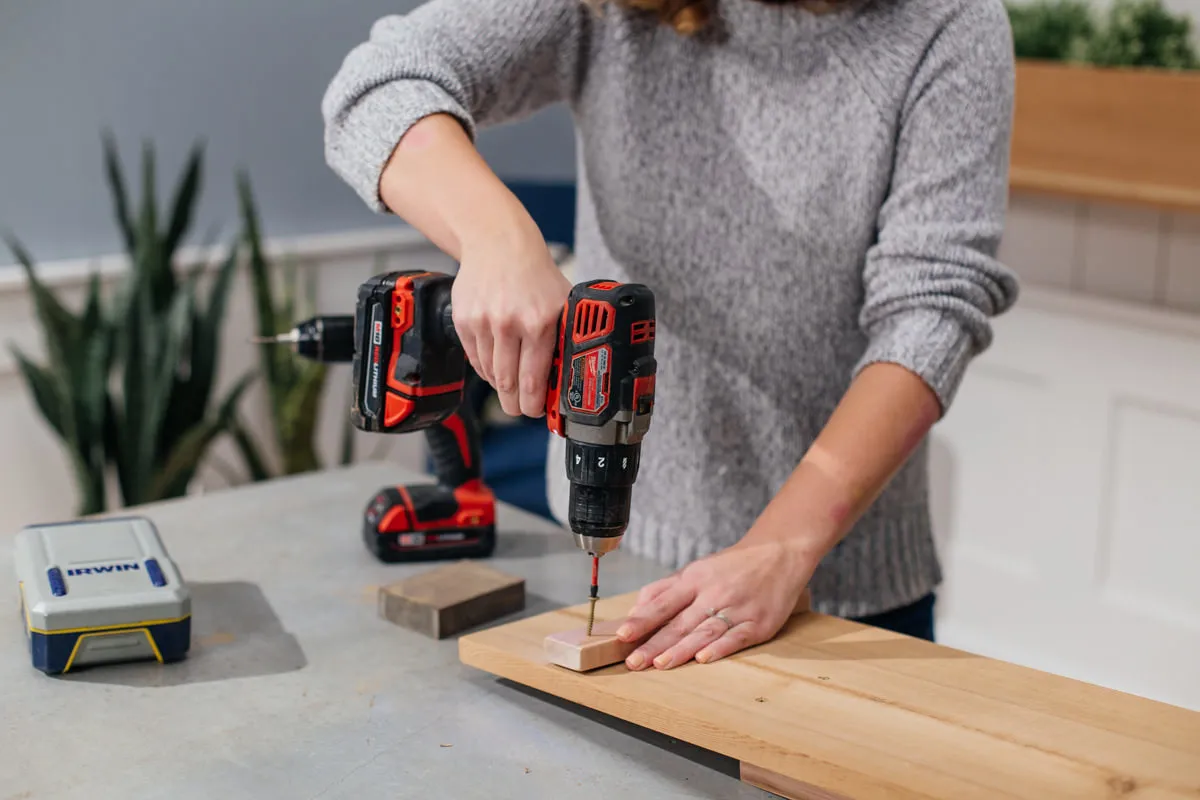 screw in bath caddy bumpers
Time to add those trusty bumpers! I recommend taking your caddy to the bathtub and marking the bumper positions directly on the caddy for a perfect fit. Once you’re happy with the placement, attach the bumpers using screws or water-resistant glue.
Step 7: Sealing the Deal: Applying a Protective Finish
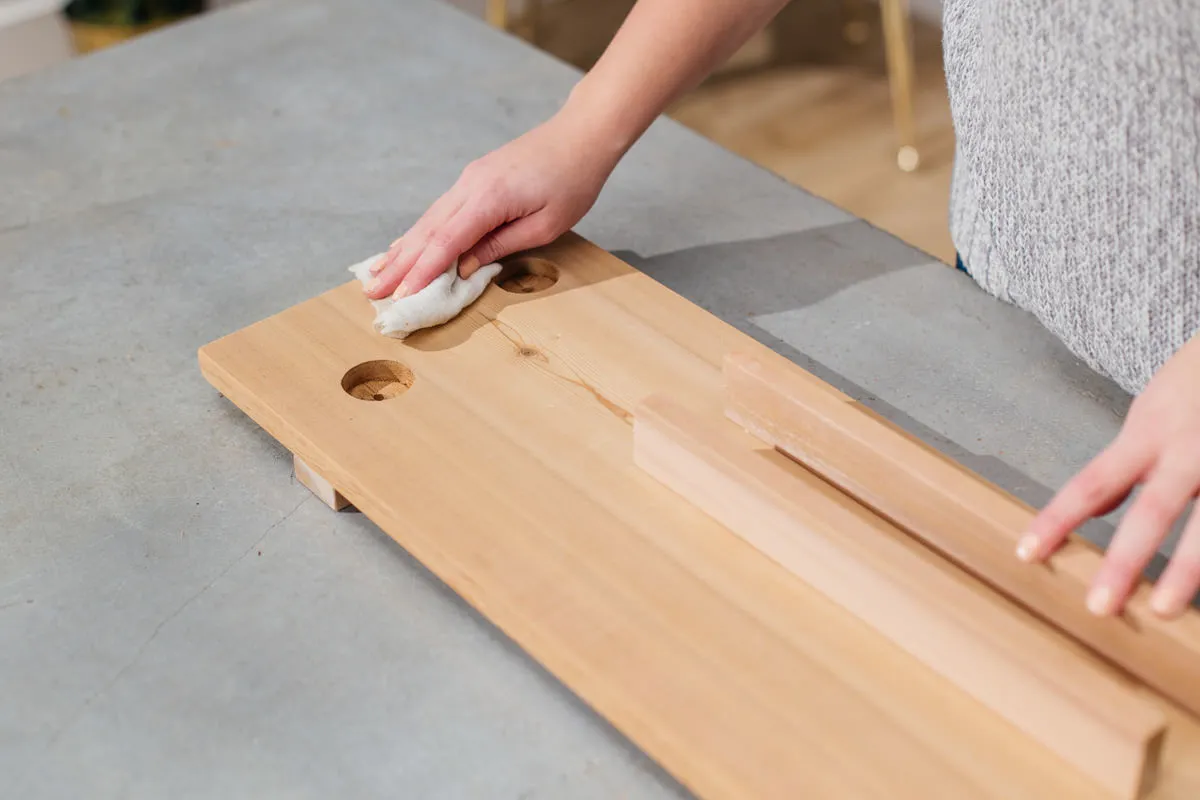 apply finish
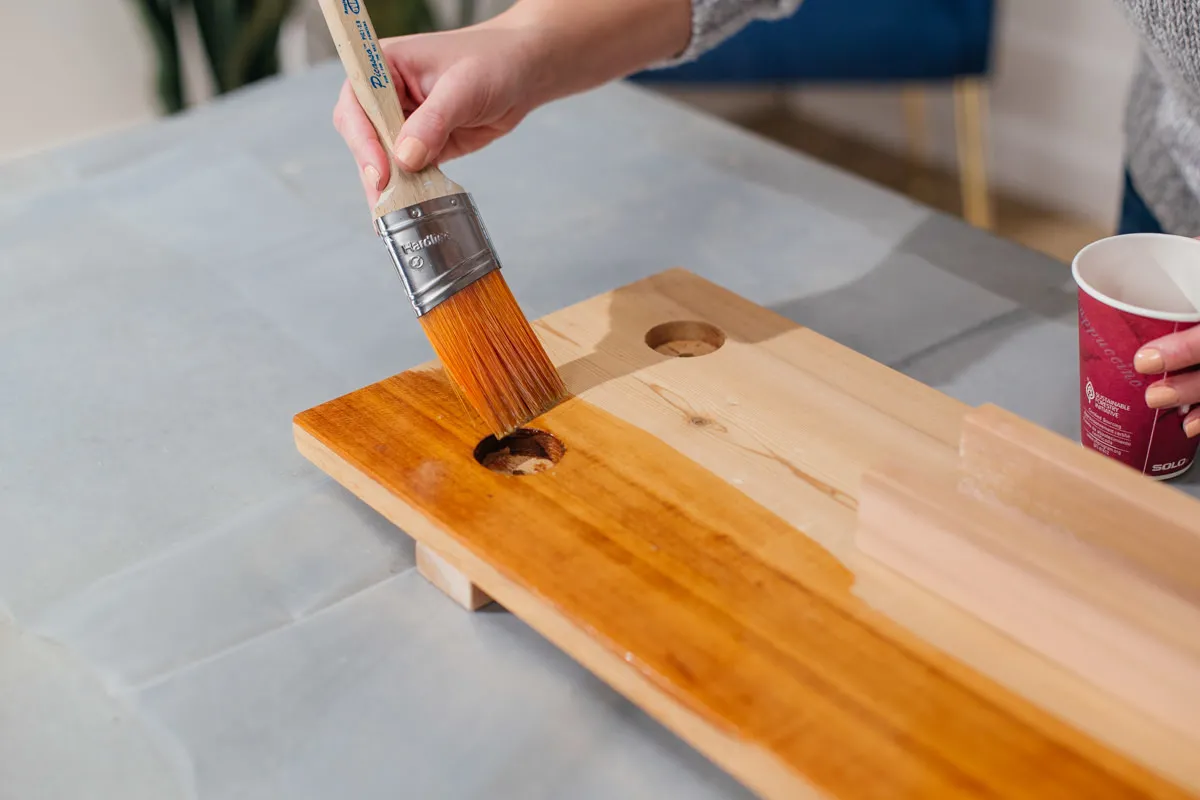 paint finish on bath tray
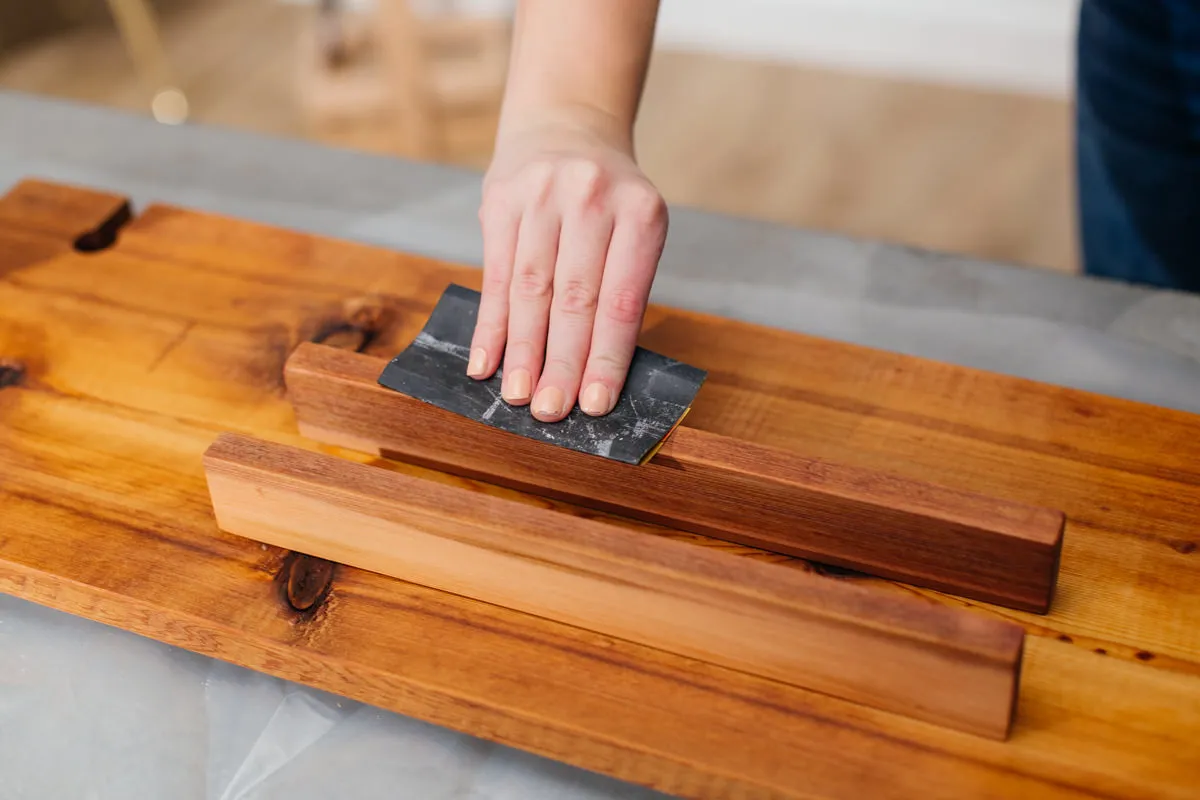 bath caddy finish
Last but not least, protect your masterpiece from the splashes and spills of bath time. Wipe down the entire caddy with a tack cloth or damp paper towel to remove any lingering dust. Apply teak oil, exterior polyurethane finish, or your chosen finish using a natural bristle brush or lint-free cloth. Let it sit for 5-15 minutes, then sand lightly with 400-grit wet/dry sandpaper. Wipe away any excess oil and allow it to dry completely.
A Word on Finishes: Teak oil is a fantastic choice for bath caddies as it’s designed for marine environments and can withstand exposure to water. However, exterior polyurethane or deck stain will also provide excellent protection.
Conclusion


Congratulations, you’ve done it! You’ve crafted a personalized bath caddy that’s both stylish and functional. Now, draw yourself a hot bath, pour your favorite beverage, and enjoy the ultimate relaxation experience.
What do you think? Are you ready to upgrade your bath time routine? Share your thoughts and creations with me in the comments below. And don’t forget to explore Robert Kline Art for more unique handmade treasures and gift ideas. Let’s get crafting!
