Blog
Build Your Own DIY Leaning Ladder Bathroom Shelf: A Step-by-Step Guide
Looking for a stylish and practical storage solution for your bathroom? Look no further than a DIY leaning ladder bathroom shelf! This versatile and easy-to-build project will add a touch of rustic charm to your space while providing ample storage for towels, toiletries, and decorative items. In this comprehensive guide, we’ll walk you through the entire process, from gathering your materials to putting the finishing touches on your very own leaning ladder shelf.
Let’s transform your bathroom and unleash your inner DIYer!
Gathering Your Tools and Materials
Before diving into the construction process, ensure you have the following tools and supplies ready. This list is a general guideline, and the specific requirements may vary slightly based on the chosen plan and your desired dimensions:
- Safety Equipment: Safety glasses, gloves, and ear protection are crucial for a safe and enjoyable woodworking experience.
- Wood: Choose a sturdy and moisture-resistant wood like pine or cedar. You’ll need 2x3s for the frame and possibly some plywood or solid wood for the shelves, depending on your design.
- Saw: A jigsaw is ideal for making the curved cuts on the ladder legs. A circular saw can be used for cutting lumber to size.
- Sandpaper: Various grits of sandpaper will be needed for smoothing out rough edges and preparing the wood for finishing.
- Drill and Screws: A drill with a screw-driving bit will be used to assemble the ladder frame. Choose screws that are appropriate for the thickness of the wood.
- Wood Glue: Adding wood glue at the joints will enhance the strength and durability of the shelf.
- Finish: Select a finish that complements your bathroom’s decor and provides adequate protection against moisture. Danish oil, polyurethane, or paint are all viable options.
- Measuring Tape and Pencil: Accurate measuring and marking are crucial for ensuring all the parts fit together perfectly.
Building Your Leaning Ladder Bathroom Shelf
Now, let’s roll up our sleeves and start building! Remember, patience and attention to detail are key to a successful outcome.
Step 1: Planning and Measuring
- Plan Your Dimensions: Decide on the desired height, width, and number of shelves for your ladder shelf. Consider the available space in your bathroom and the items you plan to store.
- Source a Plan (Or Create Your Own): Numerous free ladder shelf plans are available online, or you can design your own based on your specific requirements. One reputable source for DIY plans is Ana White’s website.
- Create a Cut List: Once you have a plan, carefully measure and mark all the wood pieces according to the dimensions specified. This step will streamline the cutting process and minimize errors.
Step 2: Cutting the Wood
- Cut the Ladder Sides: Use a jigsaw to carefully cut the curved shapes on the ladder legs, following your chosen plan’s design.
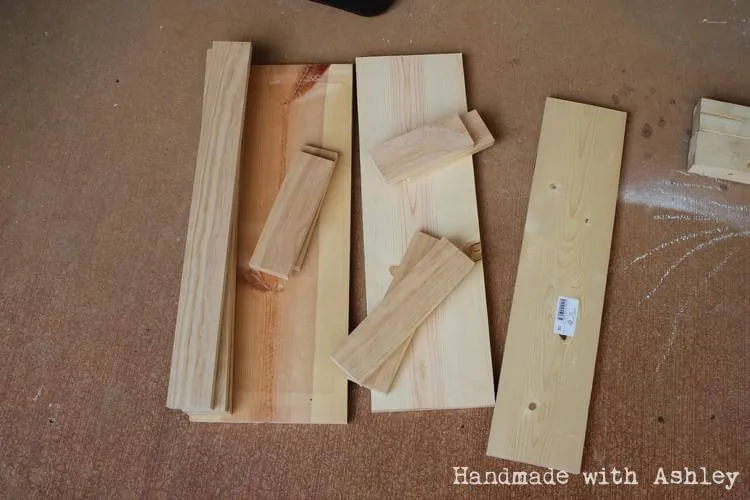
- Cut the Shelves and Supports: Cut the shelves and their supporting pieces to the required lengths using a circular saw or jigsaw.
 Lumber cut to the appriopriate dimensions
Alt Text: Pieces of lumber are cut and ready for assembly into a DIY ladder shelf
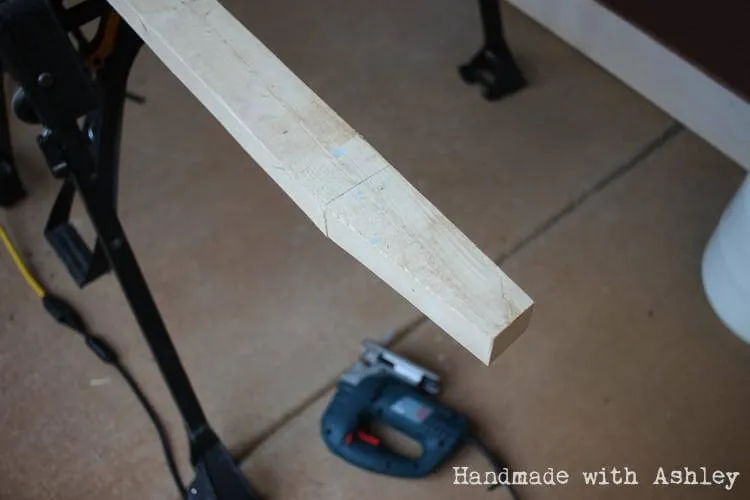 Cutting the ladder legs with a jigsaw
Alt Text: A jigsaw is used to cut the curved shape of a ladder leg
Step 3: Sanding and Smoothing
- Sand All Surfaces: Thoroughly sand all the cut edges and surfaces of the wood pieces using progressively finer grits of sandpaper. This step will ensure a smooth and splinter-free finish.
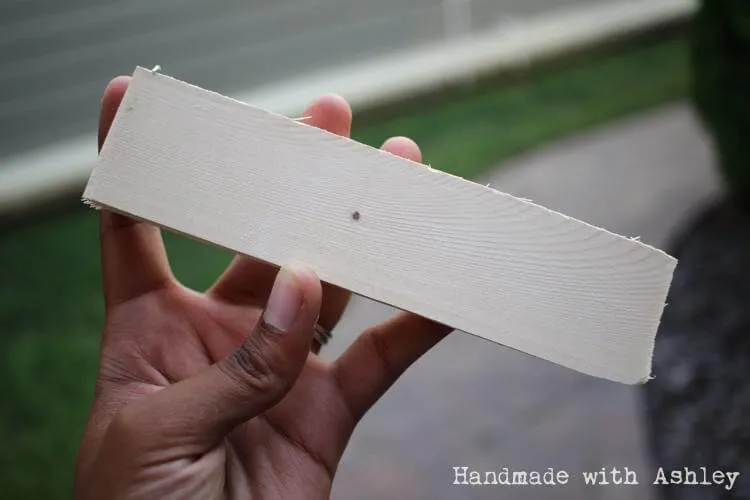 Nice smooth jigsaw cuts with the Festool scroll-cut blades
Alt Text: Smooth curves cut into wood for a DIY ladder shelf
Step 4: Assembling the Ladder Frame
- Pre-Drill Holes (Optional): To prevent splitting, consider pre-drilling pilot holes at the screw locations, especially when working with hardwood.
- Apply Wood Glue: Apply a thin layer of wood glue to the mating surfaces of the ladder sides and supports.
- Secure with Screws: Use a drill to drive screws through the pre-drilled holes, securely fastening the ladder sides to the supports.
- Check for Squareness: As you assemble the frame, ensure it remains square by using a carpenter’s square or measuring the diagonals.
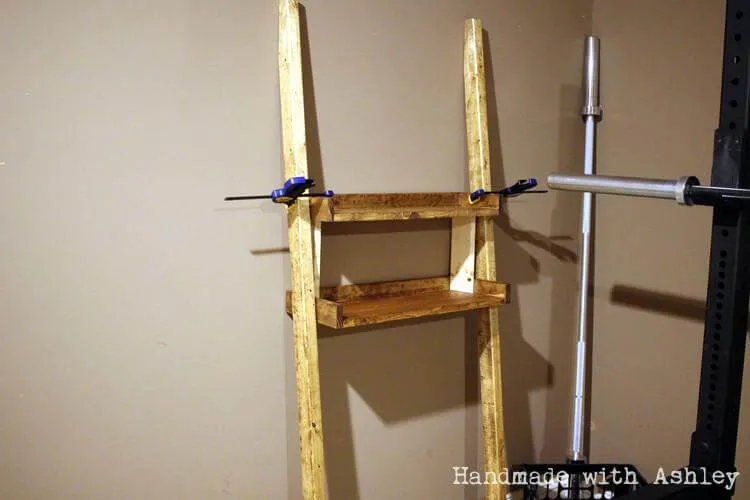 Assembling the shelf
Alt Text: Clamps hold parts of a DIY ladder shelf in place while the glue dries
Step 5: Attaching the Shelves
- Position the Shelves: Place the shelves onto the ladder supports, ensuring they are level and evenly spaced.
- Secure the Shelves: Use screws and wood glue to attach the shelves securely to the ladder supports.
Step 6: Finishing Touches
- Apply the Finish: Following the manufacturer’s instructions, apply your chosen finish evenly to all surfaces of the ladder shelf. Allow ample drying time between coats.
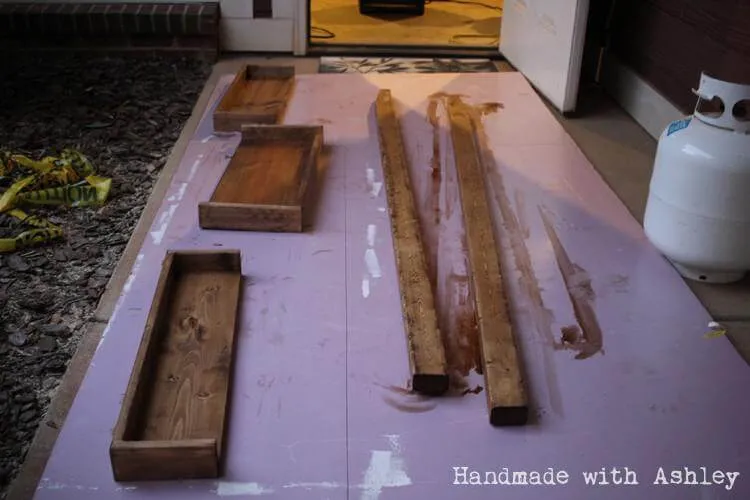 Staining the shelf with Danish Oil
Alt Text: Danish oil is applied to a DIY ladder shelf
Step 7: Enjoy Your New Storage Solution
- Lean and Admire: Carefully lean your newly crafted ladder shelf against the bathroom wall. Adjust the angle to ensure stability.
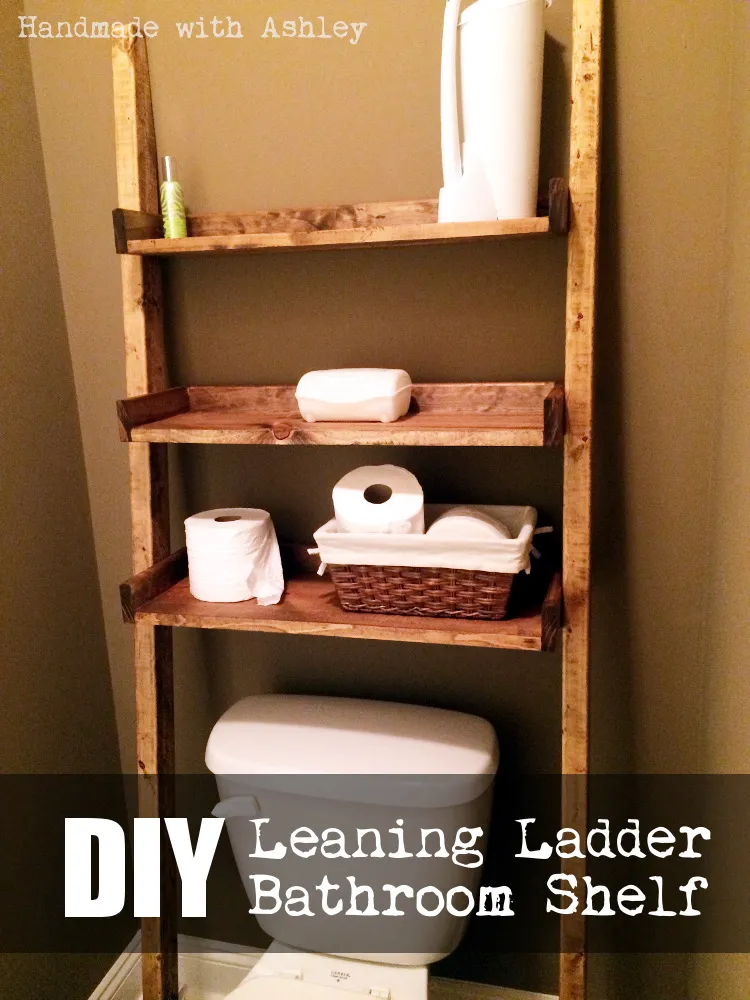 DIY Leaning Ladder Bathroom Shelf
Alt Text: The finished DIY leaning ladder bathroom shelf
Tips and Tricks for Success
- Measure Twice, Cut Once: Accurate measurements are crucial. Double-checking your measurements before making any cuts can save you time and materials.
- Choose the Right Wood: Opt for woods known for their moisture resistance, such as cedar or treated pine, to prevent warping or damage in a humid bathroom environment.
- Consider Weight Distribution: If storing heavier items, ensure the shelves are adequately supported and the ladder is leaning against a sturdy wall.
- Get Creative with Finishes: Don’t be afraid to experiment with different stains, paints, or varnishes to achieve the desired look. Distressing techniques can add a touch of rustic charm.
Conclusion
Building a DIY leaning ladder bathroom shelf is a rewarding project that can transform your bathroom’s storage and style. By following these steps and infusing your own creativity, you can create a unique and functional piece that perfectly complements your space.
So why wait? Gather your tools, unleash your inner DIYer, and enjoy the satisfaction of creating a beautiful and practical storage solution with your own two hands! Don’t forget to share your finished project with us! We love to see the creativity of our Robert Kline Art community. Leave a comment below and tell us about your experience.
Looking for more handcrafted inspiration? Explore our website for a curated selection of unique and thoughtful handmade gifts. From personalized creations to one-of-a-kind finds, Robert Kline Art is your destination for discovering the perfect gift for any occasion.
