Blog
DIY Over-Toilet Bathroom Cabinet: A Step-by-Step Guide

Hi everyone, Robert Kline here! Today, we’re tackling a project that’s perfect for adding some much-needed storage to your bathroom, especially if you’re working with a smaller space: a charming and functional over-toilet bathroom cabinet.
This DIY project is a great way to flex your creative muscles, as you can easily customize the size, shape, and style to fit your unique needs and aesthetic. Plus, it’s a fantastic beginner woodworking project!
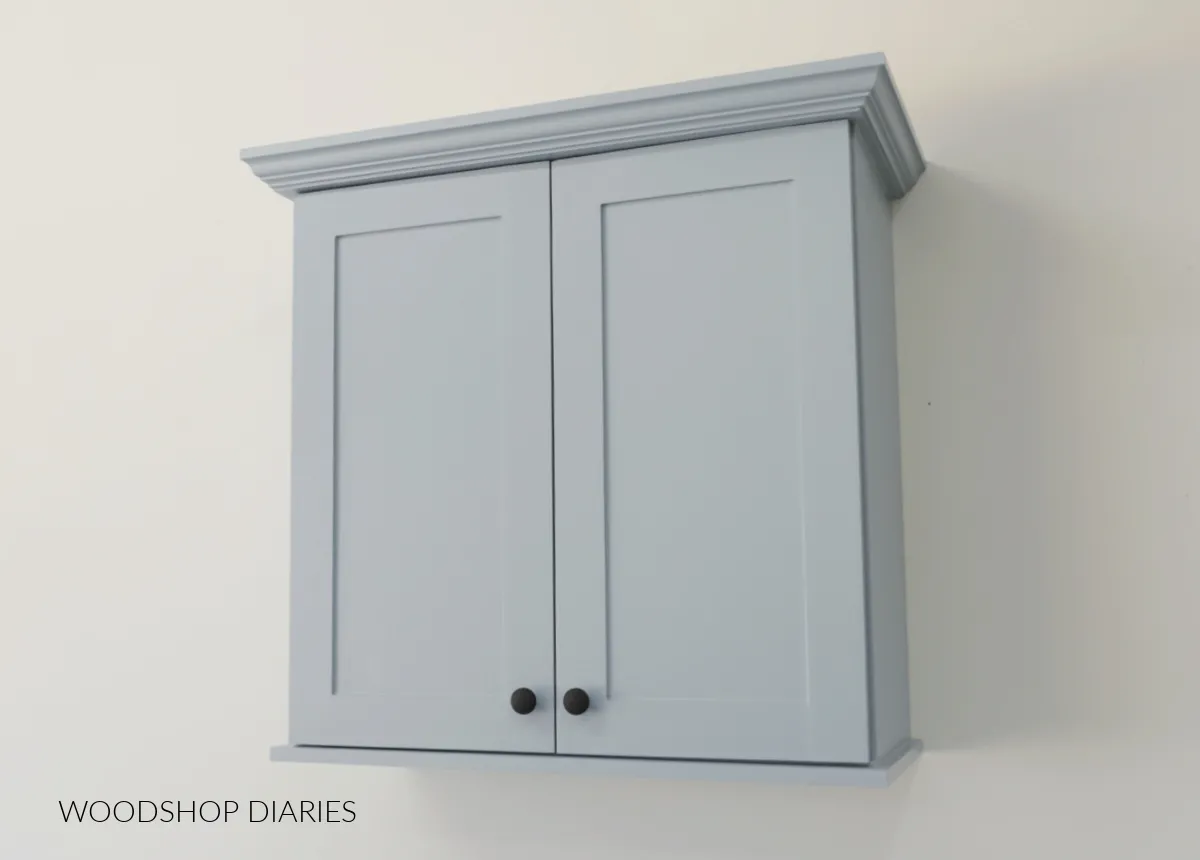
 SW Stardew painted bathroom wall cabinet with double doors and crown molding
Before You Start: Important Considerations
Before we jump into the build, let’s go over a few key points:
Customization is Key: Feel free to adjust the dimensions and design elements to perfectly suit your bathroom layout and storage needs.
Molding Magic: Don’t be afraid to experiment with different types of molding to add a touch of elegance and personality to your cabinet.
Doors Optional: If you prefer an open storage solution or are new to building doors, you can skip that step and opt for a stylish open-shelf design.
Tools and Materials You’ll Need
Tools:
- Circular Saw
- Cutting Guides (Kreg Rip Cut or Kreg AccuCut are great options)
- Miter Saw
- Drill/Driver
- Pocket Hole Jig
- Brad Nailer
- Shelf Pin Jig
- Concealed Hinge Jig
Materials:
- (1) 4’x8′ sheet of ¾” plywood (I recommend hardwood plywood like maple)
- (1) 2’x4′ piece of ¼” plywood
- (2) 1″x3″ pine boards (for the door frames)
- (1) 8′ stick of crown molding (optional)
- 1 ¼” pocket hole screws
- 1 ¼” & 2 ½” wood screws
- Shelf Pins
- Edge Banding
- (2) pairs of concealed hinges for frameless overlay doors
- Your choice of wood finish (paint, stain, etc.)
Let’s Get Building: A Step-by-Step Guide
Step 1: Cutting the Plywood Pieces
The first step is to break down your plywood sheet into manageable pieces for the cabinet components. This project allows you to cut all your pieces from a single sheet of plywood, making it efficient and budget-friendly.
Here’s what you’ll need to cut:
- (2) Side panels
- (2) Smaller top/bottom cabinet box pieces
- (2) Larger top/bottom panels
- (2) Back support strips
- (2) Shelves
Pro Tip: For a cleaner look, apply edge banding to the front edges of the side panels, smaller top/bottom pieces, and the front and side edges of the larger top/bottom panels before assembly.
Step 2: Assembling the Cabinet Box
- Pocket Holes: Begin by drilling ¾” pocket holes into the ends of the support strips and the smaller top/bottom pieces using your pocket hole jig.
- Cabinet Box Assembly: Assemble the main cabinet box using 1 ¼” pocket hole screws, ensuring the pocket holes face the outside and back of the cabinet box for a clean, concealed look.
- Attaching Panels: Secure the larger top/bottom panels onto the cabinet box using wood glue and 1 ¼” screws. These panels should overhang the sides by ¾” and the front by 1 ½”.
- Finishing Touches: Fill the screw holes with wood putty, sand smooth once dry, and consider adding a touch of elegance with crown molding around the top.
Step 3: Crafting Your Cabinet Doors
- Sizing Your Doors: Determine the dimensions of your doors, ensuring they overlap the cabinet box for a polished look.
- Choosing Your Construction Method: Select your preferred method for building the cabinet doors.
- Assembly: Construct your doors using the chosen method.
Step 4: Applying Your Finish
Before attaching the doors, it’s best to apply your chosen finish to both the cabinet and doors separately. This ensures even coverage and prevents any bare spots.
Step 5: Adding Shelves and Attaching the Doors
- Installing Shelf Pins: Use a shelf pin jig to drill shelf pin holes along the inside of the cabinet sides, allowing for adjustable shelving.
- Flexibility in Assembly: You can choose to hang the cabinet on the wall before adding shelves and doors or install the doors first – the choice is yours!
- Attaching the Doors: Install concealed hinges for frameless overlay doors onto your cabinet doors and then attach them to the cabinet.
Step 6: Mounting Your New Bathroom Cabinet
- Securely Hanging the Cabinet: Use 2 ½” wood screws through the back supports to hang the cabinet, ensuring you hit at least two wall studs for maximum stability. Secure through both the top and bottom supports for added strength.
- Final Adjustments: Once hung, make any necessary adjustments to the doors for proper alignment, and position the shelves inside the cabinet using your shelf pins.
Conclusion
Congratulations! You’ve now built a beautiful and practical over-toilet bathroom cabinet. It’s amazing how a weekend project can transform your bathroom, adding valuable storage and a touch of homemade charm.
Now it’s your turn! Don’t be afraid to get creative and customize this project to fit your style and storage needs. And be sure to share your creations with us in the comments below!
For more inspiring DIY projects and unique handmade gifts, browse the Robert Kline Art website. Let’s keep those creative sparks flying!
