Blog
Building a Stunning DIY Leaning Ladder Bathroom Shelf
Have you ever walked into a friend’s bathroom and been completely wowed by a simple, yet elegant piece of furniture? That’s what happened to me recently, and guess what? It was a DIY leaning ladder bathroom shelf! I was so inspired that I decided to try building one myself, and I’m here to tell you, it’s easier than you might think.
This project is perfect for adding a touch of rustic charm to your bathroom, and the best part is, it’s incredibly functional too. It’s a great way to display towels, toiletries, or even decorative items. Plus, with a few simple tools and readily available materials, you can have a custom-made shelf that perfectly fits your space.
Getting Started: Tools and Materials
Before we jump into the building process, let’s make sure we have everything we need. Here’s a list of tools and materials you’ll need to gather:
- Wood: You can use new lumber or get creative and repurpose wood from your scrap pile. Pine is a great affordable option that’s easy to work with!
- Jigsaw: This is what you’ll use to make those perfectly angled cuts for the ladder legs.
- Brad Nailer: This will help you assemble the shelf quickly and efficiently.
- Sandpaper: A smooth finish is key! Sandpaper will help you get rid of any rough edges.
- Wood Stain or Paint: Choose a color that complements your bathroom décor.
- Measuring Tape: Accuracy is key in woodworking!
- Pencil: For marking your cuts.
- Safety Glasses: Always prioritize safety when working with power tools.
- Wood Glue (optional): For added strength and durability.
Building Your Leaning Ladder Shelf
Now for the fun part – let’s build this beauty!
-
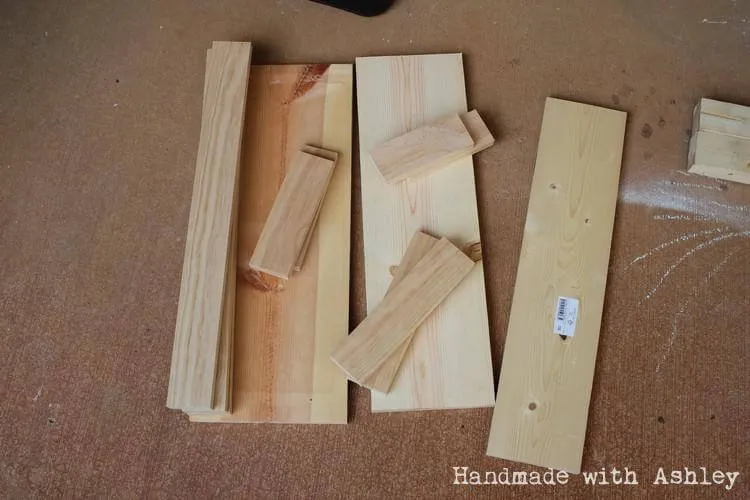
Cut the Wood: Follow the dimensions provided in your chosen plan. Remember to measure twice, cut once!
 Lumber cut to the appriopriate dimensions
 -
Shape the Ladder Legs: This is where your jigsaw comes in. Carefully cut the angled edges for your ladder legs.
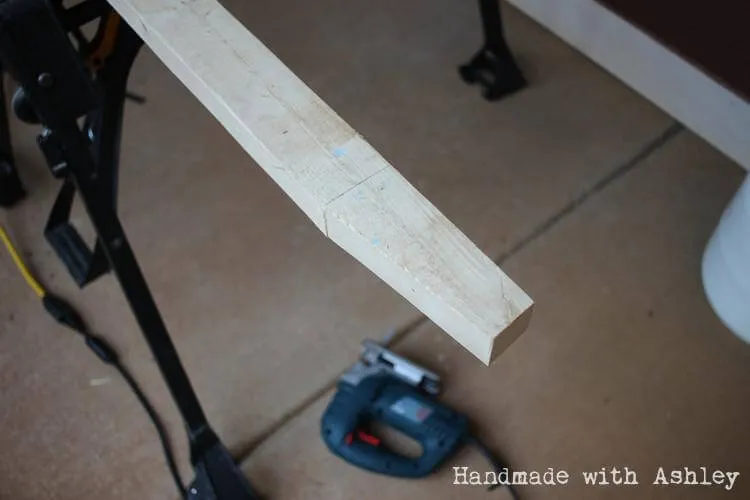 Cutting the ladder legs with a jigsaw
 -
Sand, Sand, Sand: Smooth out all the edges and surfaces of your cut wood pieces.
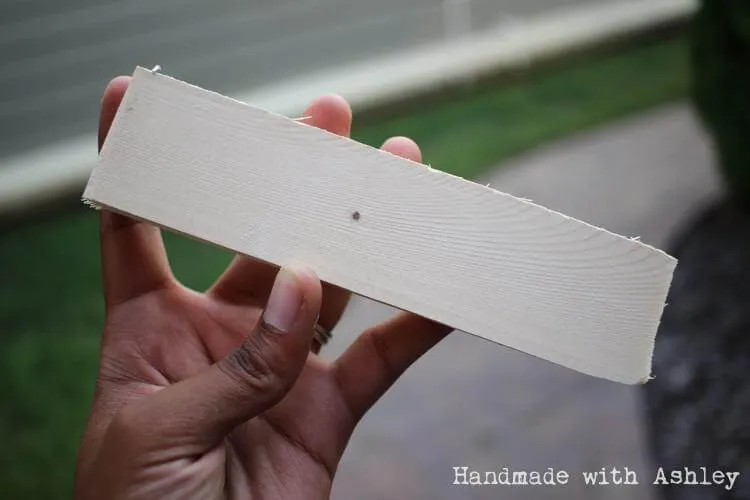 Nice smooth jigsaw cuts with the Festool scroll-cut blades
 -
Assemble the Shelf: Use your brad nailer and wood glue (optional) to assemble the ladder sides and shelves according to your plan.
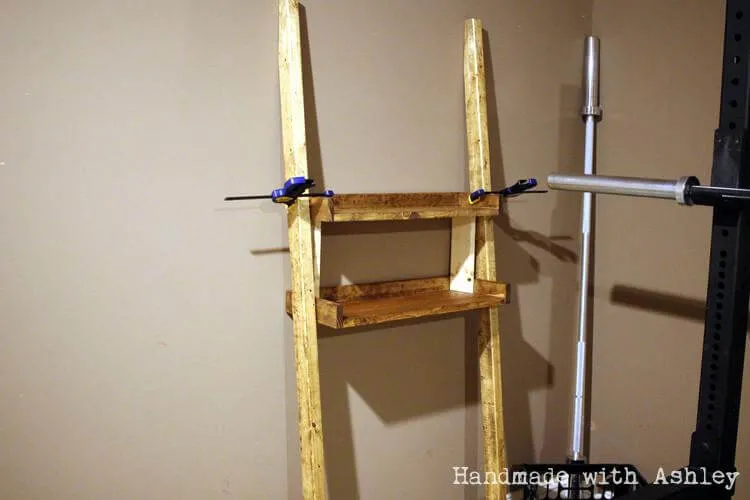 Assembling the shelf
 -
Stain or Paint: Now it’s time to add your personal touch! Apply your chosen wood stain or paint evenly. Allow it to dry completely.
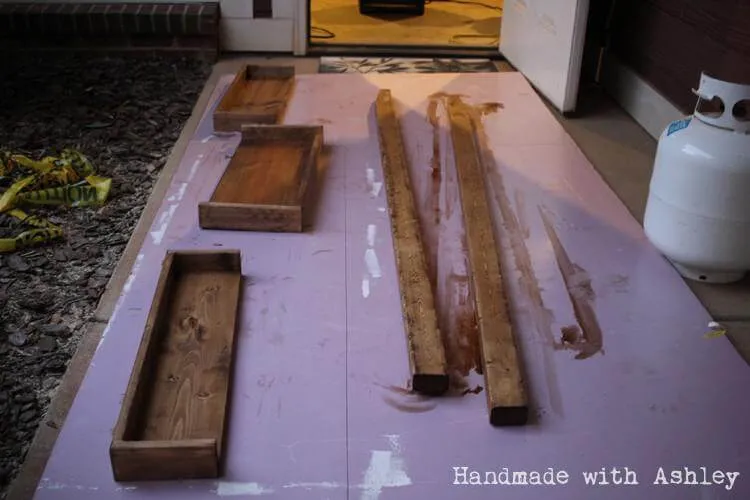 Staining the shelf with Danish Oil
Tips and Tricks
- Plan Selection: There are tons of free leaning ladder shelf plans available online. I highly recommend checking out resources like Ryobi Nation or Ana White’s website for detailed plans.
- Distressing (Optional): For a more rustic farmhouse look, consider distressing the wood using sandpaper or a wire brush before staining.
- Leveling: Use a level to ensure your shelf leans at the correct angle and won’t topple over.
Showcase Your Masterpiece
And there you have it! Your very own DIY leaning ladder bathroom shelf, ready to elevate the style and functionality of your bathroom.
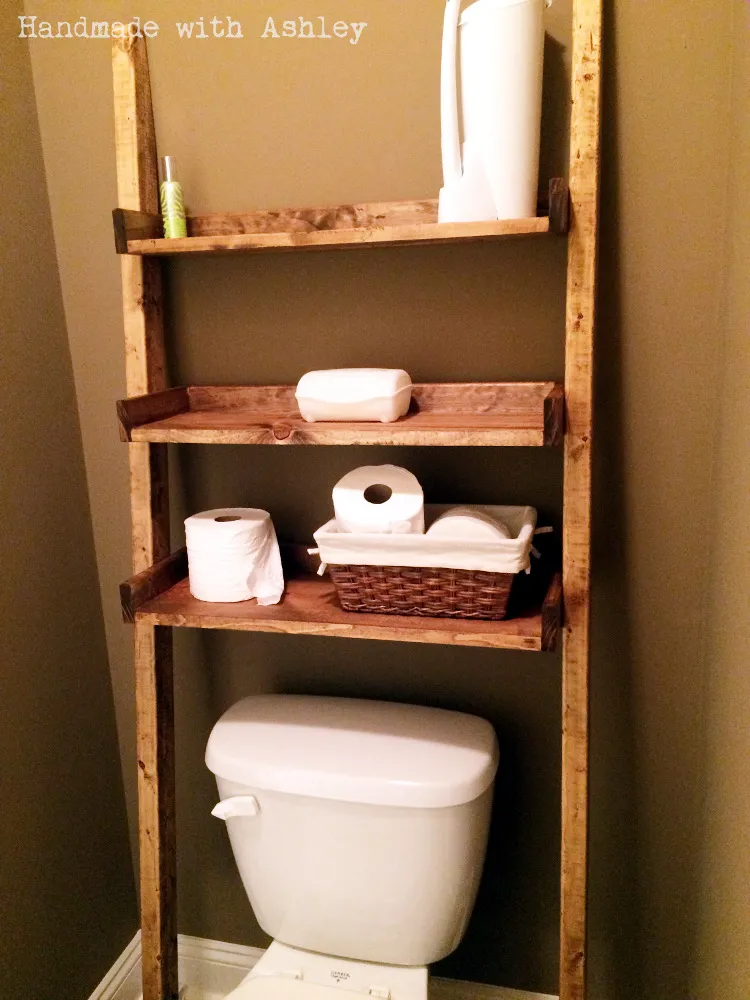 DIY Leaning Ladder Bathroom Shelf
 DIY Leaning Ladder Bathroom Shelf
 DIY Leaning Ladder Bathroom Shelf
I’m so excited for you to try this project! I know you’ll love the results. Don’t forget to share your creations with me in the comments below. And if you’re looking for more handmade gift ideas and DIY inspiration, head over to the Robert Kline Art website – you’re sure to discover something amazing!
