Blog
Building a Floating Bathroom Vanity: A Step-by-Step Guide
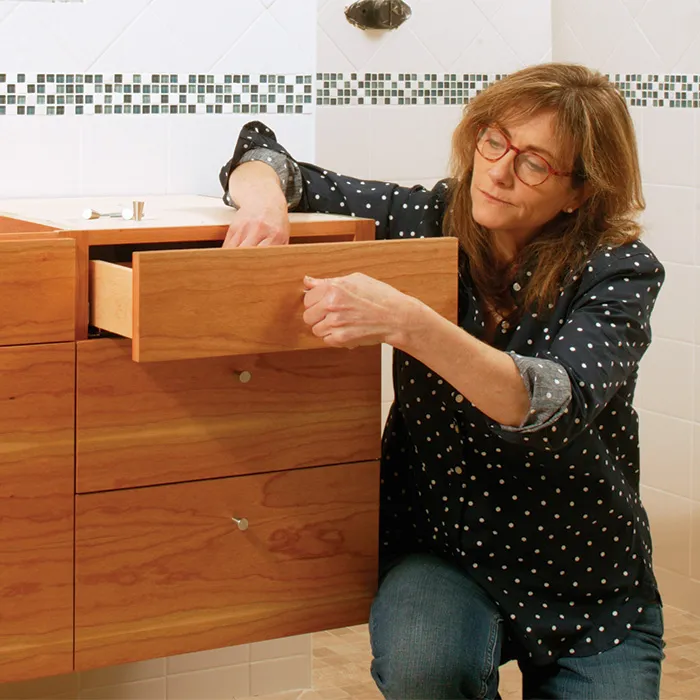
There’s a certain satisfaction that comes with building something with your own hands, and that feeling is amplified when you tackle a project as impressive as a floating bathroom vanity. This style of vanity adds a sleek, modern touch to any bathroom, and contrary to what some might think, it’s a project well within reach for the dedicated DIY enthusiast.
In this guide, I’ll walk you through the process of building a beautiful and functional floating vanity, drawing upon my years of experience as a cabinet maker and furniture designer. We’ll cover everything from planning and material selection to assembly and installation, ensuring you have the knowledge and confidence to create a piece you’ll be proud to show off.
Planning Your Floating Vanity
Before we dive into the construction, let’s lay the groundwork for a successful project:
1. Measurements and Design
- Measure Your Space: Begin by carefully measuring your bathroom to determine the vanity’s ideal size and placement. Consider traffic flow, door swing, and the location of existing plumbing.
- Sketch It Out: Create a rough sketch of your desired vanity, including dimensions, drawer placement, and any special features you envision. This visual guide will be invaluable throughout the process.
2. Choosing the Right Materials
- Plywood: Opt for high-quality plywood for the carcases, the internal framework of the vanity. Maple plywood is a great choice for its strength and stability.
- Moisture-Resistant MDF: To achieve a refined exterior, choose moisture-resistant MDF (medium-density fiberboard) veneered with your desired wood species. Cherry is an excellent choice for its warm tones and durability in bathroom environments.
- Solid Wood: For drawer construction, consider using solid wood like maple for its strength and aesthetic appeal.
- Hardware: Invest in quality drawer slides, hinges, screws, and mounting brackets. These components are crucial for the vanity’s functionality and longevity.
Building the Vanity
With a clear plan and materials in hand, we can begin the construction process:
3. Building the Carcases
- Cut the Plywood: Using your measurements, cut the plywood pieces for the vanity’s sides, top, bottom, and shelves. A table saw is ideal for these cuts.
- Assemble the Carcases: Use glue, biscuits, and screws to assemble the carcases. Biscuits provide added strength and alignment, while screws offer robust reinforcement. Be sure to pre-drill screw holes to prevent splitting the plywood.
 The carpenter
A well-organized workspace is key for efficient woodworking.
4. Adding Face Frames and Drawer Slides
- Create Face Frames: Build face frames from solid wood to enhance the vanity’s structure and cover the plywood edges. Attach them to the carcases with glue and clamps.
- Install Drawer Slides: Before building the drawers, install the drawer slides to the carcases. This ensures accurate drawer sizing and placement.
5. Crafting the Drawers
- Dovetail Joinery: For drawers that are both beautiful and strong, consider using dovetail joinery. While it requires some practice, the results are well worth the effort.
- Drawer Bottoms: Cut grooves for the drawer bottoms into the drawer sides and backs. This creates a secure channel for the bottom panel, which can be attached with glue and screws.
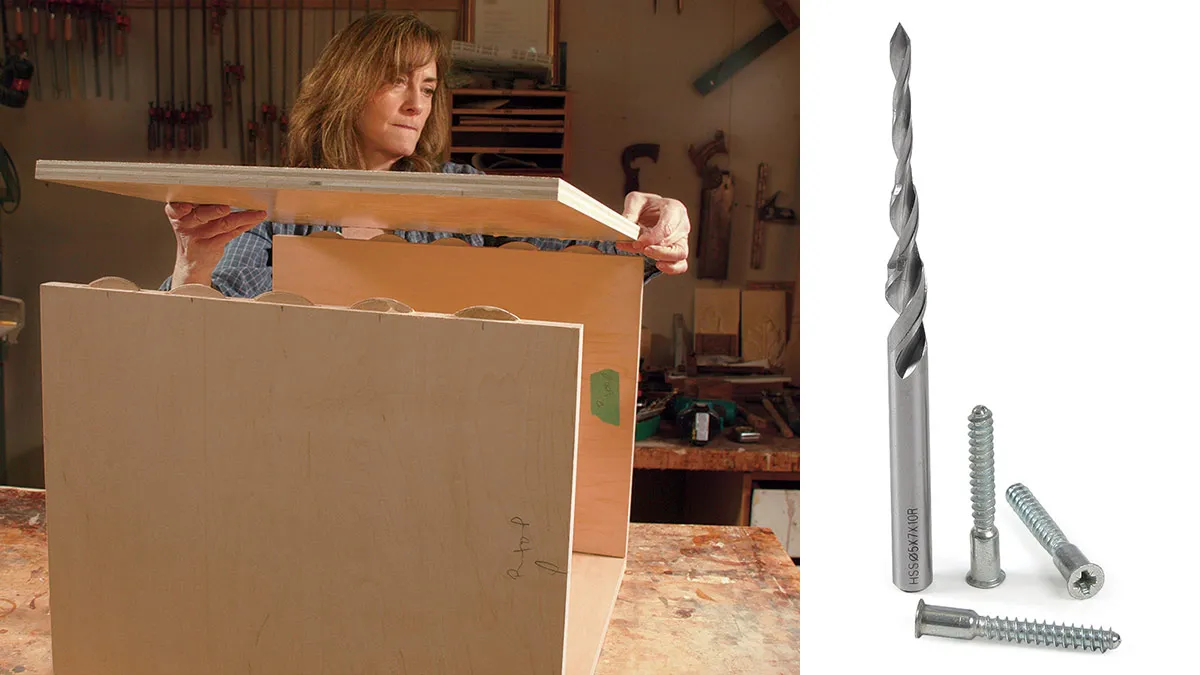 joinery for bathroom vanity
Precise joinery is a hallmark of fine craftsmanship.
6. Veneering for a Seamless Look
- Custom Veneer: While plywood offers structural integrity, consider using custom veneer to achieve a seamless look with continuous grain patterns across the vanity’s exterior.
- Edge Banding: Apply edge banding to the edges of the veneered panels for a polished finish. Use heat-sensitive veneer tape for easy application and a professional result.
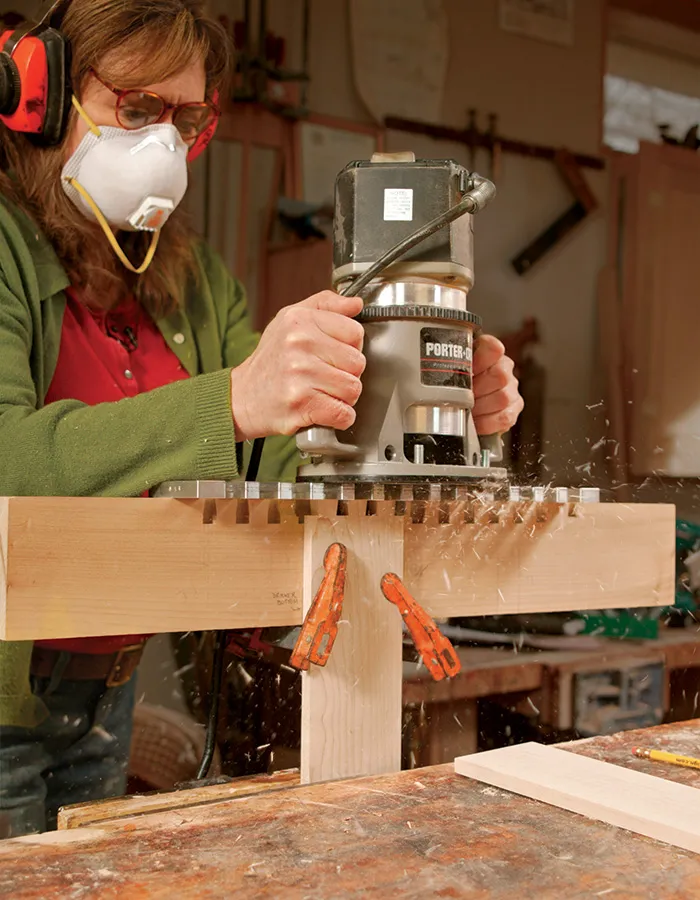 Doors and drawer fronts from custom-veneer material
Custom veneer adds a touch of elegance to any project.
Installing the Floating Vanity
With the vanity constructed, let’s move on to the crucial installation phase:
7. Securing to the Wall
- Wall Blocking: Install 2x blocking between the wall studs to provide a secure mounting surface for the vanity. Use heavy-duty construction screws to attach the blocking.
- Heavy-Duty Brackets: Choose heavy-duty steel brackets rated for the weight of the vanity, countertop, and potential contents. Install the brackets according to the manufacturer’s instructions, ensuring they are level and securely fastened to the wall blocking.
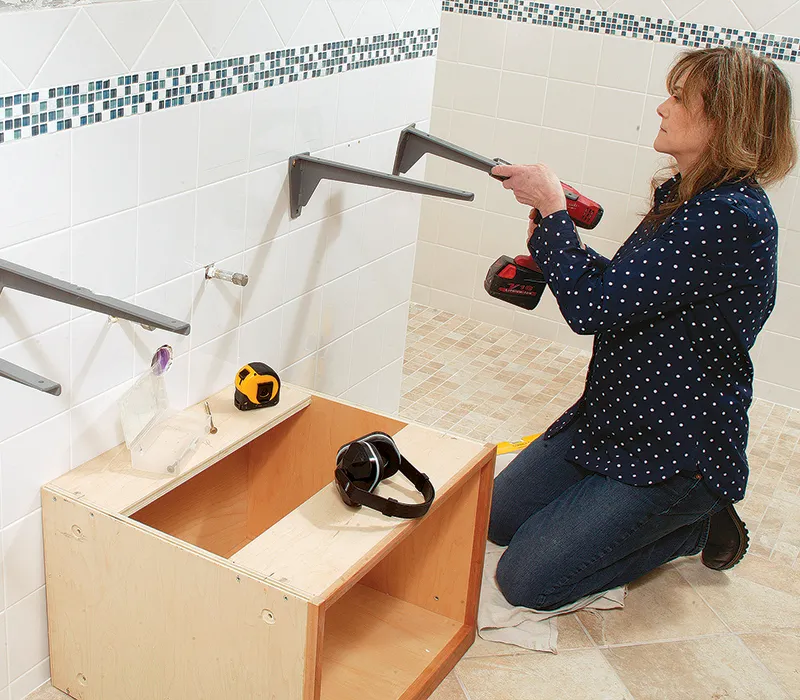 In a perfect world, screws would be enough
Robust brackets are essential for supporting the weight of a floating vanity.
8. Final Touches
- Scribe and Attach End Panels: Scribe the end panels to the wall for a perfect fit, and attach them using glue and brads.
- Hang Doors and Attach Drawer Fronts: Carefully hang the doors and attach the drawer fronts, ensuring they are aligned and evenly spaced.
- Finishing: Apply a durable, water-resistant finish to protect the vanity from moisture. Consider a polyurethane varnish for its durability and moisture resistance.
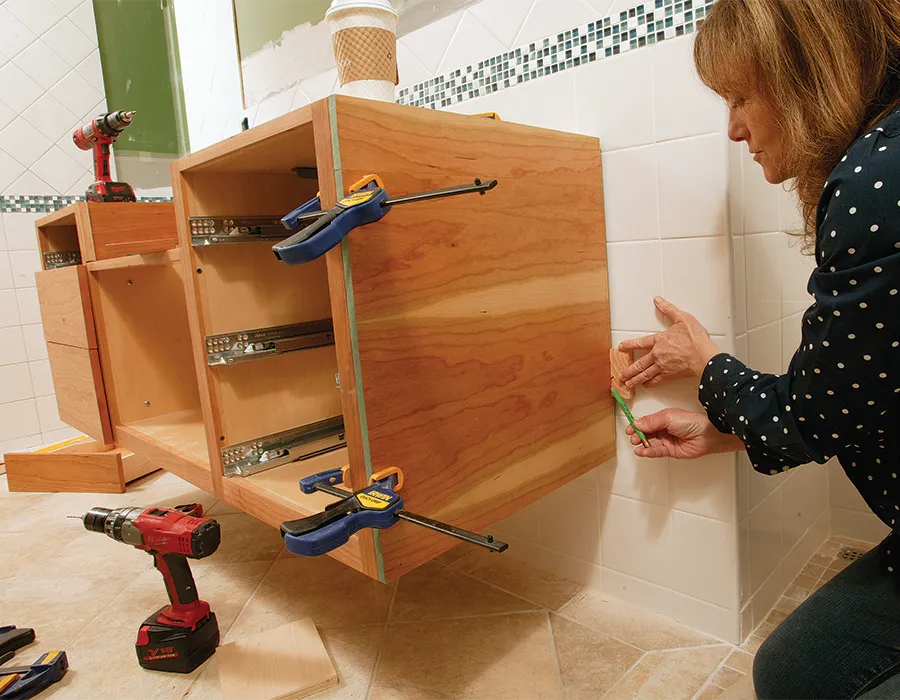 scribe each end panel to the wall
Scribing ensures a precise fit against uneven walls.
Conclusion
Building a floating bathroom vanity is a rewarding project that elevates the look and functionality of your bathroom. By following these steps and embracing the joy of craftsmanship, you can create a beautiful and long-lasting vanity that reflects your personal style.
Don’t be afraid to add your own creative touches to make it truly your own. Remember, the satisfaction comes from the journey as much as the destination.
Ready to explore more handcrafted possibilities for your home? Browse the exquisite selection of unique, handcrafted gifts and home décor available on Robert Kline Art, and discover the perfect pieces to add warmth and personality to your living spaces.
