Blog
DIY Floating Shelves: A Step-by-Step Guide for a Touch of Elegance

Hey there, fellow craft enthusiasts! Robert Kline here, and let me tell you, there’s just something so satisfying about creating your own home decor. It’s like adding a little piece of your heart into your living space. Today, we’re diving into the world of DIY floating shelves – a project that’s easier than it looks and adds a touch of modern elegance to any room.
Why Floating Shelves?
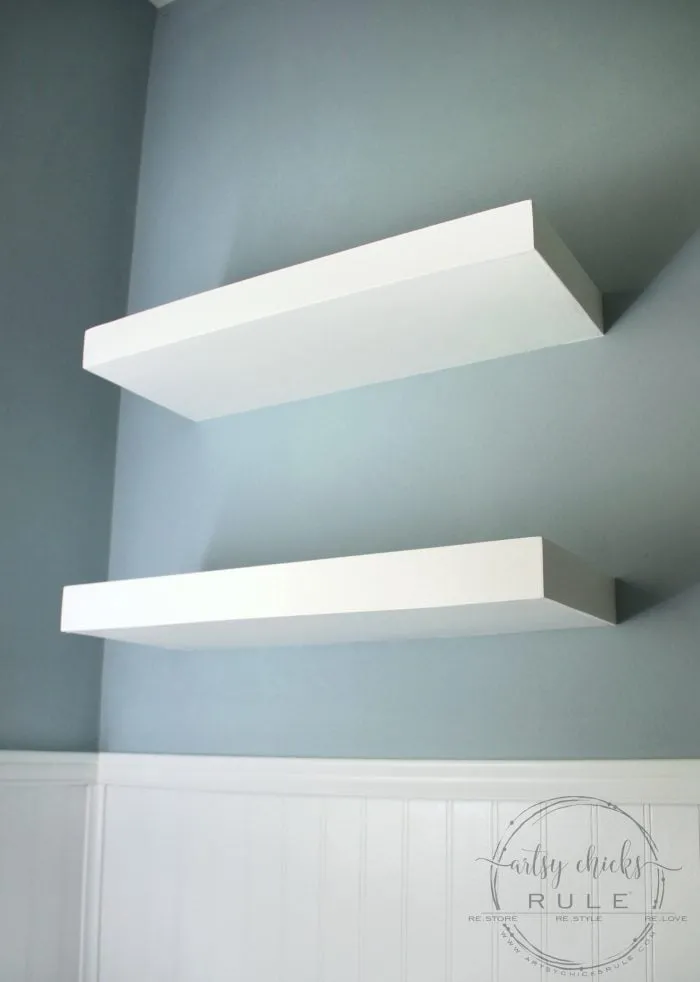
Floating shelves are like magic – they provide storage and display space without the bulkiness of traditional shelves. Plus, they’re incredibly versatile. Picture this: a sleek floating shelf in your bathroom displaying your favorite candles and bath products, or a set in your living room showcasing family photos and cherished trinkets.
Gathering Your Supplies:
Before we embark on this crafting adventure, let’s gather our trusty tools and materials. Here’s what you’ll need:
- Wood:
- 2 – ¼ in x 2 ft x 4 ft Sanded Plywood Project Panel
- 2 – 1 in x 2 in x 8 ft Select Pine Board
- Adhesives and Fasteners:
- Wood Glue
- Clamps
- Screws
- Tools:
- Screwdriver
- Stud Finder
- Level
- Brad Nailer (or finish nails)
- Painter’s Tape
- Paint Brush
- Finishing Touches:
- White Paint (or your color of choice!)
 DIY Floating Shelves Tutorial artsychicksrule.com
Pro Tip: Having your wood pre-cut at the store can save you time and ensure accurate measurements.
Building Your Floating Shelves:
Step 1: Measure and Cut
Using the list above, cut your wood into the required dimensions. Remember, precision is key for sturdy and well-fitting shelves.
Step 2: Creating the Frame
Assemble the 1 in x 2 in pine boards to form the inner frame of your shelves. Secure them together using wood glue and screws. This frame provides the backbone for your floating masterpiece.
 DIY Floating Shelves Tutorial artsychicksrule.com
Step 3: Attaching the Plywood
Apply wood glue to the top and sides of your frame, then carefully position the plywood panels onto the glue. Use clamps to hold everything firmly in place while the glue dries.
Important Note: Don’t glue the front 1×2 piece yet! We’ll attach it later for a seamless finish.
 DIY Floating Shelves Tutorial artsychicksrule.com
Step 4: Mounting Your Shelves
Using a stud finder, locate and mark the studs in your wall. This step is crucial for providing maximum support and preventing your shelves from, well, not floating. Drill pilot holes, then secure the shelves to the wall using screws.
Step 5: The Finishing Touches
Attach the remaining 1×2 front piece to the shelves with glue and brad nails. This creates the illusion that the shelf is “floating” off the wall. Once the glue is dry, tape off your shelves and apply two coats of paint, allowing for drying time between each coat.
 DIY Floating Shelves Tutorial artsychicksrule.com
Styling Your Floating Shelves:
Now comes the fun part! Let your personality shine by decorating your new shelves. Here are a few ideas to spark your creativity:
- Personal Touches: Display framed photos, travel souvenirs, or small potted plants to personalize the space.
- Functional Beauty: Use your floating shelves to store books, candles, or decorative jars filled with bathroom essentials.
- Play with Height: Create visual interest by arranging items of varying heights on your shelves.
 DIY Floating Shelves Tutorial artsychicksrule.com
Conclusion:
Congratulations on creating your own DIY floating shelves! You’ve added a touch of modern elegance and personalized style to your home. I always say, the best kind of decor is the kind you make yourself. Now, step back, admire your handiwork, and get ready to receive compliments from everyone who enters your home!
For more creative inspiration and unique handmade gifts, be sure to explore the rest of Robert Kline Art . And remember, the most important ingredient in any DIY project is to have fun!
