Building a Charming Corner Bathroom Cabinet: A Step-by-Step Guide
There’s a certain satisfaction that comes from crafting something with your own two hands, especially when it’s both beautiful and functional. In this blog post, we’ll journey through the creation of a spacious corner bathroom cabinet, a project inspired by the expert craftsmanship of Michael T. Collins. This guide is perfect for woodworking enthusiasts of all levels, and I’m here to guide you every step of the way.
Tools and Materials
Before we begin, let’s gather our tools and materials. As a firm believer in using what you have, feel free to adapt the materials to your liking.
Tools:
- 13mm mortise chisel
- 19mm bevel-edge chisel
- Rip and tenon saw
- Brace and 10mm twist bit
- Jack, smoothing, block, router, and combination plane with tongue and groove cutters
- 13mm round plane
- Mortise and cutting gauge
- Marking knife
- Homemade mitre box
Materials:
- 2400 x 38 x 255mm scaffolding plank (or similar wood)
- Wood glue
- Cut nails
- Danish oil
- 6mm rare earth magnets
- Matching steel screw
- 3mm glass pane
- Thin strips of leftover wood for door design
Creating the Carcass
Step 1: Preparing the Panels
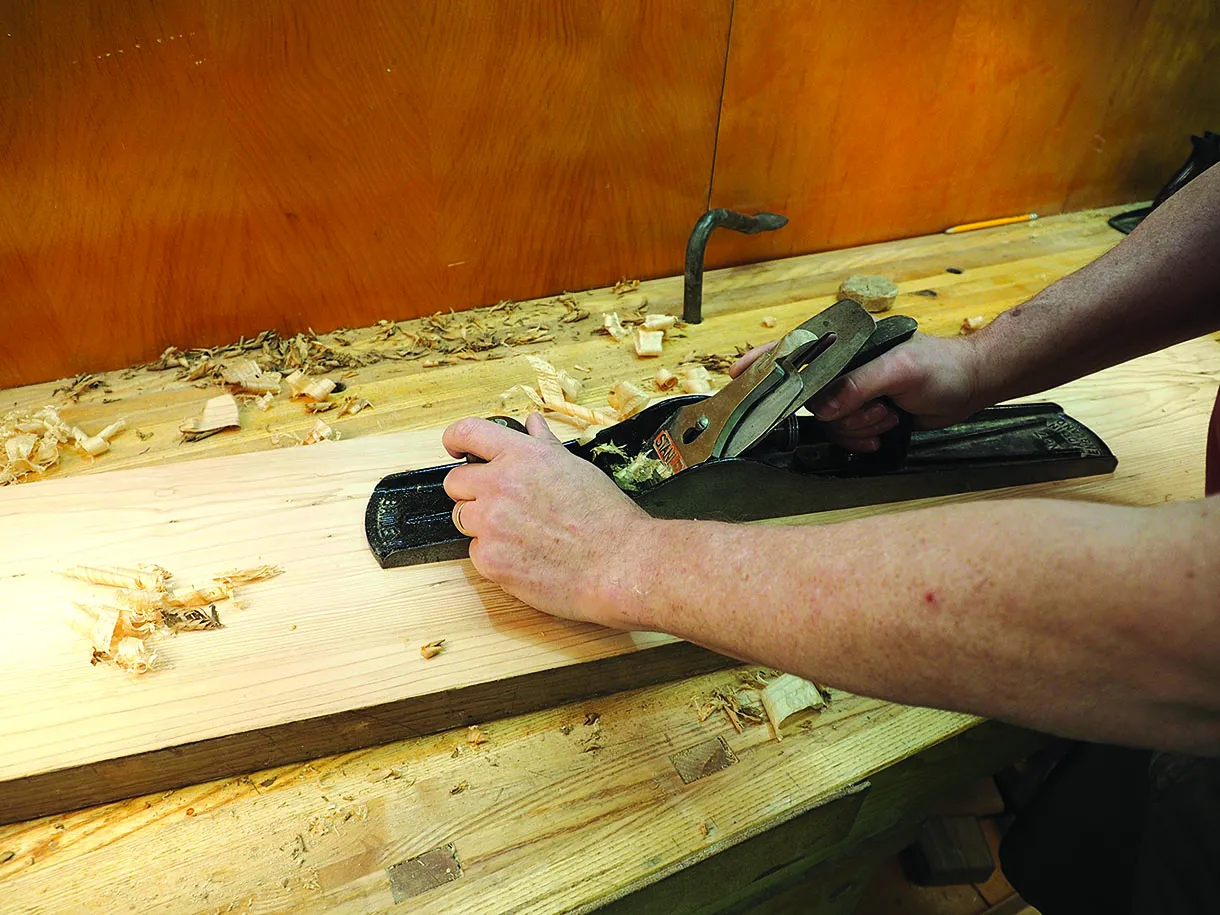
Start by cutting the plank in half. One half will be used for the cabinet’s side panels, shelf, inner top and bottom, and door frame. Plane one face flat and mark it as the face side. Gauge and plane the pieces to their respective thicknesses: 13mm for the panel and shelf, 20mm for the inner top, bottom, and door frame.
 Preparing wood for the bathroom cabinet
Step 2: Joining the Side Panels
Select the boards for the side panels and join them using a combination plane with a tongue and groove cutter. Remember to always plane with the fence on the face side. This joint provides strength, allows for wood movement, and eliminates the need for glue.
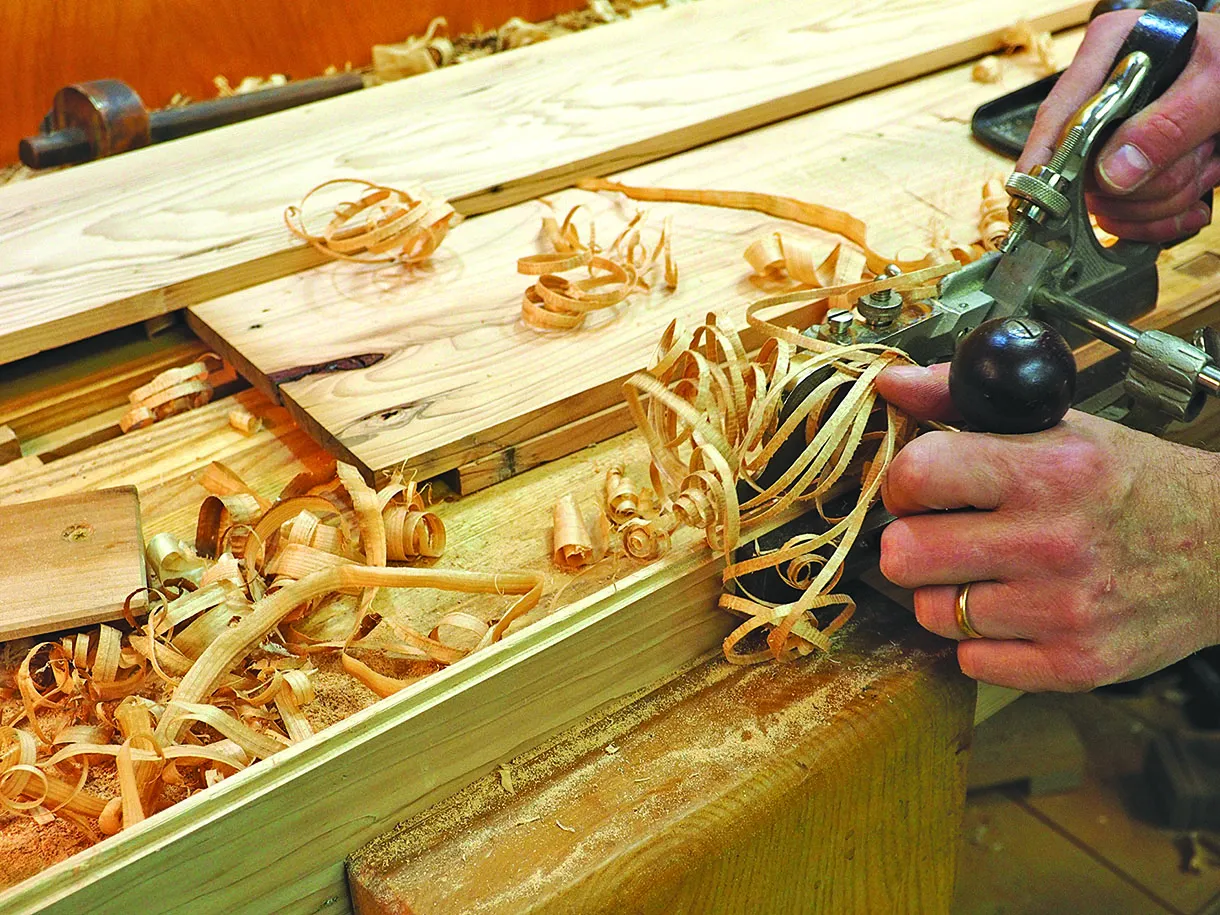 Creating tongue and groove joints for the side panels
Step 3: Adding a Shelf and Dado
Install the shelf slightly above the middle of the side panels by cutting a 3mm dado. Use a router plane for a clean finish.
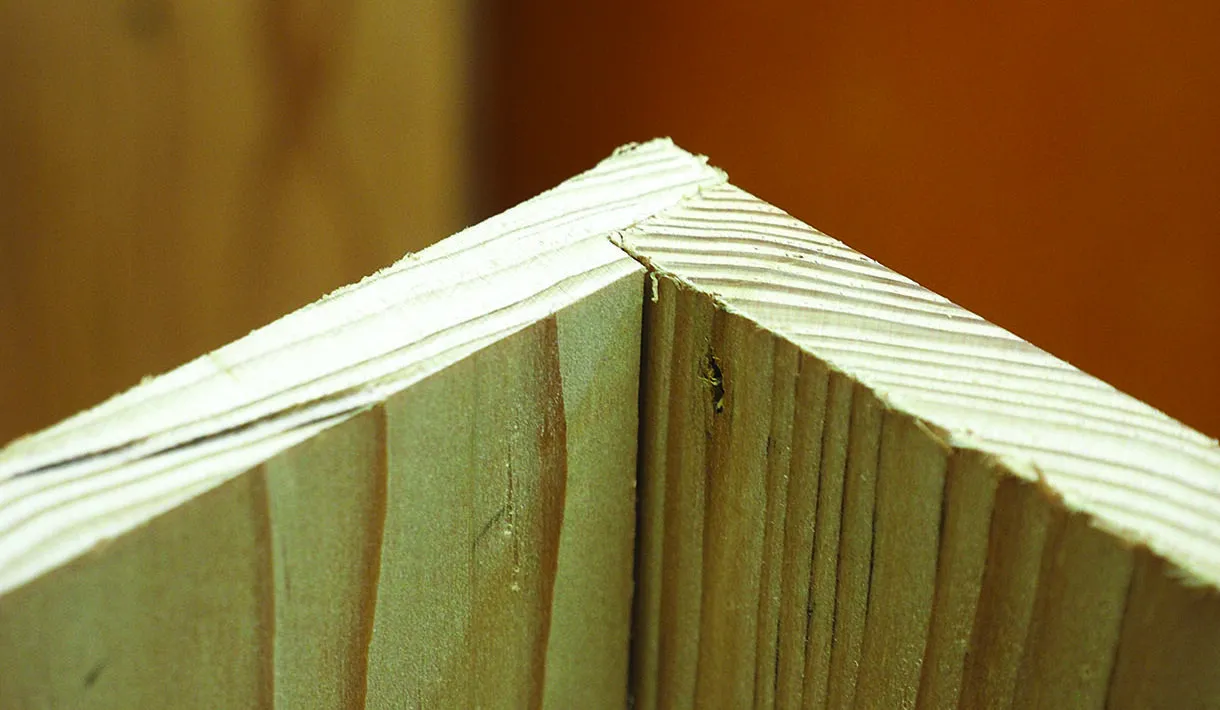 Cutting a rebate for the cabinet sides
Step 4: Attaching the Inner Top and Bottom
Cut the inner top and bottom pieces to size. Attach them to the side panels using glue and cut nails for an aged look. Remember to drill pilot holes before hammering the nails.
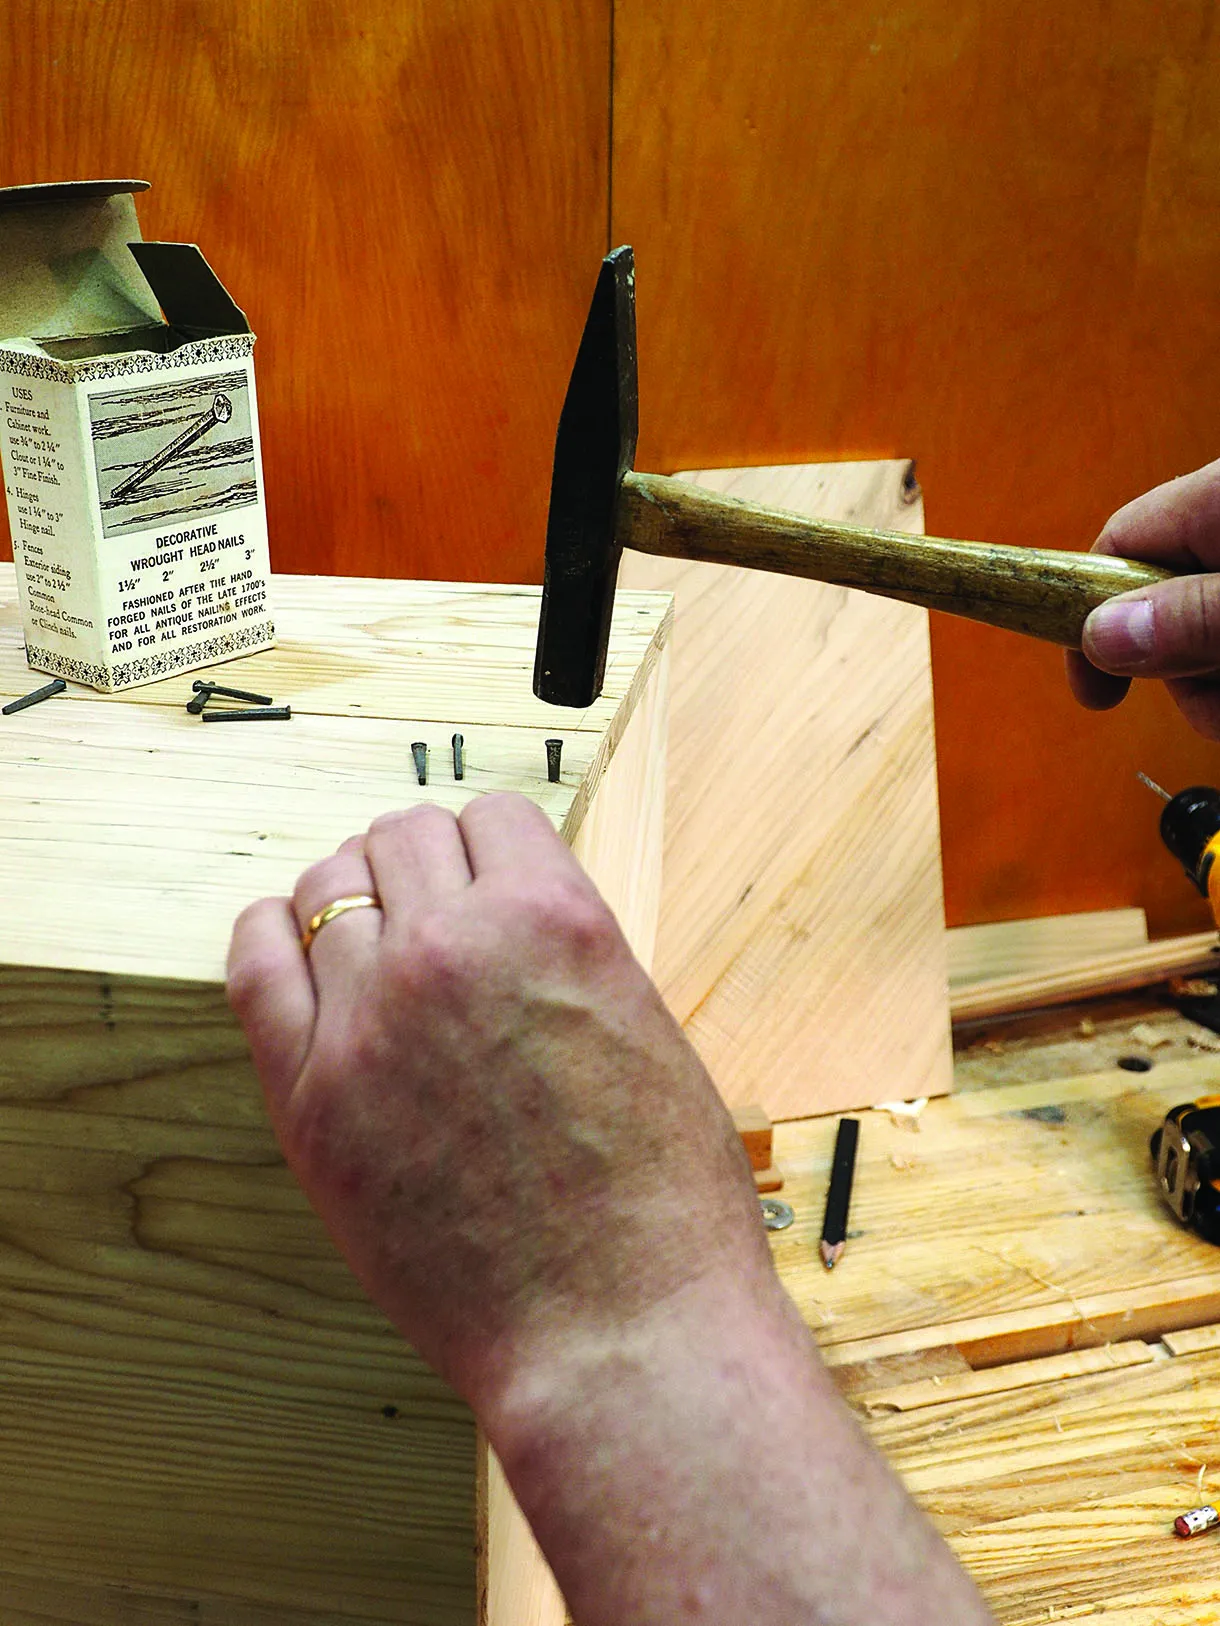 Nailing the top and bottom panels to the cabinet
Building the Face Frame and Door
Step 5: Creating the Face Frame
Construct the face frame from 20mm stock, mitering the sides together for a seamless look. Glue the parts securely, ensuring everything is square.
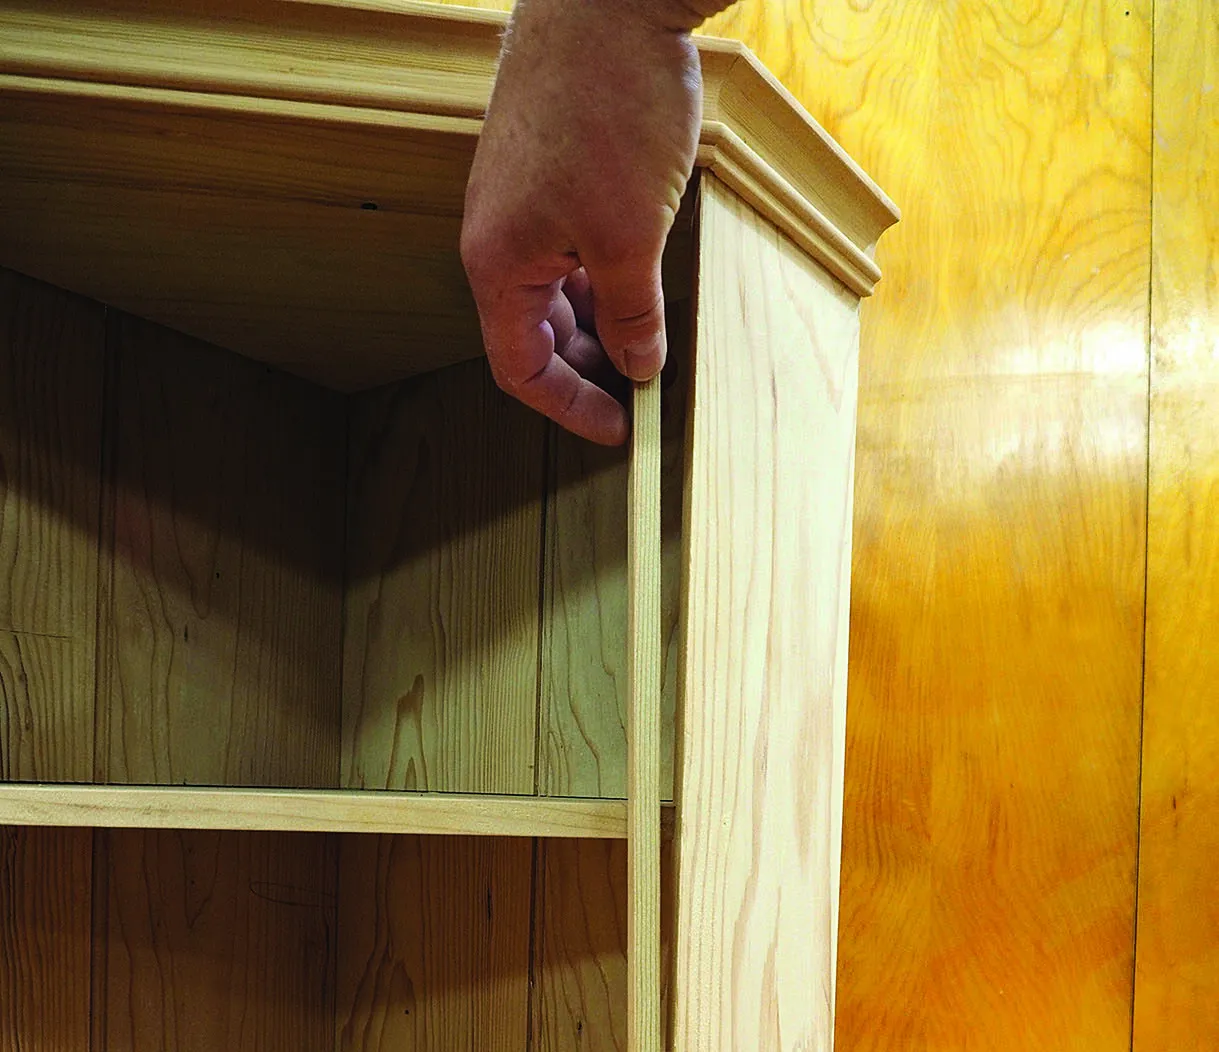 Creating the face frame of the bathroom cabinet
Step 6: Crafting the Door
The door’s dimensions should match the face frame opening. Use a bridle joint for a strong connection between the rails and stiles. Cut the rails and stiles to size, ensuring they are 38 x 19mm.
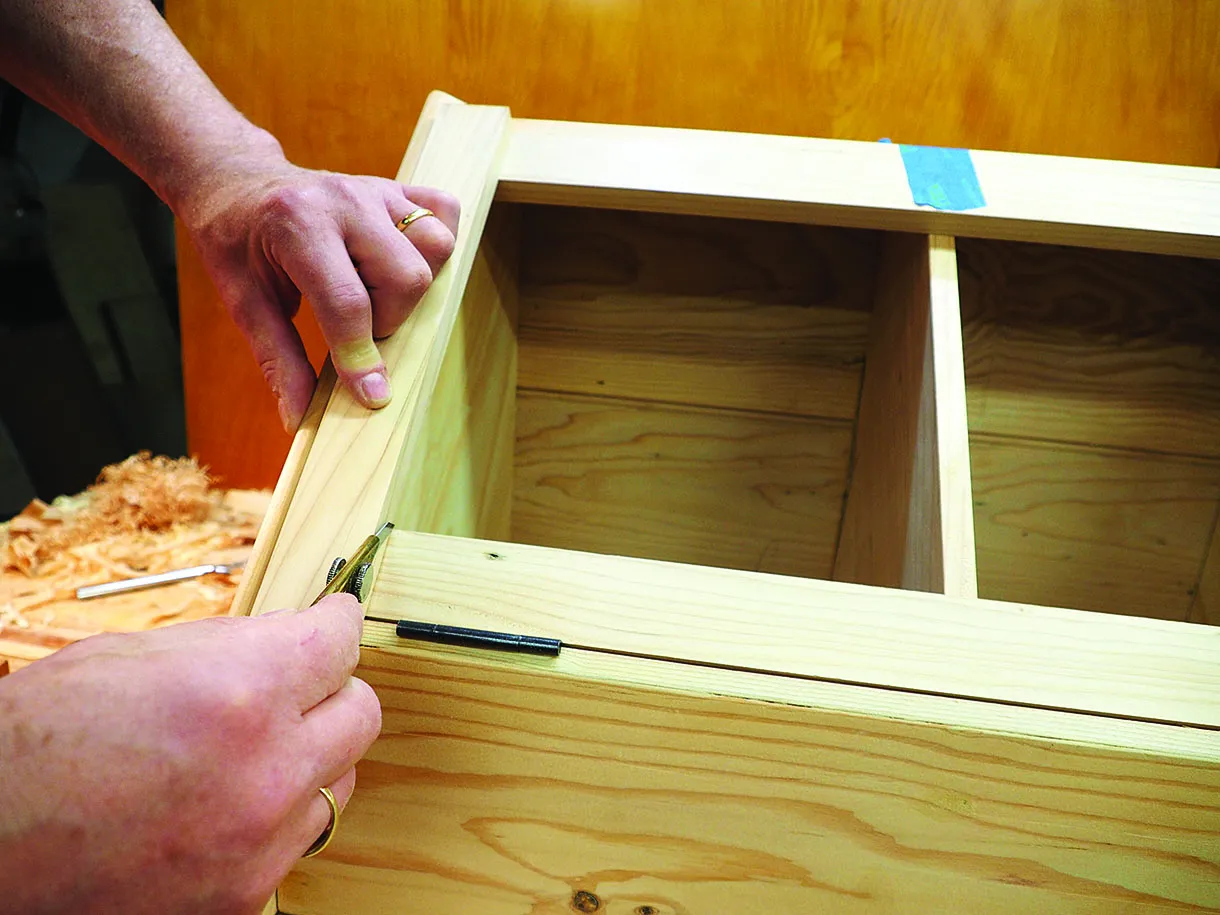 The completed door frame with bridle joints
Step 7: Mastering the Bridle Joint
Lay out the bridle joint carefully, practicing on scrap wood first. Mark the mortise and tenon locations precisely, ensuring accurate cuts.
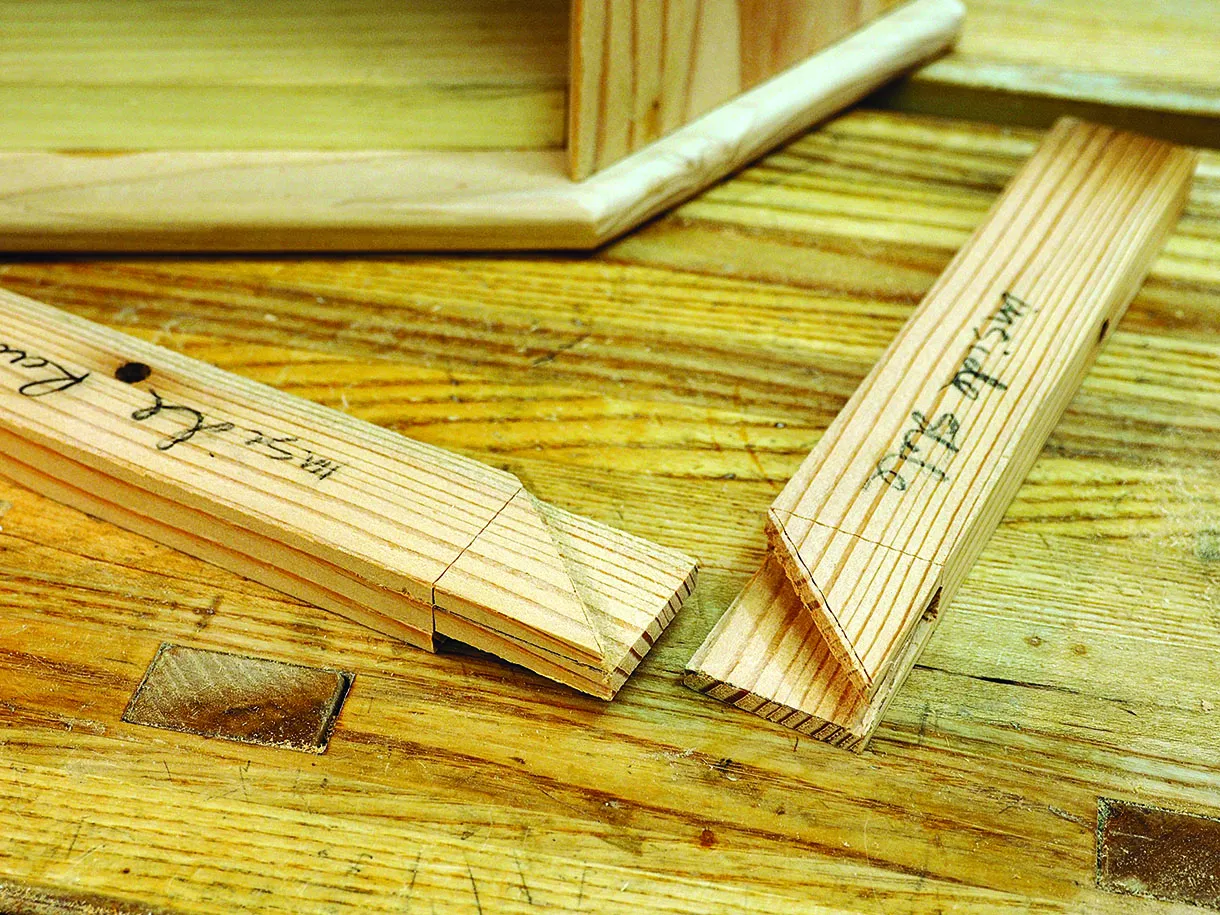 An inside view of the bridle joint
Step 8: Cutting the Mortise and Tenon
Drill a hole at the base of the mortise and saw out the remaining waste. For the tenon, cut a V-groove on the waste side of the shoulder line for a cleaner cut.
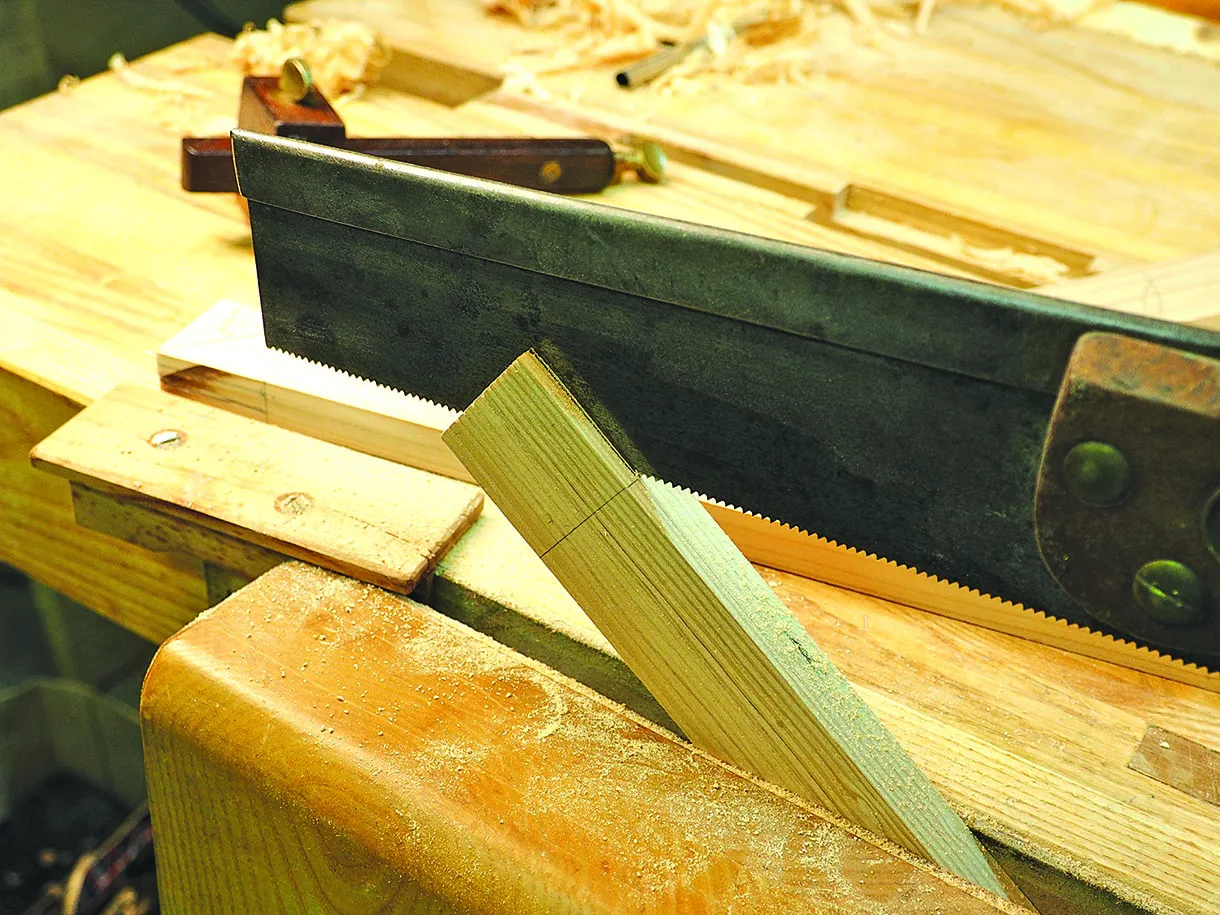 Cutting out the mortise waste from the wood
Step 9: Adding a Rebate for the Glass Pane
To accommodate the glass pane, plane a 10 x 10mm rebate on the inside of the door. This design modification allows for a glass panel while maintaining the traditional look of the bridle joint.
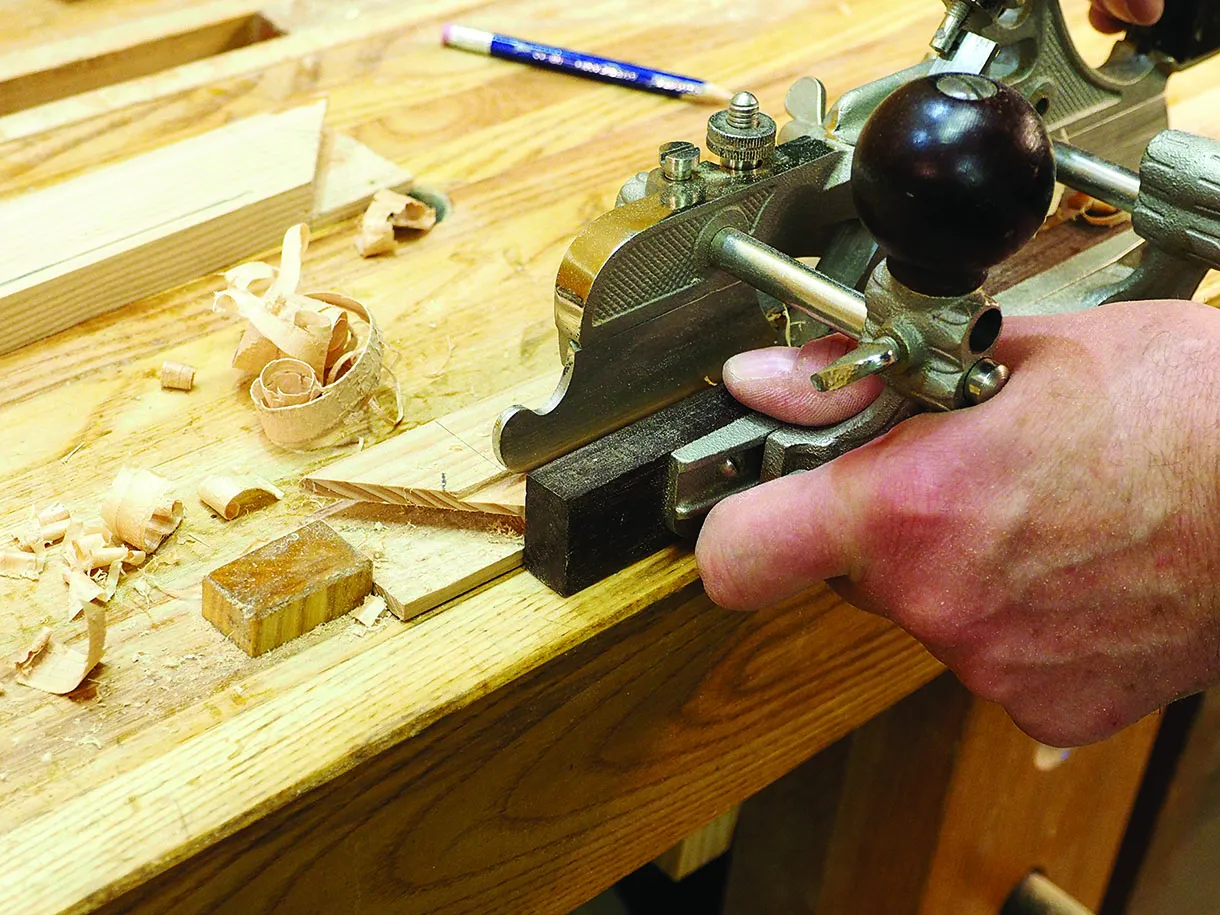 Planing a rebate in the wood
Step 10: Assembling the Door
Once the bridle joints are complete, glue and clamp the door together, ensuring it remains square. Plane off any excess waste after the glue dries.
Adding the Finishing Touches
Step 11: Crafting the Crown Molding
Create a custom cove and bead molding for the cabinet top. Use a tongue cutter for the bead and a rounding plane for the cove. Glue the two profiles together and miter the corners for a professional finish.
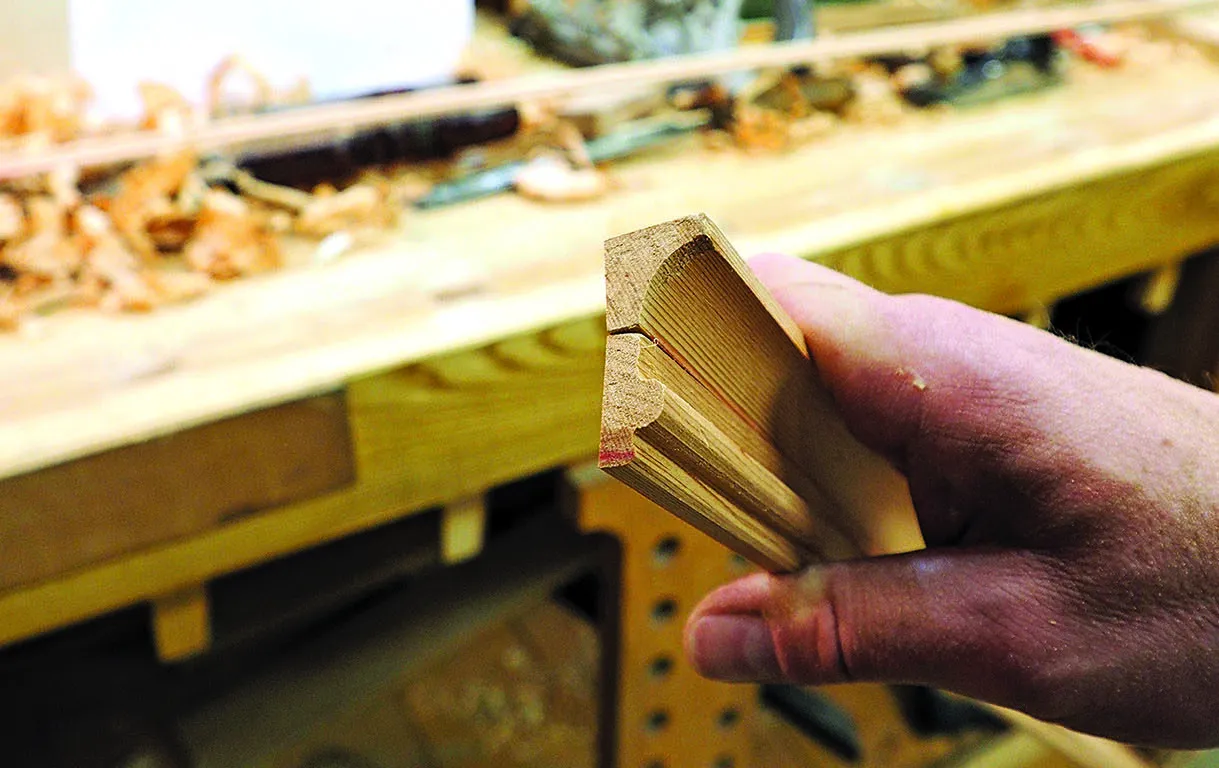 The finished cove and bead molding
Step 12: Installing the Hardware and Glass
Attach the hinges and test fit the door. Install rare earth magnets and corresponding steel screws for a secure closure. Apply a coat of Danish oil to the entire cabinet. Finally, install the glass pane, securing it with a thin bead of wood glue.
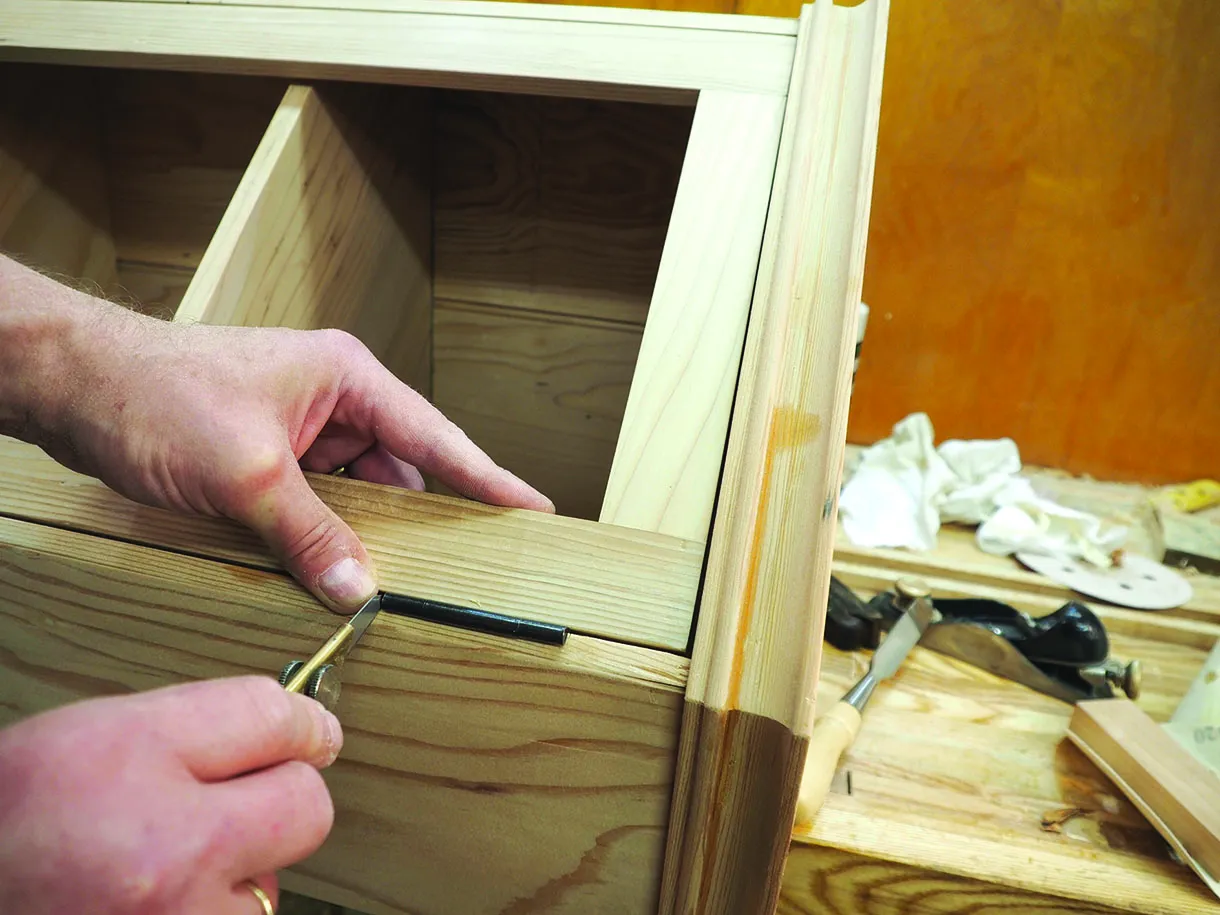 Installing the hinges on the cabinet door
Step 13: Adding a Personal Touch
Get creative with the door design. I used thin strips of leftover wood for a simple yet elegant look, but feel free to personalize it to your liking.
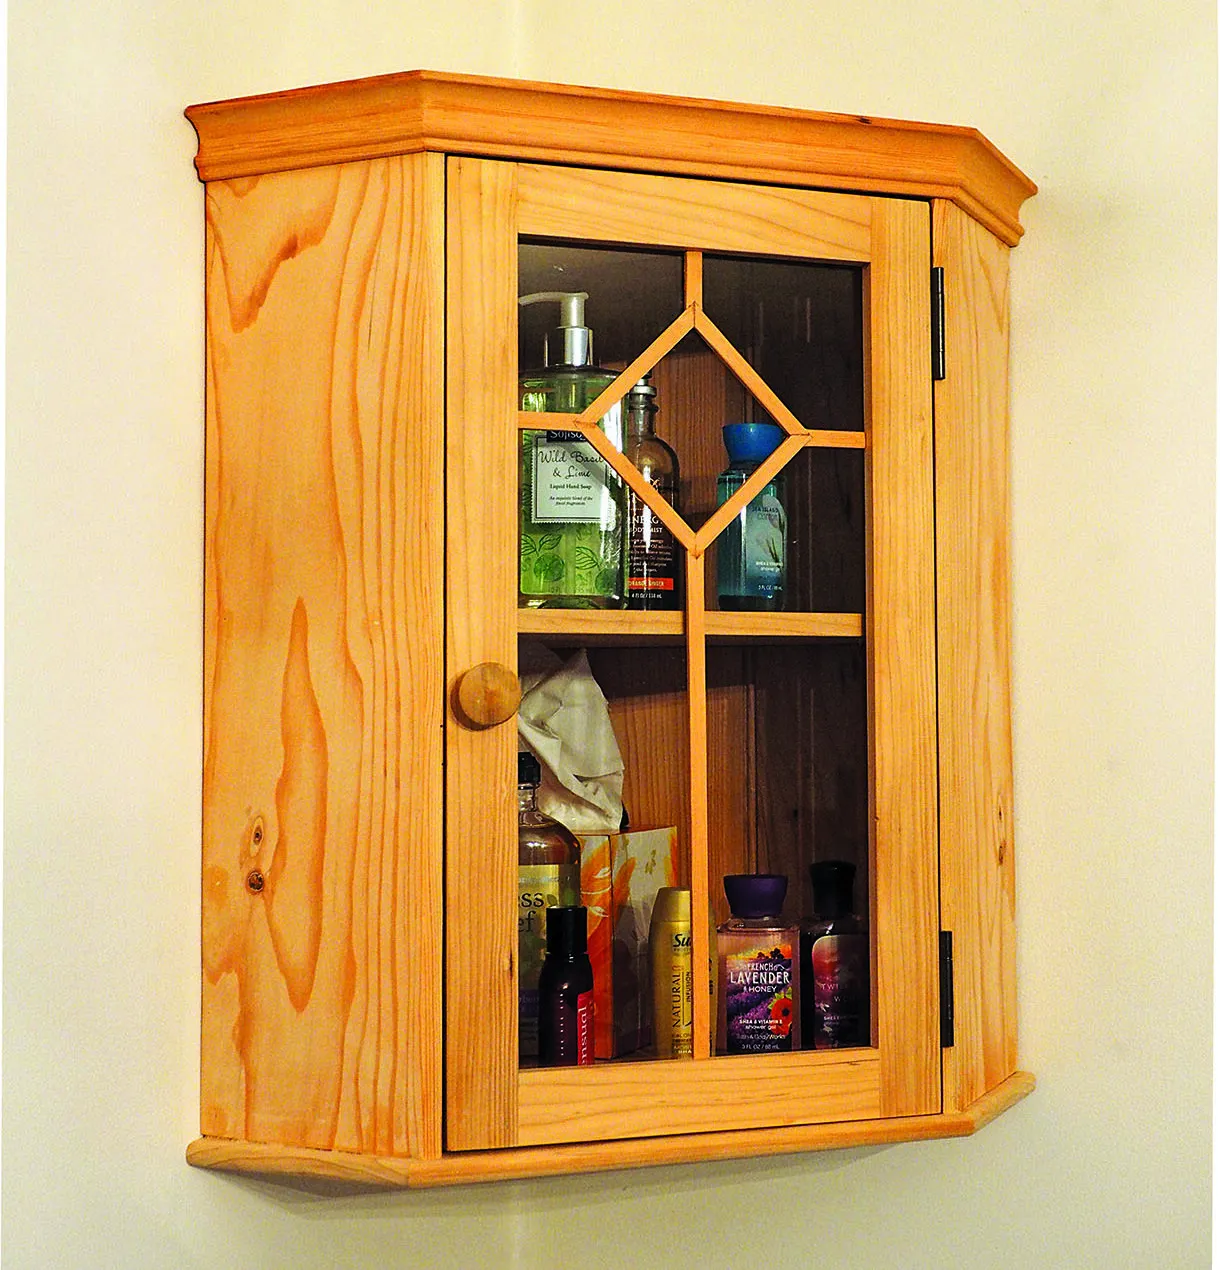 The final bathroom cabinet with a natural wood finish
Conclusion
Congratulations on crafting your very own corner bathroom cabinet! It’s a testament to your skill and a beautiful addition to any bathroom. I encourage you to embark on this project and experience the joy of woodworking.
For more inspiring DIY projects and unique handmade gifts, browse the Robert Kline Art website. Don’t forget to share your creations and connect with fellow woodworking enthusiasts in the comments below!
