Blog
Building a Backyard Mini Golf Course: A Fun and Affordable DIY Project

Have you ever dreamed of having your own mini golf course? Imagine the friendly competition, the laughter, and the satisfaction of sinking that perfect putt, all from the comfort of your backyard! With a little creativity and some readily available materials, this dream can become a reality. This guide will walk you through the process of building a fun, flexible, and affordable backyard mini golf course using recycled pallets.
Getting Started: Inspiration and Planning
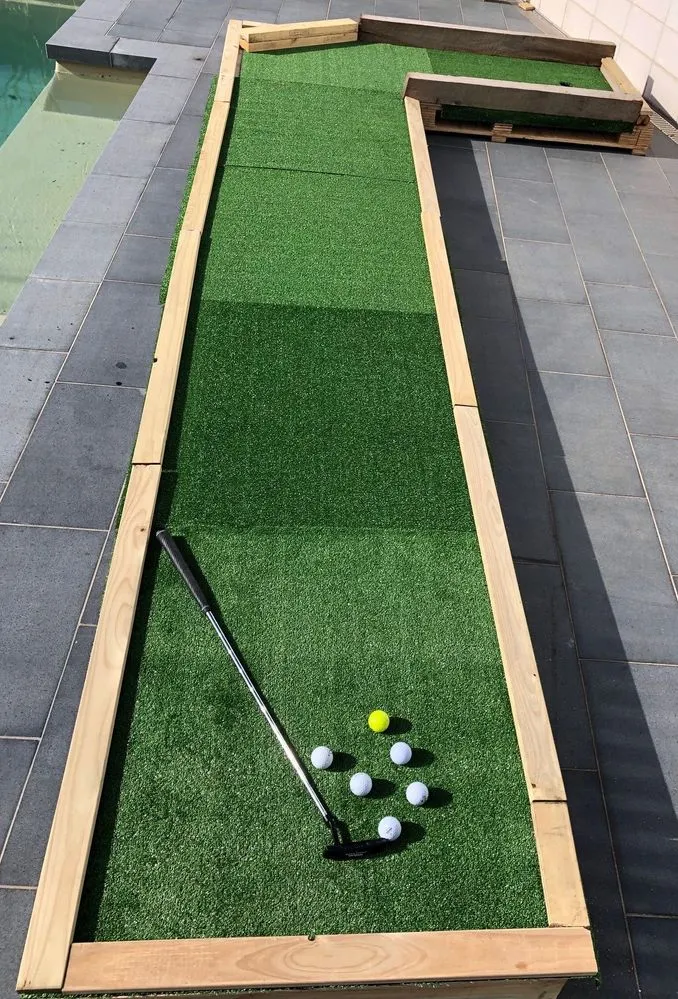
My journey began just like yours – with a spark of inspiration. I stumbled upon a video showcasing a simple, modular mini golf hole built on pallets, and I was immediately hooked! The idea of creating a portable course that I could rearrange and expand upon was too good to pass up.
 13.jpg
A simple, modular mini golf hole built on pallets.
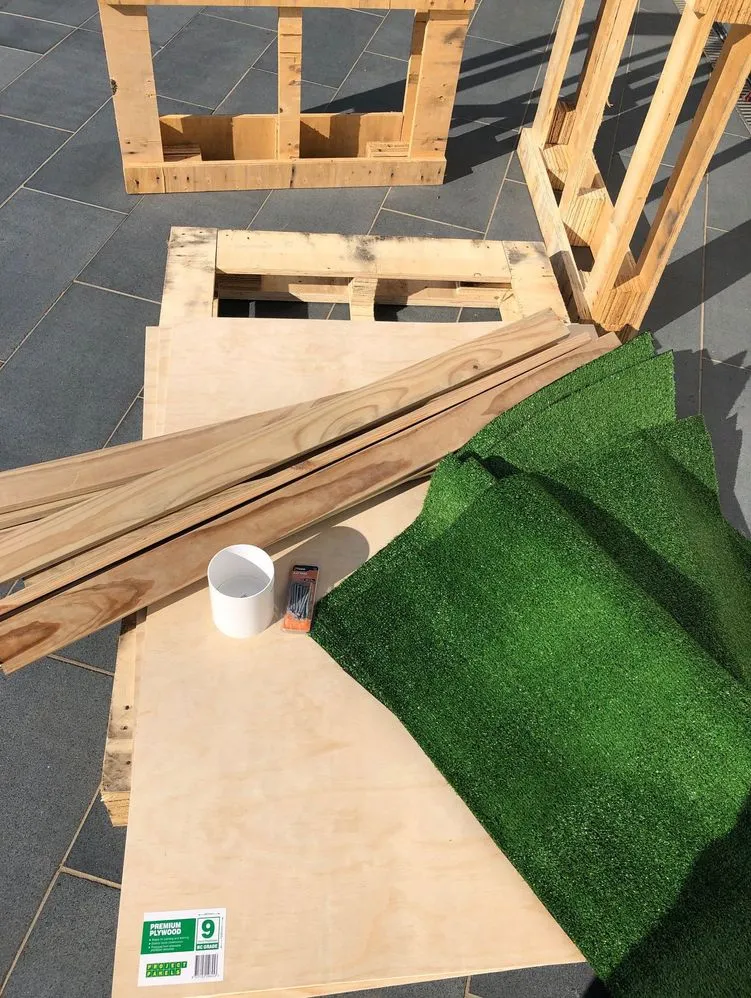
After gathering some recycled pallets (thanks to a neighbor’s generous donation!), I headed to my local hardware store for a few essential supplies. My shopping list included plywood for the base, timber pickets for the course walls, artificial turf for that classic putting green feel, and a PVC pipe and end cap to create the hole itself.
Pro Tip: To keep costs down and ensure easy storage, opt for artificial turf mats instead of buying off the roll.
Constructing the Base: Pallets and Plywood
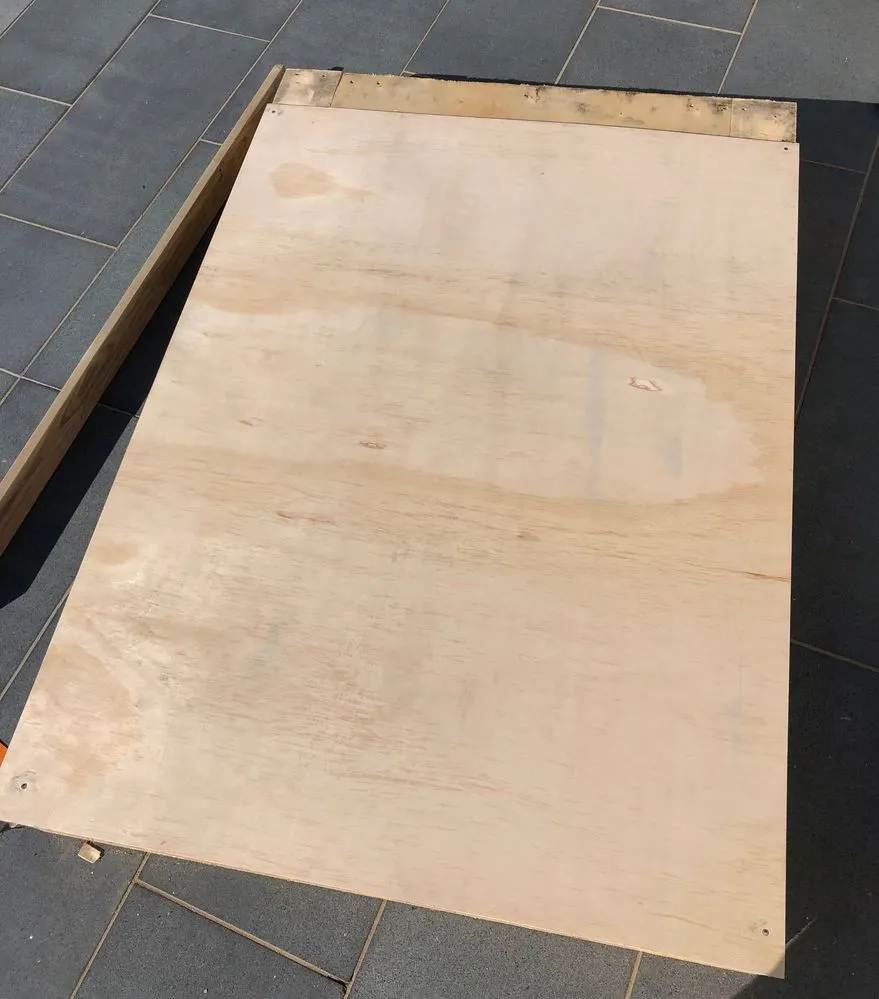
I found that the plywood sheets were the perfect width for my pallets, though I did need to overlap them slightly for length. To ensure a sturdy base, especially for the tee-off area, I decided to reinforce it with a simple box constructed from treated pine.
 4.jpg
4.jpg
Reinforcing the tee-off area with a treated pine frame for added stability.
Important Note: When working with recycled pallets, always inspect them thoroughly for any loose nails, splinters, or rough edges.
Creating the Putting Surface: Turf and Obstacles
With the base complete, it was time for the fun part – designing the putting surface! I used a combination of artificial turf mats and strategically placed obstacles, such as upturned terracotta pots and repurposed hardwood fence posts, to add challenge and character to the course.
 5.jpg
5.jpg
Experimenting with different obstacles to create challenging gameplay.
Design Tip: Don’t be afraid to experiment with different layouts and obstacles! You can create hills, ramps, and even tunnels using readily available materials.
Final Touches: Hole Placement and Testing
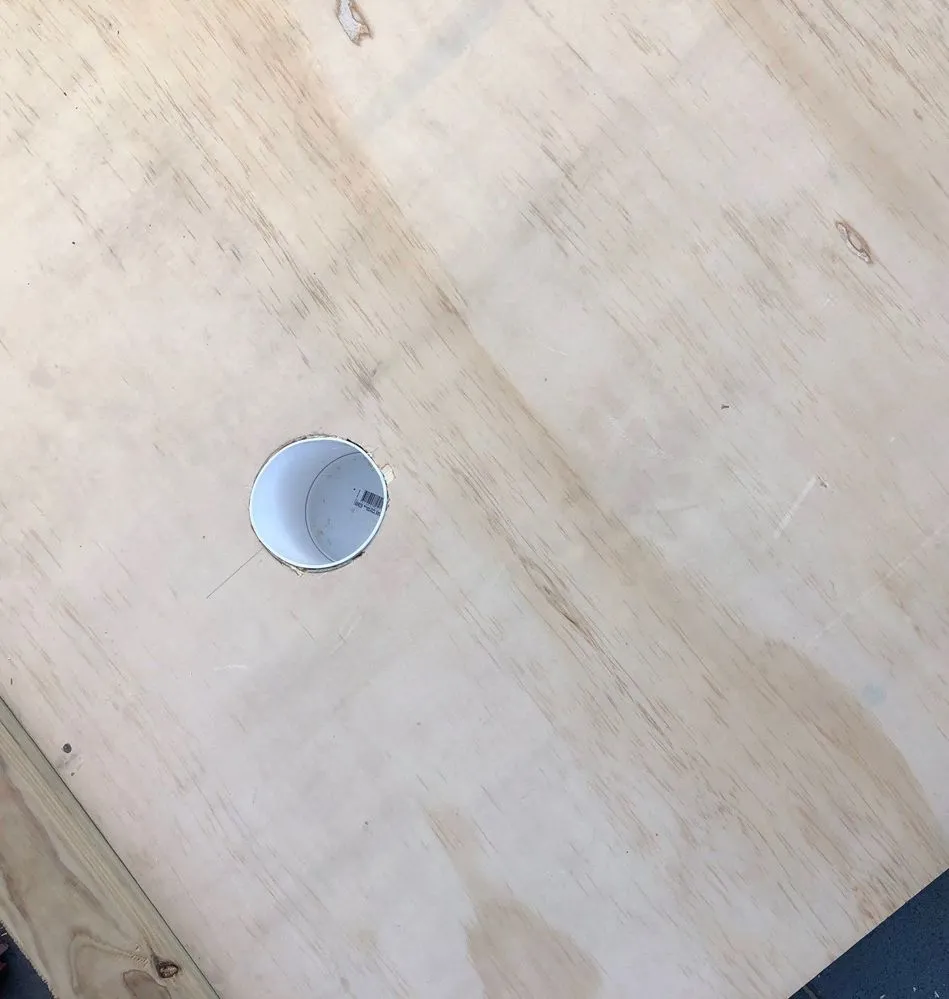
I used a jigsaw to cut a hole for the PVC pipe in the designated pallet, securing it with strong adhesive. Once the hole was in place, it was time for the most important step – testing!
 6.jpg
6.jpg
Testing out the course and making adjustments for optimal playability.
Testing Tip: Invite friends and family to test out the course and provide feedback. This is a great way to identify any areas that may need adjustments in terms of difficulty or design.
Conclusion: Your Backyard Putting Paradise Awaits!
Building a backyard mini golf course is a rewarding project that provides endless hours of entertainment for all ages. Whether you’re a seasoned DIY enthusiast or just starting out, this project is approachable and adaptable to your skill level and budget. The best part? You can continue to expand and modify your course over time, adding new challenges and making it truly your own.
So gather your materials, unleash your creativity, and get ready to tee off on your very own backyard putting paradise! Be sure to share your creations and experiences with the Robert Kline Art community in the comments below. And if you’re looking for more handcrafted inspiration and unique gift ideas, be sure to explore the rest of our website. Happy putting!
