Blog
Build Your Own Fire Pit Table: The Ultimate DIY Guide
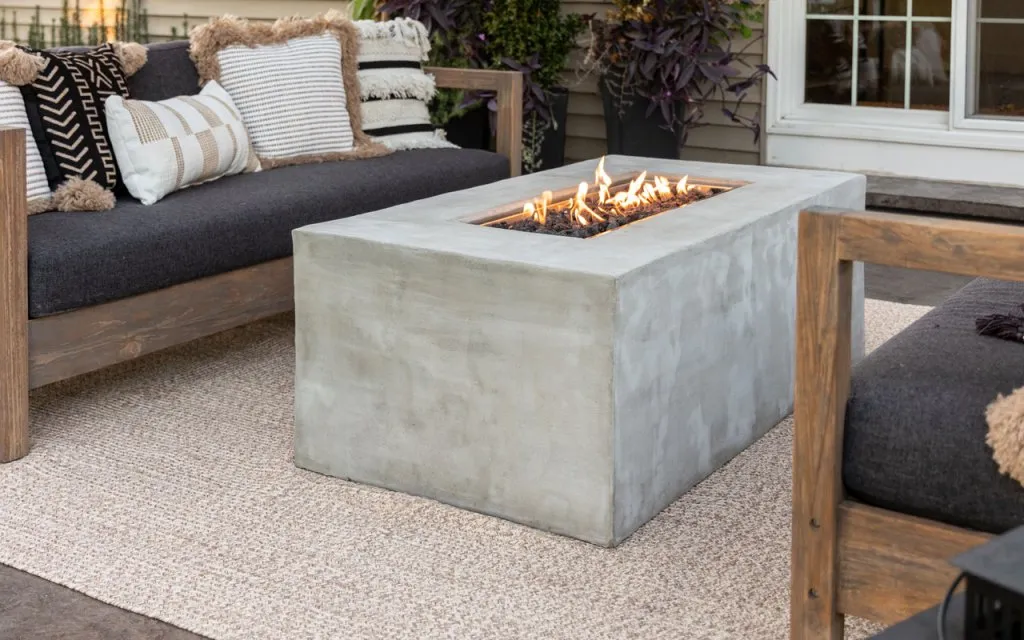
There’s nothing quite like gathering around a crackling fire on a cool evening, especially in your own backyard. While those high-end fire pit tables have a certain allure, their hefty price tags? Not so much. That’s where the beauty of DIY comes in. Imagine creating a stunning focal point for your outdoor space, customized to your liking, and without breaking the bank. Sounds tempting, right?
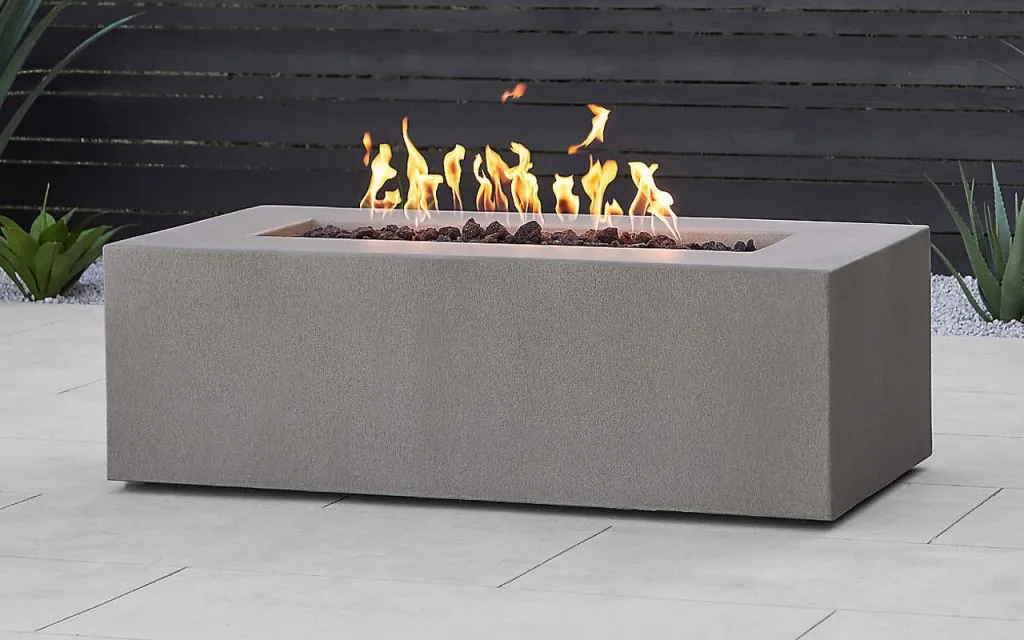
Today, I’m excited to guide you through building your very own fire pit table, inspired by the Plateau Rectangular Outdoor Fire Table from Crate & Barrel. This project is surprisingly manageable, even if you’re new to DIY. I’ll be sharing all the tips and tricks I learned along the way, so you can achieve professional-looking results.
Let’s get crafting!
Gathering Your Materials
Every masterpiece starts with the right materials, and this fire pit table is no exception. Here’s what you’ll need:
For the Framework:
- 5-6 metal 2x4s
- 1-2 metal rails
- 1/2″ Self-drilling metal screws
For the Surface:
- 3 sheets of 7/16″ Wonderboard backer lite (cement board)
- 1 sheet of 1/4″ Wonderboard backer lite
- 1 5/8″ Rock-on screws
Fire Pit Components:
- 30″ x 10″ Drop-in fire pit pan
- 11 lb. propane tank
Finishing Touches:
- Thinset mortar (gray recommended)
- Concrete sealer
- Joint tape
- Adjustable furniture feet (optional)
- Recessed door ring (for propane tank access)
- Magnetic catches
- Handle (for propane tank door)
- Lava rocks (for the fire pit)
Building the Fire Pit Table Framework
Before diving in, decide on your desired fire table dimensions. This guide uses a 52″ length x 28″ width x 18″ height, but you can adjust to suit your space.
Pro Tip: Remember to factor in the thickness of the Wonderboard when calculating your framework measurements.
Step-by-Step Framework Construction:
-
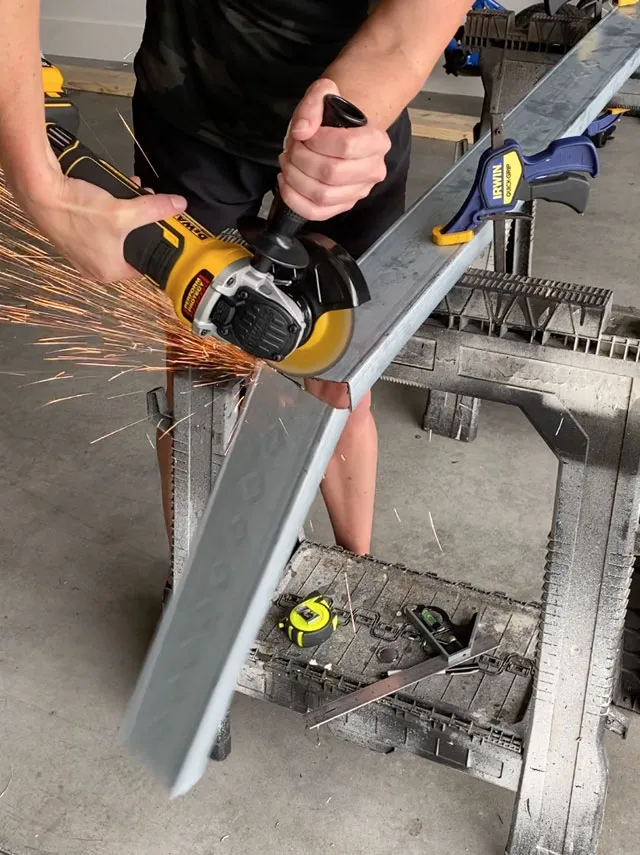
Cut Your Metal: Begin by cutting your metal 2x4s and rails to the desired lengths, keeping in mind the 1″ deduction for the Wonderboard.
-
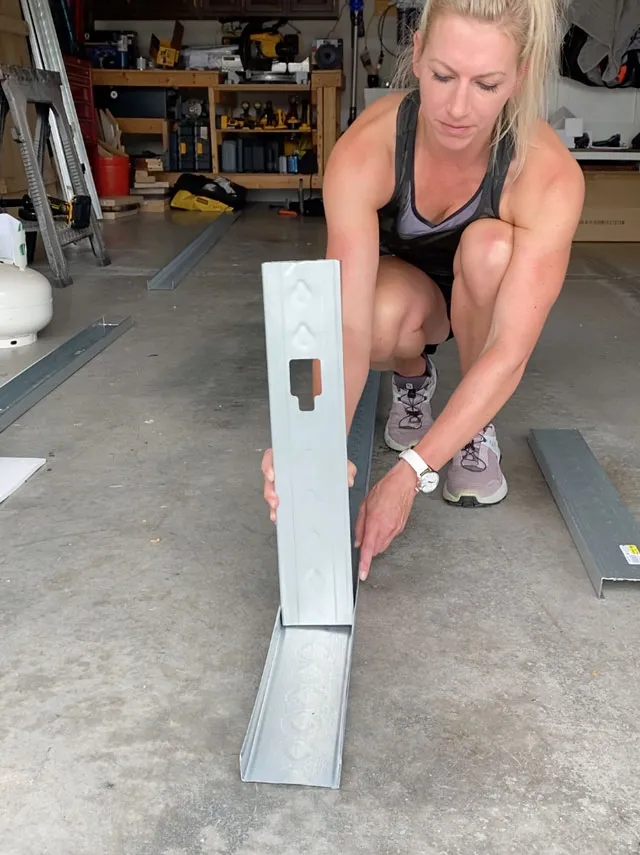
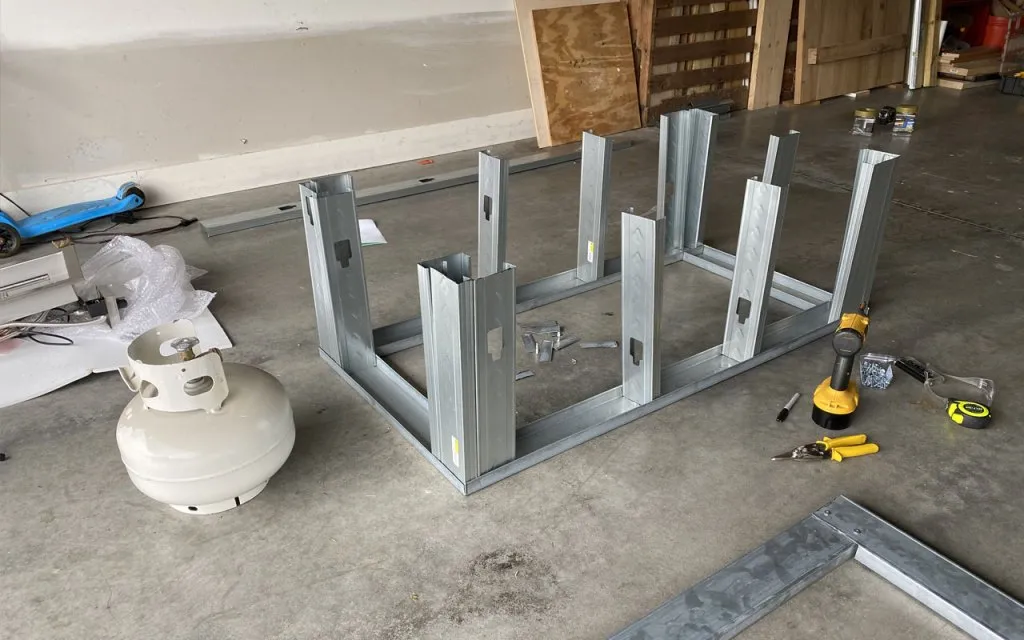
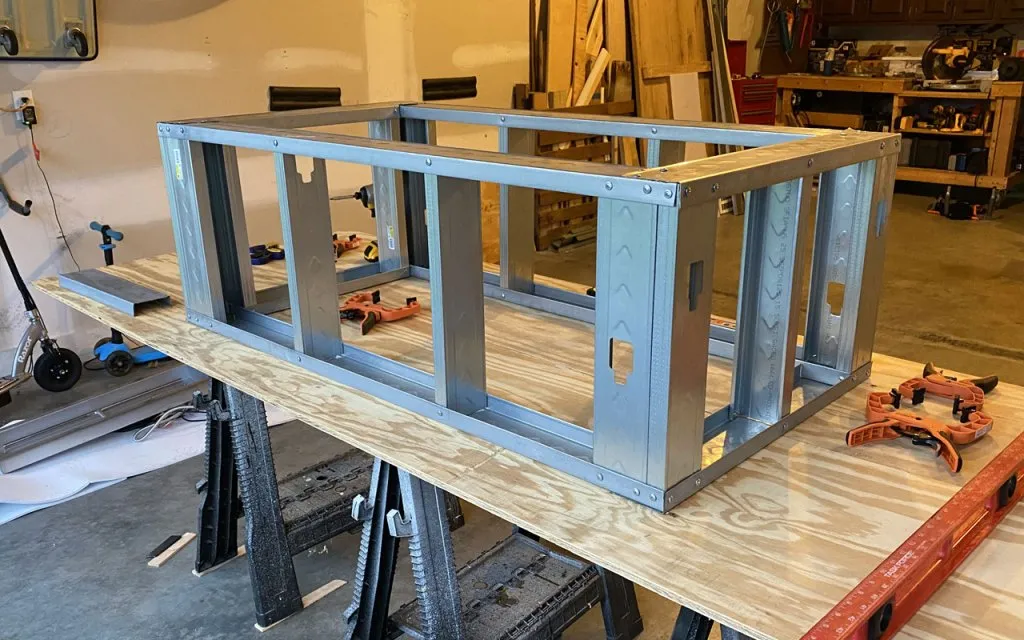
Construct the Base: Assemble the bottom rail using metal screws, creating a rectangular frame. This will form the foundation of your fire pit table.
-
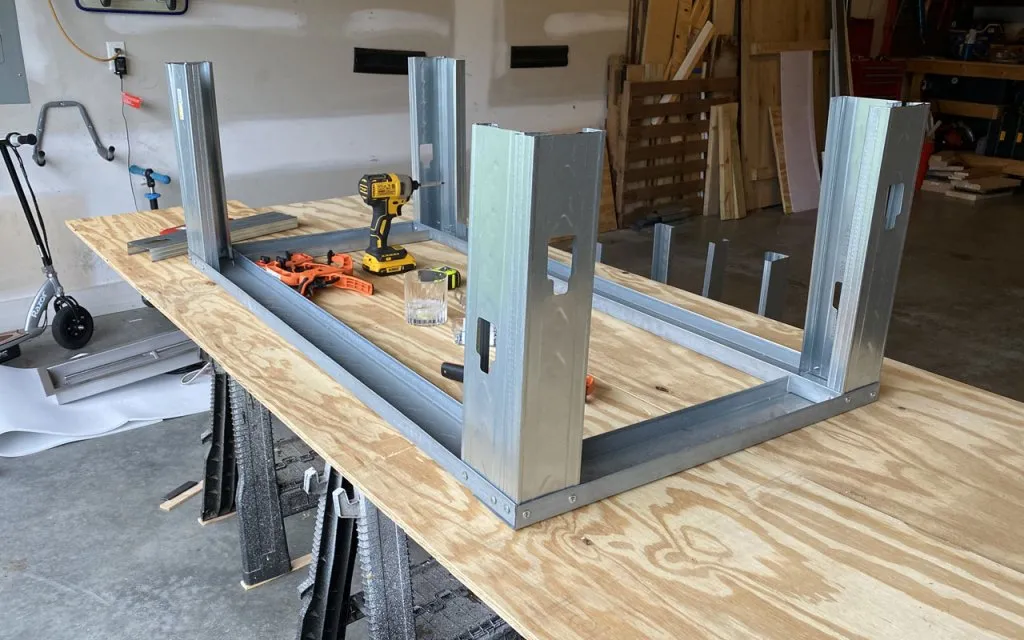
Add Vertical Supports: Fasten the cut 2x4s vertically to the bottom rail using metal screws. These will act as the legs and provide structural support.
 "Metal Frame for fire pit table"
 -
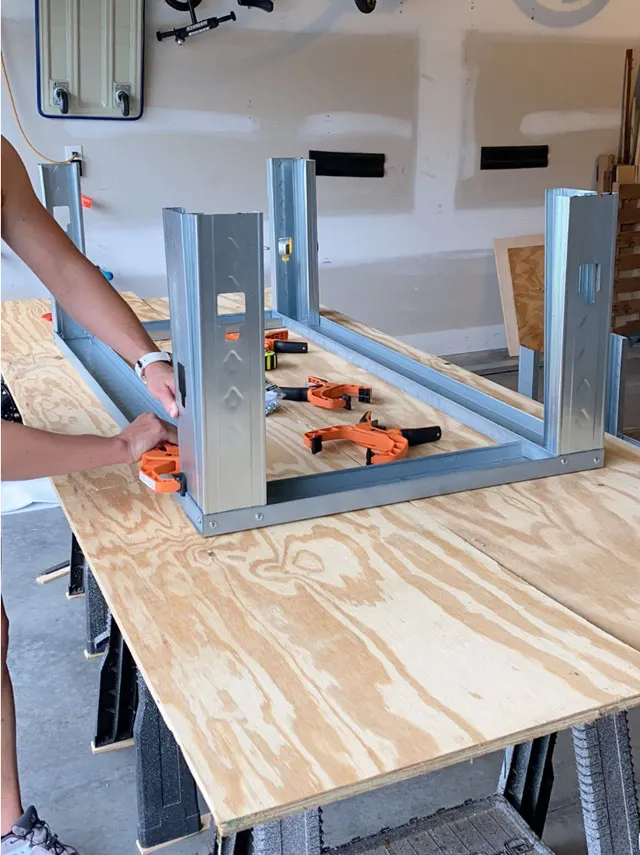
Secure the Top Rail: Attach the top rail horizontally to the 2x4s, creating a sturdy frame. Ensure one end has enough space for your propane tank to fit comfortably.
 "Attaching metal frame for fire pit table"
 -
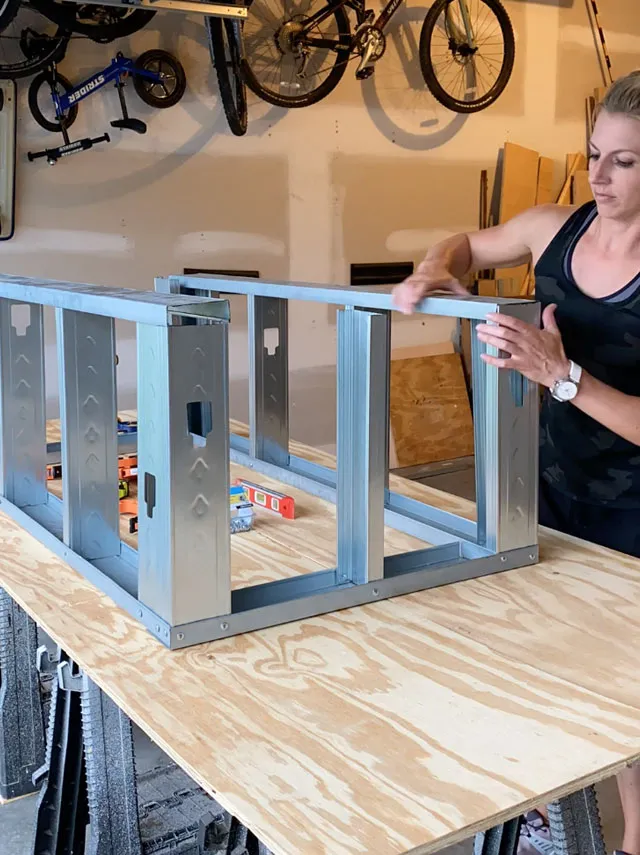
Add Fire Pan Support: Cut metal 2x4s to create a support structure for your fire pan, ensuring the pan’s lip will sit securely on the frame.
 "Adding supports for fire pit pan"
Pro Tips:
- Use C-clamps to hold the metal pieces in place while attaching screws.
- A magnetic level will be your best friend in ensuring your frame is level and square throughout the construction process.
Encasing the Framework with Wonderboard
Now that you have a sturdy framework, it’s time to enclose it with Wonderboard, creating a fire-resistant and durable surface.
Step-by-Step Wonderboard Installation:
-
Measure and Cut: Carefully measure and cut the Wonderboard pieces to fit around the perimeter of the fire table, leaving space for the propane tank and control panel.
 "Measuring Wonderboard for fire pit table"
 -
Attach the Wonderboard: Use rock-on screws to secure the Wonderboard to the metal frame. Remember to pre-drill holes to make the process smoother.
 "Attaching Wonderboard to frame"
 -
Create the Flush Lid:
- Place the fire pan in position on top of the frame.
- Cut a piece of 1/4″ Wonderboard to cover the top, creating a cutout for the fire pan to sit flush.
- Cut a second piece from the 7/16″ Wonderboard, also with a cutout. This will be your lid.
 "Creating a lid for the fire pit table"
Achieving a Polished Finish with Thinset Mortar
A cement-look finish adds a touch of modern sophistication to your fire pit table. Follow these steps to get that sleek look:
Step-by-Step Thinset Application:
-
Mix the Mortar: Combine the thinset mortar according to the manufacturer’s instructions, aiming for a smooth and spreadable consistency.
-
Apply the First Coat: Using a trowel, apply an even layer of mortar to the entire table surface, ensuring to cover all the Wonderboard edges. Apply joint tape wherever two pieces of Wonderboard meet to prevent cracking.
-
Smooth and Level: Once the mortar begins to set, use a wet sponge to smooth out any imperfections and create a level surface.
 "Smoothing out the mortar on the fire pit table"
 -
Apply a Second Coat (Optional): For a flawlessly smooth finish, consider applying a second coat of mortar, repeating the smoothing process.
-
Seal for Protection: After the mortar has completely dried, apply a concrete sealer to the entire table, following the manufacturer’s guidelines. This crucial step provides long-lasting protection against the elements.
 "Applying concrete sealant to protect the fire pit table"
Adding the Finishing Touches
Now comes the fun part – adding those personalized details that make your fire pit table unique.
Enhancing Functionality and Style:
-
Attach Furniture Feet: Secure adjustable furniture feet to the bottom of the table for added stability and a polished look.
-
Create the Propane Tank Door:
- Install the recessed door ring to the Wonderboard lid, creating a discreet access point for your propane tank.
- Use magnetic catches to securely attach the lid to the table.
- Add a handle for easy opening and closing.
 "Adding a door to conceal the propane tank"
 -
Add Lava Rocks: Fill your fire pit pan with lava rocks. They not only enhance the visual appeal but also help distribute heat evenly.

Enjoy Your Custom Fire Pit Table!
Congratulations! You’ve successfully built a stunning and functional fire pit table that rivals those expensive retail options. Now it’s time to gather your loved ones, light up the fire, and create lasting memories in your beautifully transformed outdoor space.
Share Your Creations!
I’d love to see your finished fire pit tables. Share your creations and any creative modifications you made in the comments below. Happy crafting!
