Blog
Craft Your Own Festive Cheer: A DIY Felt Mistletoe Guide

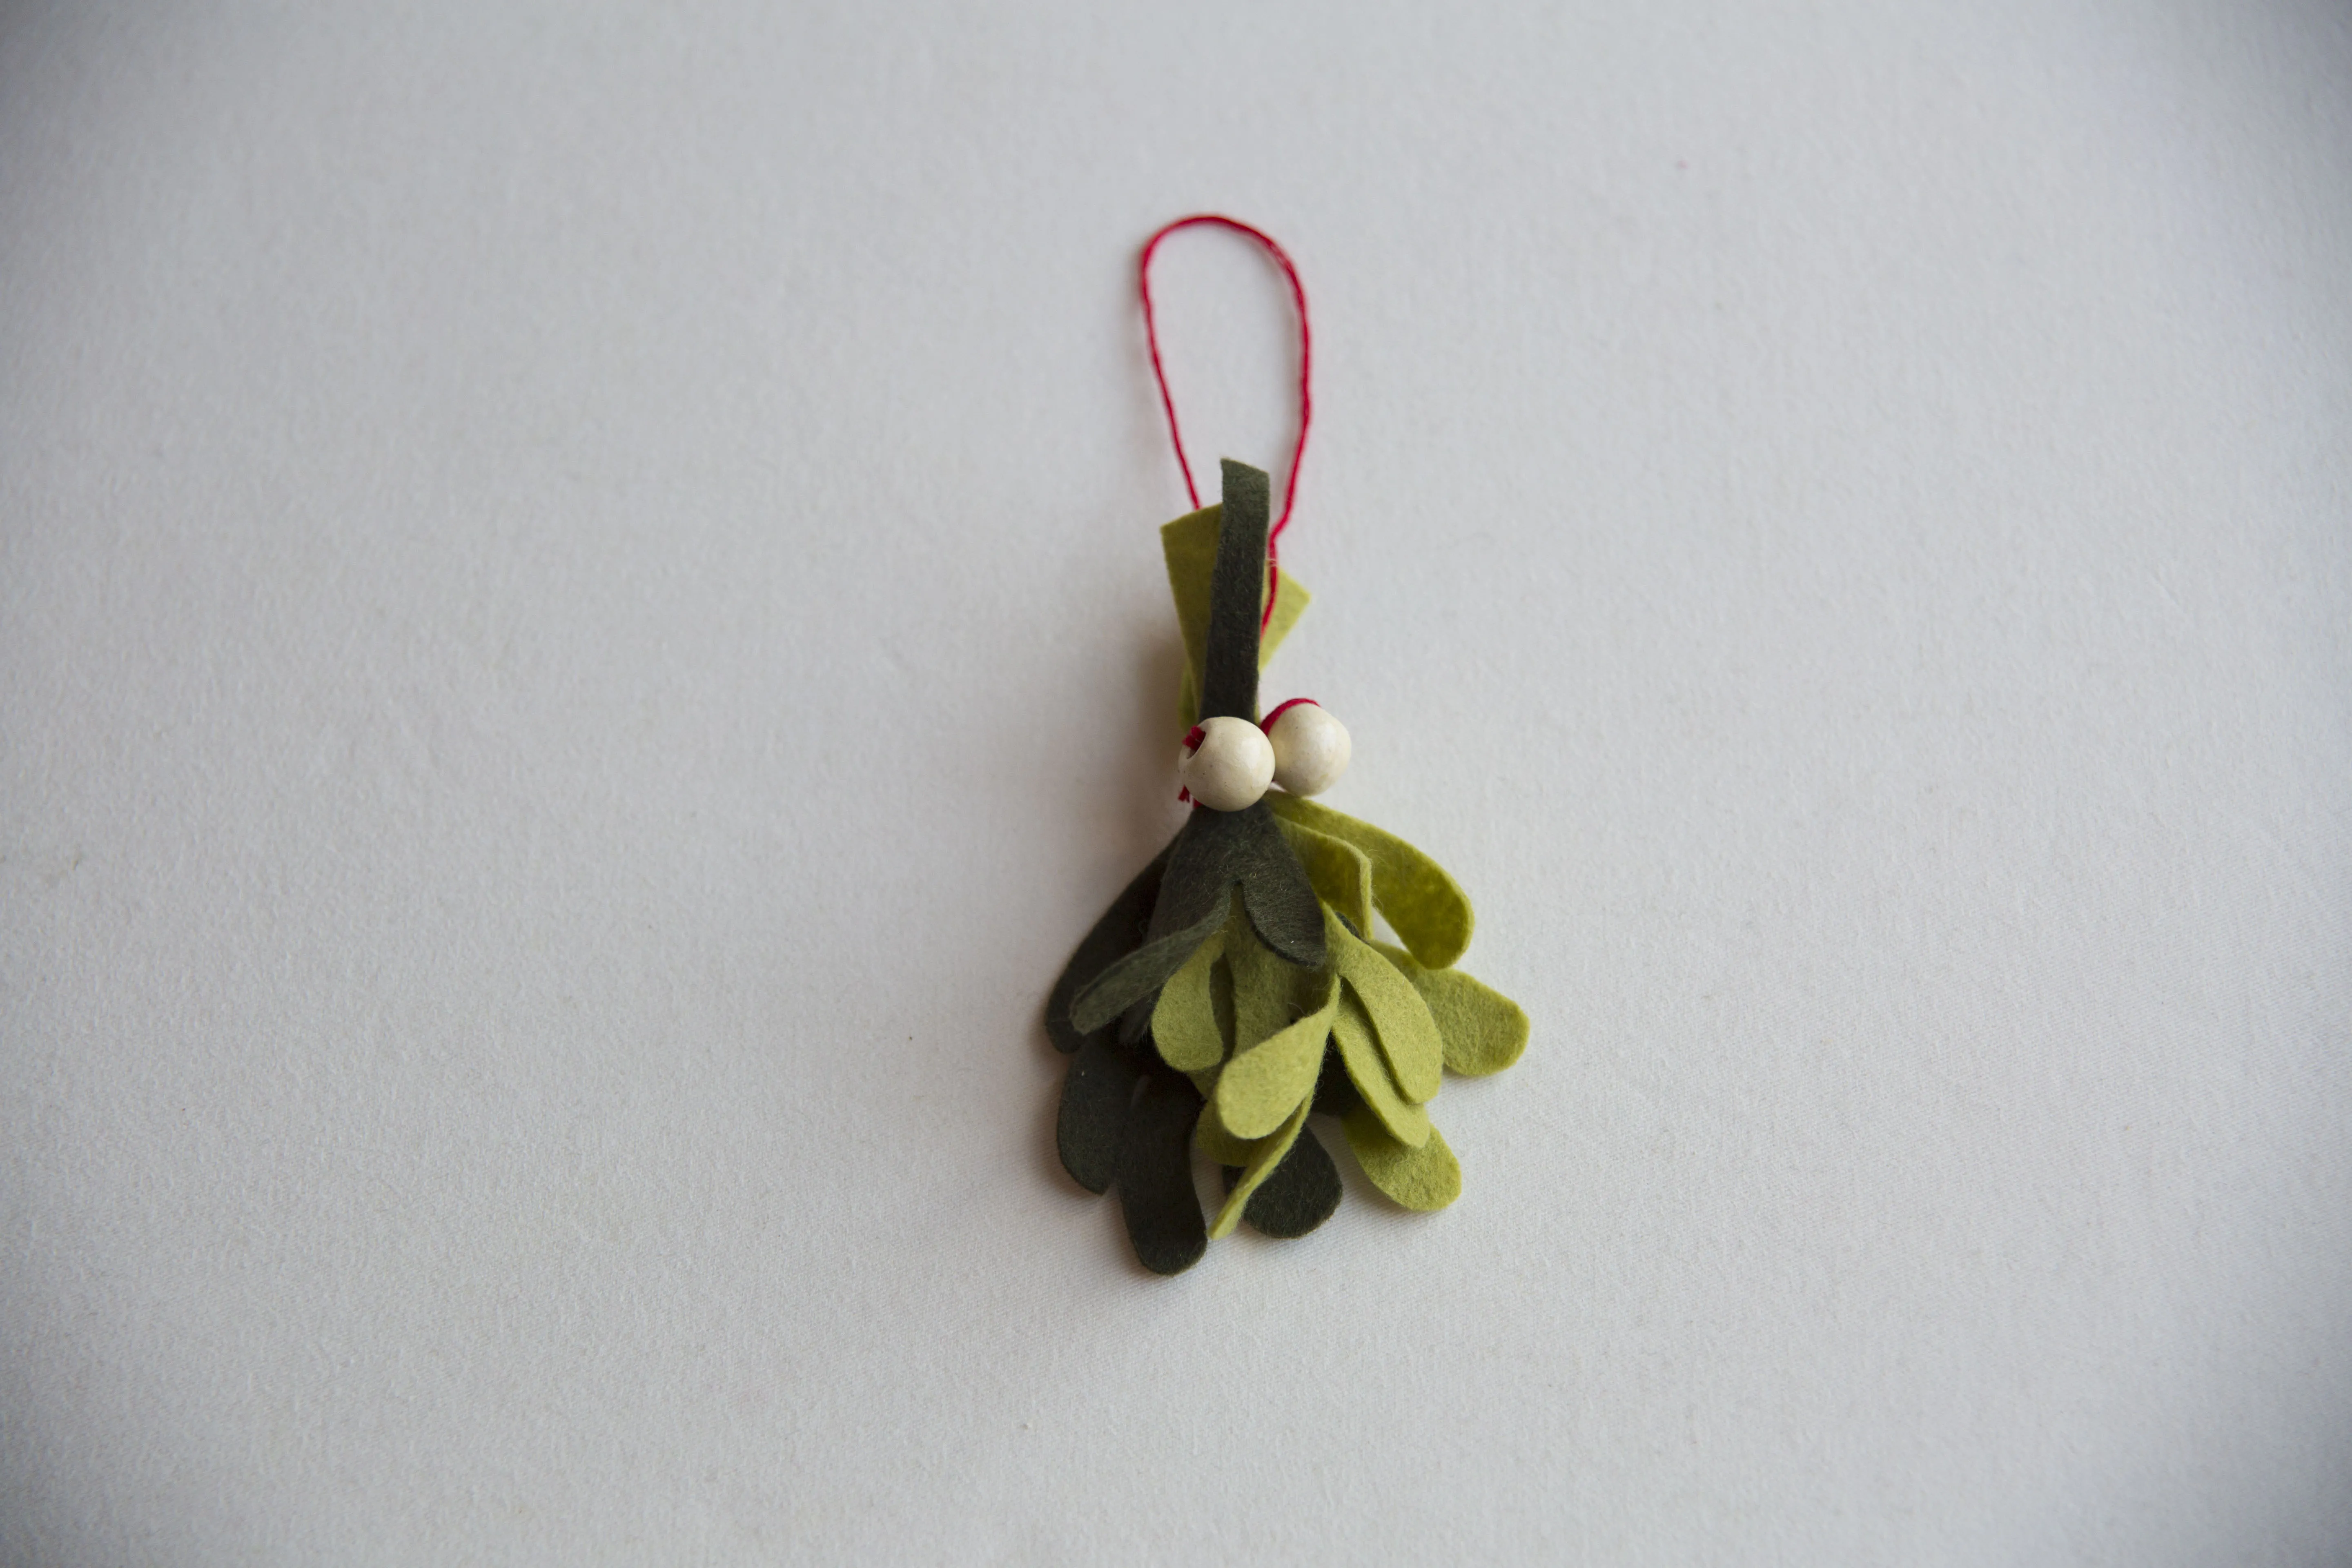
The holidays are a time for spreading joy, and what better way to do that than with a sprig of mistletoe? But let’s be honest, finding fresh mistletoe can be as elusive as spotting a reindeer in your backyard. So, why not embrace the spirit of crafting and create your own charming DIY felt mistletoe? This festive project is surprisingly simple, completely reusable, and adds a personal touch to your holiday decor.
Gathering Your Festive Supplies
Ready to embrace your inner artisan? Here’s what you need to gather to bring this felt mistletoe to life:
- Felt: Choose 2-3 shades of green felt to give your mistletoe a lifelike depth.
- Scissors: A good pair of fabric scissors will be your best friend for this project.
- Embroidery floss or baker’s twine: Select a color that complements your chosen felt hues.
- Wooden beads or white pom poms: These will serve as the delicate “berries” of your mistletoe.
- Mistletoe template: You can find a printable template online or unleash your creativity and draw your own.
Crafting Your Everlasting Mistletoe: Step-by-Step Guide
Now, let’s transform those craft supplies into a symbol of holiday cheer:
Step 1: Template Time and Felt Cutting Fun
Print out your mistletoe template (or sketch your own!) and carefully cut out the shapes. Don’t be afraid to experiment with different sizes and shades of green felt for your mistletoe branches—variety adds visual interest. For my mistletoe bunches, I used five branches, but feel free to use more for a fuller look.
Step 2: Tying Your Festive Bunches Together
Thread your needle with embroidery floss or baker’s twine. Remember to leave a generous loop at the top for hanging your mistletoe later. Begin tying the felt branches together at their bases, securing them with the floss or twine. Leave a tail to tie off the end neatly once you’ve assembled your bunch.
Step 3: Adding Berry Bliss
Now, for the finishing touch—the berries! Thread your chosen “berries” (wooden beads or white pom poms) onto the floss or twine as you wrap it around the base of the branches. Secure them with a knot, and voilà! You’ve added a touch of whimsy to your felt mistletoe.
Step 4: Hanging Your Creation with Pride
Using the loop you cleverly left at the top, hang your newly crafted felt mistletoe in a doorway, over a fireplace, or anywhere that needs a touch of holiday magic.
Why This DIY Felt Mistletoe Is a Holiday Must-Have
This DIY felt mistletoe isn’t just a pretty decoration—it’s a conversation starter! Here’s why we love it:
- Eco-Friendly Festivities: Unlike store-bought mistletoe, which often ends up in the trash, this felt version is reusable year after year, making it an environmentally friendly choice.
- Budget-Friendly Holiday Cheer: This project won’t break the bank. You might even have most of the supplies readily available in your craft stash.
- Personalized Holiday Charm: Handcrafted decorations always add a warm, personal touch to your holiday decor.
So, why not gather your supplies and embark on this festive crafting adventure? This DIY felt mistletoe is a delightful way to add a touch of handmade holiday magic to your home. And remember, the most important ingredient in any crafting project is to have fun with it!
Ready to explore more unique and heartfelt handmade gifts? Browse the curated selection of handcrafted treasures on Robert Kline Art! We’re passionate about helping you discover one-of-a-kind pieces that bring joy to both the giver and the receiver.
Let’s connect! Share your crafting experiences and show off your creations in the comments below. Happy crafting!
 DIY Felt Mistletoe
