Blog
Crafting a Rustic Delight: A Step-by-Step Guide to Building a Wooden Serving Tray

There’s something undeniably charming about a handcrafted wooden serving tray. It speaks of warmth, hospitality, and a touch of rustic elegance. In this guide, we’ll embark on a journey to create our own stunning serving tray, perfect for elevating breakfast in bed, serving drinks with a personal touch, or simply adding a touch of homemade beauty to your home decor. I’m excited to share my process with you, so let’s gather our tools and materials and dive right in!
 Bruceaulrich
Tools and Materials: Gearing Up for Creativity
Before we begin, let’s assemble our woodworking arsenal:
- Table Saw: For precise ripping and crosscutting.
- Planer: Ensuring our wood surfaces are perfectly smooth and even.
- Drum Sander: For efficient and aggressive sanding, especially for larger pieces.
- Trim Router: Creating smooth, rounded edges and adding decorative details.
- Random Orbit Sander: Fine-tuning our sanding for a flawless finish.
- Drill & Driver: Creating pilot holes and driving screws with ease.
- Miter Saw: Making accurate crosscuts for seamless joints.
- Jointer: Creating flat and square edges for perfect alignment.
- Wood Glue: Our trusty adhesive for strong and lasting bonds.
- Screws: Providing additional reinforcement to our joints.
- Dowel Plugs: Concealing screws and adding a touch of craftsmanship.
- Wood Finish: Protecting our tray and enhancing its natural beauty. (I recommend Mahoney’s Walnut Oil for a food-safe and beautiful finish.)
Step-by-Step Guide: From Lumber to Luxe Serving Tray
Step 1: Milling the Lumber – Laying the Foundation
We begin with rough lumber, transforming it into the refined pieces for our tray. This involves:
- Rough Cutting: Using the miter saw to cut the lumber to approximate lengths.
- Jointing: Creating a flat face and a square edge on each board.
- Planing: Smoothing the opposite face to achieve parallel surfaces.
- Ripping: Using the table saw to cut the boards to the desired widths.
Step 2: Crafting the Tray Bottom – A Study in Joinery
Since we’re aiming for a larger tray, we’ll join several boards to create the bottom panel:
- Milling: Repeating the milling process from Step 1 for each board.
- Gluing: Applying wood glue to the edges and clamping the boards together, ensuring they’re aligned and flush. Using waxed paper on the clamps prevents glue from sticking.
Step 3: Sizing and Personalizing – Adding a Custom Flair
- Trimming: Using the table saw and a crosscut sled to achieve the final dimensions for the tray bottom.
- Laser Engraving: For a personalized touch, consider laser engraving a name, special date, or design onto the tray bottom. (While I don’t have visuals for this step, check out my other projects to see the laser engraver in action!)
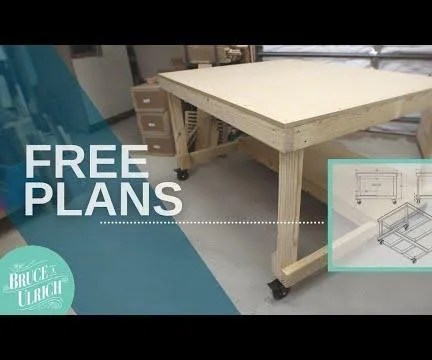
 DIY CNC Table Build – FREE Plans
Step 4: Shaping the Sides – Embracing Organic Elegance
For this project, I’m using a piece of spalted white oak with live edges to create a rustic, natural aesthetic:
- Cutting: Using a bandsaw, I’ll cut out the side pieces, incorporating the live edges for an organic feel. For the handle ends, I’m creating a graceful curve for a comfortable grip.
Step 5: Carving the Handles – Form and Function in Harmony
- Marking: On the taller handle end pieces, mark the desired handle placement.
- Drilling: Using a Forstner bit and drill press, remove most of the material for the handles.
- Chiseling and Shaping: Carefully chisel away the remaining wood to create the oval-shaped handles.
- Smoothing: Round over the edges of the handles and any other edges that will come into contact with hands.
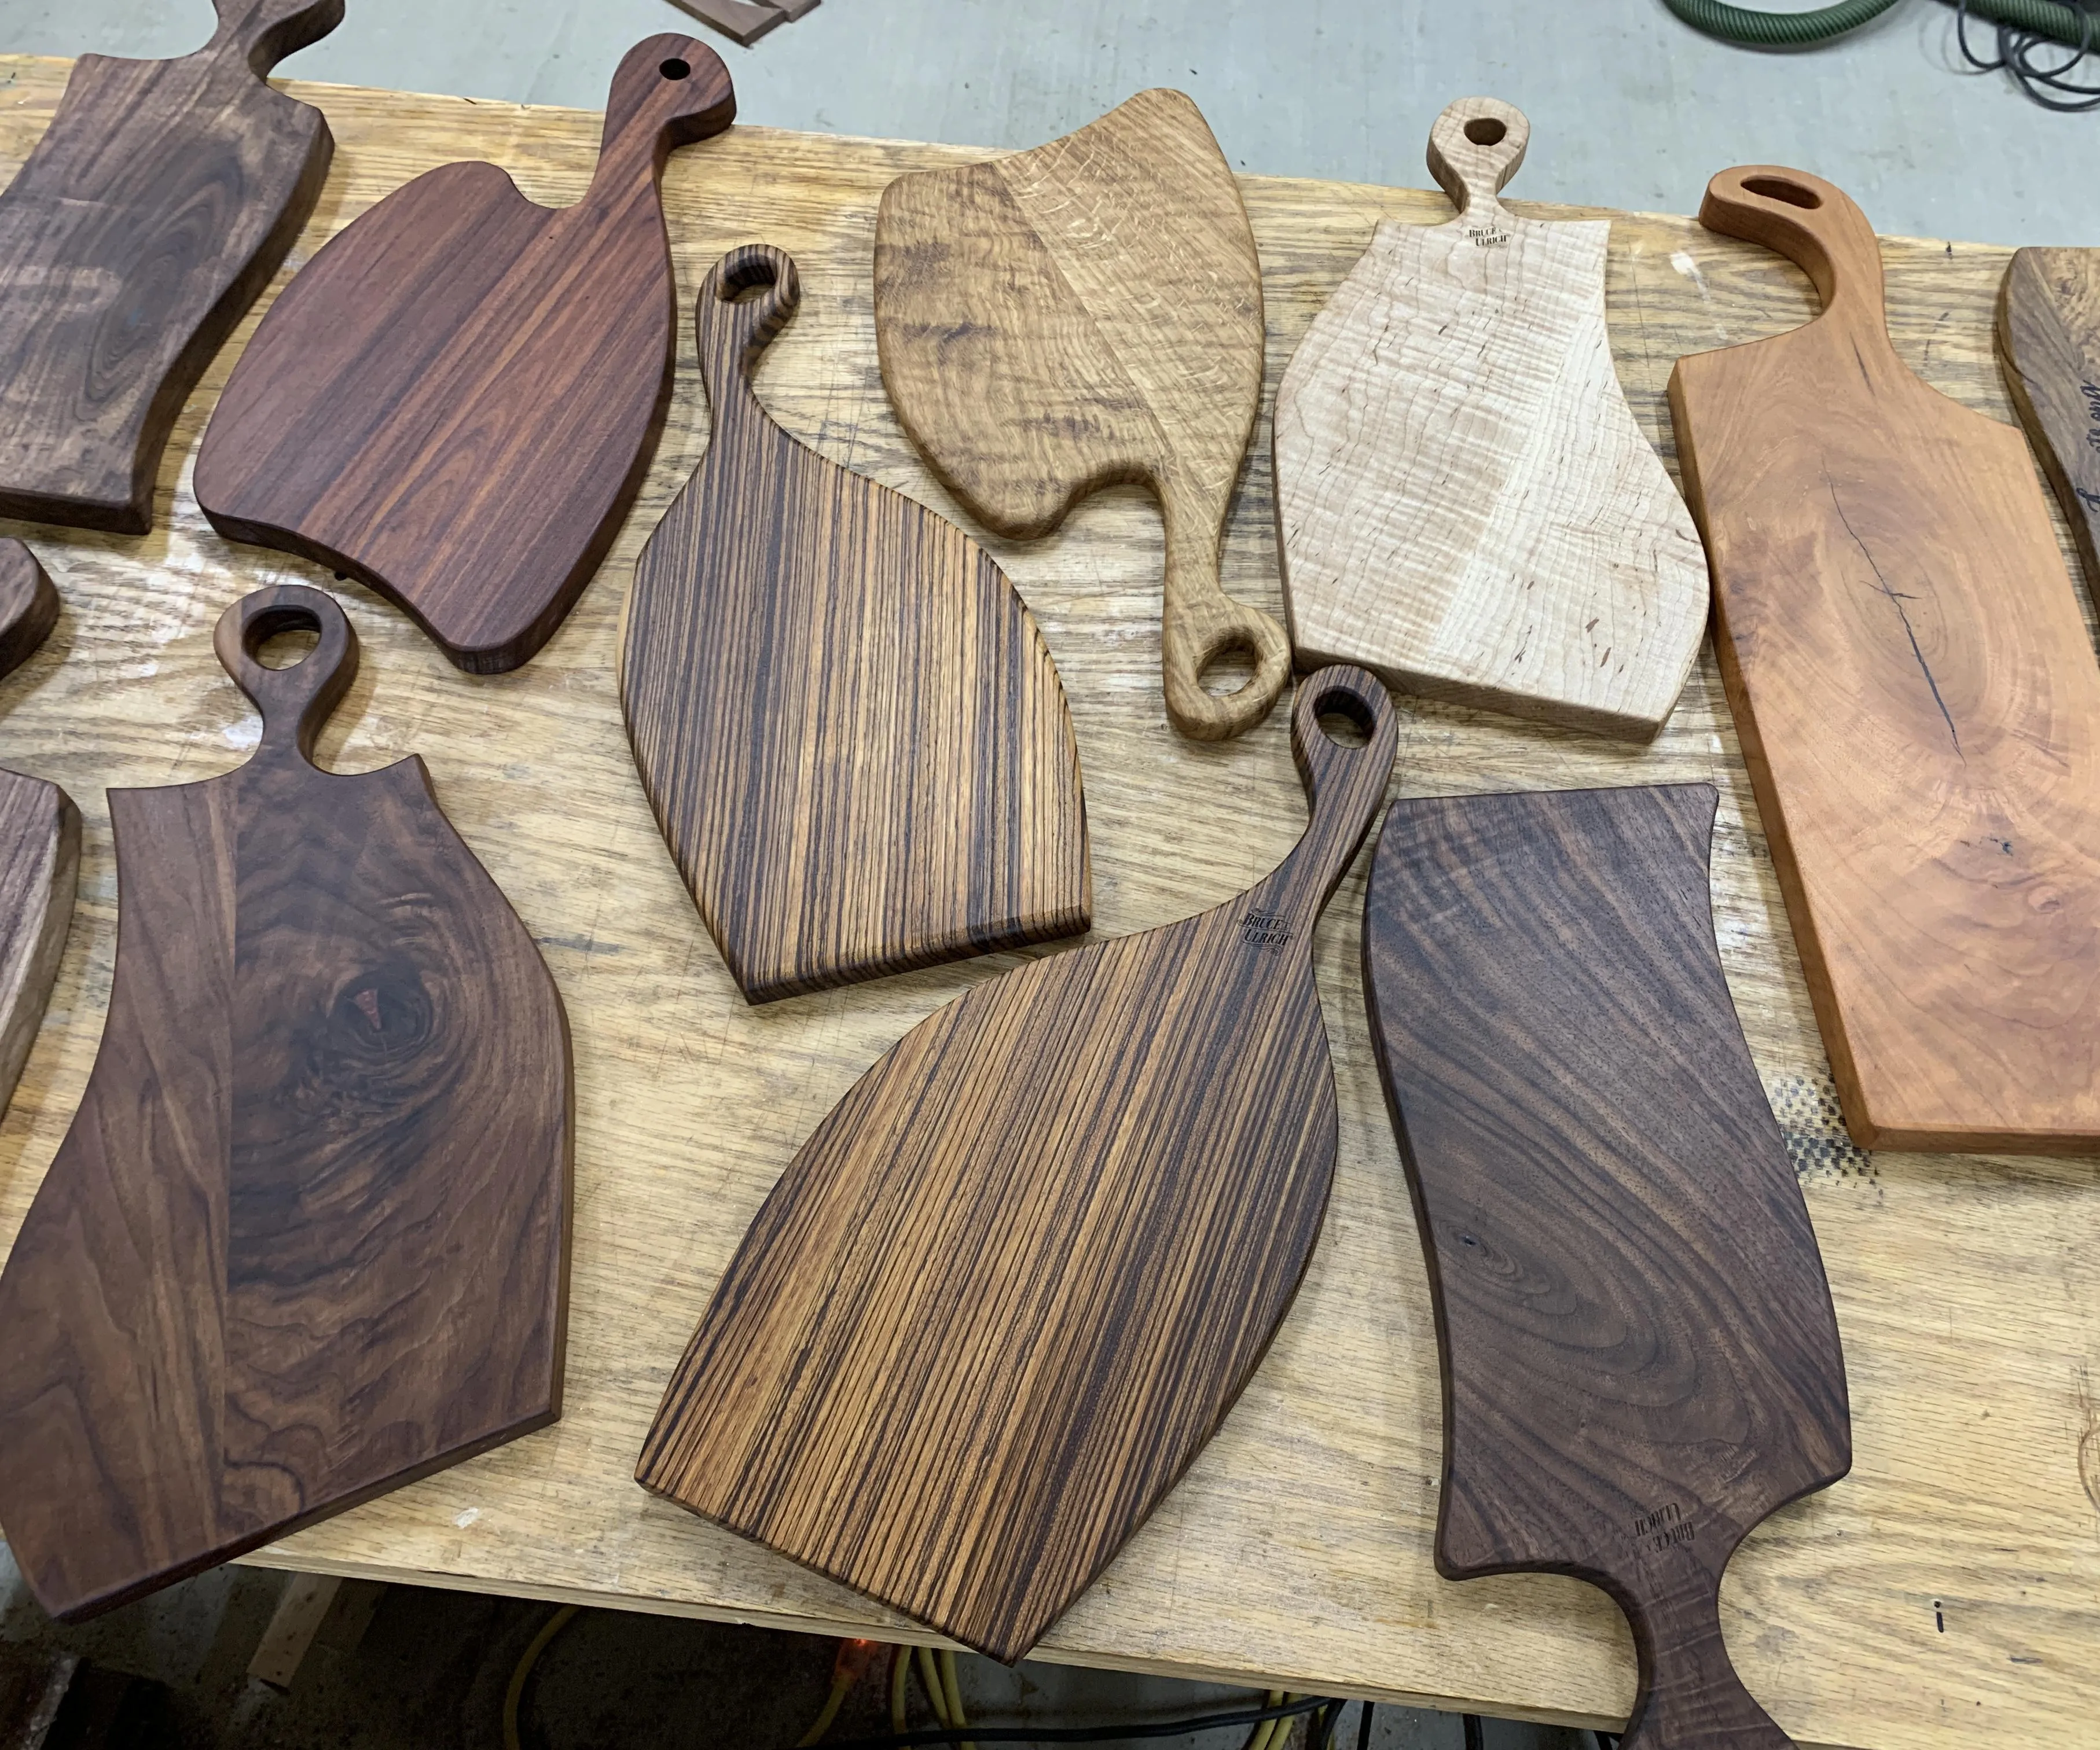
 How to Make Charcuterie Boards Using Clear Acrylic Templates
Step 6: Sanding – Preparing for Perfection
- Live Edges: Smooth any rough spots on the live edges using a flap disc on an angle grinder.
- Smoothing: Sand all surfaces with a random orbit sander, paying attention to the curved handle ends.
Step 7: Assembly – Bringing It All Together
- Pre-Drilling: Mark and pre-drill holes for the screws to prevent splitting the wood.
- Gluing and Screwing: Apply wood glue to the edges of the side pieces and attach them to the tray bottom, securing them with screws.
Step 8: Adding the Finishing Touches – Concealing and Enhancing
- Dowel Plugs: Cut dowel plugs to conceal the screw heads, ensuring they sit flush with the surface.
- Final Sanding: Lightly sand the entire tray, paying attention to the dowel plugs and any rough spots.
- Applying the Finish: Generously apply your chosen wood finish, allowing it to penetrate the wood. After 20 minutes, wipe off any excess. Repeat for additional coats if desired.
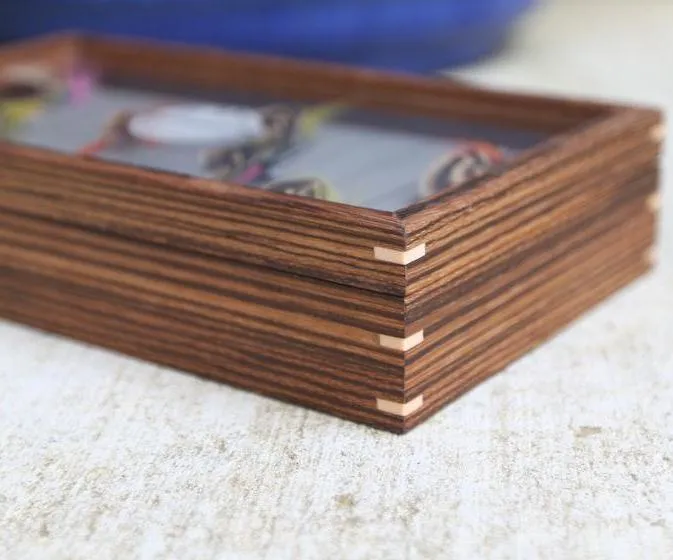
 HOW TO MAKE A FLY FISHING BOX
Conclusion: A Toast to Handmade Craftsmanship
Congratulations! You’ve created a stunning wooden serving tray with your own hands. Not only is it a functional piece for your home, but it’s also a testament to the beauty of handcrafted items. Use it to serve breakfast in bed, display candles and trinkets, or give it as a heartfelt gift.
What are your favorite serving tray designs? Share your thoughts and experiences in the comments below! And don’t forget to explore Robert Kline Art for more unique, handcrafted treasures.
