Blog
How to Build a DIY Window Seat with Hidden Storage
Hey there, fellow DIY enthusiasts! Robert Kline here, and I’m excited to share a project that’s been on my to-do list for ages – building a window seat with hidden storage. There’s something magical about having a cozy nook bathed in natural light, perfect for curling up with a good book or just enjoying the view. Plus, who can resist the allure of extra storage space?
This project transformed an empty space in my home into a charming and functional focal point. Let me guide you through the steps so you can create your own window seat haven!
Planning & Design: Visualizing Your Dream Seat
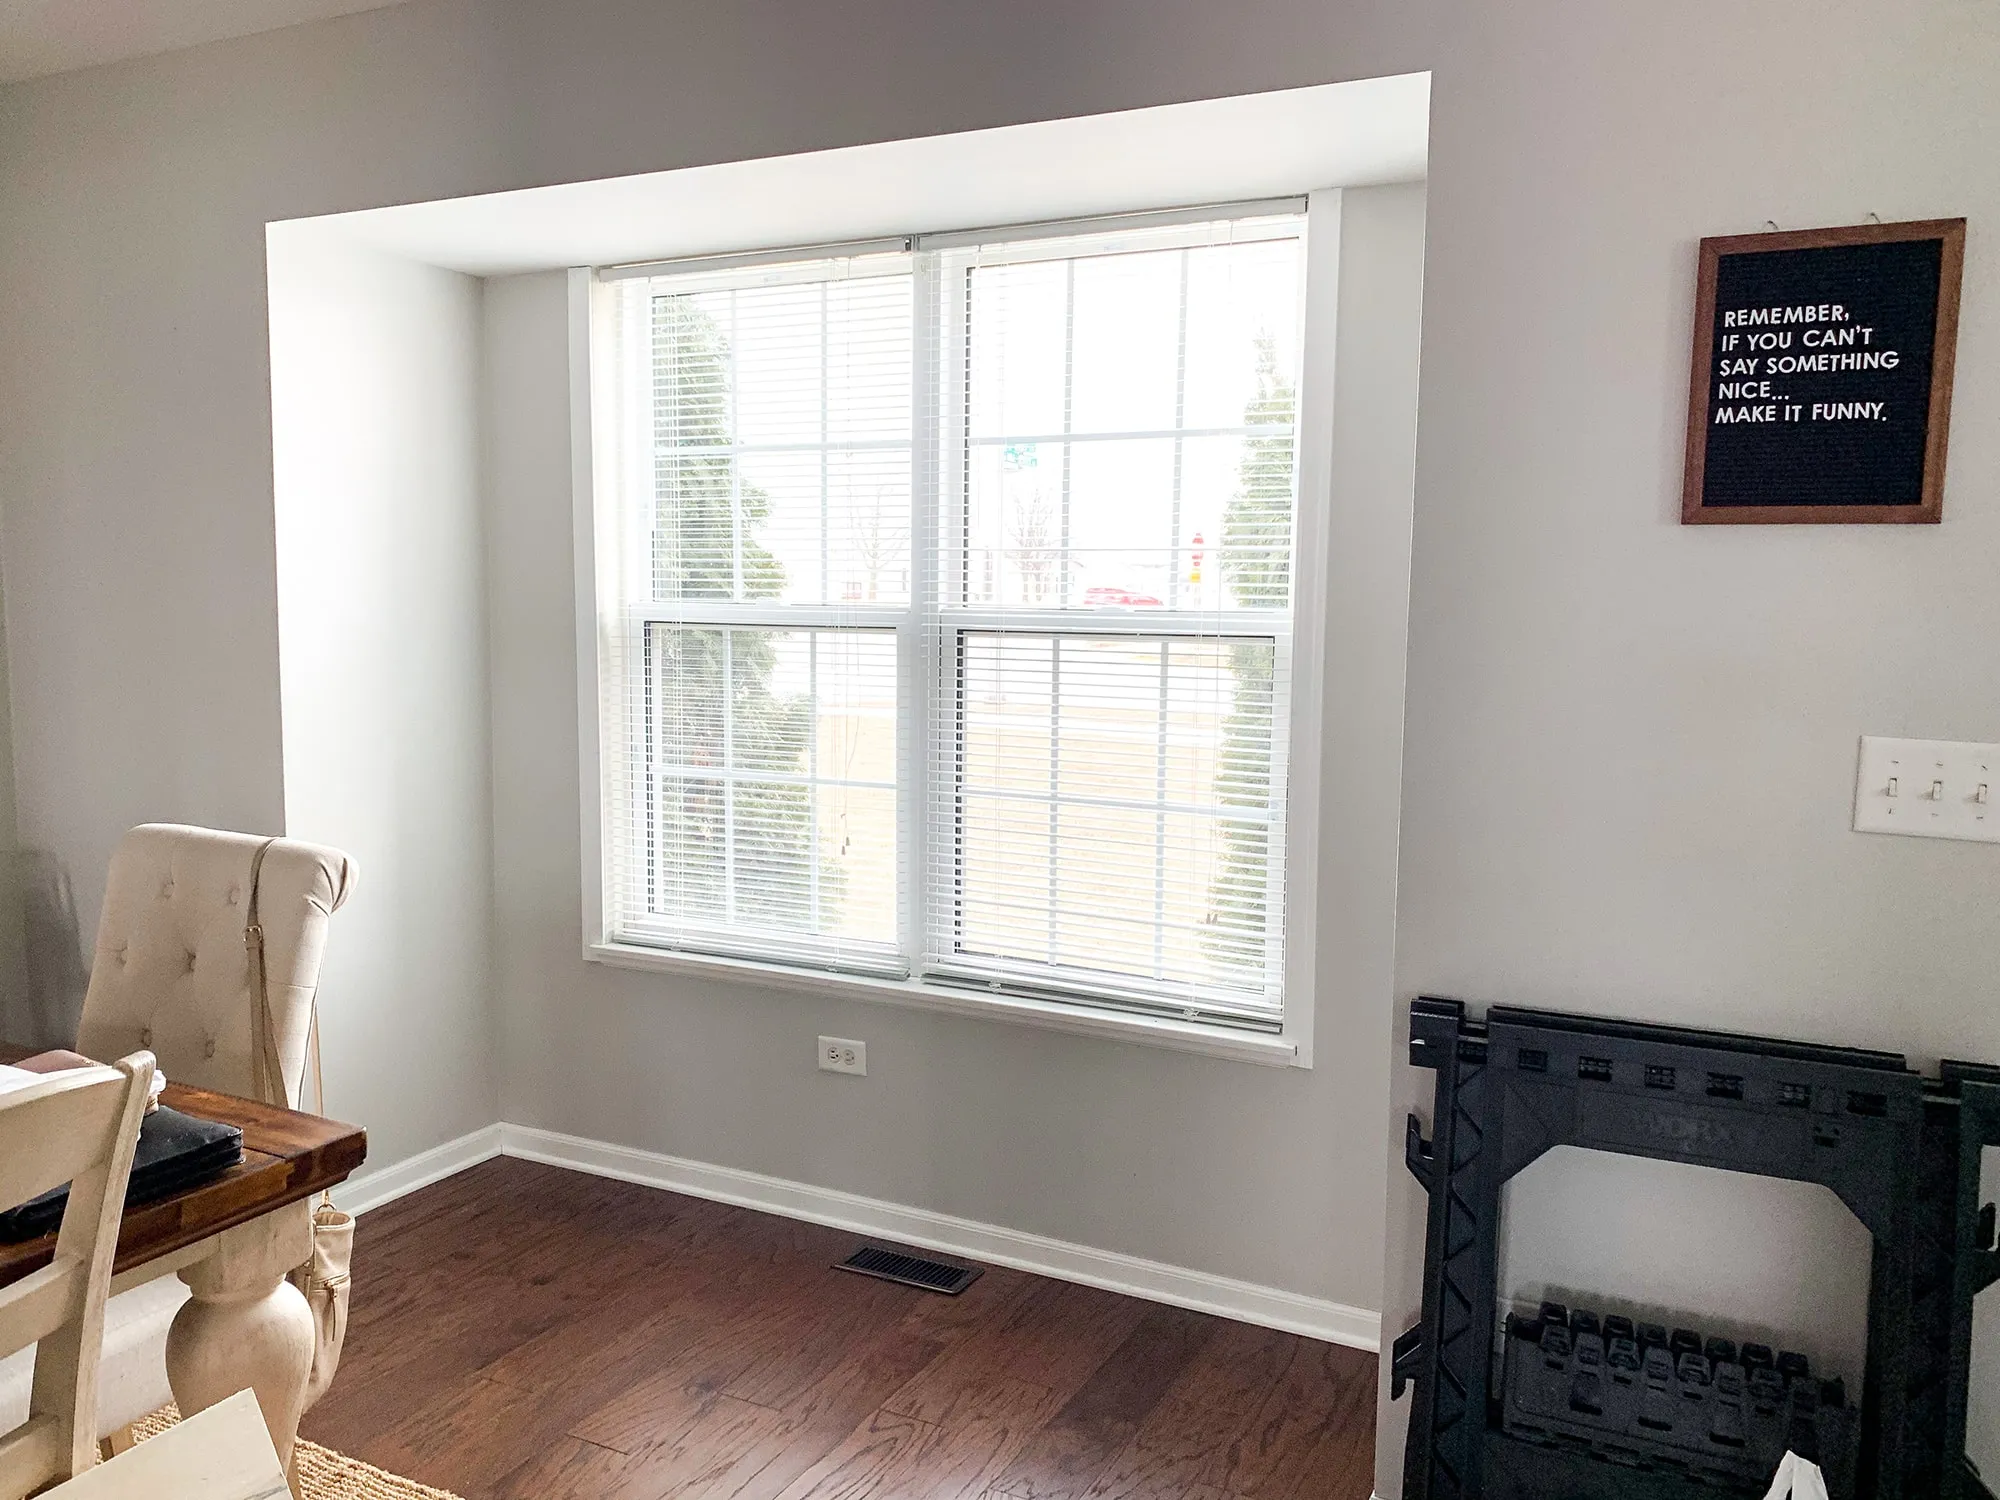
 Before Transformation
The empty canvas before the magic began
Before diving into the construction, I always find it helpful to sketch out my vision. Since I’m a visual learner, having a plan helps me stay organized and ensures accurate measurements.
Remember to consider:
- Dimensions: Measure your window area carefully to determine the ideal width, height, and depth for your seat.
- Storage: Do you envision a single storage compartment or multiple doors?
- Style: Picture the final look – will it have a modern, rustic, or traditional feel?
Gathering Your Tools and Materials
Having the right tools and materials on hand makes the building process much smoother. Here’s what I used for my window seat:
Materials:
- Structure: 2×4 lumber (adjust quantity based on your dimensions)
- Seat Top: 3/4″ thick plywood
- Face Trim: 1/8″ thick plywood (I love using sanded plywood paneling for a smooth finish)
- Finishing Touches: Primed MDF board (1×3 and 1×6), screws, finishing nails, caulk, paint, piano hinges, aluminum foil tape (for air vent sealing)
Tools:
- Cutting: Miter saw, circular saw (I highly recommend this one!), jigsaw
- Assembly: Kreg Jig, drill, brad nailer
- Measuring & Leveling: Measuring tape, level, pencil, stud finder
- Other: Safety glasses, hole saw drill bit (for the hidden storage handles)
Building the Foundation: A Step-by-Step Guide
With the prep work done, it’s time to roll up our sleeves and start building!
Step 1: Framing the Floor
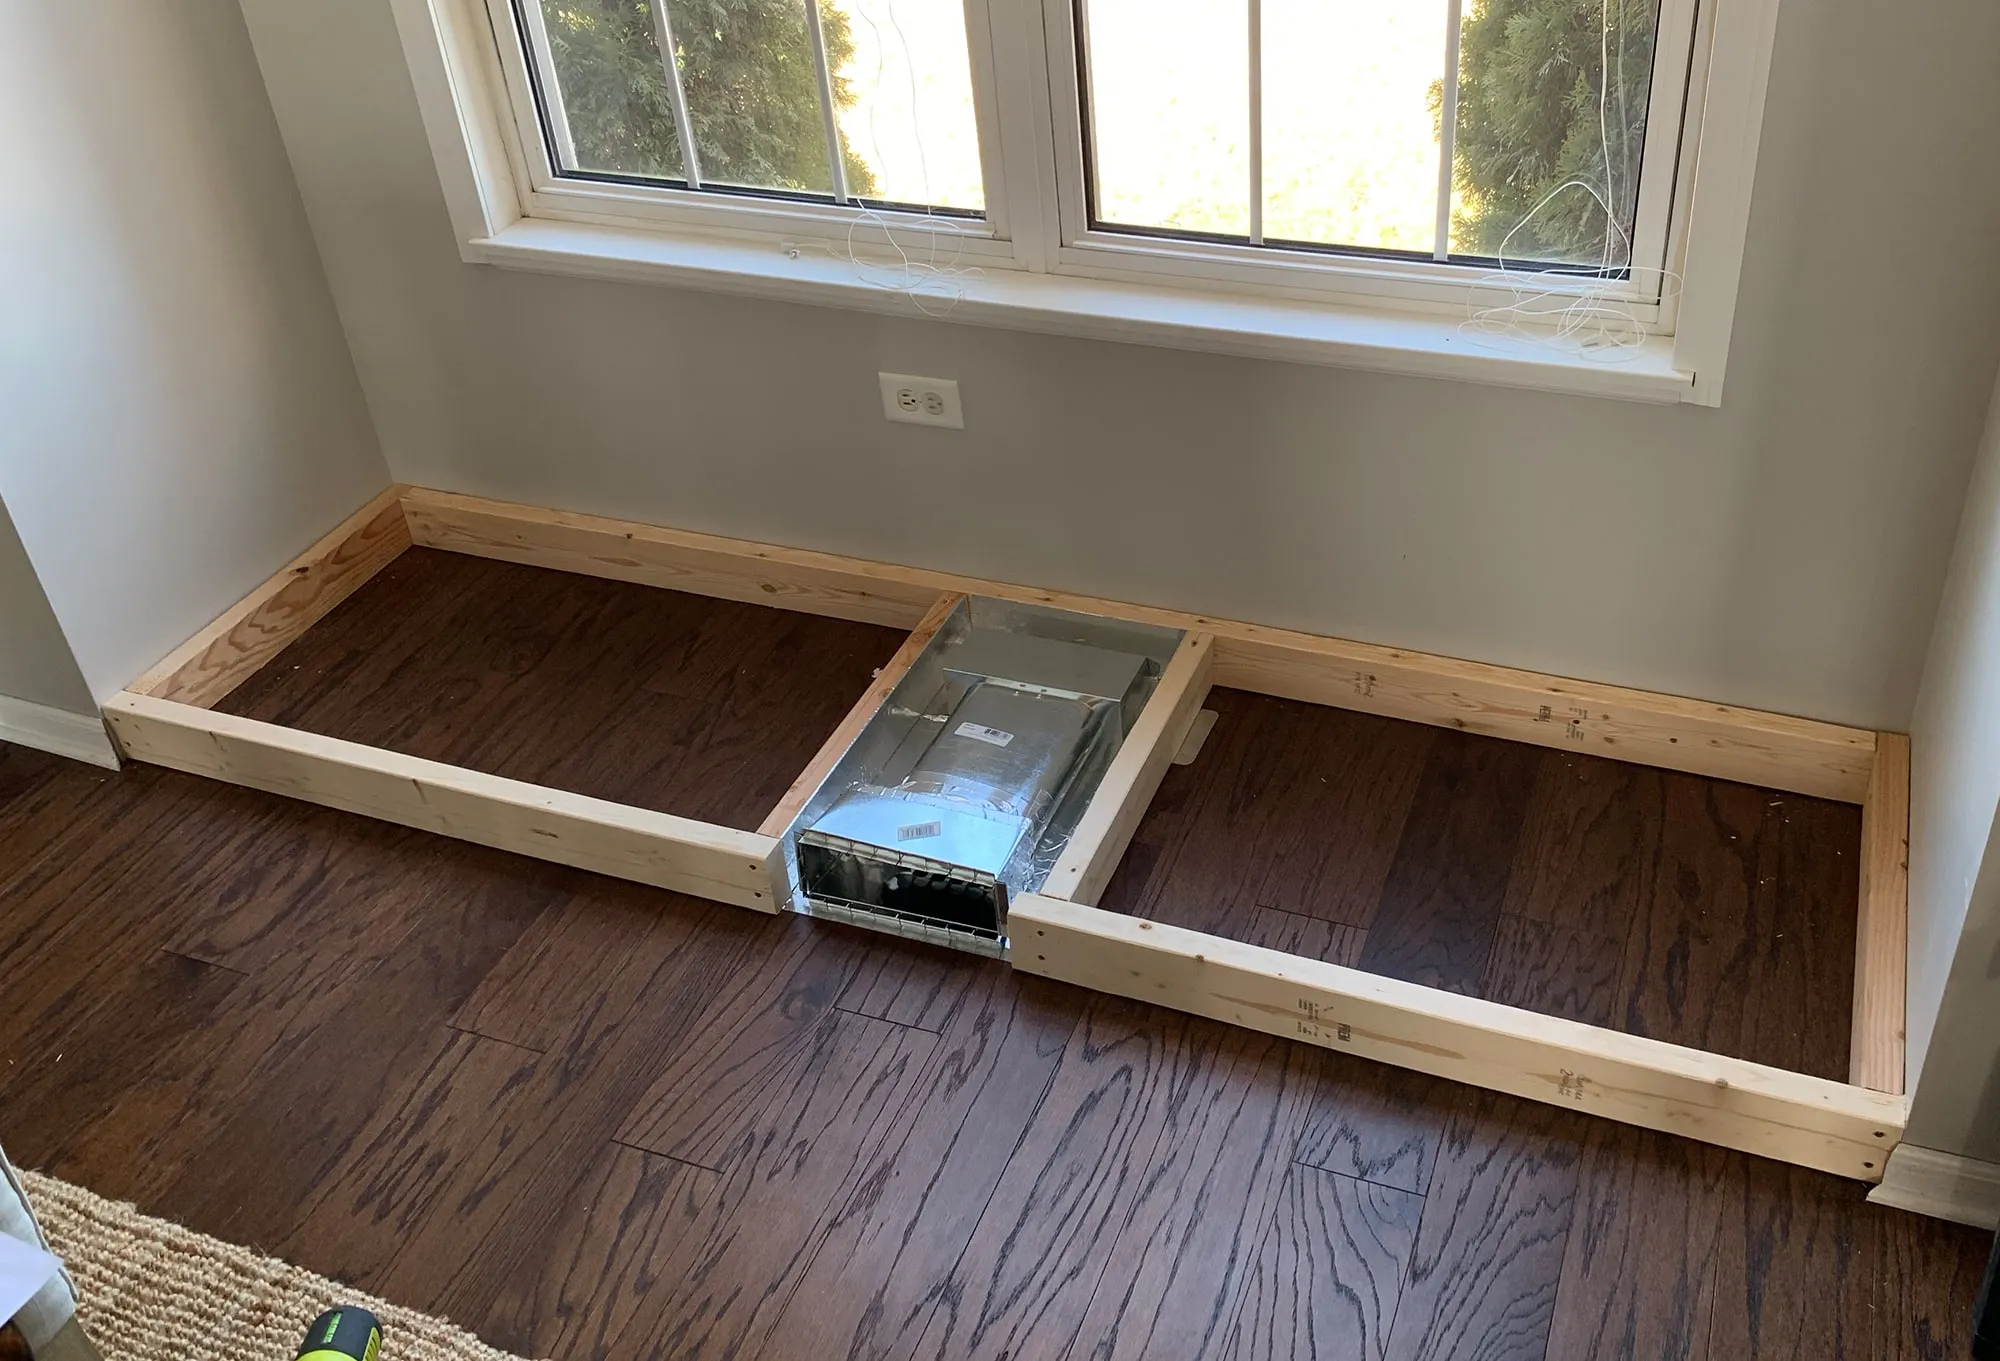 Building the Base
A sturdy foundation is key
- Begin by removing any existing floor molding in the window area.
- Using 2×4 lumber, construct a rectangular frame that will serve as the base of your window seat.
- Ensure your frame is securely attached to the wall studs using screws.
Pro-Tip: I recommend using two screws per stud for maximum stability.
Step 2: Adding Wall Support
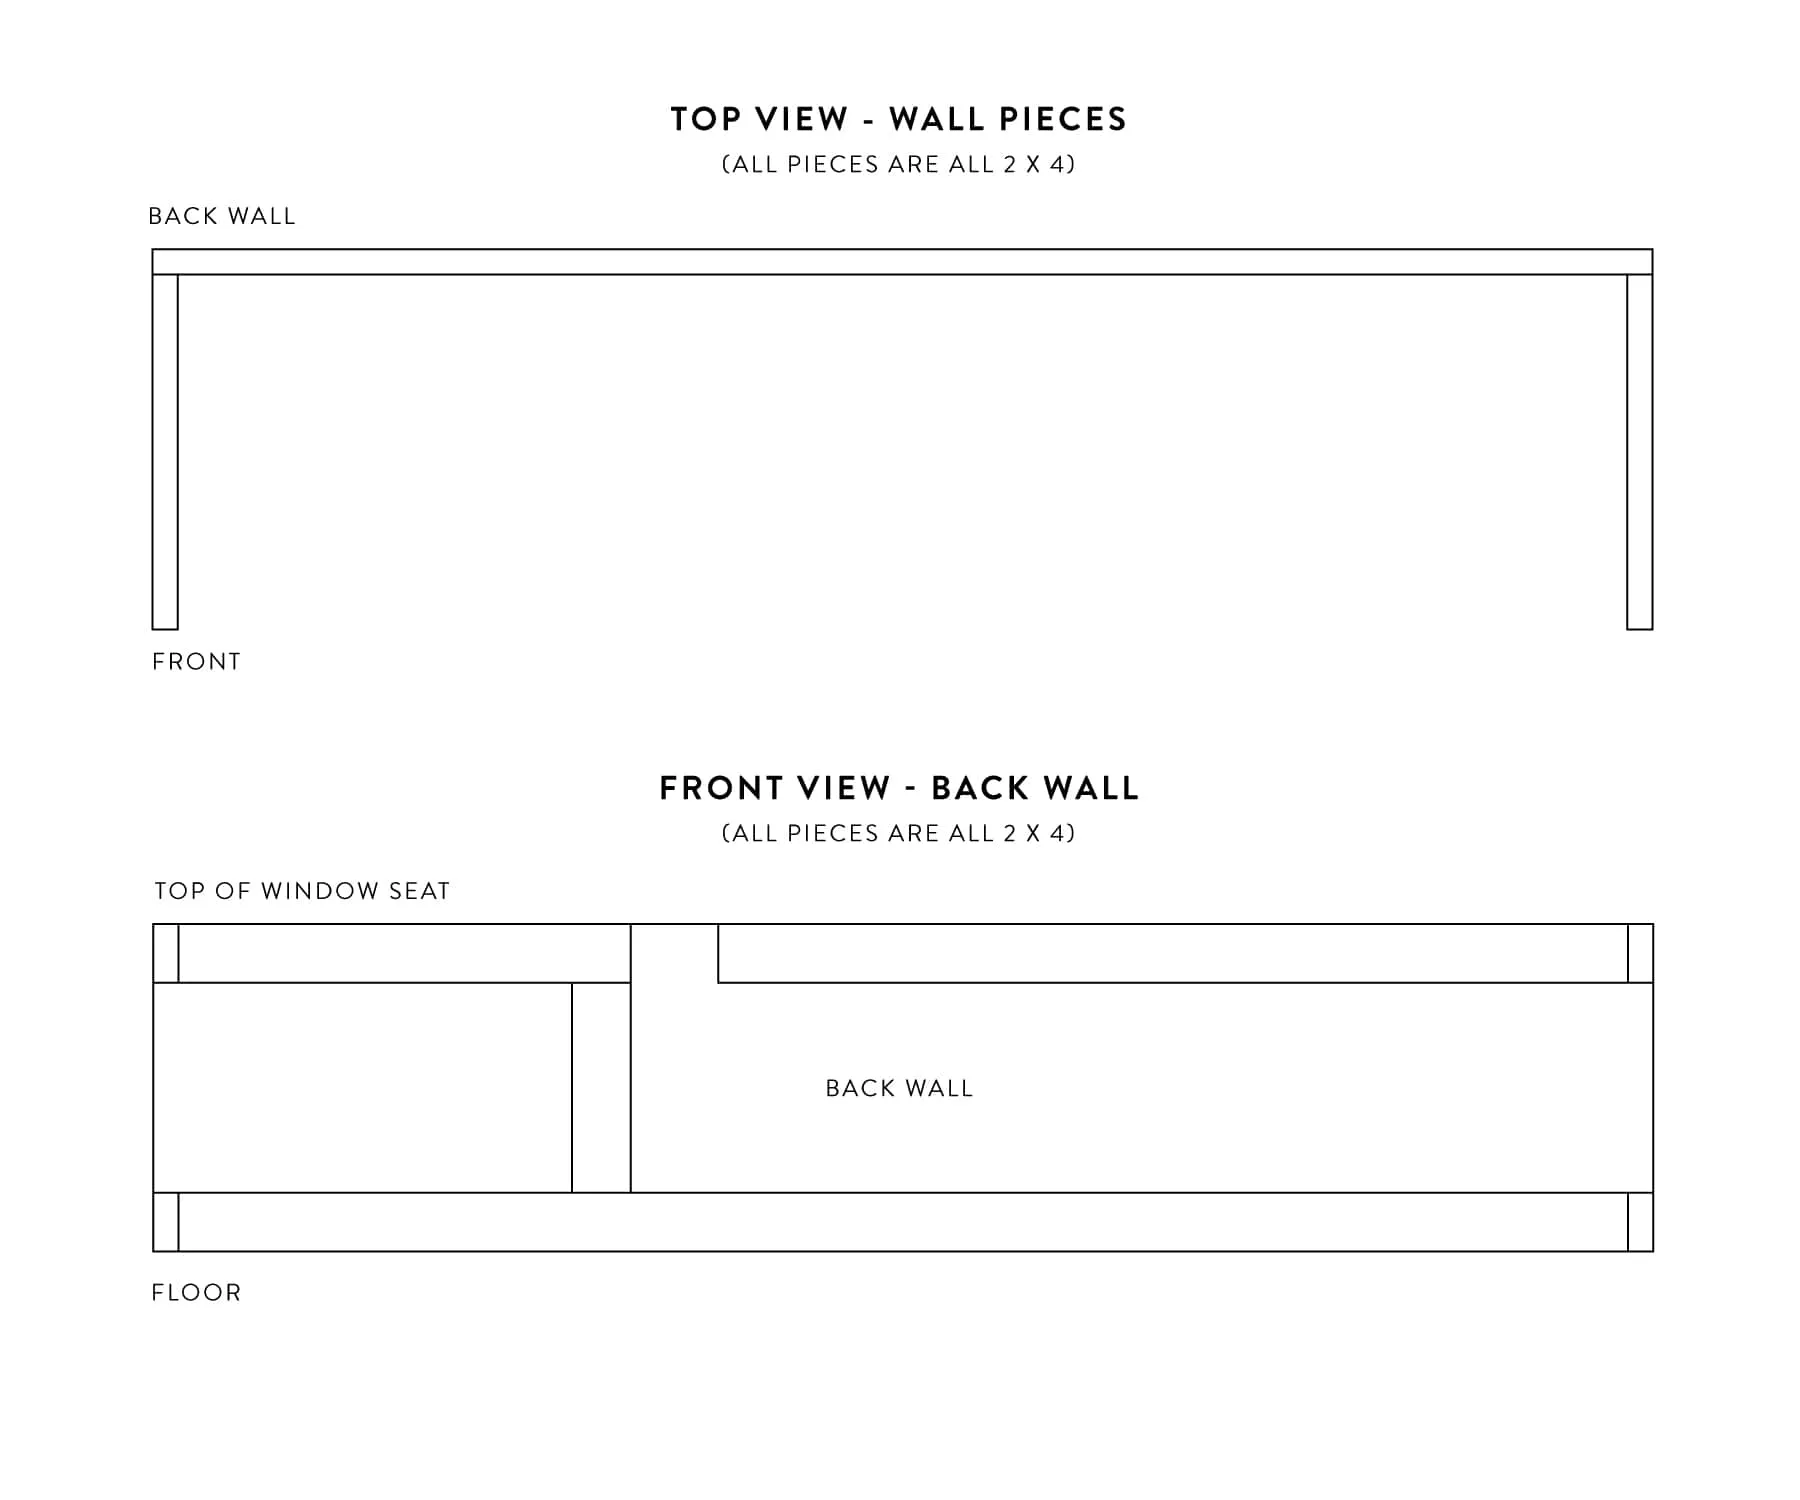 Wall Supports in Progress
Adding strength and structure
- Measure and cut 2x4s to create vertical supports for the back and side walls of your seat.
- Again, make sure these supports are anchored into the wall studs.
- Use a level throughout the process to guarantee a perfectly straight and even seat.
Step 3: Creating the Front Support Structure
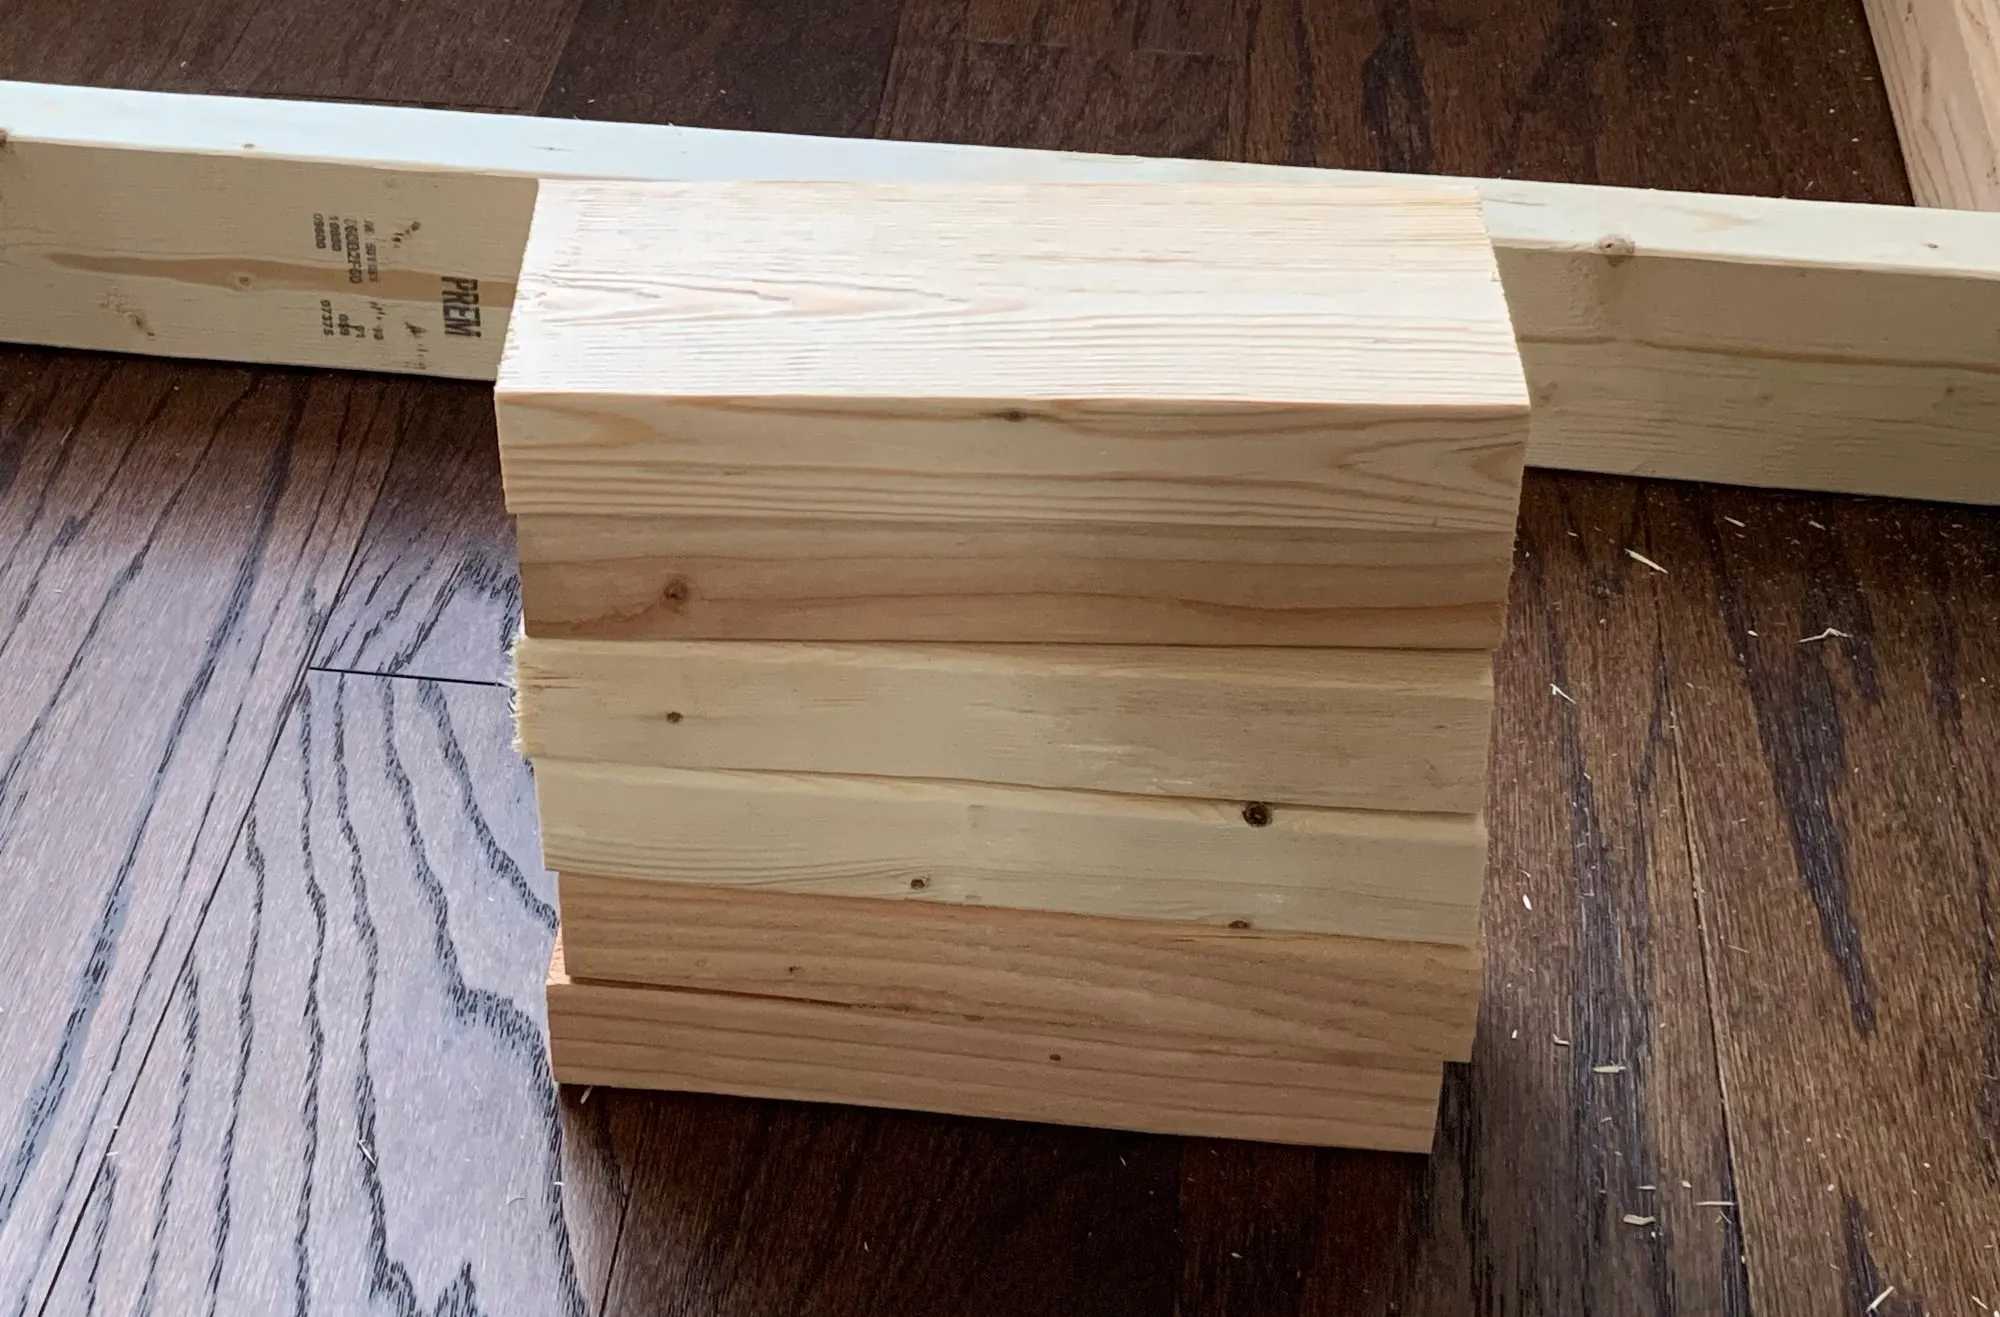 Front Support Assembly
Prepping the vertical supports
- Cut vertical 2×4 supports to the desired height of your window seat.
- Utilize a Kreg Jig to drill pocket holes into each vertical support. This ingenious tool creates strong and discreet joints.
- Attach the vertical supports to the top front support board using pocket hole screws.
- Once the vertical supports are secured to the top board, attach the entire assembly to the bottom floor support.
Tip: For a cleaner look, position the pocket holes facing the front of the support, as they’ll be concealed by the plywood face trim later on.
Step 4: Adding Top Support for Hidden Storage
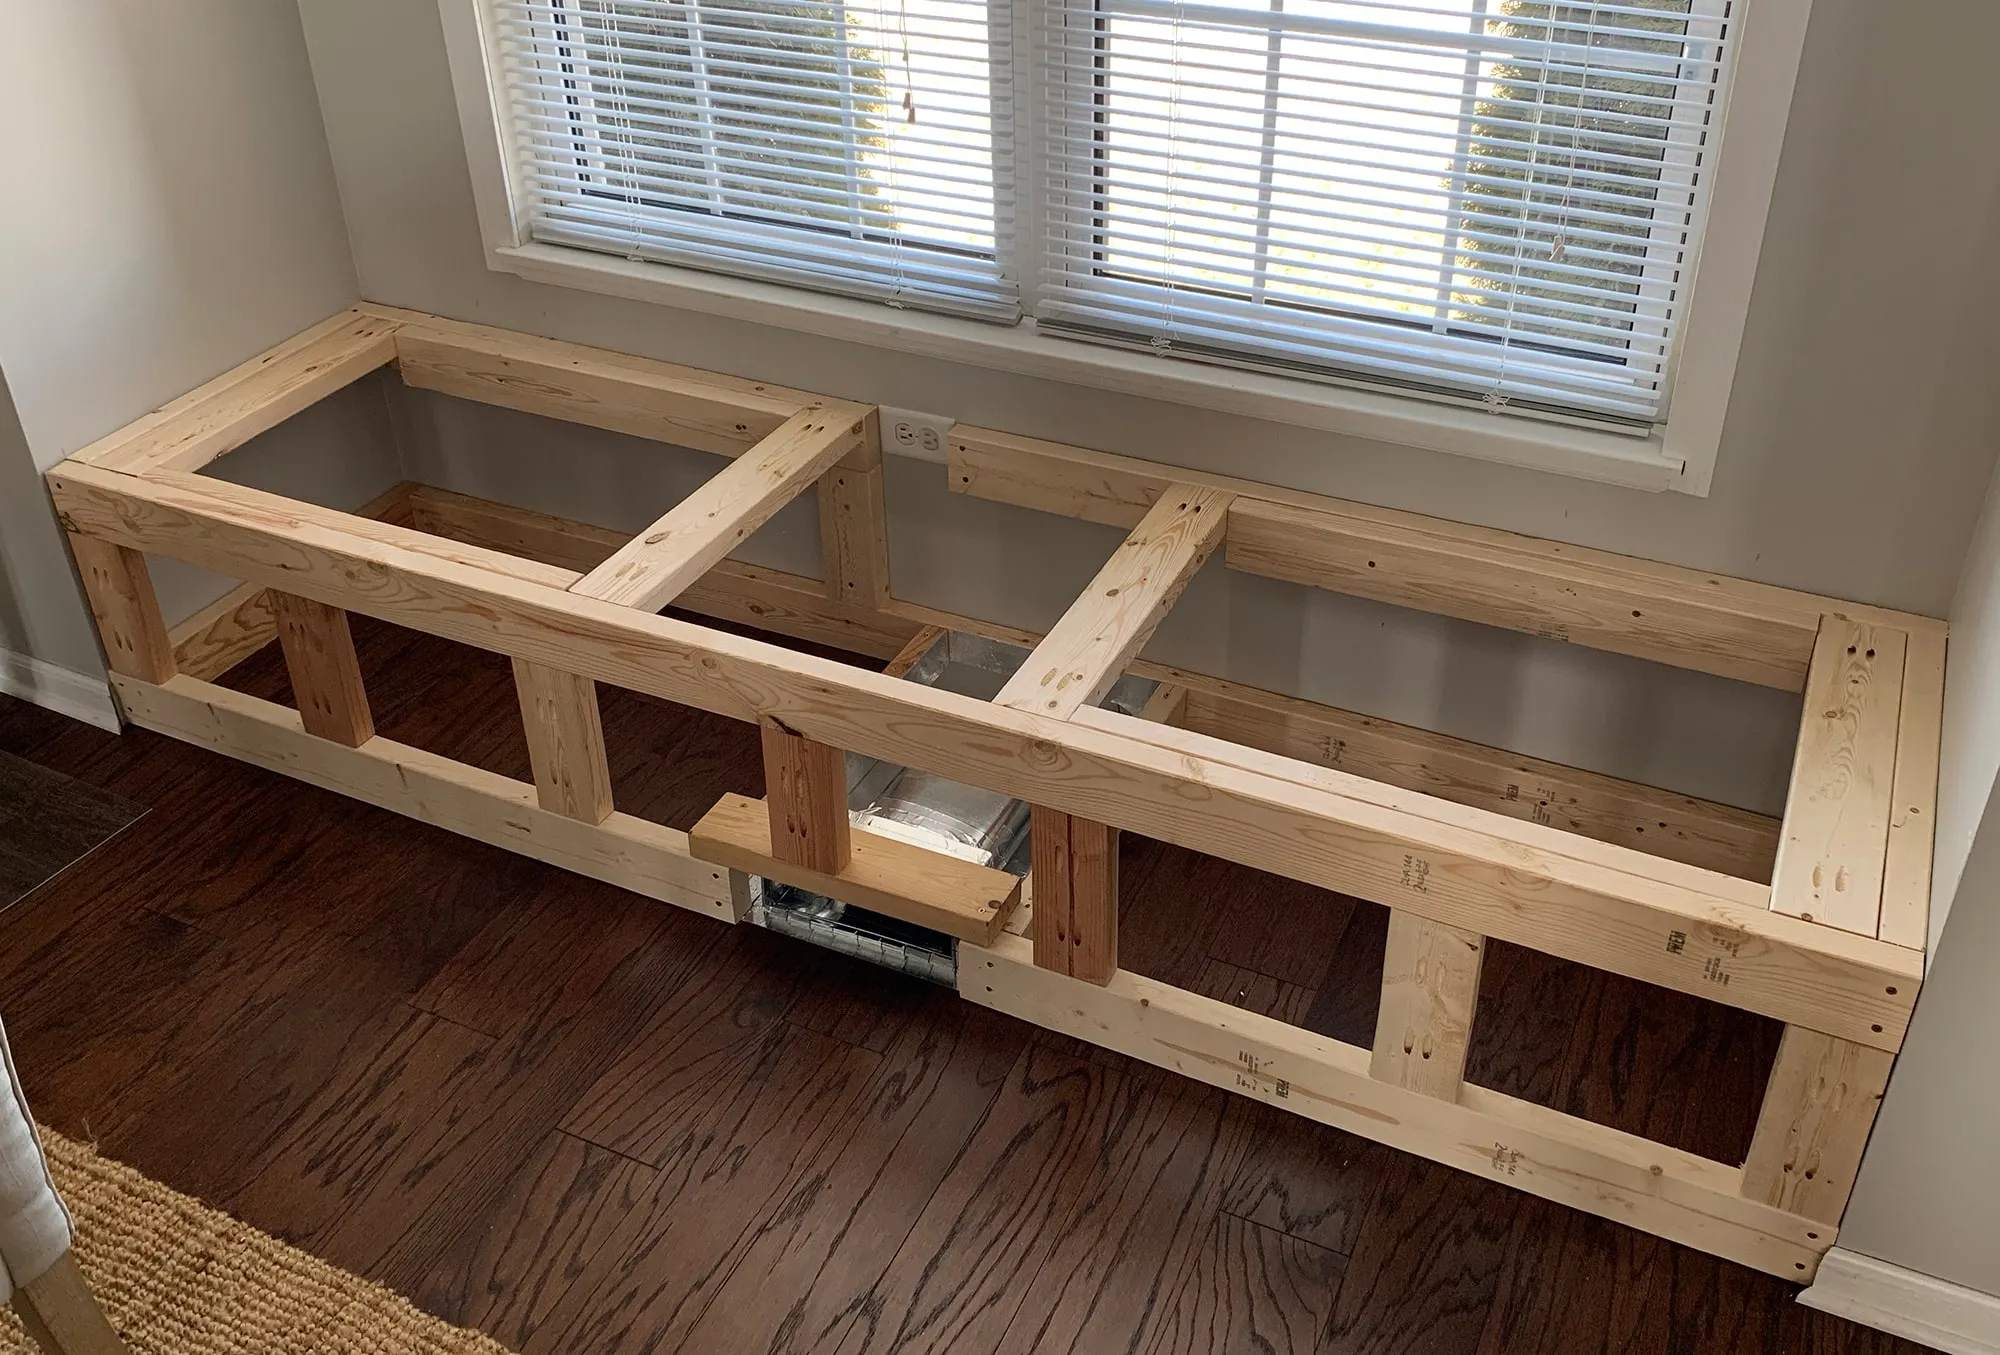 Reinforcing for Storage
Creating a framework for the hidden doors
- To support the hidden storage doors, install additional cross supports at the desired locations. These supports should be level with the top of the front and back framing.
- Use your Kreg Jig to create pocket holes and attach the cross supports securely.
Crafting the Seat Top and Hidden Doors
Now for the satisfying part – bringing the seat top and hidden storage doors to life!
Cutting the Plywood Seat Top
- Measure and cut a piece of 3/4″ plywood to the exact dimensions of your window seat frame, ensuring it fits snugly within the structure.
- If you desire a slight overhang, factor that into your measurements.
Creating the Hidden Storage Doors
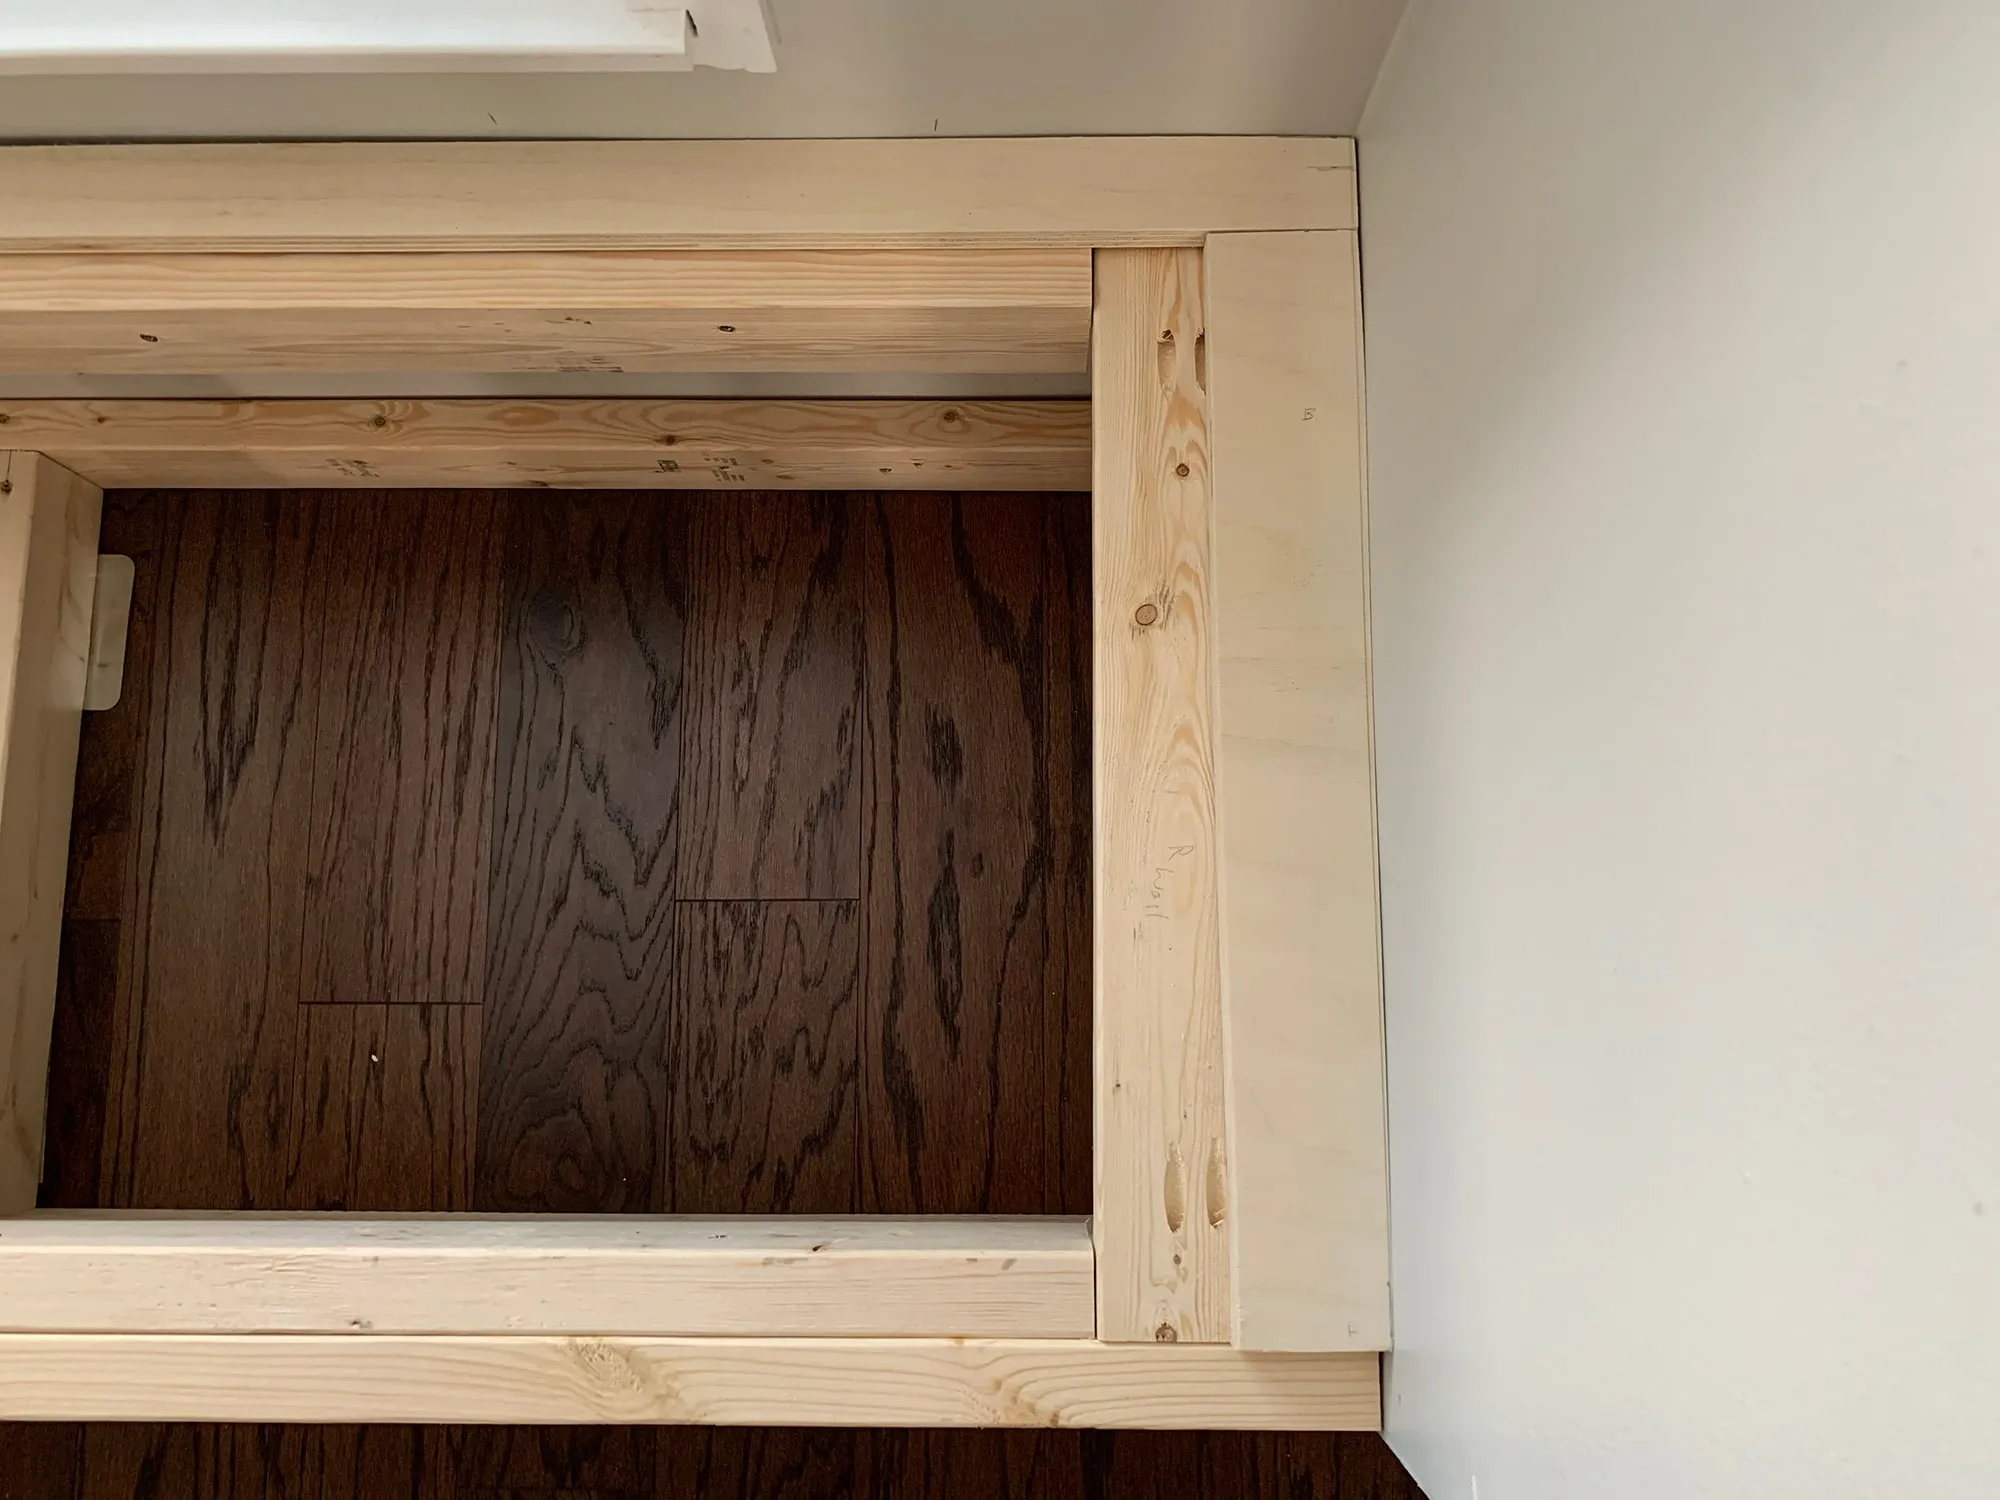 Cutting the Puzzle Pieces
Meticulous cuts ensure a perfect fit
- Using the remaining plywood, carefully cut out the storage door panels.
- I recommend cutting the doors slightly larger than the openings to allow for smooth opening and closing. You can always sand down the edges for a perfect fit.
Fashioning Concealed Handles
- For a sleek and discreet look, I opted for recessed handles using a hole saw drill bit.
- Simply mark the desired handle locations on your storage doors and drill out circles large enough for your fingers to grip comfortably.
Pro Tip: If you prefer a more substantial handle, consider using a jigsaw to create rectangular cutouts.
Attaching the Piano Hinges
- With the doors cut and handles in place, it’s time to attach the piano hinges.
- I painted my hinges white to match the seat, but you can choose a finish that complements your design.
Securing the Seat Top and Trim
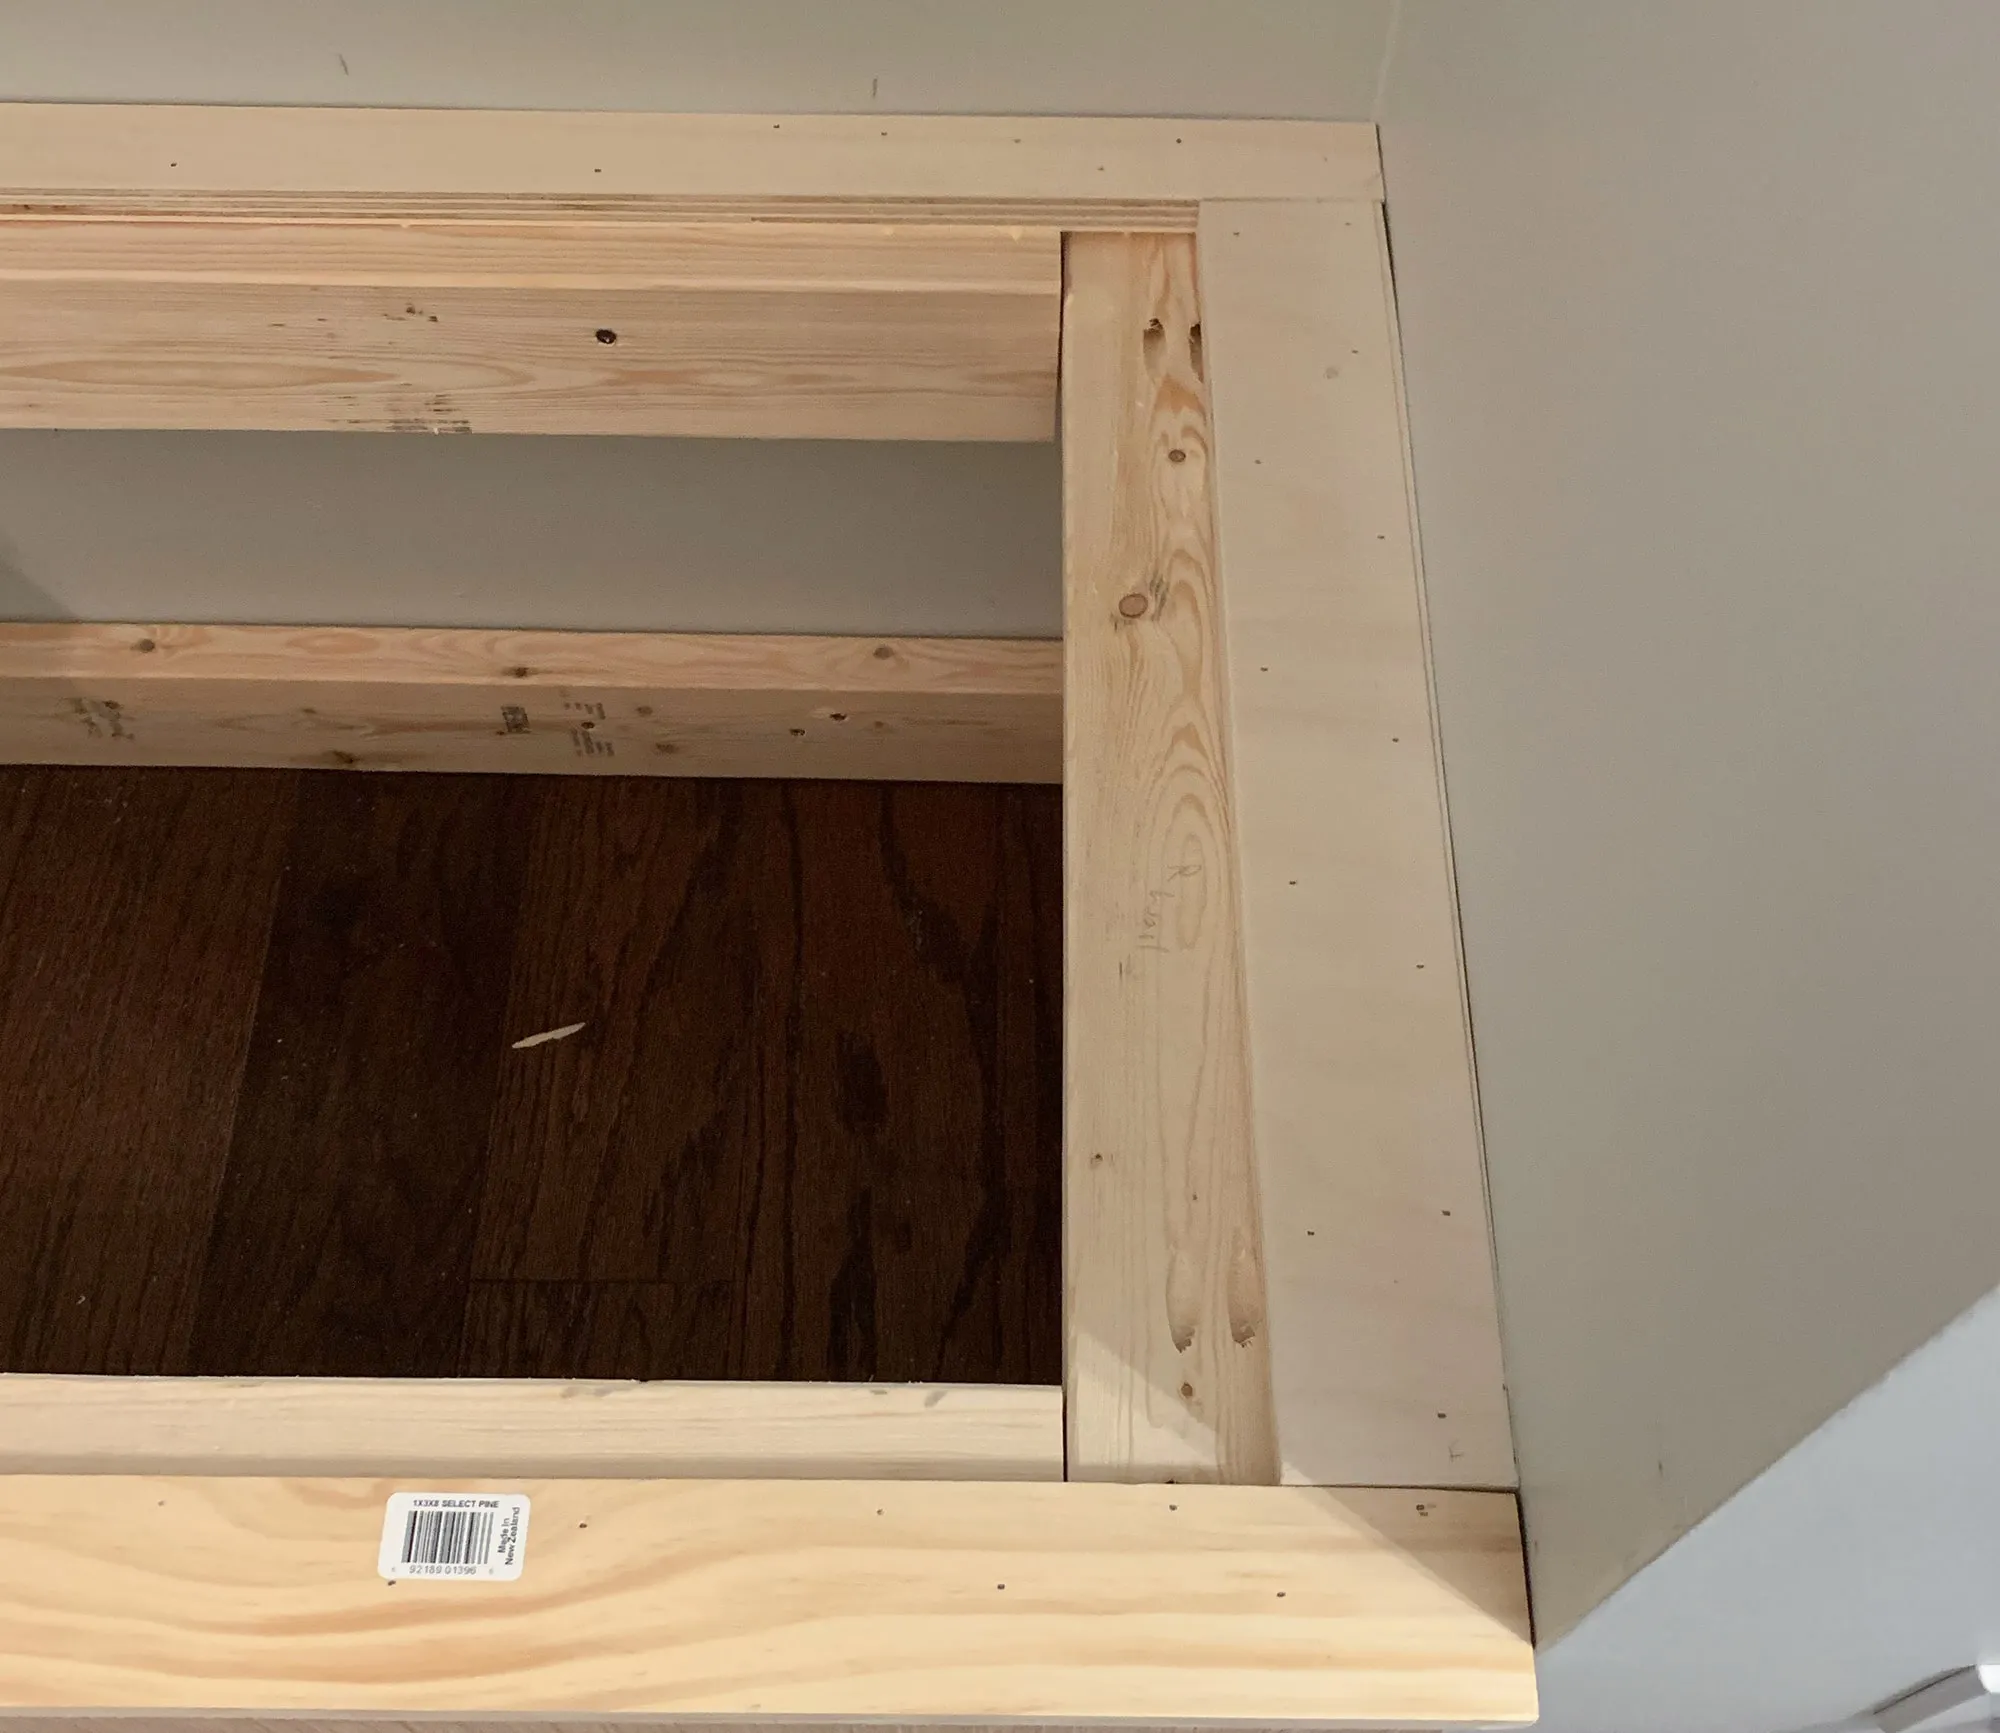 The Final Touches
Bringing it all together
- Position the storage doors onto the cross supports and carefully align and attach the piano hinges.
- Securely nail the remaining plywood pieces to the frame, including the outer strips, front lip, and any stationary middle sections.
- Now, step back and admire your handiwork!
Adding the Finishing Touches: Plywood Face Trim
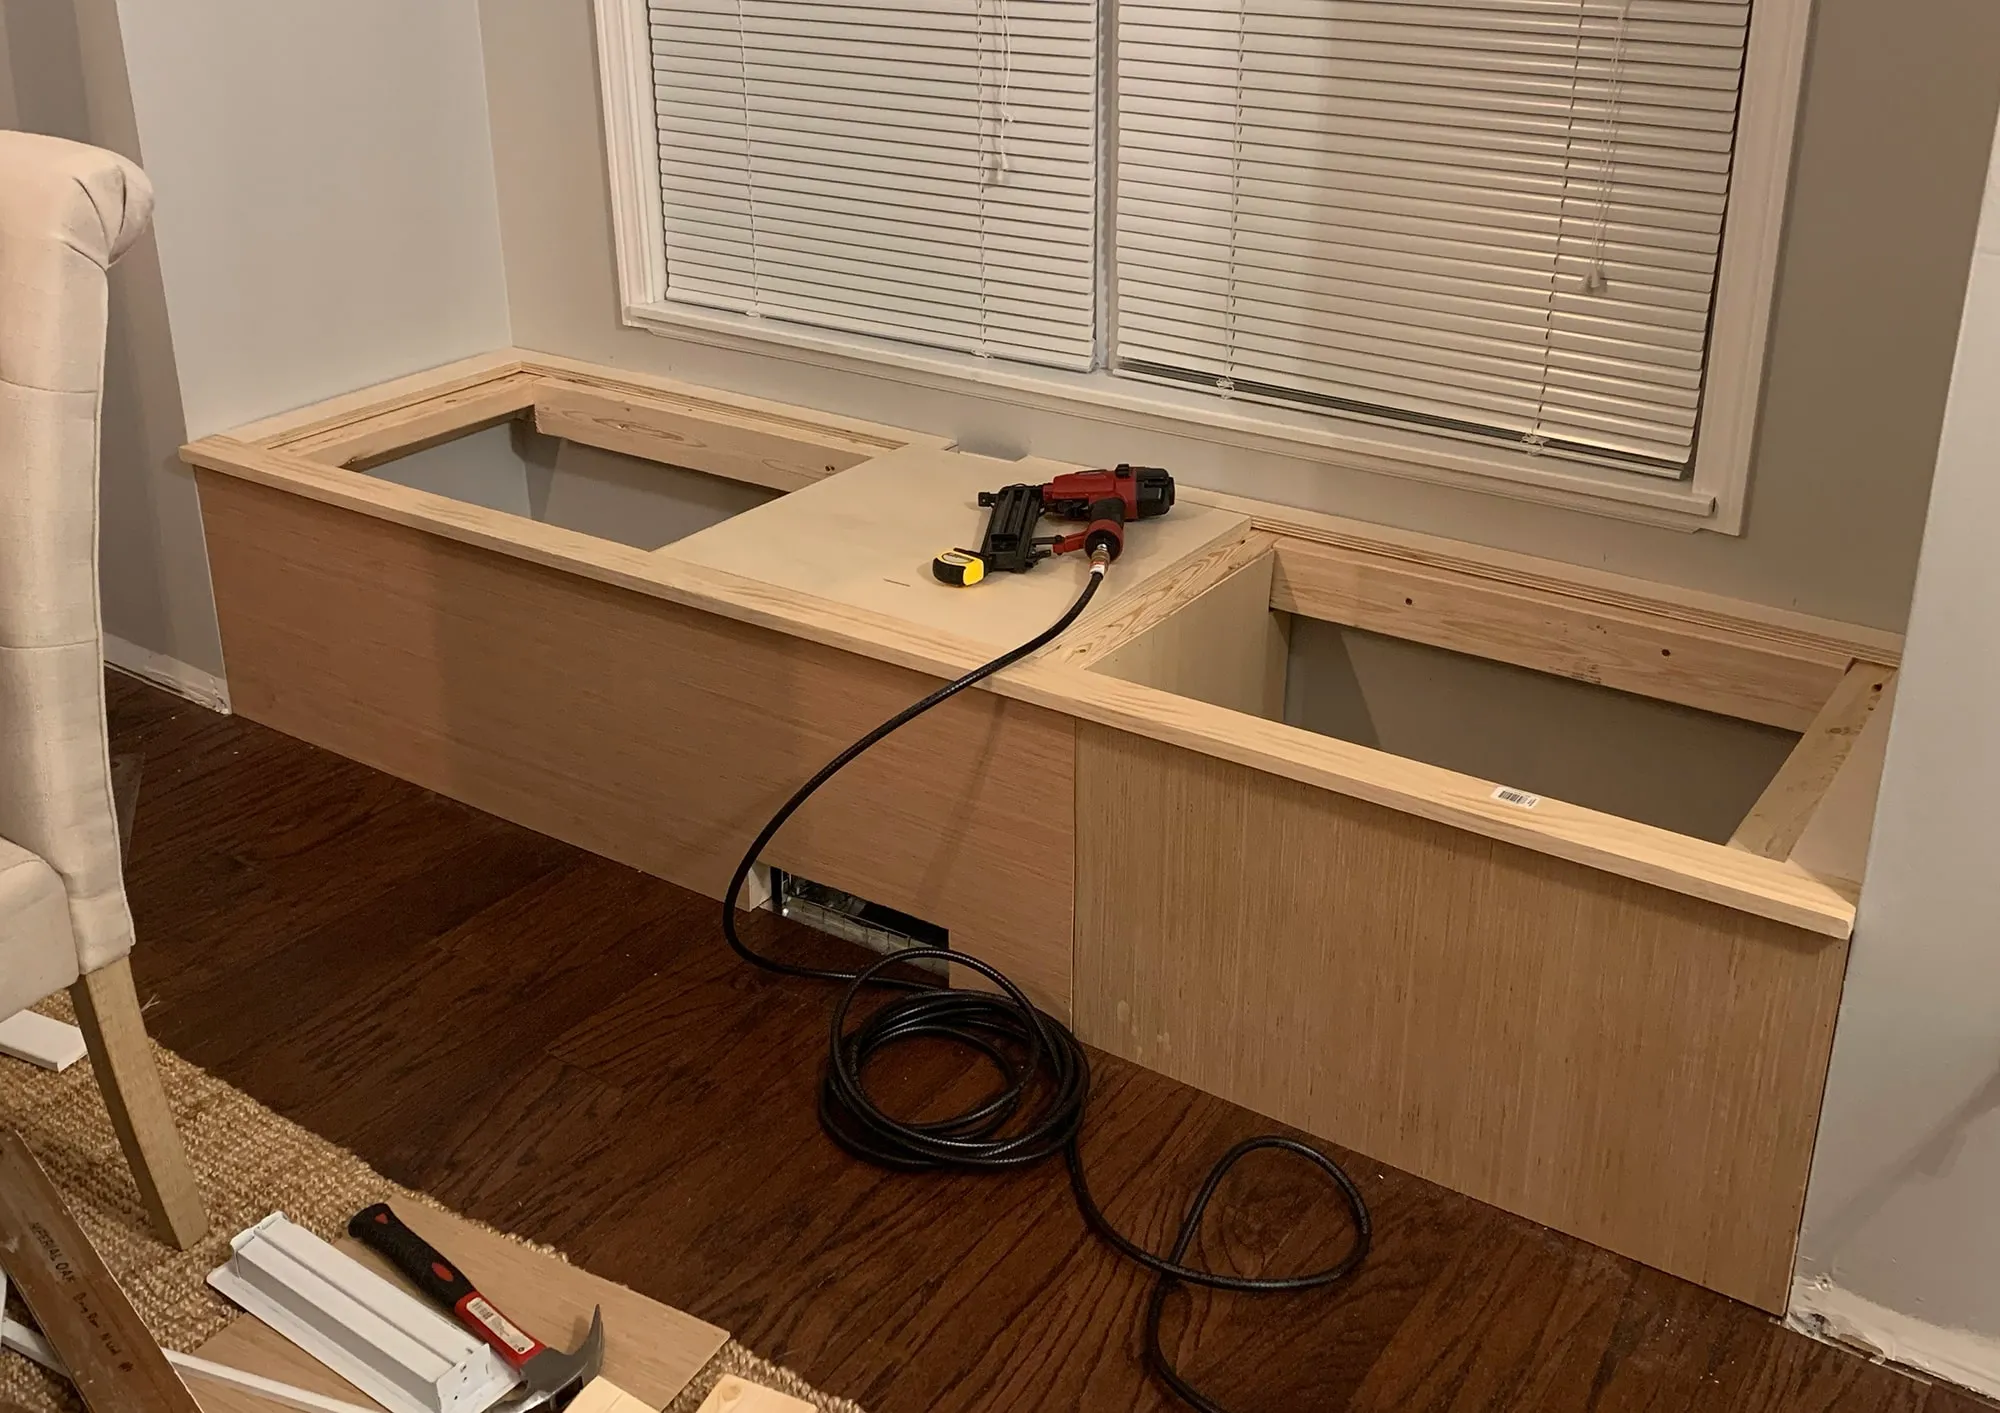 The Transformation Begins
Elevating the look with plywood trim
To achieve a polished and professional look, let’s add some elegant plywood face trim.
-
Cutting and Attaching the Plywood Panel:
- Measure and cut a piece of 1/8″ plywood to cover the entire front of the window seat.
- Securely attach the plywood panel using a brad nailer, ensuring it’s flush with the frame.
-
Adding the MDF Trim Pieces:
- Measure and cut the primed MDF boards to create the top, bottom, and vertical trim pieces.
- Miter the corners of the trim pieces for a seamless look.
- Attach the trim pieces using a brad nailer, ensuring they’re evenly spaced and level.
Pro-Tip: For a cleaner finish around the air vent, use a jigsaw to cut out a hole in the plywood panel and MDF trim.
The Final Flourish: Painting and Enjoying Your Creation!
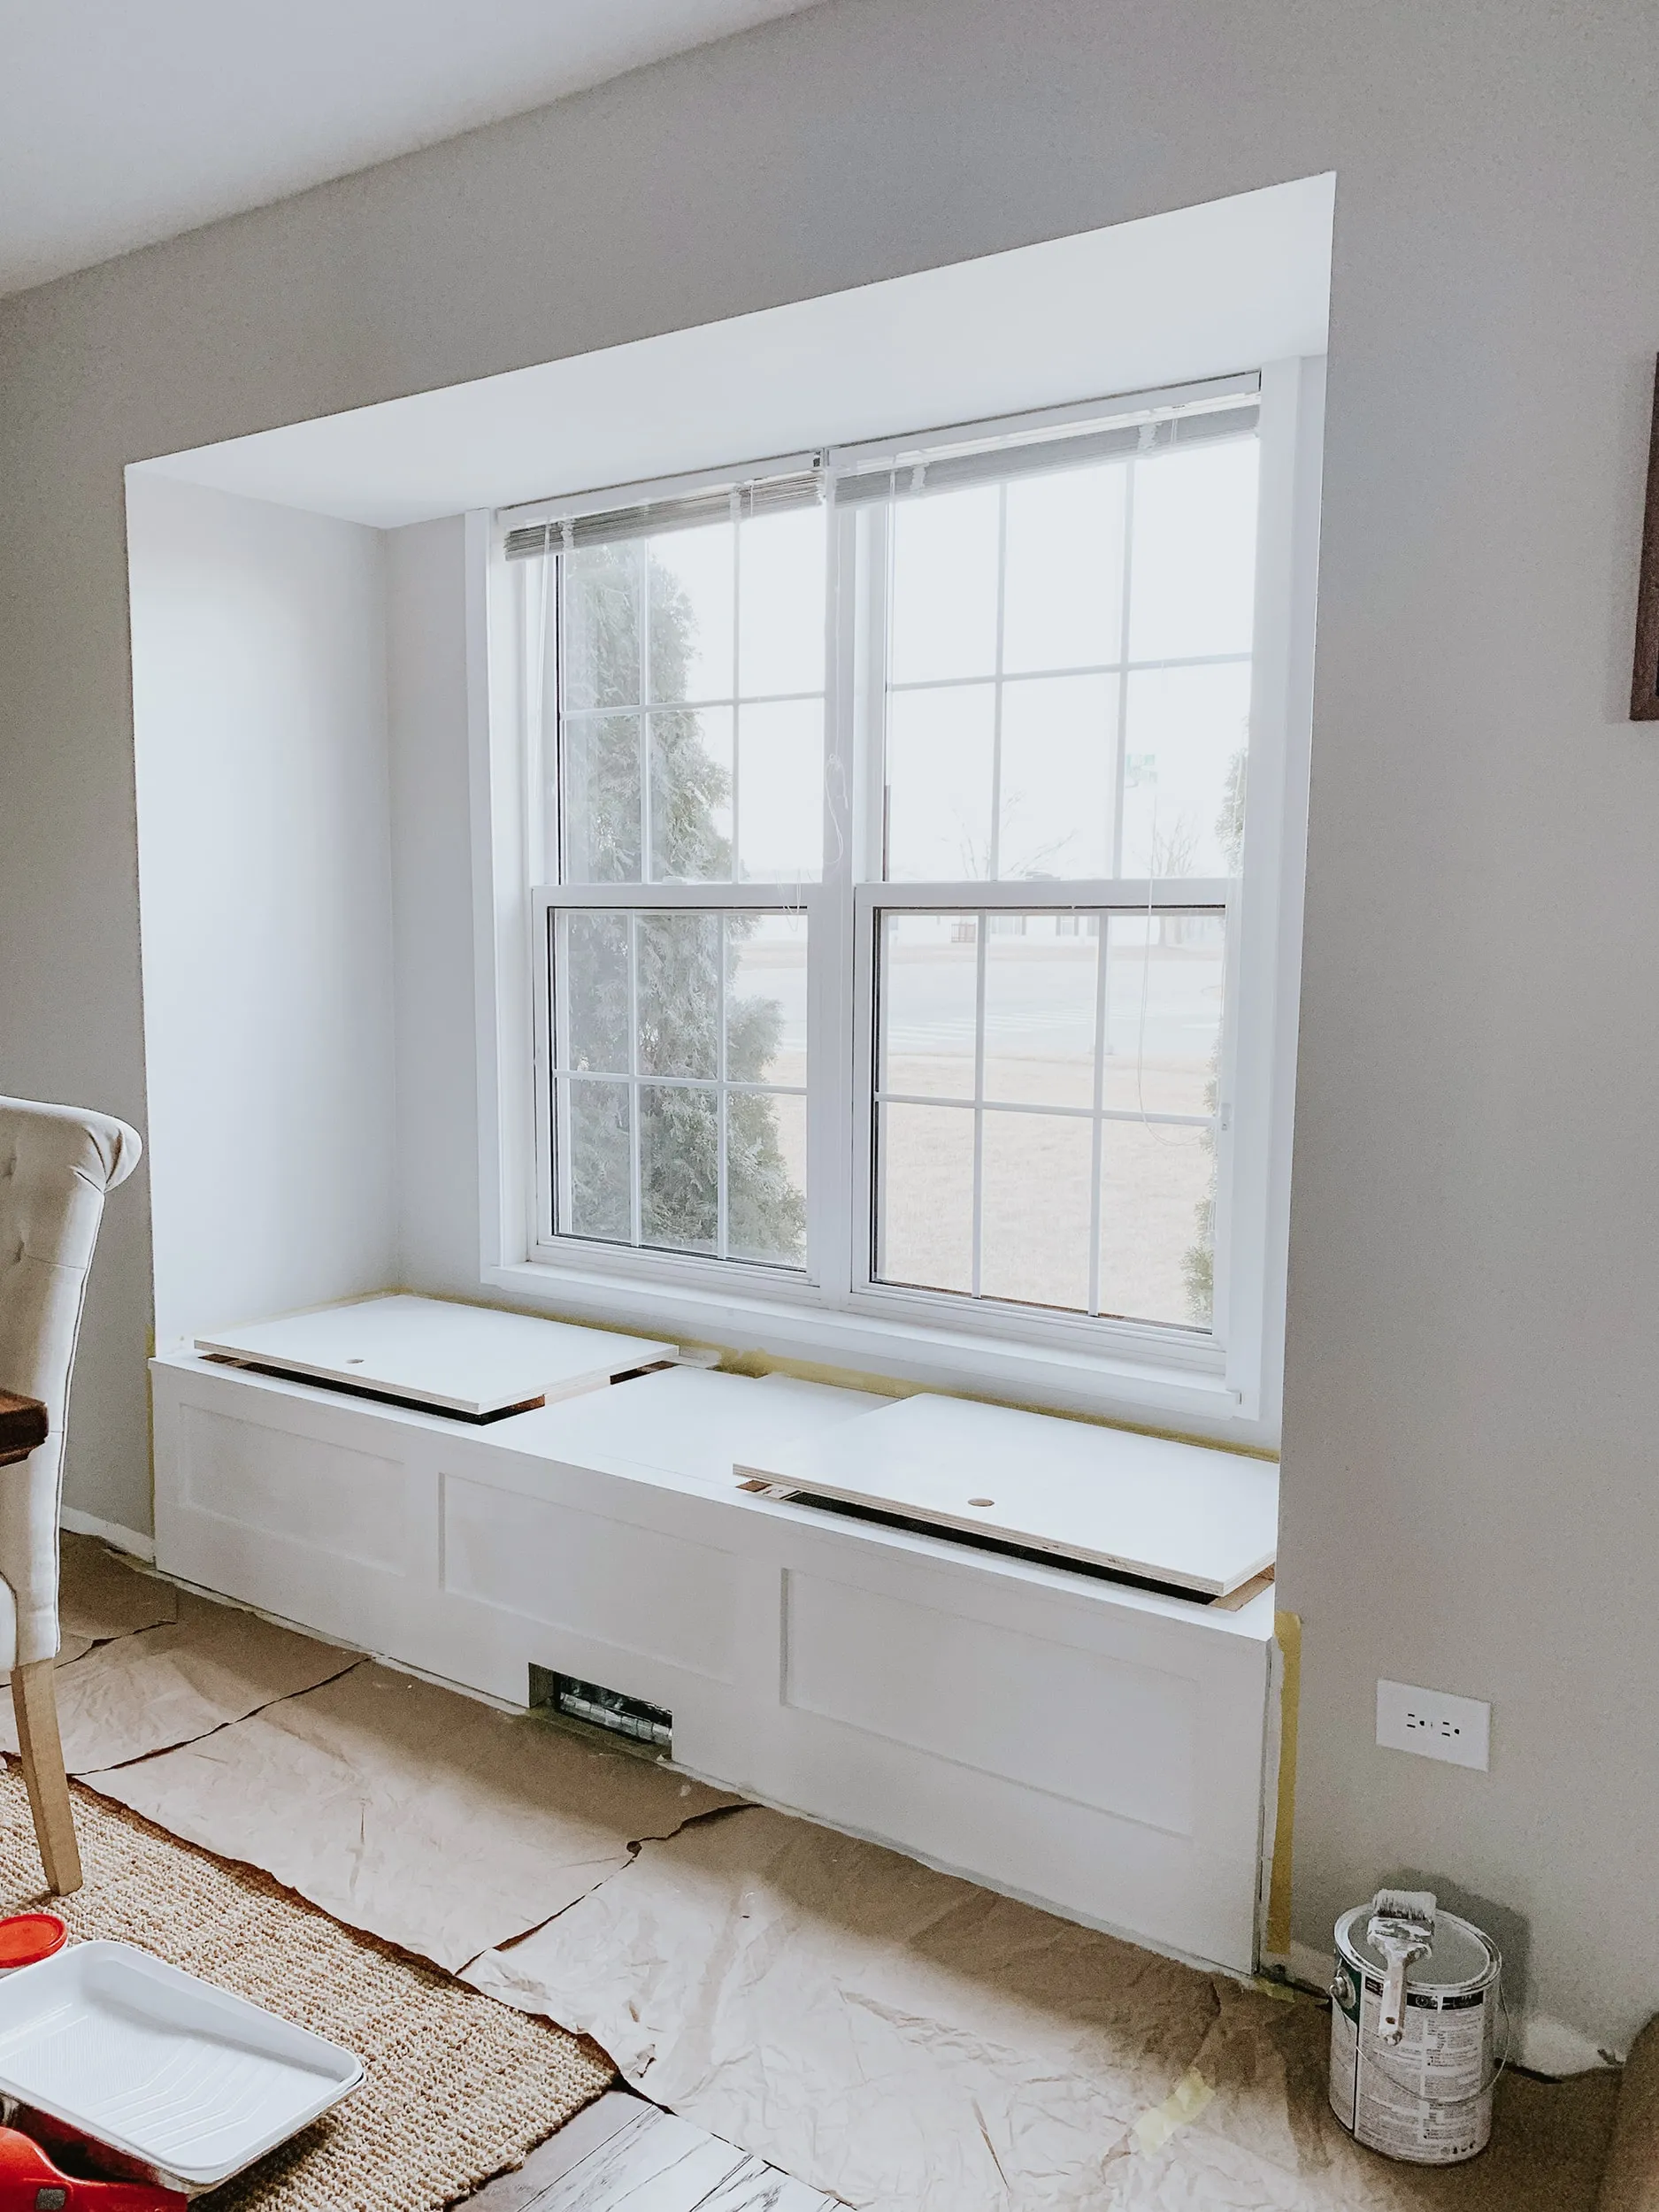 The Big Reveal
Time to add your personal touch with paint!
With the construction complete, it’s time to add your personal style! Before you begin painting, take the time to fill any nail holes and caulk around the trim for a flawless finish.
Once the prep work is done, grab your paintbrush and let your creativity shine! Choose a color that complements your existing decor and transforms your window seat into a cozy haven.
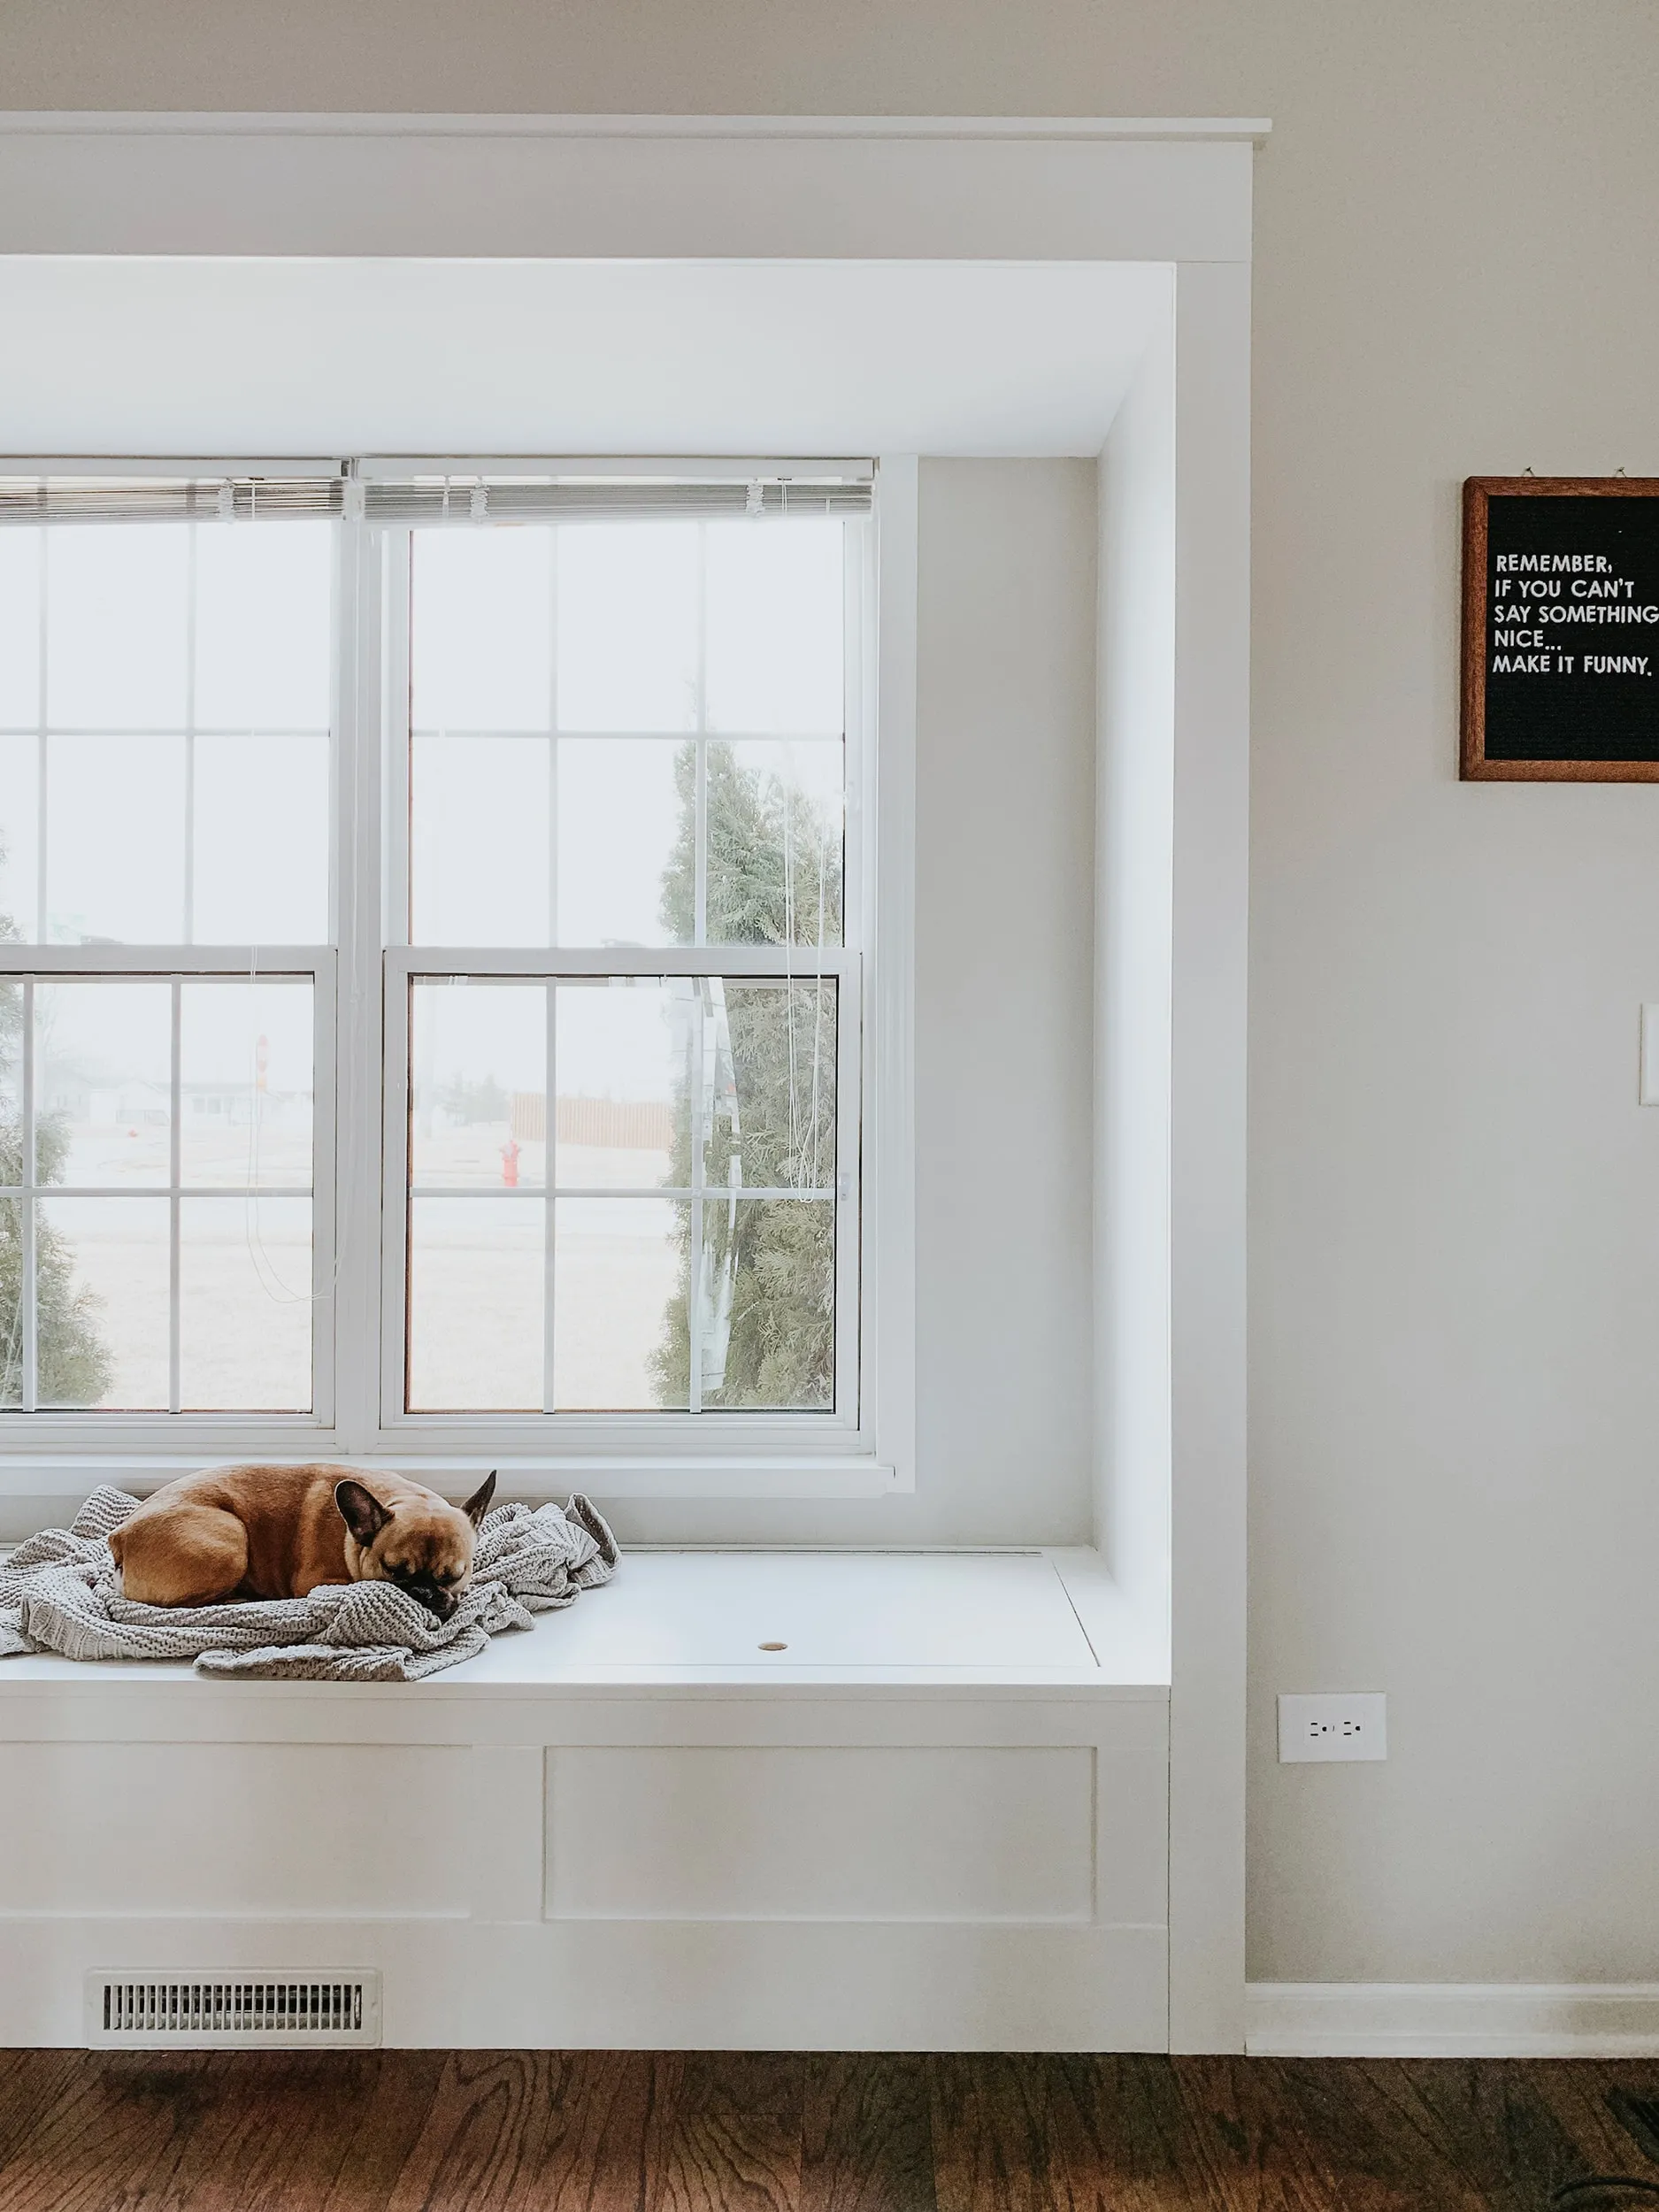 A Cozy Retreat
A dream realized – a cozy and inviting window seat
Building this DIY window seat with hidden storage was incredibly rewarding, and the end result is a testament to the power of a little creativity and determination! Now, I have a charming and functional space to relax, read, and enjoy the view – all while maximizing storage space in my home.
I encourage you to give this project a try! It’s a wonderful way to enhance your living space, add value to your home, and unleash your inner DIYer!
Let me know in the comments below if you plan to embark on this project or if you have any questions!
And for more unique handmade gift ideas and craft inspiration, be sure to explore the rest of the Robert Kline Art website!
