Blog
DIY Rolling Under-Bed Storage: Maximize Space with a Personal Touch
Hey there, fellow craft enthusiasts! Remember my earlier post showcasing Tristan’s amazing gamer-themed room? You guys loved it! Many of you were particularly drawn to the clever rolling storage boxes tucked away under his bed. Well, I’m thrilled to finally share a step-by-step guide on how to create these space-saving wonders.
The Challenge: Unsightly Under-Bed Void
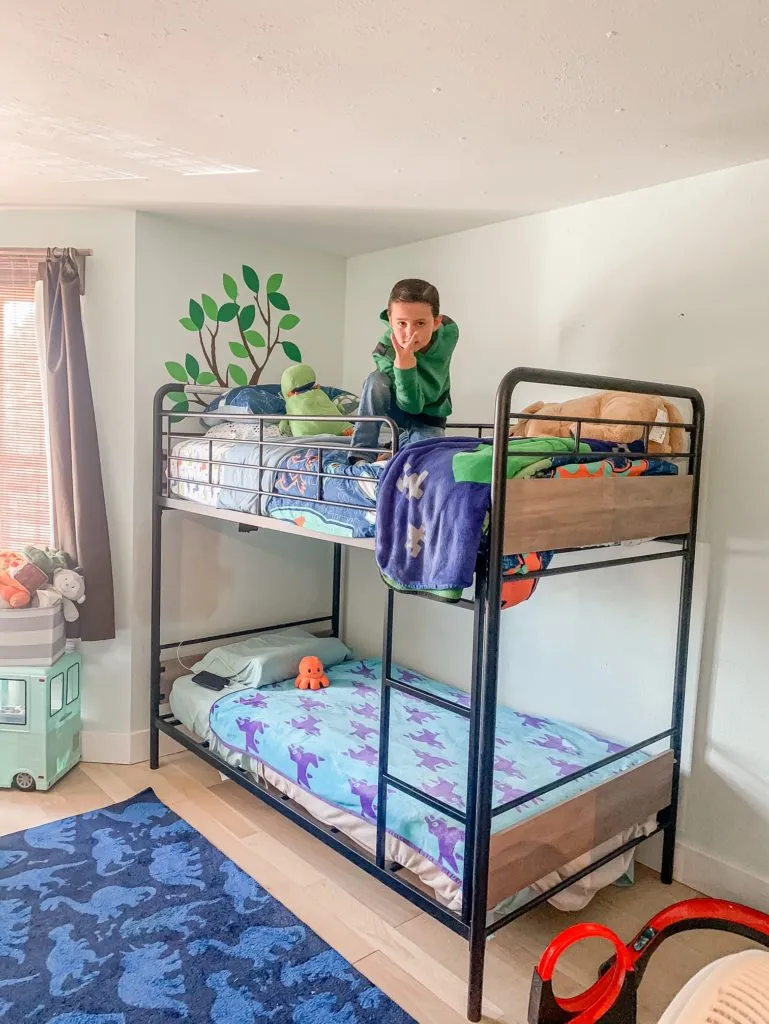
Let’s face it, exposed under-bed space can be an eyesore. While the support rails on Tristan’s bunk beds were necessary, they were also a visual distraction. After searching high and low for store-bought storage solutions that fit the dimensions just right, I decided to roll up my sleeves and build my own. And let me tell you, the satisfaction of creating something so functional and stylish is truly rewarding!
Gathering Your Tools and Materials
Before we dive in, let’s gather our crafting arsenal. Here’s what you’ll need for this project:
- Wood:
- 1/2″ Plywood
- 1x6s
- Fasteners:
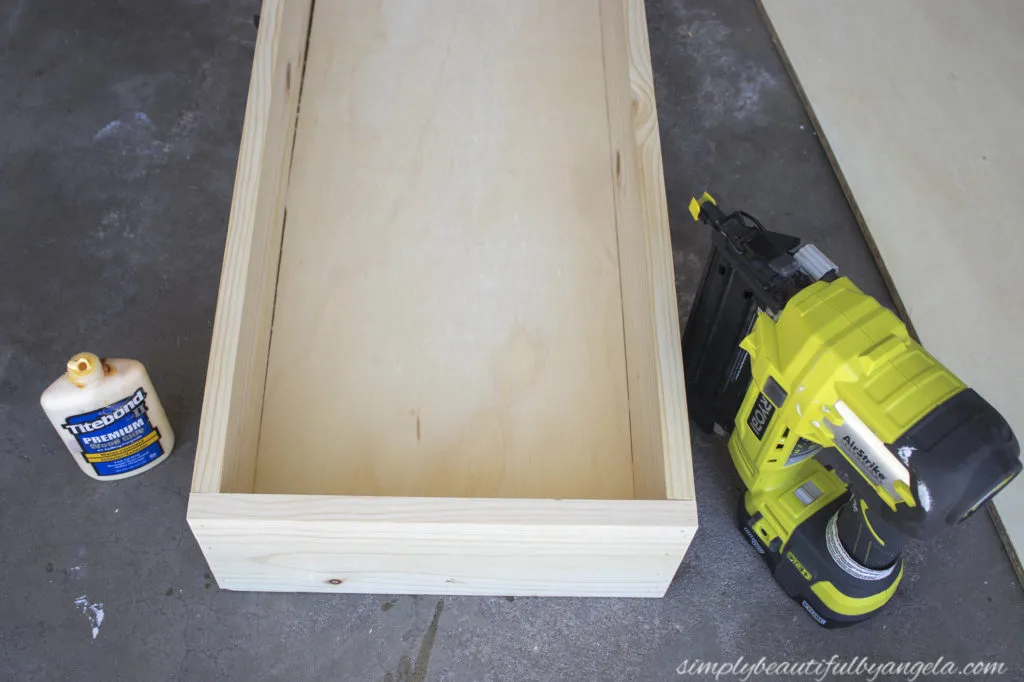
- Nail Gun & Nails
- Wood Glue
- 2 1/2″ Deck Screws
- Finishing:
- Wood Filler
- Electric Sander
- Weathered Oak Wood Stain
- Espresso Wood Stain
- Rust-Oleum Satin Black Spray Paint
- Hardware:
- 1 1/2″ Vintage Caster Wheels
- Pipe Pulls (spray painted matte black)
- Other:
- Shelf Liner
- Measuring Tape
- Pencil
Crafting Your Under-Bed Storage: A Step-by-Step Guide
Follow these simple steps to create your own under-bed storage boxes:
1. Measure and Plan: Precision is Key
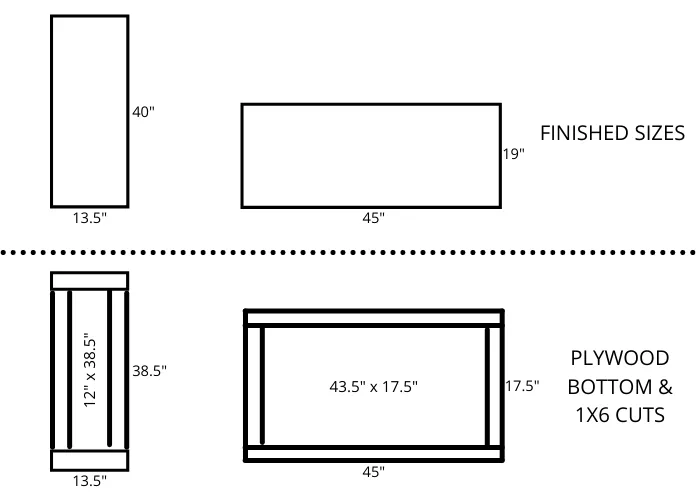
 "Storage box plans"
- Accurate measurements are crucial for a perfect fit. Carefully measure the space under the bed, considering any obstructions like support beams.
- Remember to factor in the thickness of the wood when calculating the dimensions for the plywood bottom and sides. For example, if you’re using 1x6s for the sides, subtract 1.5″ from the length and width of the plywood to ensure a flush fit.
Pro Tip: Sketching a simple diagram with all your measurements can be incredibly helpful throughout the process.
2. Cut the Plywood Base: The Foundation
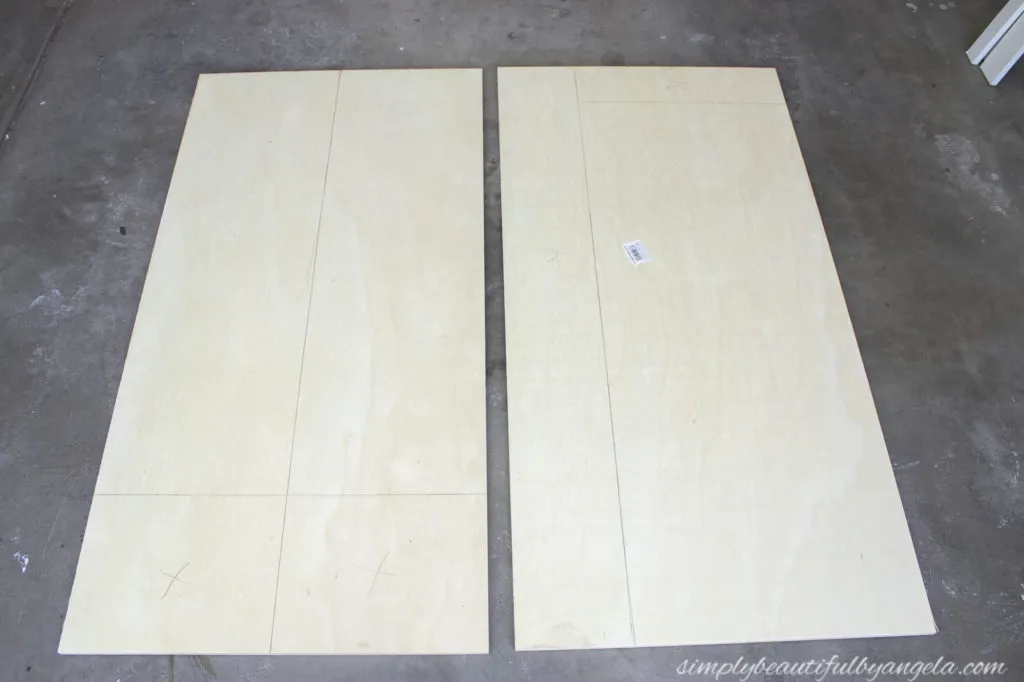
- Using your measurements, mark and cut the plywood sheets to create the bottom of your storage boxes. A circular saw or jigsaw works well for this task.
 "Cutting plywood with saw"
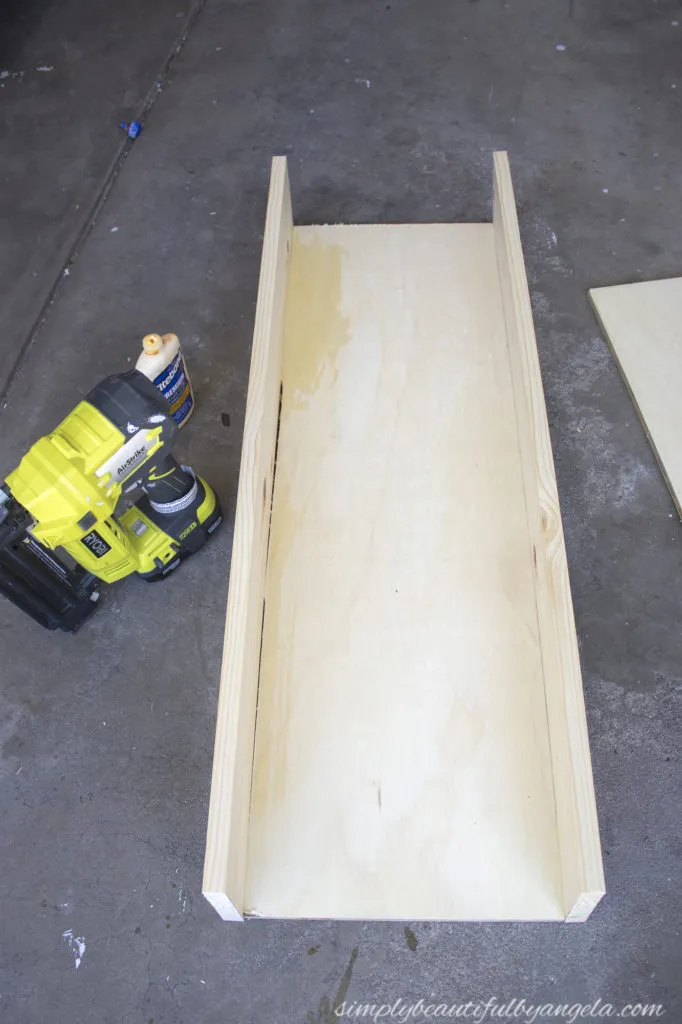
3. Assemble the Sides: Building the Structure
- Cut the 1x6s to the desired length for your box sides. Apply wood glue to the edges of the plywood base and firmly attach the side pieces using a nail gun.
 "Attaching side to plywood base"
4. Add the Front and Back: Enclosing the Box
- Measure and cut the front and back pieces from your 1x6s. Attach them to the sides and base using the same wood glue and nail gun technique.
 "Attaching the back piece with a nail gun"
5. Reinforce with Screws: Strength and Durability
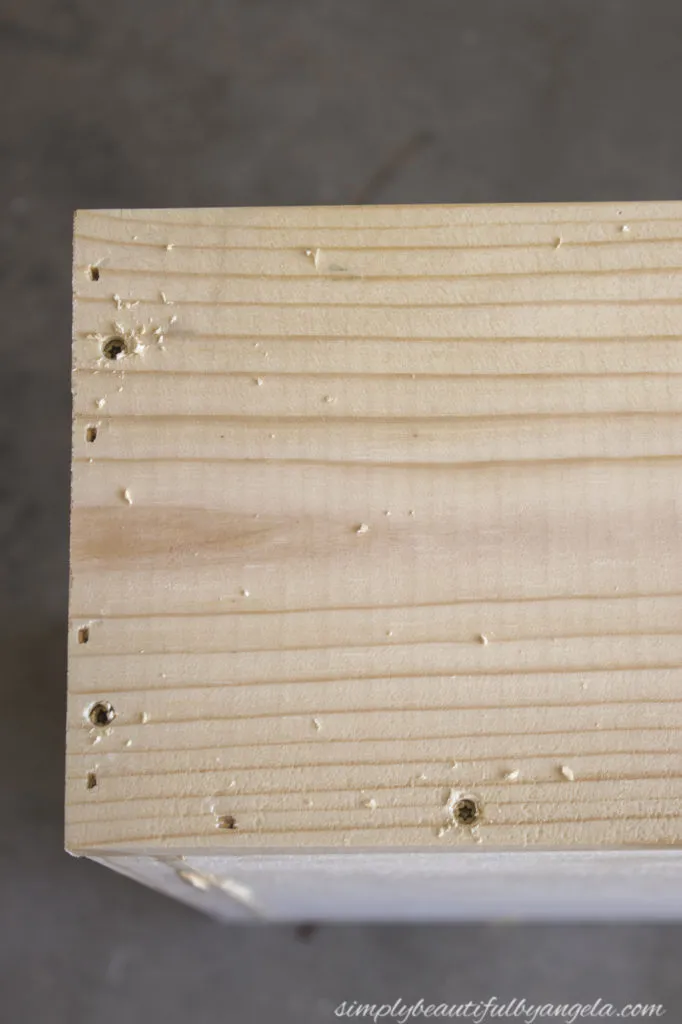
- To enhance the structural integrity of your storage boxes, secure the front and back pieces with deck screws. The small countersinking head on deck screws provides a clean finish.
 "Countersinking a screw into the wood"
6. Fill, Sand, and Stain: A Smooth, Finished Look
- Fill any screw holes with wood putty and allow it to dry completely. Then, sand the entire box for a smooth and even surface.
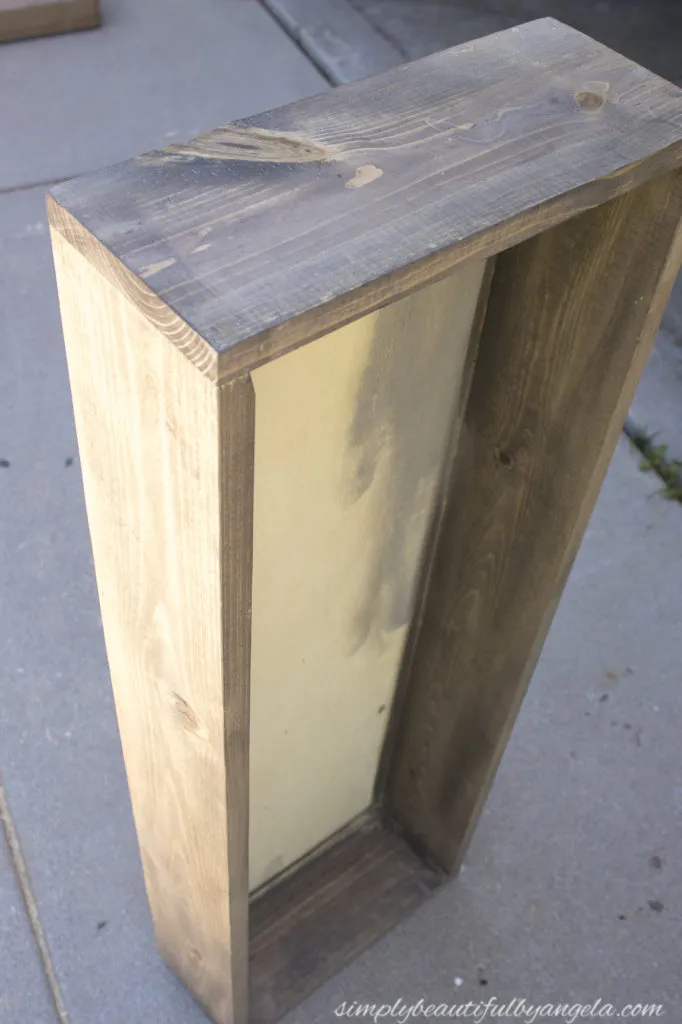
- Apply your chosen wood stain – I opted for a combination of Weathered Oak and Espresso for a rustic yet modern look. Remember to protect your work area with a drop cloth and allow ample drying time between coats.
 "Staining the storage box"
7. Add Personal Touches: Pulls and Stenciling
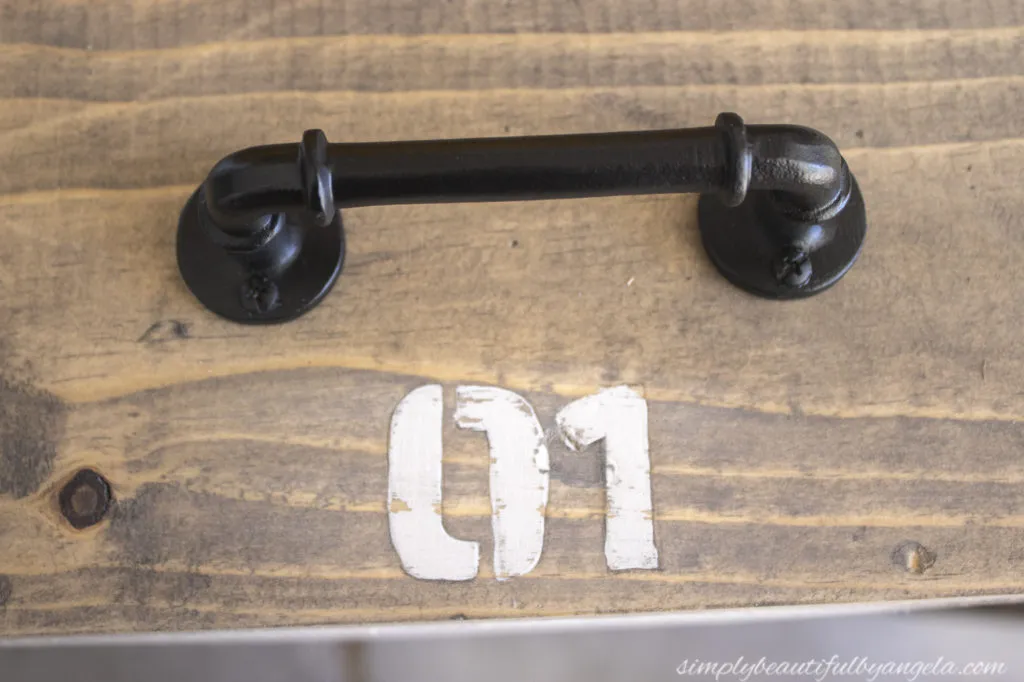
- Now for the fun part – personalization! Attach stylish pulls to the front of each box for easy access. I spray-painted my silver pipe pulls with a matte black finish for a cohesive look.
- Stenciled numbers on each box add a touch of whimsy and help identify contents at a glance. Lightly distress the stenciled numbers for a charming, vintage vibe.
 "Storage boxes with stenciled numbers"
8. Attach Caster Wheels: Mobility and Ease
- Flip the boxes over and attach vintage-style caster wheels to the bottom. These wheels allow for effortless sliding and add a touch of character to your storage solution.
 "Attaching caster wheels to the storage box"
9. Line and Enjoy: Organization and Style Combined!
- For a polished look and added protection, line the inside of the boxes with your favorite shelf liner. Now, step back and admire your handiwork – you’ve transformed an unused space into a storage haven!
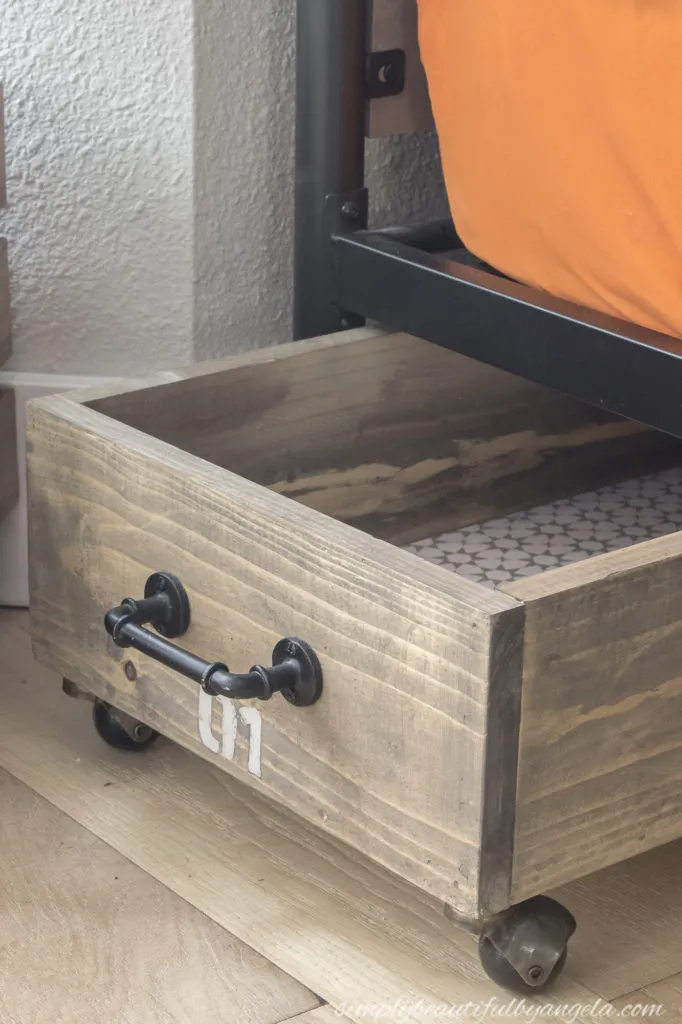 "Rolling under-bed storage boxes"
From Clutter to Creativity: Reclaiming Your Space
These rolling storage boxes are not only practical but also incredibly versatile. Use them to store seasonal clothing, extra bedding, books, toys, crafting supplies, or anything else you need to tuck away neatly.
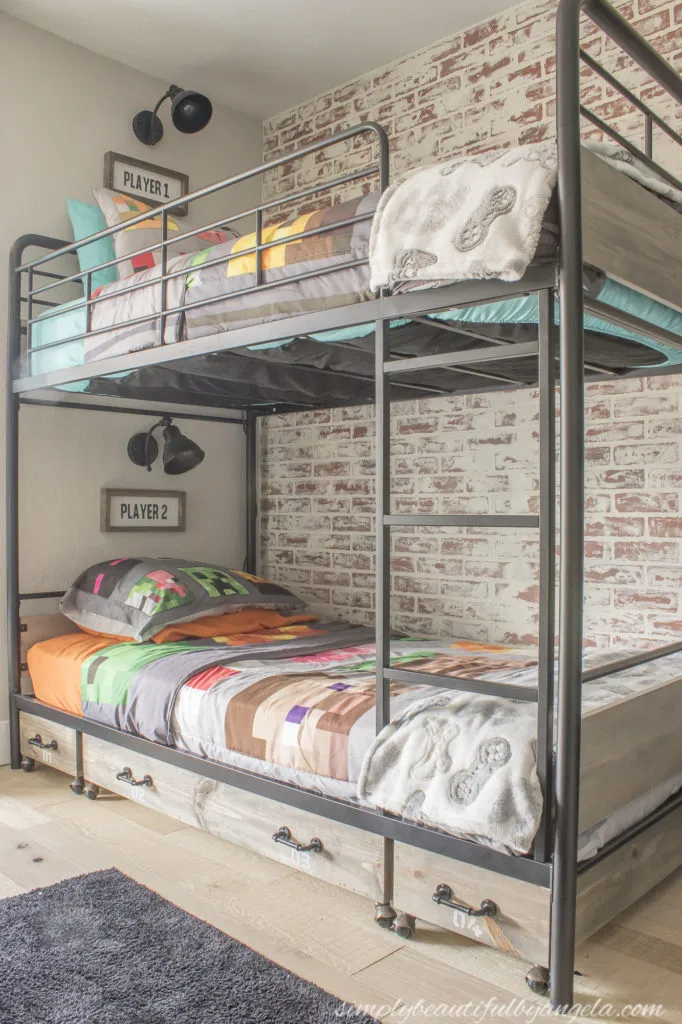 "Under-bed storage box in use"
What I love most about this project is how easily you can customize it to match your existing decor and storage needs. From the wood stain to the hardware and stenciling, the possibilities are truly endless.
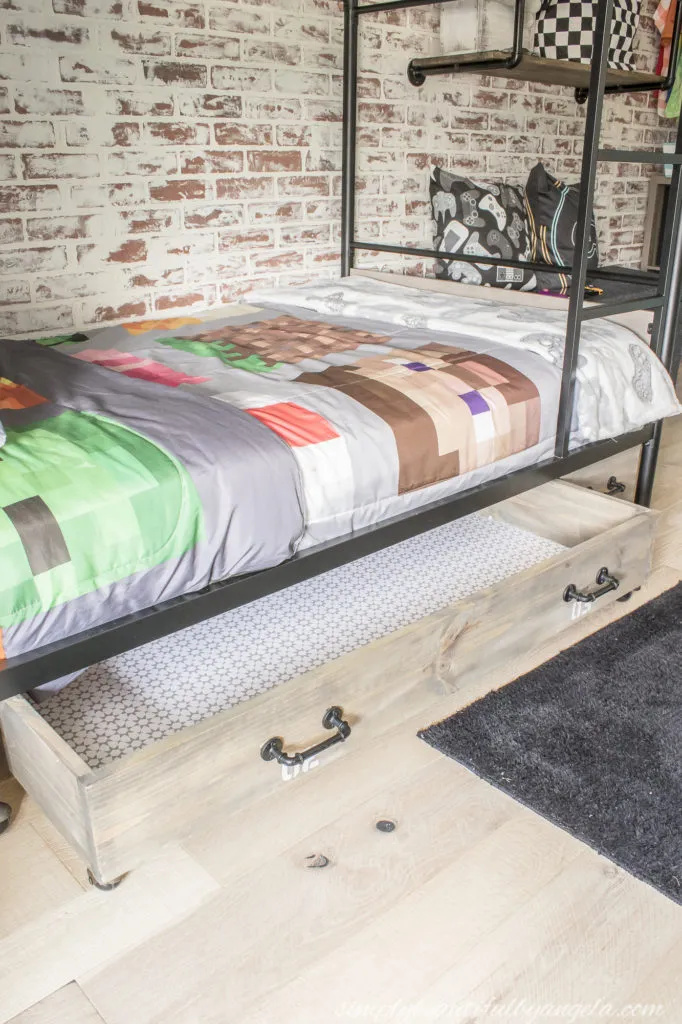 "Under-bed storage in gamer-themed room"
So, gather your materials, unleash your creativity, and get ready to transform that under-bed clutter into a functional and stylish storage solution. And don’t forget to share your creations with me! I’d love to see how you’ve personalized this project.
For more inspiring DIY projects and creative ideas, be sure to explore the rest of the “Robert Kline Art” website. Happy crafting!
