Blog
Build Your Own DIY Side Table: A Simple Guide
Hey there, fellow craft enthusiasts! Robert Kline here, and I recently faced a common dilemma: needing a new side table for my apartment. After scouring countless stores and websites, I realized the perfect piece wasn’t out there. So, what’s a DIY enthusiast to do? Build it myself, of course!
This project is incredibly easy and affordable, and the result is a stylish, functional side table that perfectly fits your space. Plus, there’s nothing quite like the satisfaction of creating something with your own two hands!
This guide will walk you through each step, from planning and measuring to assembly. Let’s get started!
Planning Your Side Table
Determine Dimensions
Before you grab your saw, you need a plan. The size of your side table should complement the furniture it will accompany. For example, measure the height of the armrest of your sofa or armchair. Ideally, your side table should be within 2 inches taller or shorter than this measurement.
For my side table, I aimed for a height of 24 inches and a width of 15 inches. Remember, these are just guidelines, and you can adjust them to suit your needs and preferences.
Gathering Your Materials
For this project, you’ll need:
- Lumber: I used construction-grade lumber, which is budget-friendly and easy to find at your local hardware store.
- Circular saw or miter saw: For making the cuts.
- Measuring tape and pencil: For accurate measurements and marking.
- Safety glasses and gloves: Protect your eyes and hands during the cutting and assembly process.
- Sandpaper (150-grit): Smoothing out the cut edges and any imperfections in the wood.
- Electric sander (optional): Speeds up the sanding process.
- Wood glue: For securing the pieces together.
- Screws (2 1/2 inches): For added stability.
- Drill with drill bits: For pre-drilling screw holes.
Building Your DIY Side Table
Step 1: Measure and Cut the Wood
- Set the Bevel: Using your circular saw or miter saw, adjust the blade to a 45-degree angle. This will create the angled cuts for the side table legs.
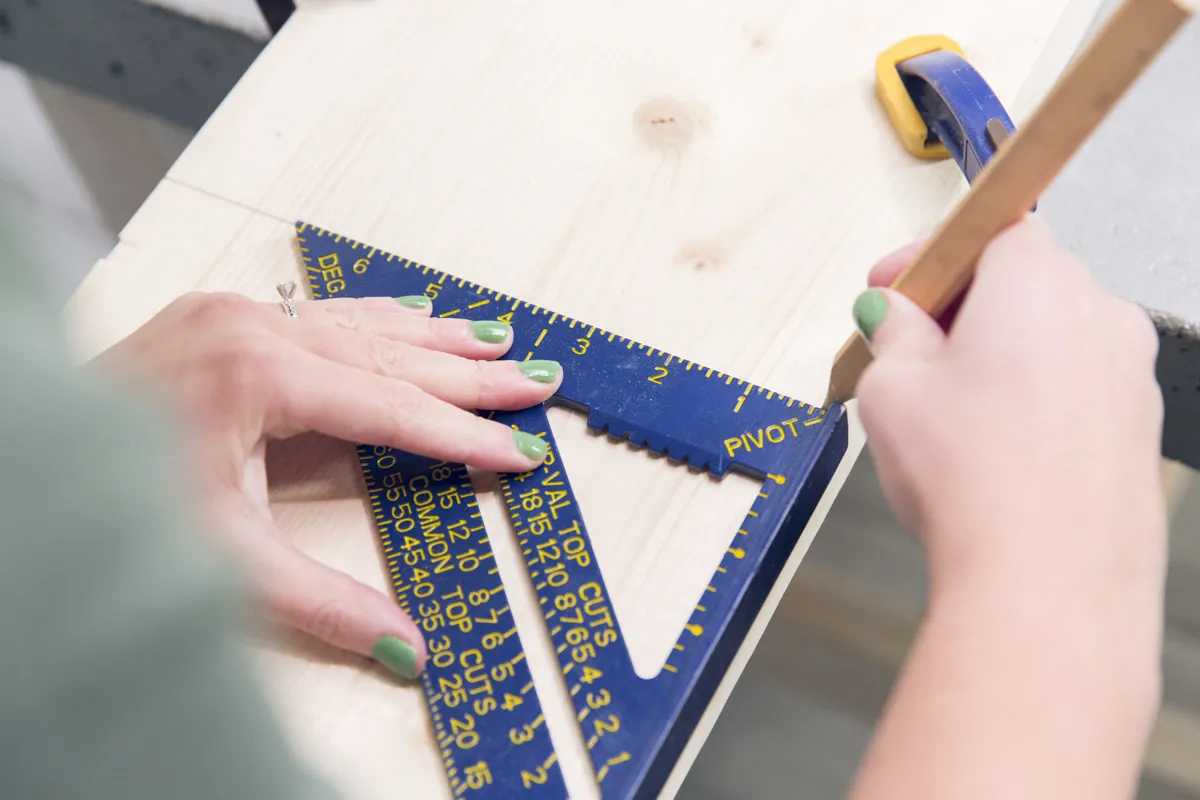
- Cut the Pieces: Measure and mark your lumber according to your desired dimensions. For my 24-inch high and 15-inch wide table, I cut four pieces: two 24 inches long and two 15 inches long.
- Precision is Key: Cut each piece individually to ensure accuracy, as the kerf (the width of the saw blade cut) can affect the final dimensions if you cut multiple pieces together.
 measuring to cut wood board
Alt: Precisely measuring the dimensions on a wooden board for a DIY side table.
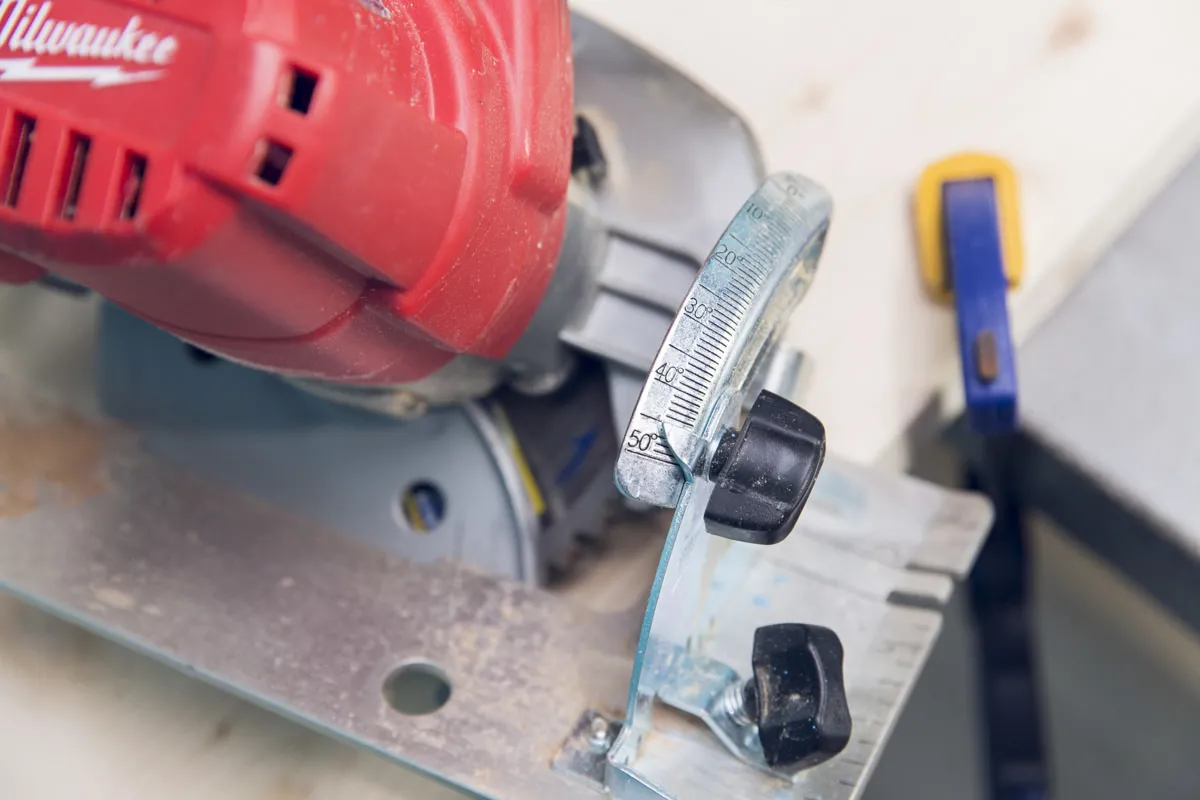 setting angle of circular saw
Alt: Setting the angle on a circular saw for a DIY side table project.
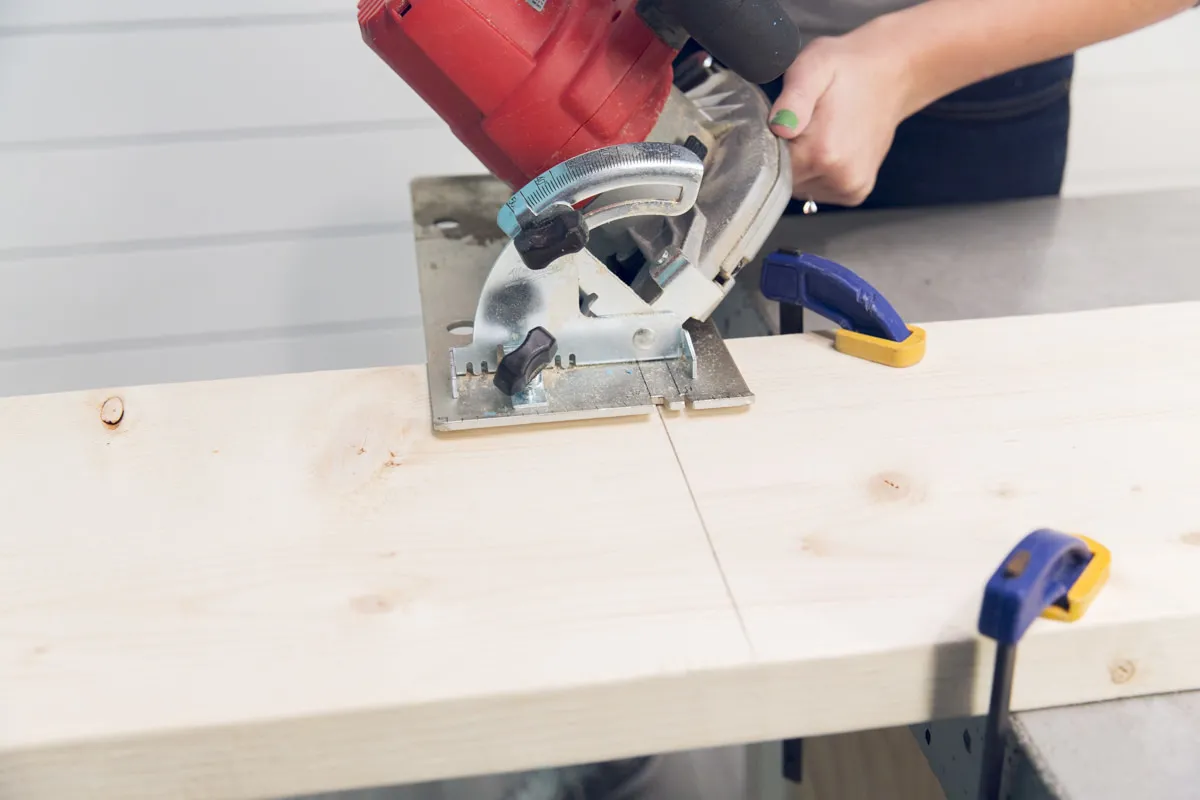 Milwaukee circular saw
Alt: A close-up of a Milwaukee circular saw, a powerful tool for woodworking projects.
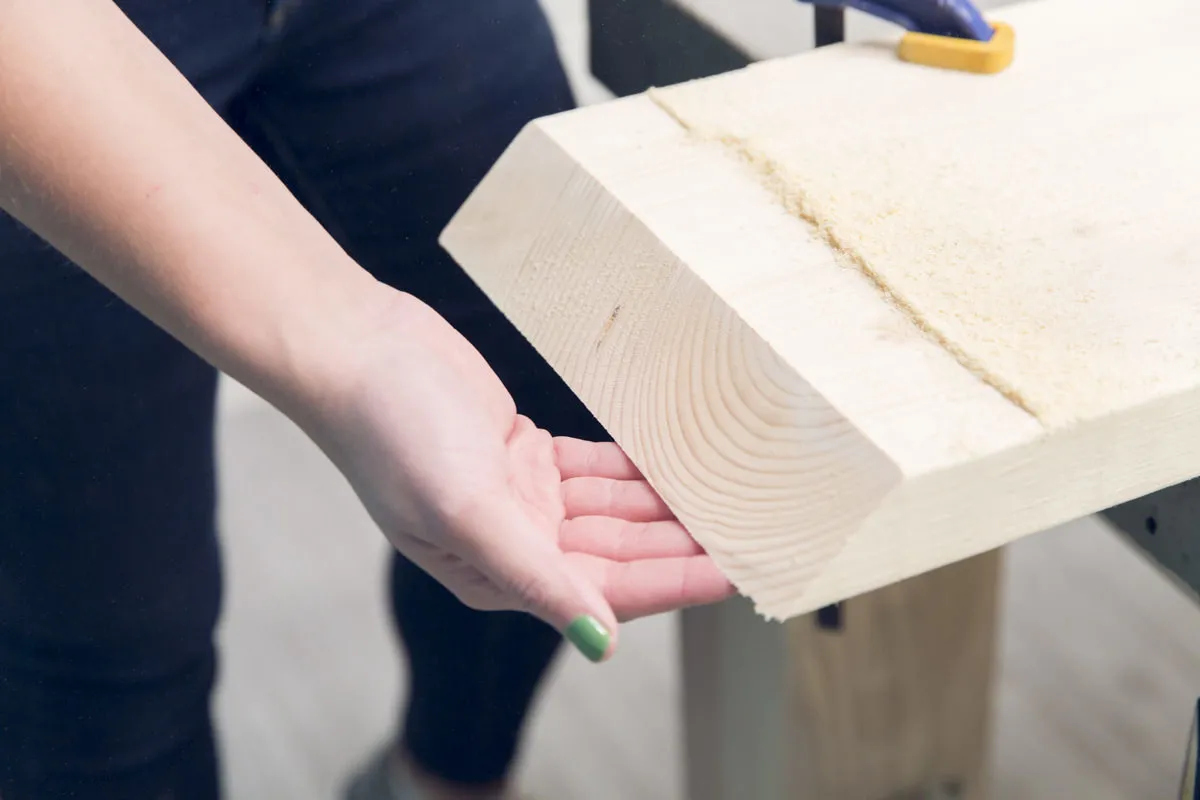 board cut with 45 degree angle
Alt: A wooden board with a precise 45-degree angle cut, ready for assembly in a DIY side table project.
Step 2: Sand for a Smooth Finish
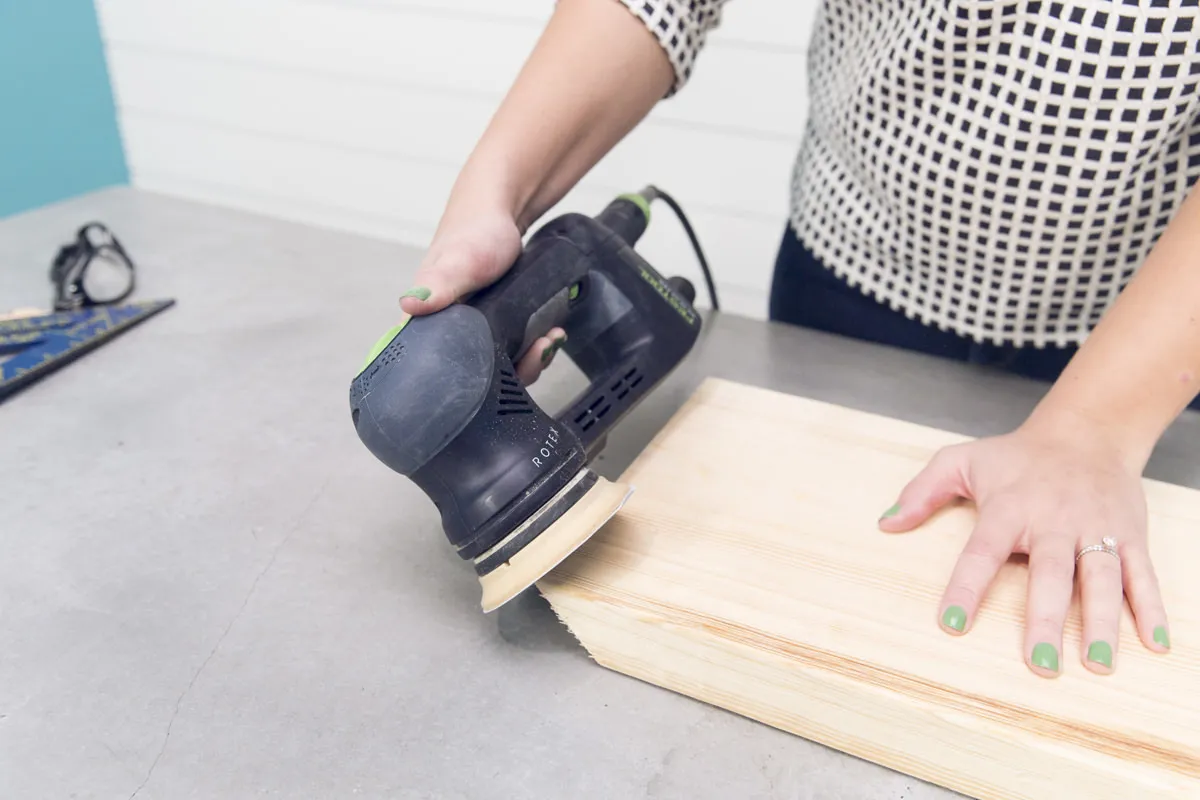 sander wood board
Alt: Using an electric sander on a wooden board to achieve a smooth finish.
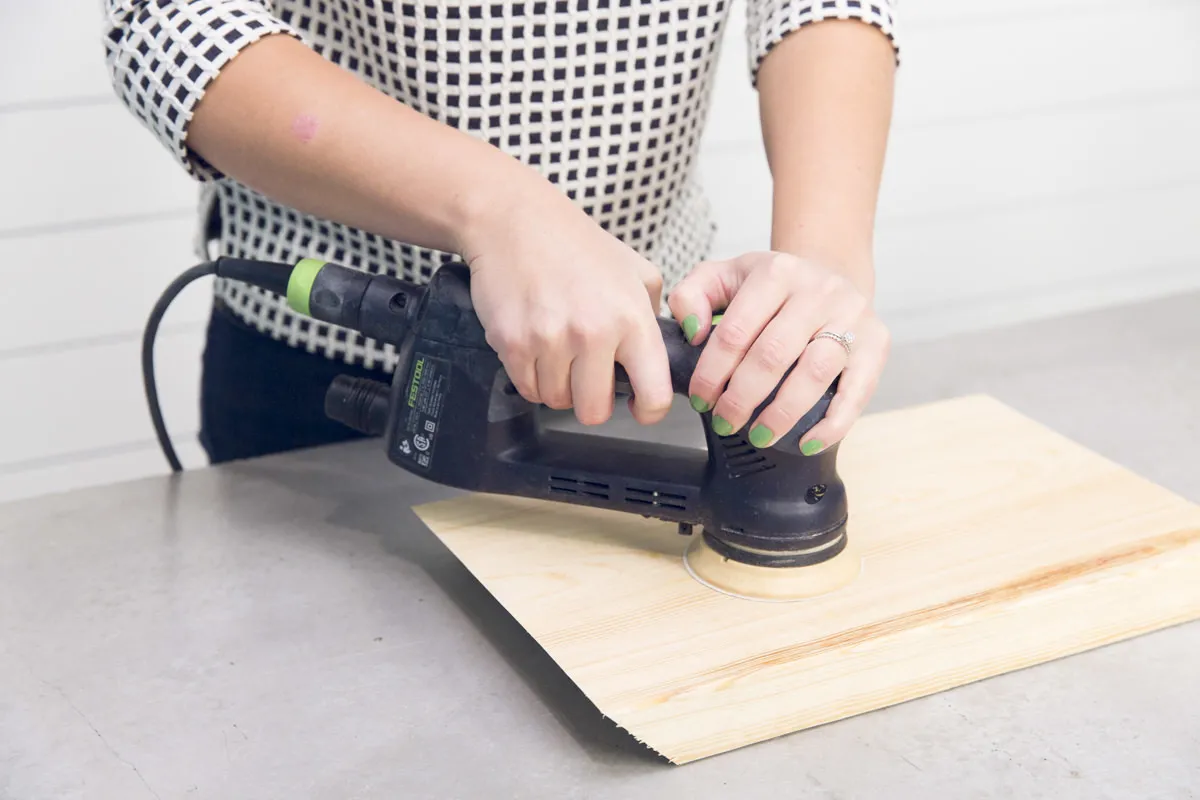 sanding wood board
Alt: Sanding a wooden board to prepare it for finishing in a DIY furniture project.
- Smooth Operator: Using 150-grit sandpaper and an electric sander (optional), sand all the surfaces and edges of your cut pieces. This will remove any roughness and prepare the wood for finishing.
- Edge Control: Pay attention to the cut edges, ensuring they are smooth and free of splinters.
Step 3: Optional Finishes: Paint or Stain
- Customize Your Creation: While I opted for a natural wood finish, feel free to personalize your side table with paint, stain, or a protective sealant like polyurethane.
- Consider Durability: If you want a more durable finish that can withstand daily wear and tear, I recommend a clear coat sealant.
Step 4: Assemble Your Masterpiece
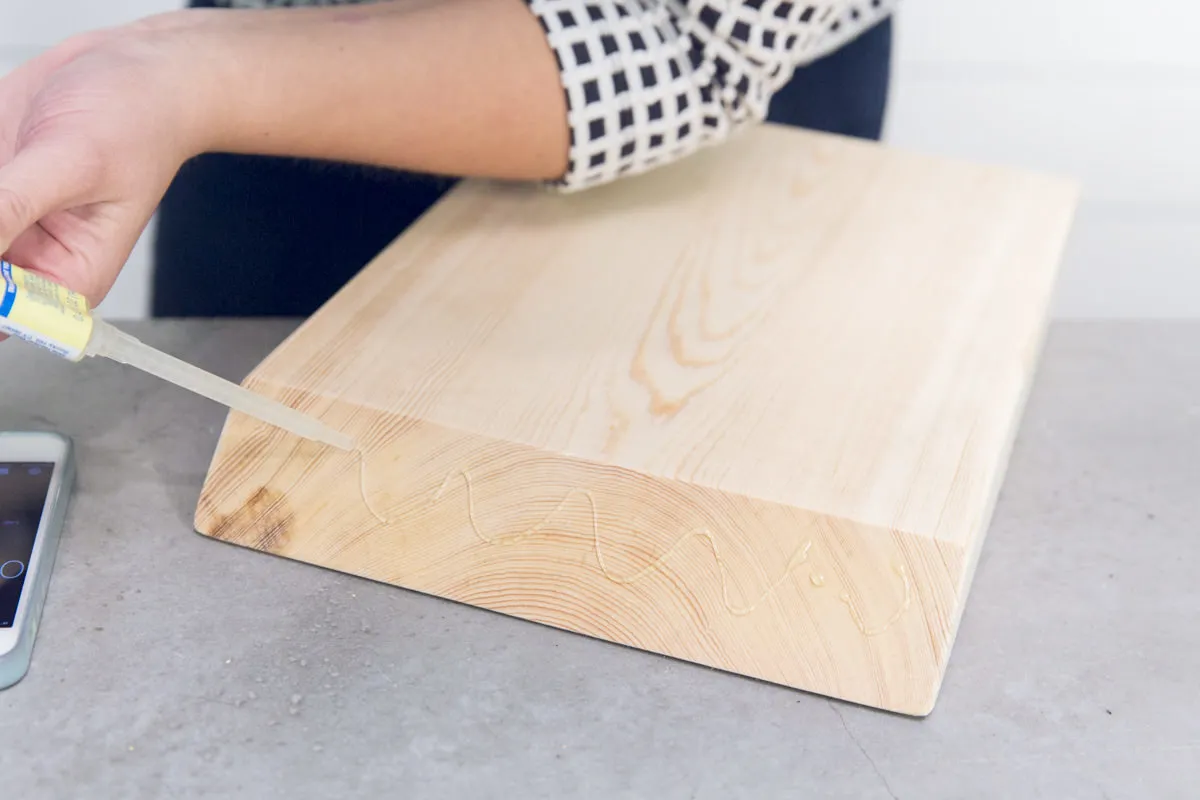 adding glue to diy side table piece
Alt: Applying wood glue to the edges of wooden pieces, a crucial step in furniture assembly.
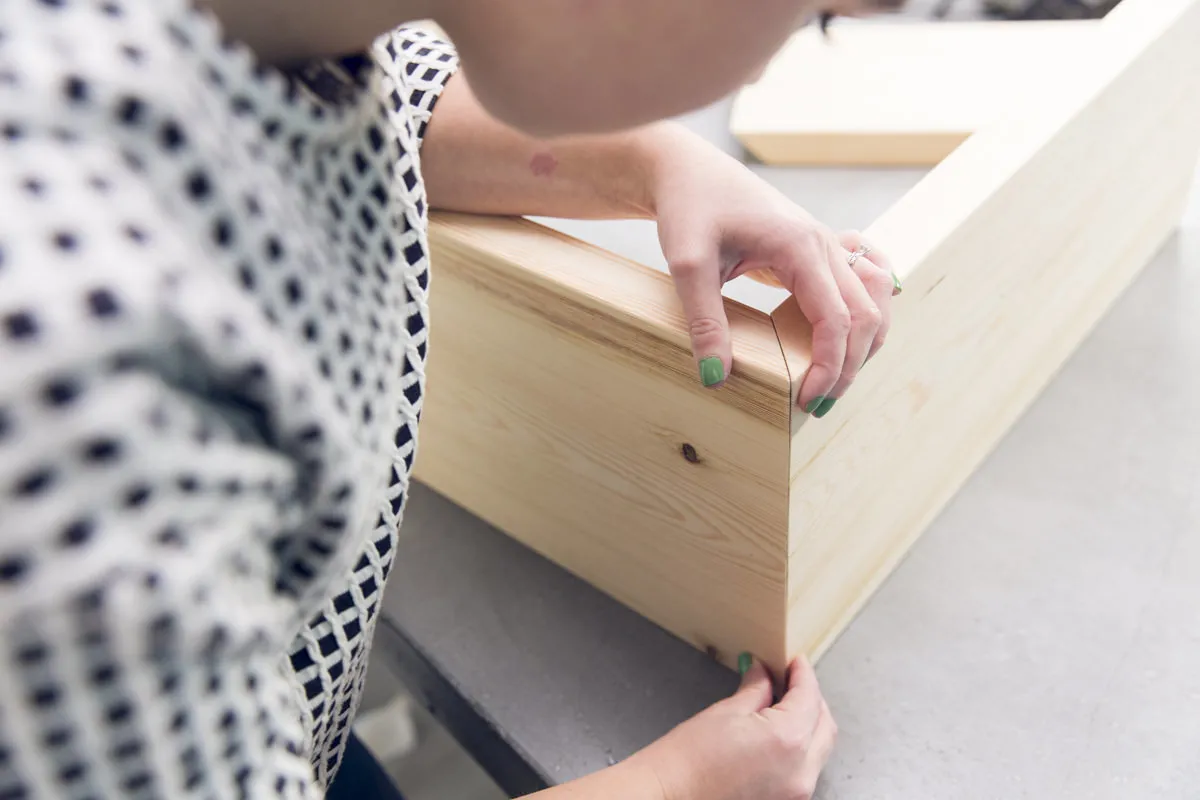 attaching corner of diy side table
Alt: Carefully aligning and attaching the corner of a DIY side table using wood glue.
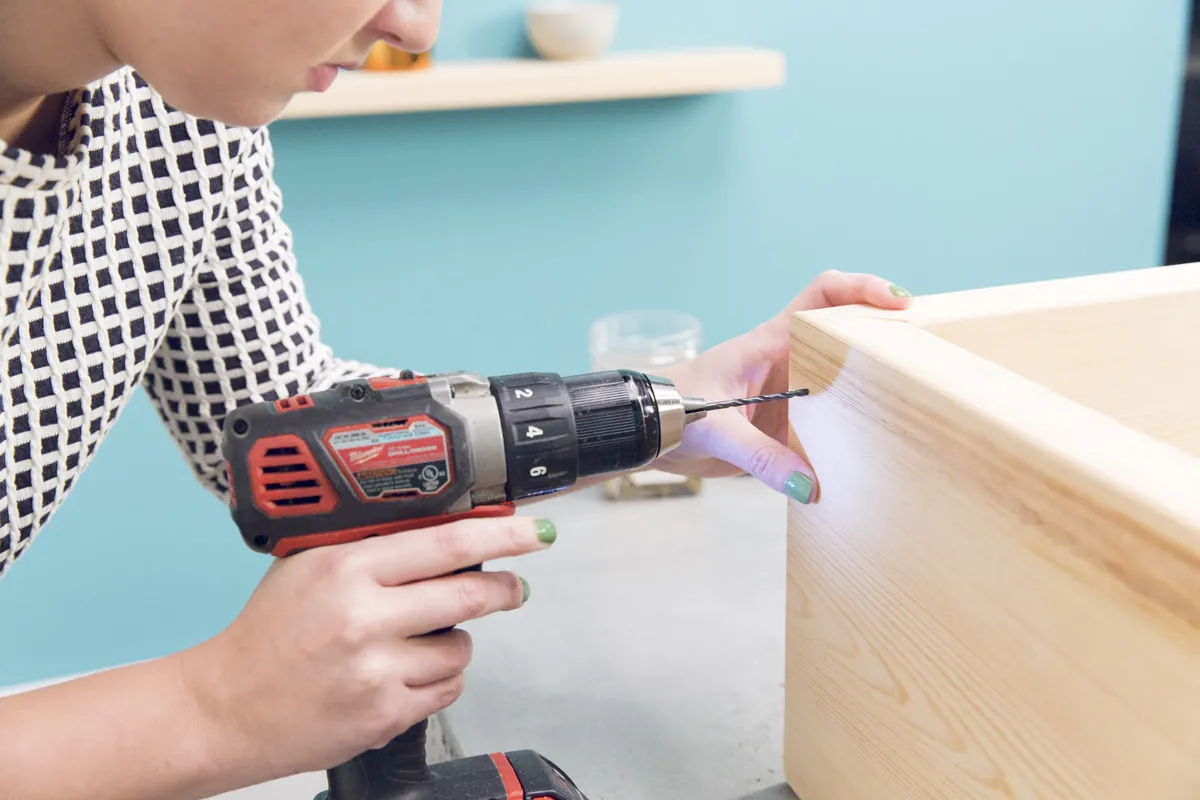 drilling side table together
Alt: Using a drill to secure the pieces of a DIY side table together for a sturdy construction.
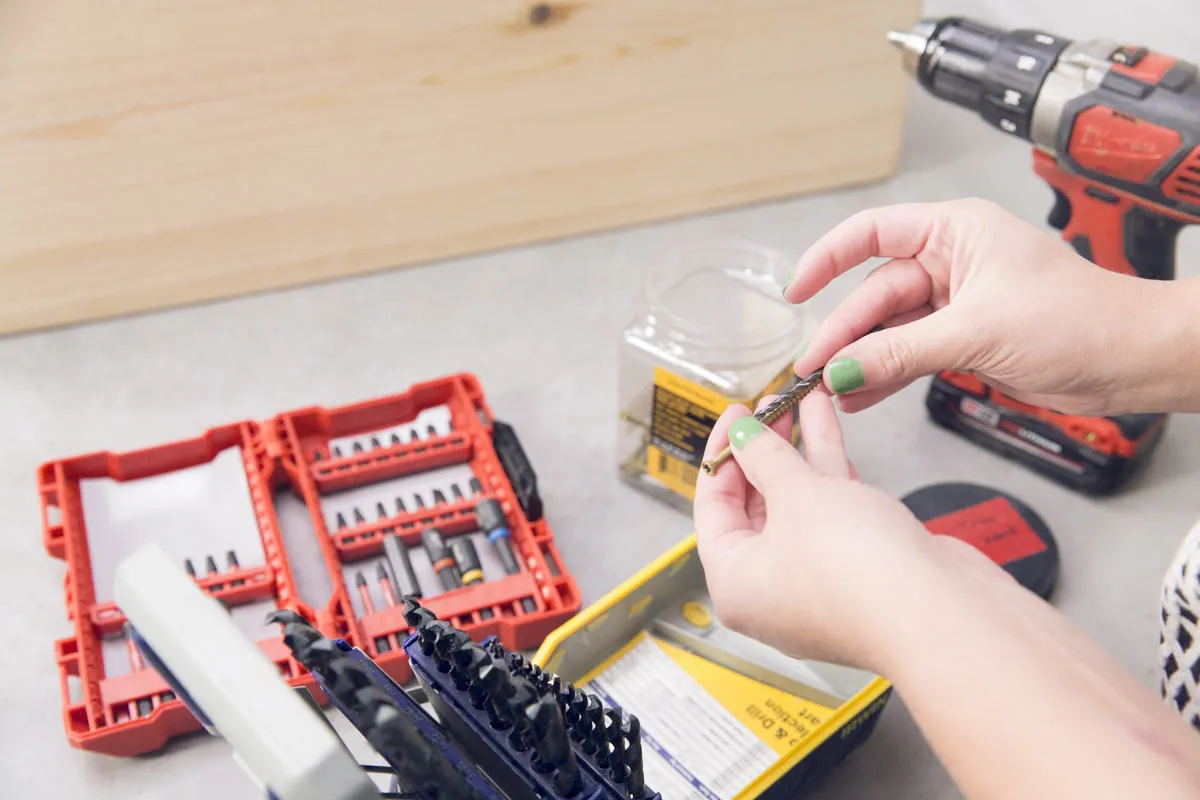 screws and drill bits
Alt: An assortment of screws and drill bits, essential tools for DIY furniture assembly.
- Glue Power: Apply a thin layer of wood glue to the edges of the pieces that will form the corners of your side table.
- Pre-Drill for Precision: Pre-drill holes through the bottom of the base and into the sides of the top pieces. This will prevent the wood from splitting when you insert the screws.
- Secure with Screws: Drive the 2 1/2-inch screws through the pre-drilled holes, ensuring they sit flush with the surface.
- Teamwork Makes the Dream Work: Enlist a friend’s help to hold the pieces together while you pre-drill and screw them in place for a seamless finish.
Conclusion
Congratulations! You’ve successfully built your own DIY side table! Now, it’s time to step back and admire your handiwork. Not only have you saved money, but you’ve also created a unique and stylish piece that perfectly complements your home décor.
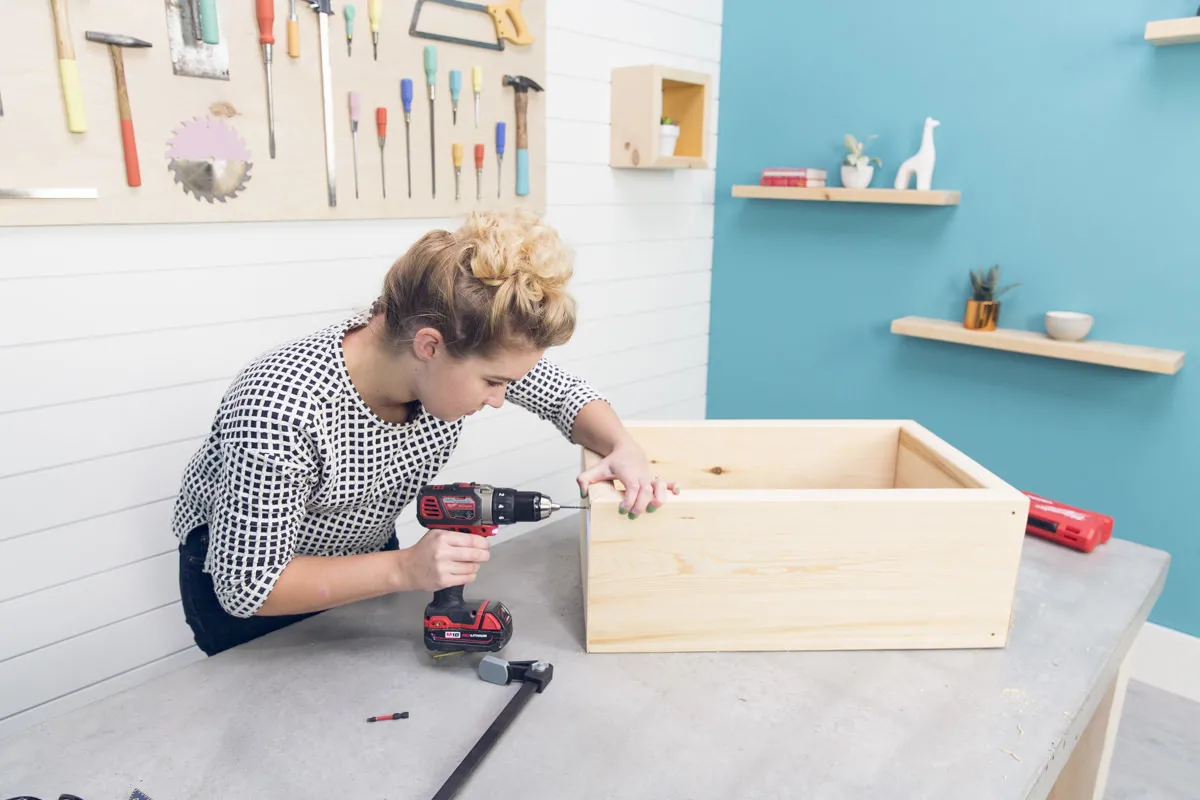 assemble diy side table
Alt: Assembling the final pieces of a DIY side table, bringing a woodworking project to completion.
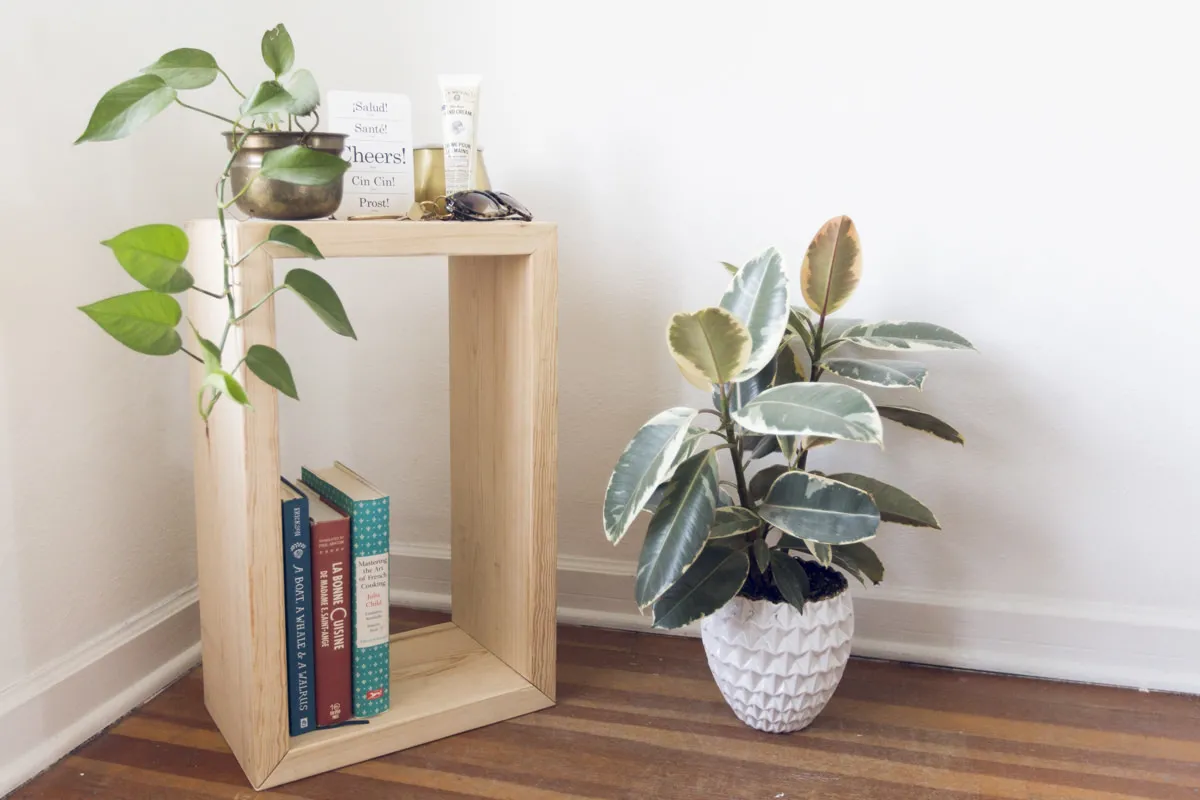 side table and plant
Alt: A stylish DIY side table adorned with a plant, showcasing the beauty of handmade furniture.
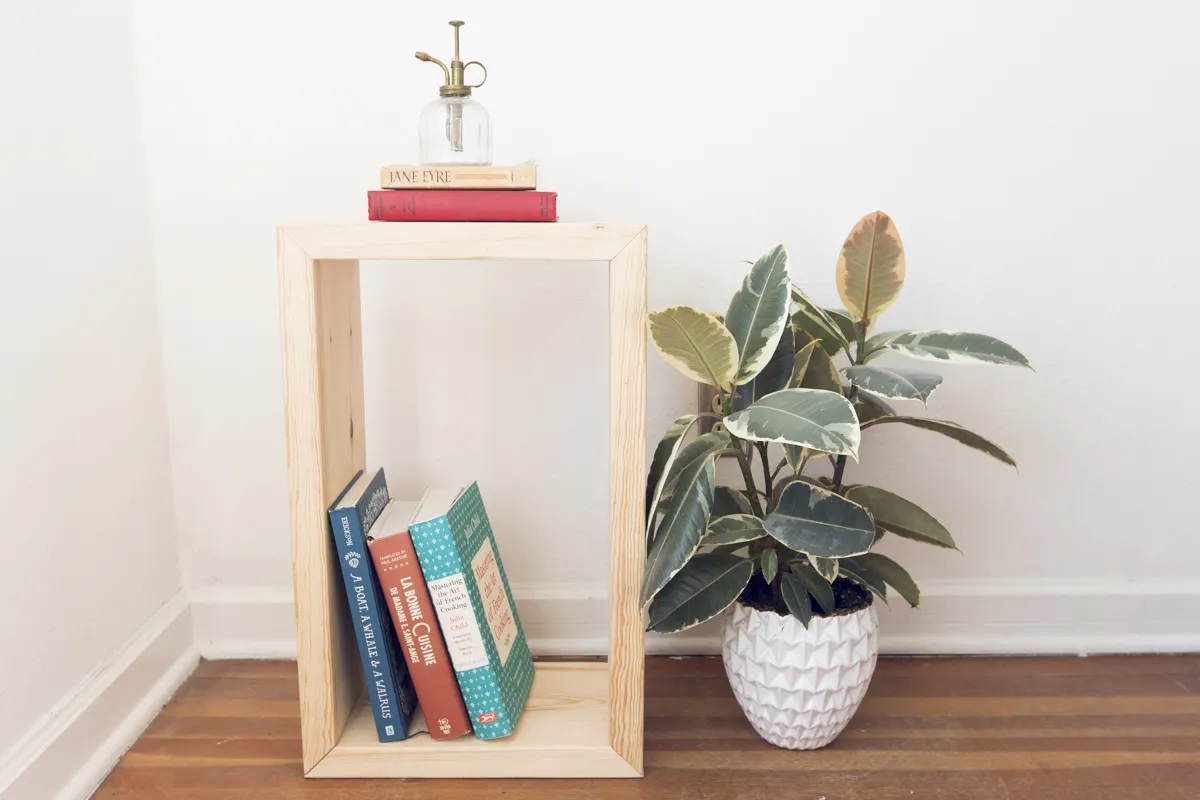 how to make a diy side table
Alt: A completed DIY side table, demonstrating the rewarding outcome of a woodworking project.
Remember, the beauty of DIY lies in its endless possibilities. You can adapt this simple design by adjusting the dimensions, adding a shelf, incorporating decorative elements, or experimenting with different finishes.
Head over to Robert Kline Art for more inspiring DIY projects and craft ideas. And while you’re there, browse our collection of unique, handcrafted gifts—perfect for adding a personal touch to your home or surprising someone special. Happy crafting!
